|
MARILYN

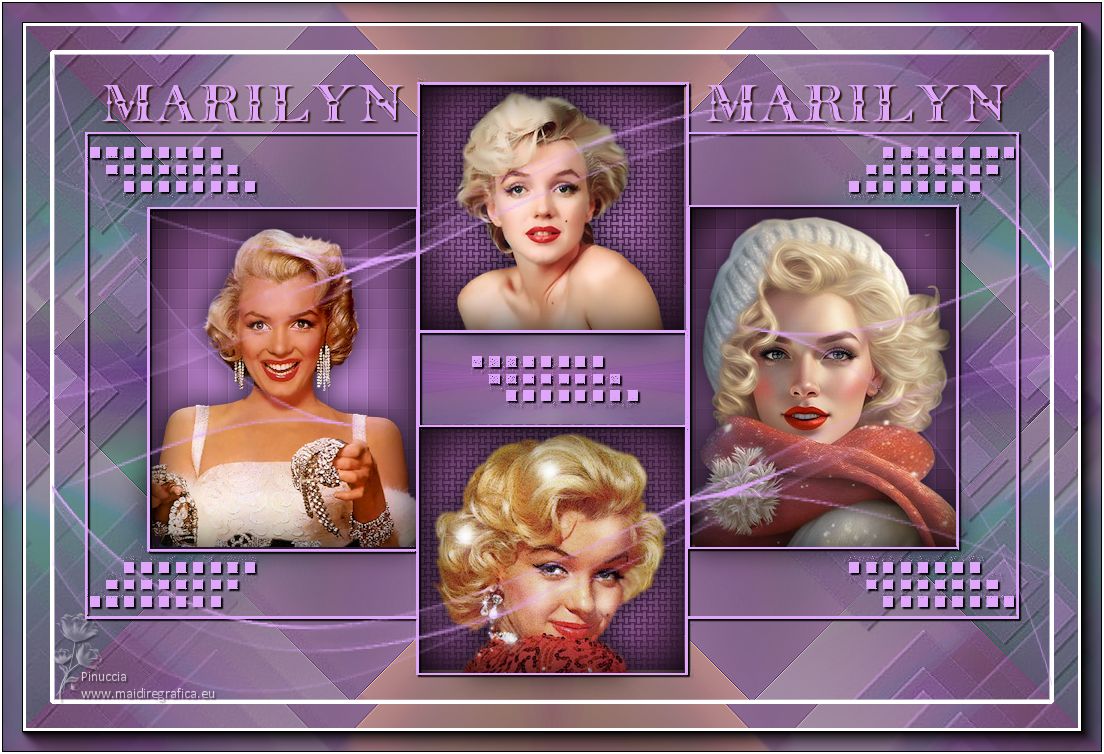
Thanks Inge-lore for your invitation to translate your tutorials.

This tutorial, created with PSP 2019, was translated with PSPX7, but it can also be made using other versions of PSP.
Since version PSP X4, Image>Mirror was replaced with Image>Flip Horizontal,
and Image>Flip with Image>Flip Vertical, there are some variables.
In versions X5 and X6, the functions have been improved by making available the Objects menu.
In the latest version X7 command Image>Mirror and Image>Flip returned, but with new differences.
See my schedule here
 Italian translation qui Italian translation qui
 French translation here French translation here
 Your versions ici Your versions ici
Material:
Material here
Thanks for the tubes Lori Rhae, MM, Lana and for the masks Creation.tine and Narah.
(you find here the links to the material authors' sites)

consult, if necessary, my filter section here
Filters Unlimited 2.0 here
Mehdi - Sorting Tiles here
Simple - Top Left Mirror here
AAA Frames - Foto Frame here
Filters Top Left Mirror can be used alone or imported into Filters Unlimited.
(How do, you see here)
If a plugin supplied appears with this icon  it must necessarily be imported into Unlimited it must necessarily be imported into Unlimited

You can change Blend Modes according to your colors.
In the newest versions of PSP, you don't find the foreground/background gradient (Corel_06_029).
You can use the gradients of the older versions.
The Gradient of CorelX here

Open the masks in PSP and minimize them with the rest of the material.
1. Choose two colors from your tubes.
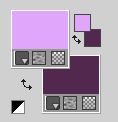
Set your foreground color to the light color, for me #e0a6fb,
and your background color to the dark color, for me #53294f
Open a new transparent image 1000 x 650 pixels.
Selections>Select All.
Open your background image Fond 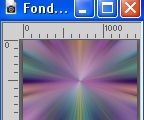
Edit>Copy.
Go back to your work and go to Edit>Paste into Selection.
Selections>Select None.
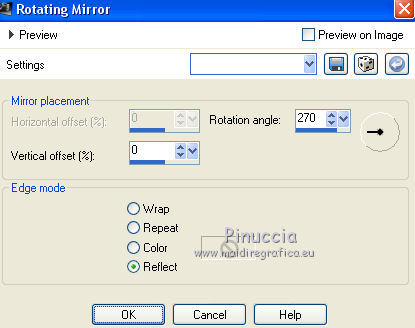
Effects>Reflection Effects>Rotating Mirror.
Effects>Plugins>Mehdi - Sorting Tiles.
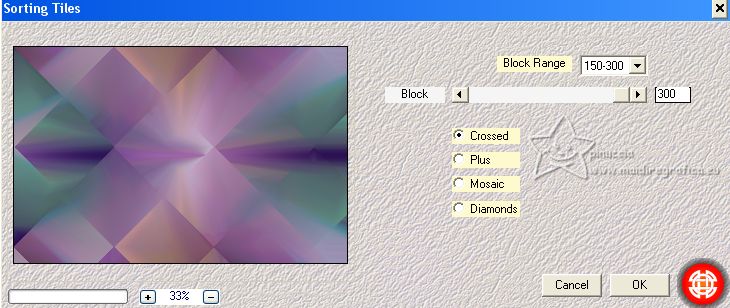
Effects>Reflection Effects>Rotating Mirror.

2. Effects>Plugins>Simple - Top Left Mirror.
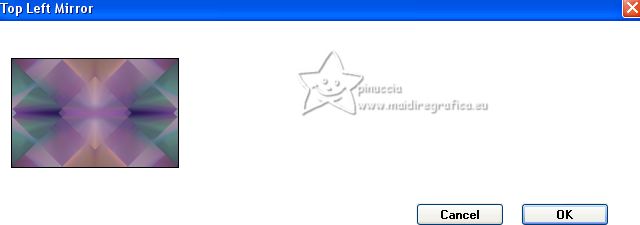
Effects>Edge Effects>Enhance.
Layers>New Raster Layer.
Flood Fill  the layer with your light color. the layer with your light color.
Layers>New Mask layer>From image
Open the menu under the source window and you'll see all the files open.
Select the mask NarahsMasks_1764
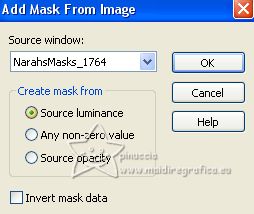
Effects>Edge Effects>Enhance.
Layers>Merge>Merge Group.
Effects>3D Effects>Drop Shadow.
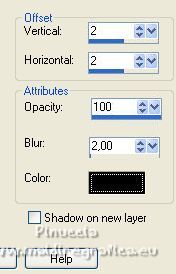
3. Set your foreground color to a Foreground/Background Gradient, style Sunburst.
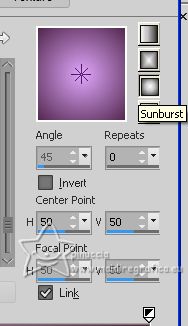
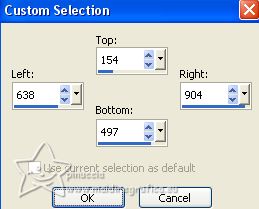
Selection Tool 
(no matter the type of selection, because with the custom selection your always get a rectangle)
clic on the Custom Selection 
and set the following settings.
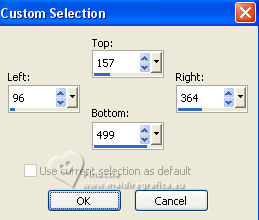
Layers>New Raster Layer.
Layers>Arrange>Move Down.
Flood Fill  the selection with your Gradient. the selection with your Gradient.
Effects>Distortion Effects>Pixelate.
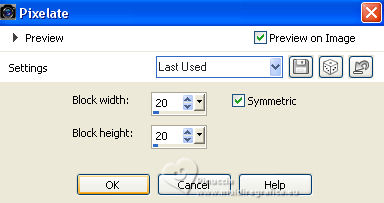
Effects>Edge Effects>Enhance.
Open your first tube, for me Cha Ching_LR-07-24-09 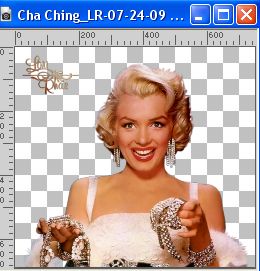
Edit>Copy.
Go back to your work and go to Edit>Paste as new layer.
Image>Resize, for me to 50%, resize all layers not checked.
Adjust>Sharpness>Sharpen.
Place  the tube on the selection. the tube on the selection.
Selections>Invert.
Press CANC on the keyboard 
4. Selections>Invert.
Layers>New Raster Layer.
Effects>3D Effects>Cutout.
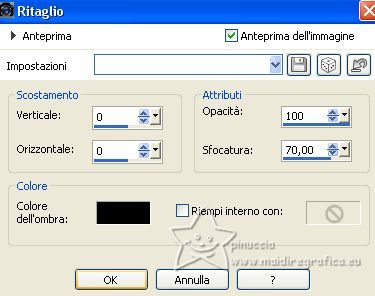
Selections>Select None.
Activate the layer of the tube.
Effects>3D Effects>Drop Shadow.
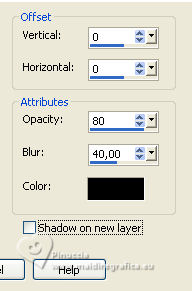
Activate the layer Raster 4.
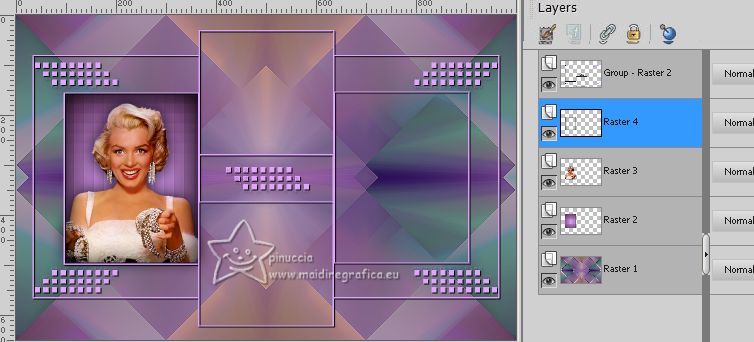
Layers>Merge>Merge Down.
5. Activate the layer Raster 2.
Layers>Duplicate.
Image>Mirror.
Layers>Arrange>Move up.
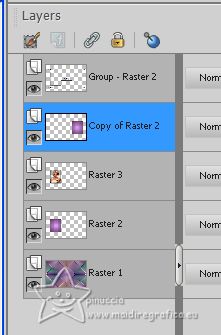
Custom Selection 
Open your second tube LD-model-1364 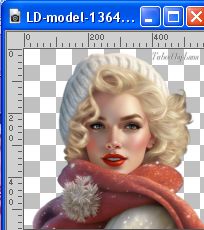
Erase the watermark and go to Edit>Copy.
Go back to your work and go to Edit>Paste as new layer.
Image>Resize, for me to 60%, resize all layers not checked.
Adjust>Sharpness>Sharpen.
Place  the tube on the selection. the tube on the selection.
Selections>Invert.
Press CANC on the keyboard 
Layers>New Raster Layer.
Effects>3D Effects>Cutout, same settings.
Selections>Select None.
6. Activate the layer of the tube.
Effects>3D Effects>Drop Shadow, same settings.
Activate the layer Raster 5.
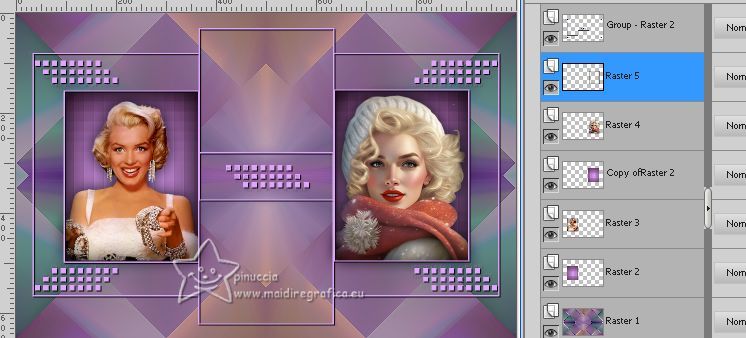
Layers>Merge>Merge Down - 4 times.
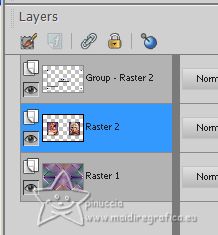
Custom Selection 
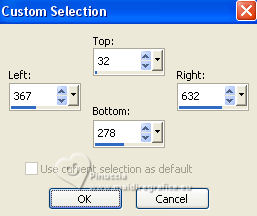
Layers>New Raster Layer.
Flood Fill  the selection with your Gradient. the selection with your Gradient.
7. Effects>Texture Effects>Weave
both colors: dark color.
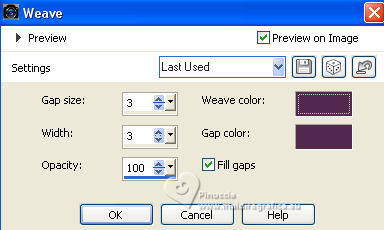
Open the next tube MarilynMonroe_Koo1_7-26-09_MM 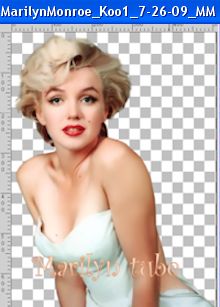
Edit>Copy.
Go back to your work and go to Edit>Paste as new layer.
Image>Resize, for me to 60%, resize all layers not checked.
Adjust>Sharpness>Sharpen.
Place  the tube on the selection. the tube on the selection.
Selections>Invert.
Press CANC on the keyboard.
Selections>Invert.
Layers>New Raster Layer.
Effects>3D Effects>Cutout, same settings.
Selections>Select None.
8. Activate the layer of the tube.
Effects>3D Effects>Drop Shadow, same settings.
Activate the layer Raster 3.
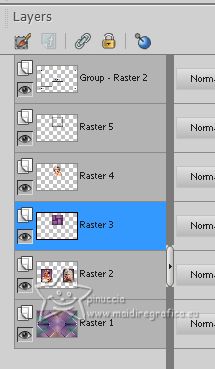
Layers>Duplicate.
Image>flip.
Layers>Arrange>Move up.
Activate the layer Raster 5.
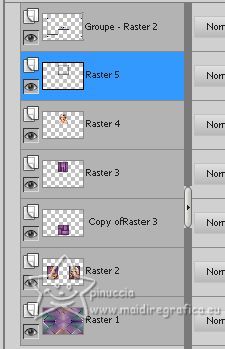
Layers>Merge>Merge Down - 2 times.
Layers>Arrange>Move down.
Activate the layer above
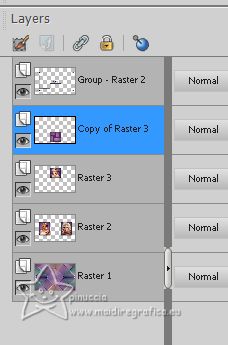
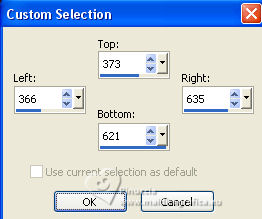
Custom Selection 
9. Open the next tube A Develish Quicky254-MM close-up-tube 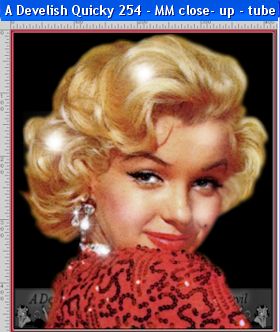
Edit>Copy.
Go back to your work and go to Edit>Paste as new layer.
Image>Resize, for me to 60%, resize all layers not checked.
Adjust>Sharpness>Sharpen.
Place  the tube on the selection. the tube on the selection.
Selections>Invert.
Press CANC on the keyboard.
Selections>Invert.
Layers>New Raster Layer.
Effects>3D Effects>Cutout, same settings.
Selections>Select None.
10. Activate the layer of the tube.
Effects>3D Effects>Drop Shadow, same settings.
Layers>Merge>Merge Down - 4 times.
Now the tubes are all on the Raster 2.
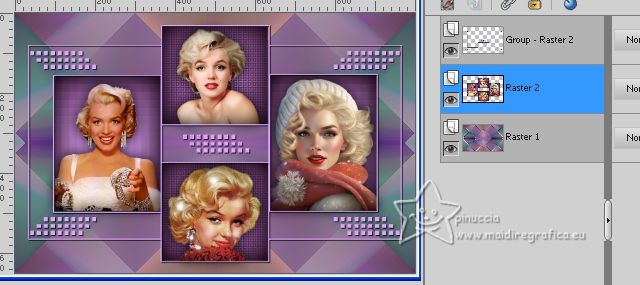
11. Set your foreground color to Color.
Activate your bottom layer, Raster 1.
Layers>New Raster Layer.
Flood Fill  the layer with your light foreground color. the layer with your light foreground color.
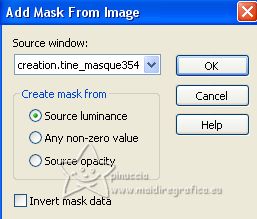
Layers>New Mask layer>From image
Open the menu under the source window
and select the mask creation.tine_masque354
Effects>Edge Effects>Enhance.
Layers>Merge>Merge Group.
Effects>3D Effects>Drop Shadow.

12. Activate your top layer.
Open the text Text 
Edit>Copy.
Go back to your work and go to Edit>Paste as new layer.
K key to activate your Pick Tool 
and set Position X: 50,00 and Position Y: 33,00.

In the material there is the font, if you want to write another name.
Layers>New Raster Layer.
Flood Fill  the layer with your light color. the layer with your light color.
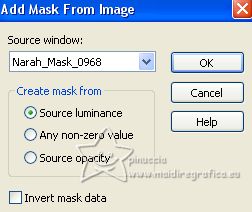
Layers>New Mask layer>From image
Open the menu under the source window
and select the mask Narah_Mask_0968
Effects>Edge Effects>Enhance.
Layers>Merge>Merge Group.
Activate the second layers from the bottom.
Layers>Merge>Merge Down.
13. Edit>Copy.
Selections>Select All.
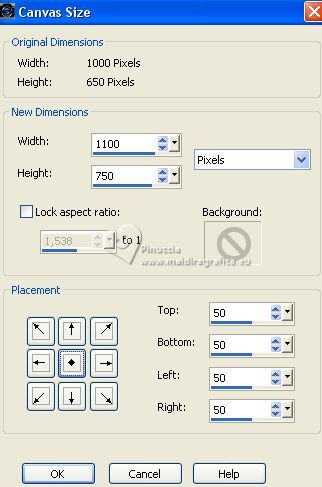
Image>Canvas Size - 1100 x 750 pixels.
Selections>Invert.
Edit>Paste into Selection.
Effects>Plugins>AAA Frames - Foto Frame.
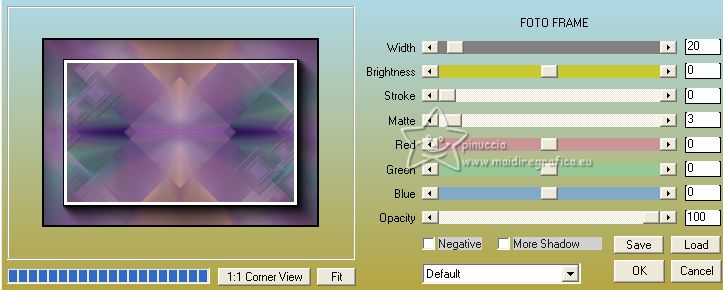
Selections>Invert.
14. Selections>Modify>Select Selection Borders.
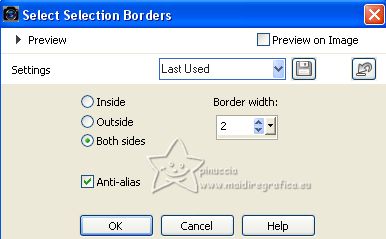
Set your foreground color to white.
Flood Fill  the selection with color white. the selection with color white.
Selections>Select None.
Sign your work on a new layer.
Image>Add borders, 2 pixels, symmetric, color white.
Save as jpg.
For the tubes of this version thanks Luz Cristina and Irene.
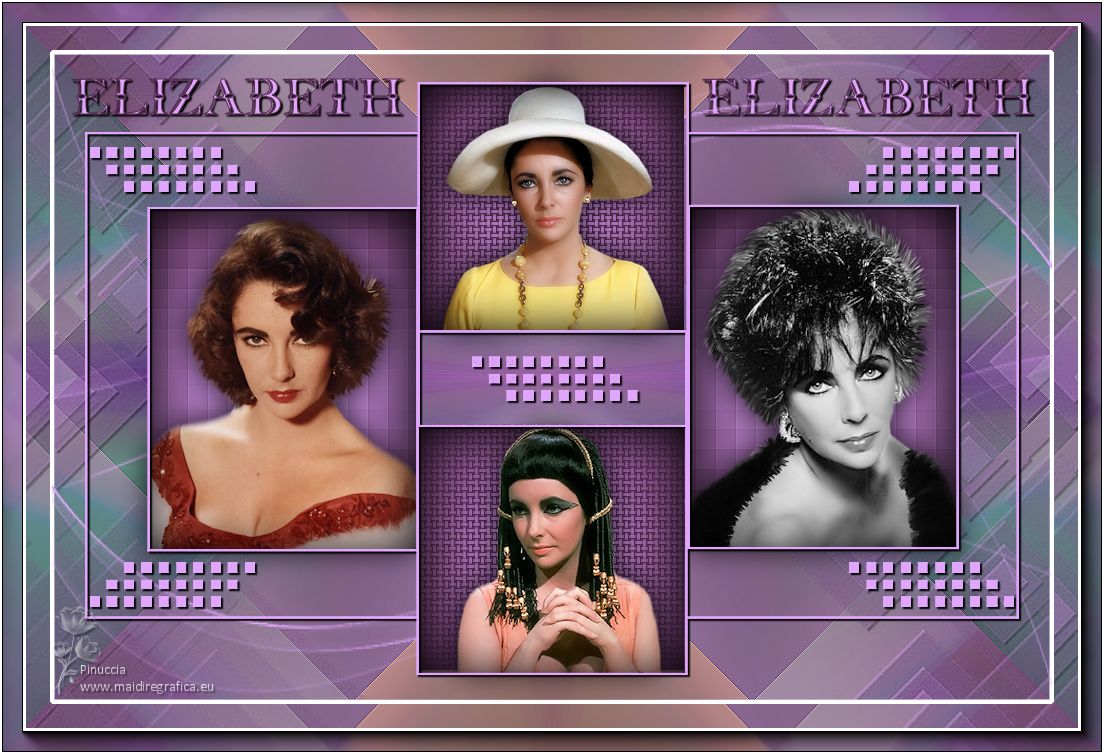
For the tubes of this version thanks GranGran and DeniseW.
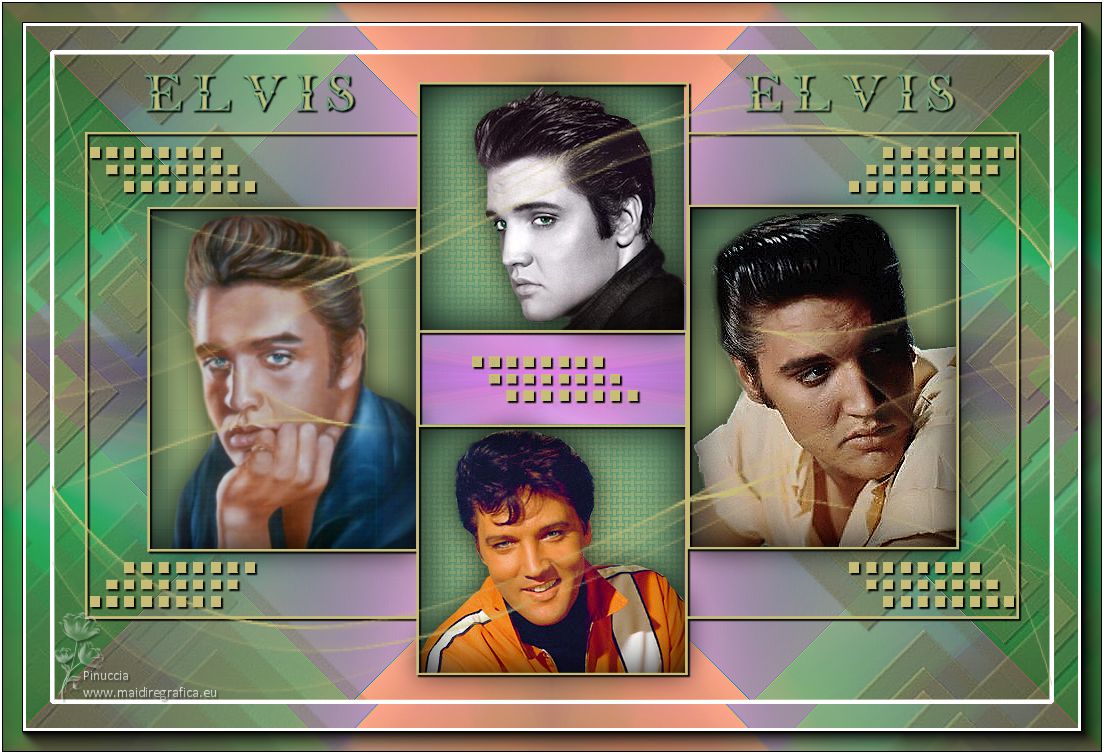

If you have problems or doubts, or you find a not worked link, or only for tell me that you enjoyed this tutorial, write to me.
9 August 2023

|


