|
MISS YOU

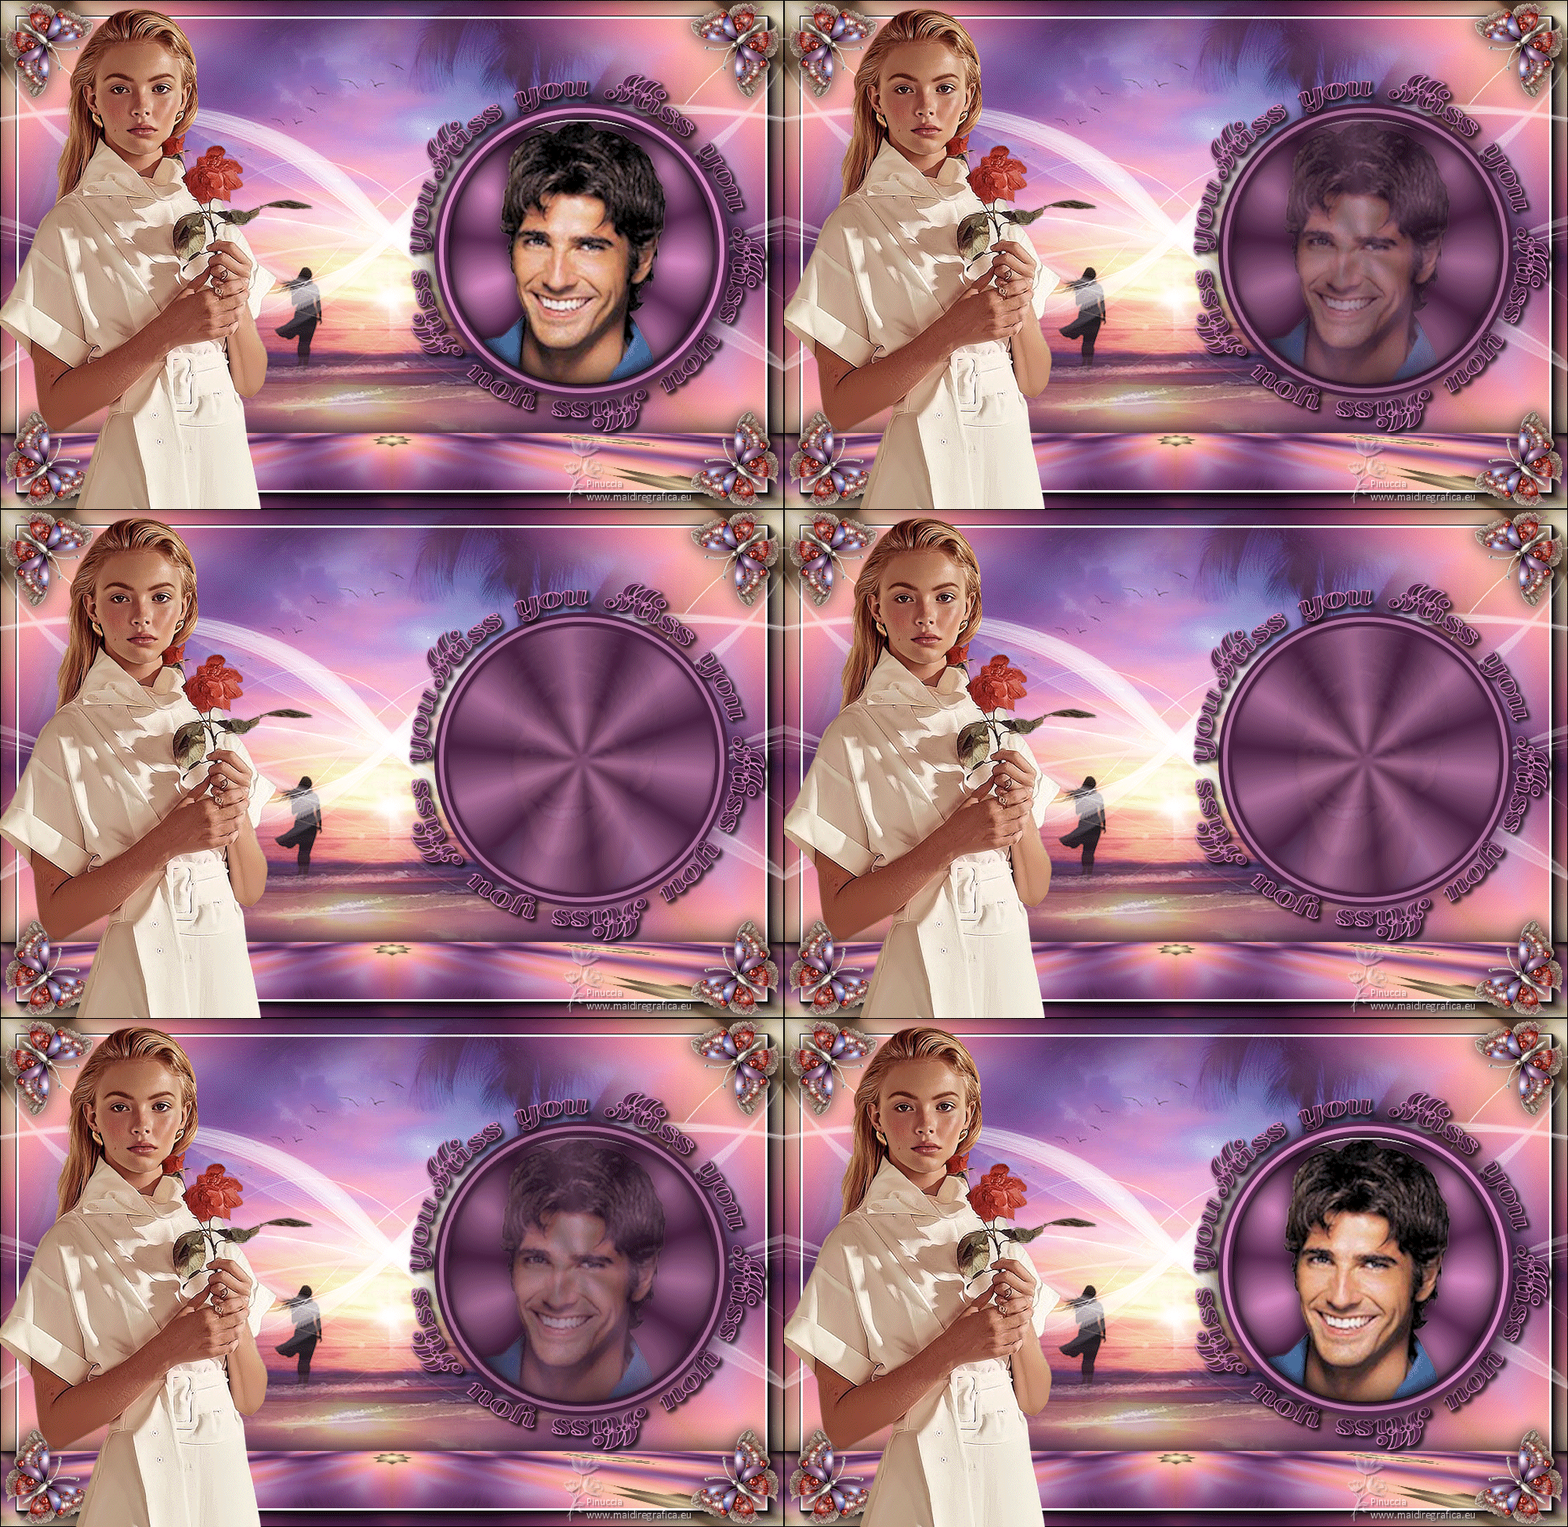
Thanks Inge-lore for your invitation to translate your tutorials.

This tutorial was translated with PSPX, PSPX2, PSPX3, but it can also be made using other versions of PSP.
Since version PSP X4, Image>Mirror was replaced with Image>Flip Horizontal,
and Image>Flip with Image>Flip Vertical, there are some variables.
In versions X5 and X6, the functions have been improved by making available the Objects menu.
In the latest version X7 command Image>Mirror and Image>Flip returned, but with new differences.
See my schedule here
 Italian translation qui Italian translation qui
 French translation here French translation here
 Your versions ici Your versions ici
For this tutorial, you will need:
Tubes at your choice (the tubes used by Inge-Lore are under licence)
The rest of the material 
For the mask thanks Narah.
For the tubes of my version thanks Nena Silva and Sdt.
(you find here the links to the material authors' sites)

consult, if necessary, my filter section here
Mehdi - Kaleidoscope here
Mura's Meister - Perspective Tiling here
AAA Frames - Foto Frame here
Alien Skin Eye Candy 5 Impact - Glass here
Animation Shop here

You can change Blend Modes according to your colors.
In the newest versions of PSP, you don't find the foreground/background gradient (Corel_06_029).
You can use the gradients of the older versions.
The Gradient of CorelX here

Copy the Selection in the Selections Folder.
Open the mask in PSP and minimize it with the rest of the material.
1. Choose 2 colors from your material;
set your foreground color to the light color; for me #d98cc4
and your background color to the dark color; for me #5b2b53

Open a new transparent image 1000 x 650 pixels.
Flood Fill  the transparent image with your dark color. the transparent image with your dark color.
Selections>Select All.
Open your background tube fato_tube00011 mekan 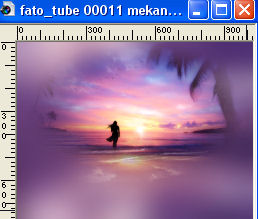
Edit>Copy.
Go back to your work and go to Edit>Paste into Selection.
Selections>Select None.
Effects>Image Effects>Seamless Tiling, default settings.

Adjust>Blur>Motion Blur.
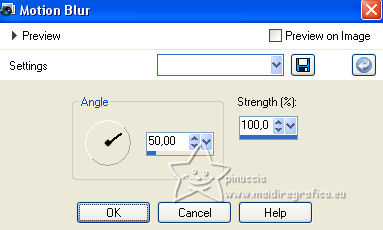
Edit>Repeat Motion Blur.
2. Effects>Plugins>Mehdi - Kaleidoscope.
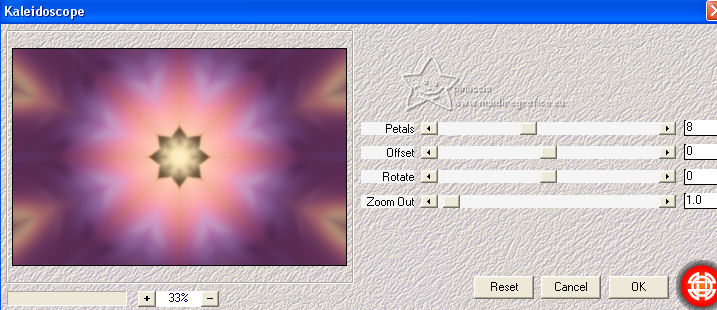
Effects>Image Effects>Seamless Tiling, default settings.

Effects>Edge Effects>Enhance More.
Edit>Paste as new layer (your background tube is still in memory).
If necessary, resize it.
Adjust>Sharpness>Sharpen.
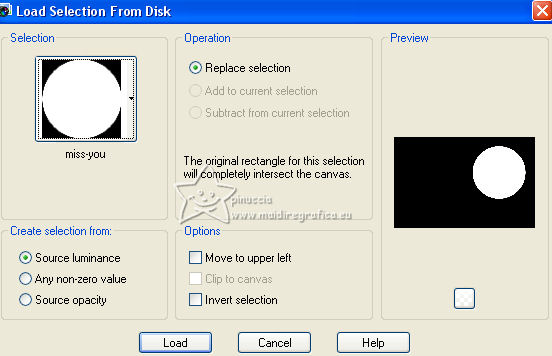
Selections>Load/Save Selection>Load Selection from Disk.
Look for and load the selection miss-you
3. Layers>New Raster Layer.
Flood Fill  with your dark color. with your dark color.
Selections>Modify>Contract - 6 pixels.
Flood Fill  with your light color. with your light color.
Selections>Modify>Contract - 6 pixels.
Flood Fill  with your dark color. with your dark color.
Selections>Modify>Contract - 6 pixels.
Set your foreground color to a Foreground/Background Gradient, style Radial.

Flood Fill  the selection with your gradient. the selection with your gradient.
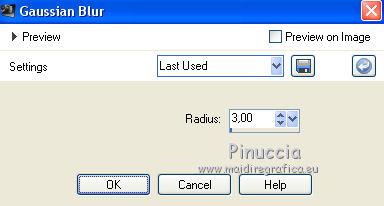
Adjust>Blur>Gaussian Blur - radius 3.
4. Open the man's tube, for me: Tube2532_leonord_25_03_09_sdt 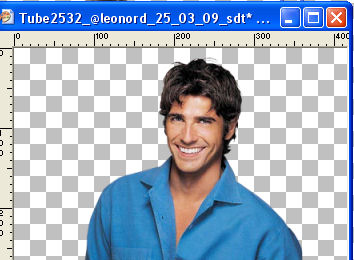
Edit>Copy.
Go back to your work and go to Edit>Paste as new layer.
Resize, if necessary,
and place  the tube with the head on the selection. the tube with the head on the selection.
Selections>Invert.
Press CANC on the keyboard 
Selections>Invert.
Layers>New Raster Layer.
Effects>3D Effects>Cutout.

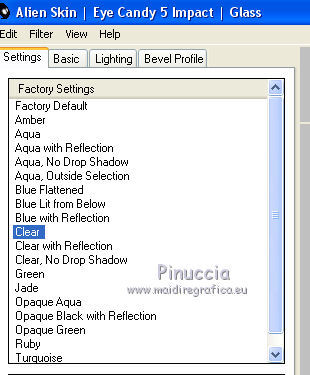
Effects>Plugins>Alien Skin Eye Candy 5 Impact - Glass.
Select the preset Clear and ok.
Selections>Select None.
5. Activate the layer below of the tube.
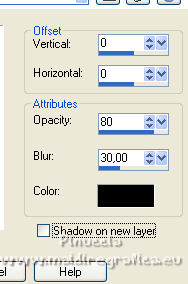
Effects>3D Effects>Drop shadow.
Activate the top layer.
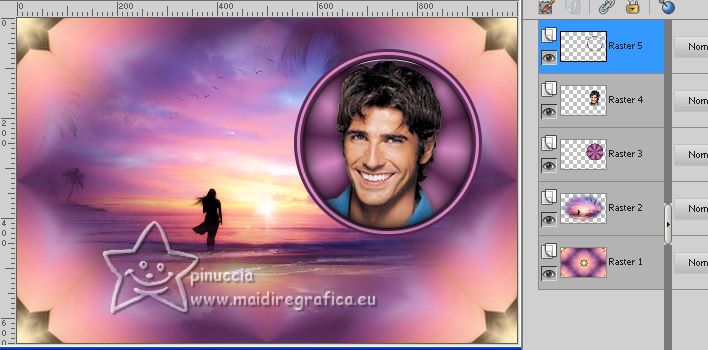
Layers>Merge>Merge Down - 2 times.
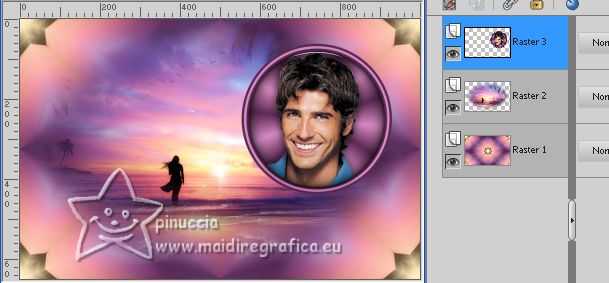
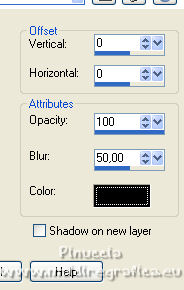
Effects>3D Effects>Drop shadow.
Selections>Load/Save Selection>Load Selection from Disk.
Load again the selection miss-you

Layers>New Raster Layer.
Flood Fill  with your dark color. with your dark color.
6. Selections>Modify>Contract - 6 pixels.
Set your foreground color to Color.
Flood Fill  with your light foreground color. with your light foreground color.
Selections>Modify>Contract - 6 pixels.
Flood Fill  with your dark color. with your dark color.
Selections>Modify>Contract - 6 pixels.
Set again your foreground color to Gradient.
Flood Fill  with your gradient. with your gradient.
Adjust>Blur>Gaussian Blur - radius raggio 3.
Selections>Select None.
Layers>Arrange>Move Down.
K key to activate your Pick Tool 
and set Position X: 554,00 and Position Y: 132,00.

Move the cadre over the previous one.
7. Activate your bottom layer.
Edit>Copy.
Activate your top layer and go to Edit>Paste as new layer.
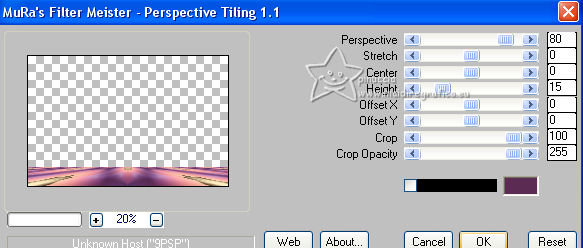
Effects>Plugins>Mura's Meister - Perspective Tiling.
Effects>3D Effects>Drop shadow, same settings.
Activate again the layer Raster 1.
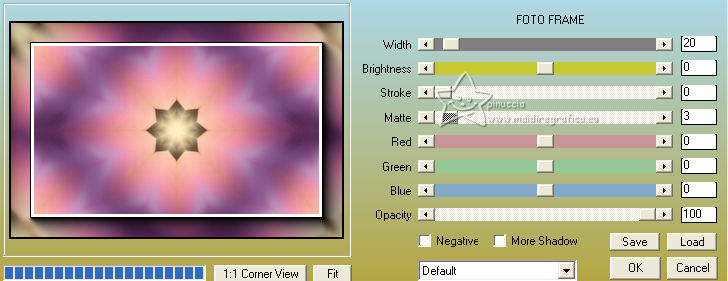
Effects>Plugins>AAA Frames - Foto Frame.
Activate your top layer.
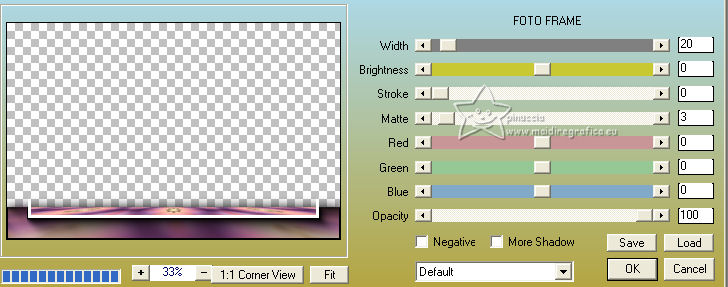
Repeat Effects>Plugins>AAA Frames - Foto Frame, same settings.
8. Set your foreground color to white #ffffff.
Activate the layer Raster 2.
Layers>New Raster Layer.
Flood Fill  the layer with color white. the layer with color white.
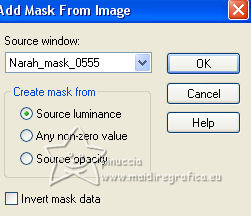
Layers>New Mask layer>From image
Open the menu under the source window and you'll see all the files open.
Select the mask Narah_mask_0555
Effects>Edge Effects>Enhance.
Layers>Merge>Merge Group.
Layers>Duplicate.
Image>Mirror.
Layers>Merge>Merge Down.
(for my second version I changed the Blend Mode to Overlay and reduced the opacity to 50).
Activate your top layer.
Open the text Text 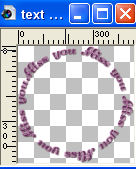
Edit>Copy.
Go back to your work and go to Edit>Paste as new layer.
K key to activate your Pick Tool 
and set Position X: 520,00 and keep Position Y: 92,00.

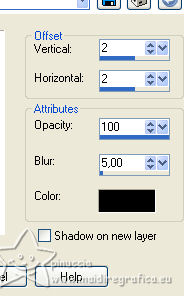
Effects>3D Effects>Drop shadow.
9. Open deco 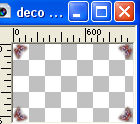
Edit>Copy.
Go back to your work and go to Edit>Paste as new layer.
Open the woman's tube, for me ns-woman28323 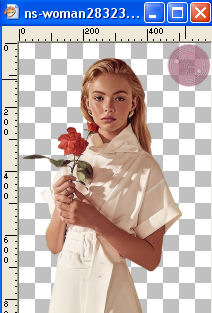
Edit>Copy.
Go back to your work and go to Edit>Paste as new layer.
Image>Resize, if necessary.
Adjust>Sharpness>Sharpen.
Effects>3D Effects>Drop shadow, according your tube.
Sign your work on a new layer.
9. Animation.
Activate the layer Raster 3 (the man).
Edit>Copy.
Open Animation Shop and go to Edit>Paste>Paste as new animation.
Effects>Insert Image Transition - Morph
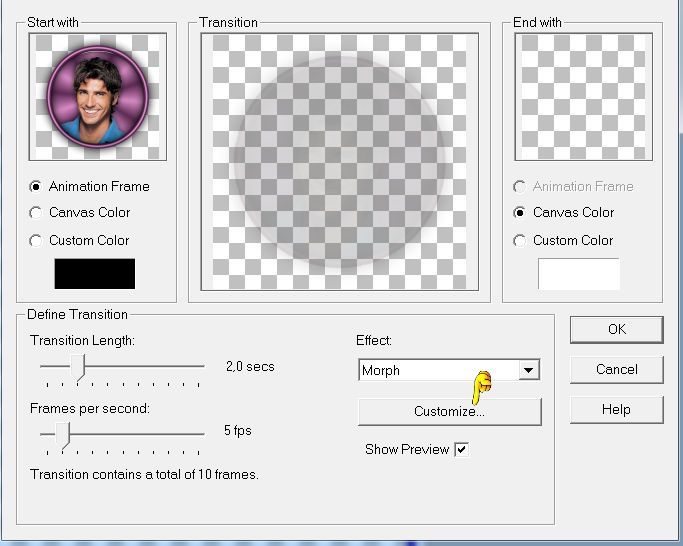
Click on Customize and on the next window click on Reset,
to cancel any previous settings
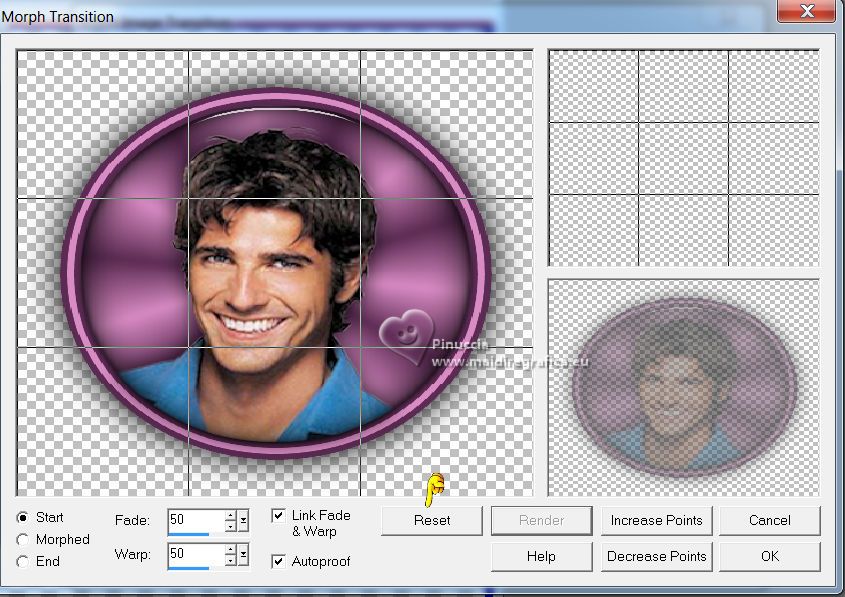
Edit>Select All.
Edit>Copy.
Click on the last frame to select it.
Only this frame should be selected and have a blue frame
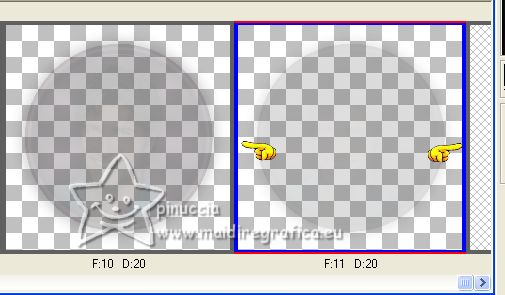
Edit>Paste>Paste after the current frame.
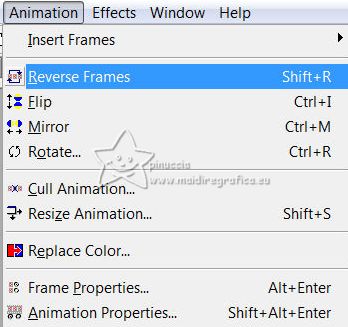
Animation>Reverse Frames.
And you'll have an animation compose by 22 frames.
The last frame of the animation (11) and the first frame of the second series (12) are the same.
For that, activate the frame 12 and press CANC on the keyboard.
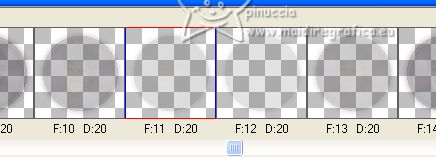
And now your animation is composed by 21 frames.
Click on the first frame to select it and go to Edit>Selec All.
10. Go back to PSP.
Close the layer Raster 3.
Edit>Copy Special>Copy Merged.
Go back to Animation Shop and go to Edit>Paste>Paste as new animation.
Edit>Duplicate and repeat until you'll have an animation composed by 21 frames,
as your first animation.
Click on the first frame and go to Edit>Select All.
Activate your first animation and go to Edit>Copy.
Go back to your work and go to Edit>Paste>Paste in the selected frame,
and place the animation over the right frame.
Click on the frame 11 to select it.
Animation>Frame Properties and set to 40.

Check the result en clicking on View Animation 
and save as gif.
For the tubes of this version thanks Beatriz and Grisi


If you have problems or doubts, or you find a not worked link, or only for tell me that you enjoyed this tutorial, write to me.
14 July 2023

|


