|
SPRING, I'COMING

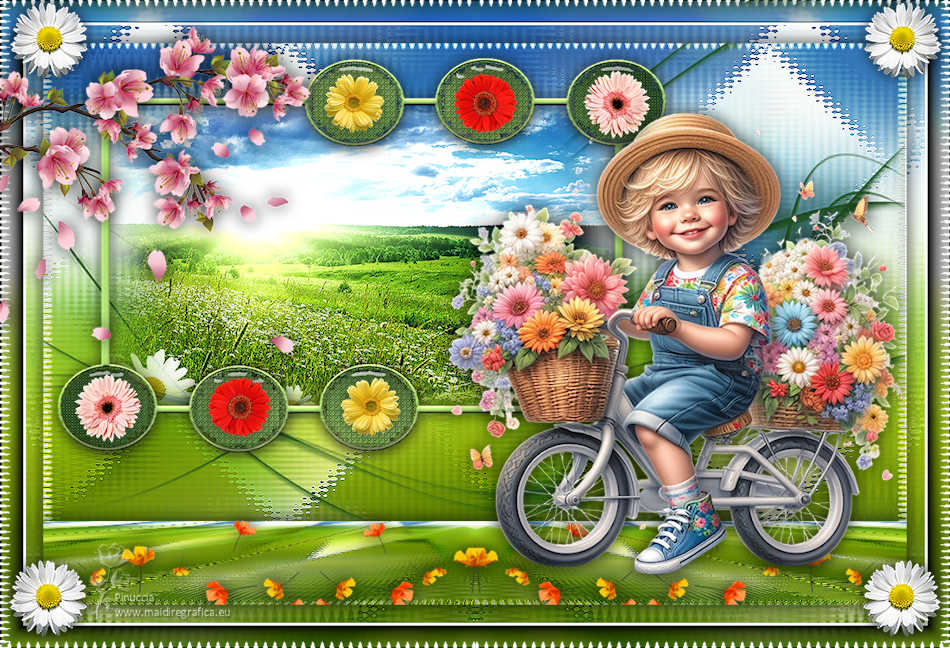
Thanks Inge-Lore for your invitation to translate your tutorials.

This tutorial, created with PSP2019, was translated with PSPX9 and PSP2020, but it can also be made using other versions of PSP.
Since version PSP X4, Image>Mirror was replaced with Image>Flip Horizontal,
and Image>Flip with Image>Flip Vertical, there are some variables.
In versions X5 and X6, the functions have been improved by making available the Objects menu.
In the latest version X7 command Image>Mirror and Image>Flip returned, but with new differences.
See my schedule here
 Italian translation qui Italian translation qui
 French translation here French translation here
 Your versions ici Your versions ici

For this tutorial, you will need:
Tubes of yours (the tubes used by Inge-Lore are under licence)
The rest of the material

The tube is by SbWebDesigns
For the landscape and the masks thanks Sonia and Narah.
(you find here the links to the material authors' sites)

consult, if necessary, my filter section here
Mehdi - Sorting Tiles here
Alien Skin Eye Candy 5 Impact - Glass here
Mura's Meister - Perspective Tiling here
AAA Frames - Foto Frame here
You can change Blend Modes according to your colors.
In the newest versions of PSP, you don't find the foreground/background gradient (Corel_06_029).
You can use the gradients of the older versions.
The Gradient of CorelX here

Open the masks in PSP and minimize them with the rest of the material.
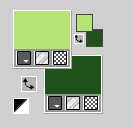
1. Choose from your tubes a light and a dark color.
My colors
Open a new transparent image 1000 x 650 pixels.
Selections>Select All.
Open the tube SoniaTubes_9120 (4) 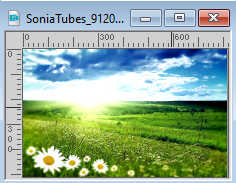
Edit>Copy.
Minimize the tube.
Go back to your work and go to Edit>Paste into Selection.
Selections>Select None .
Effects>Image Effects>Seamless Tiling.

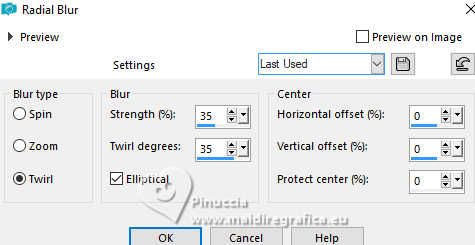
Adjust>Blur>Radial Blur.
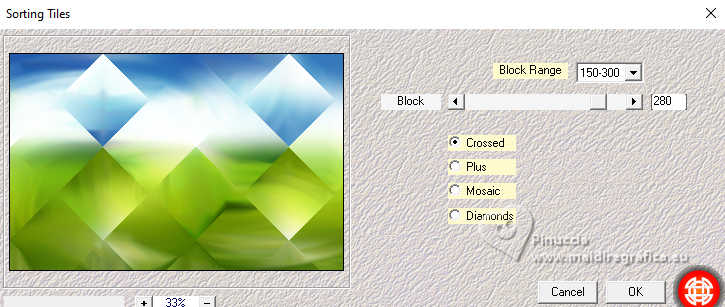
2. Effects>Plugins>Mehdi - Sorting Tiles.
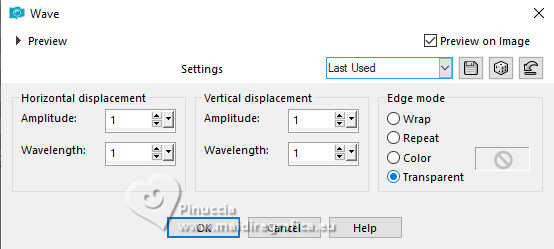
Effects>Distortion Effects>Wave.
Effects>Edge Effects>Enhance.
Layers>New Raster Layer.
Flood Fill  the layer with your light color. the layer with your light color.
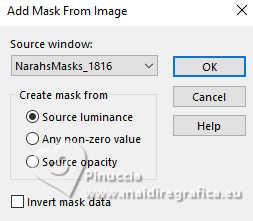
Layers>New Mask layer>From image
Open the menu under the source window and you'll see all the files open.
Select the mask NarahsMasks_1816
Effects>Edge Effects>Enhance.
Layers>Merge>Merge Group.
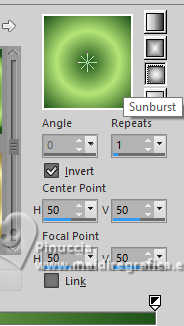
3. Set your foreground color to a Foreground/Background Gradient, style Sunburst.
Activate your Magic Wand Tool 

and click in the little circles to select them.
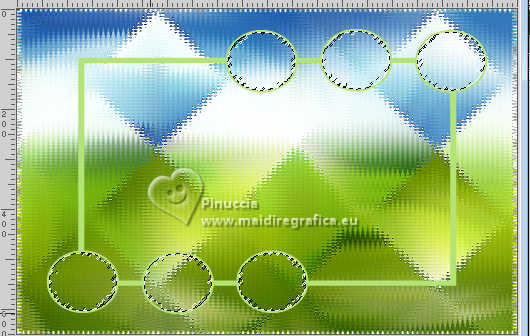
Layers>New Raster Layer.
Layers>Arrange>Move Down.
Flood fill  the selection with your Gradient. the selection with your Gradient.
(click several times to select better)
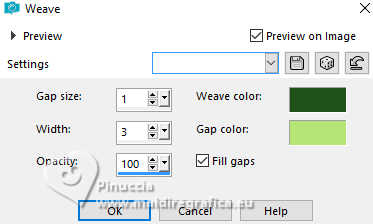
Effects>Texture Effects>Weave
weave color: dark color
gap color: light color
Activate the mask's layer.
Layers>New Raster Layer.
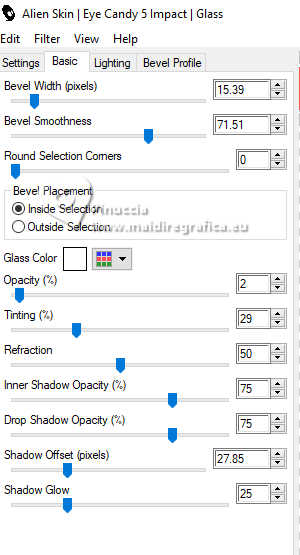
Effects>Plugins>Alien Skin Eye Candy 5 Impact - Glass.
Selections>Select None.
4. Activate again the mask's layer.
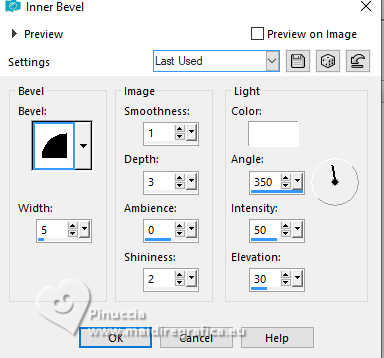
Effects>3D Effects>Inner Bevel.
Activate your top layer.
Layers>Arrange>Merge Down - 2 times.
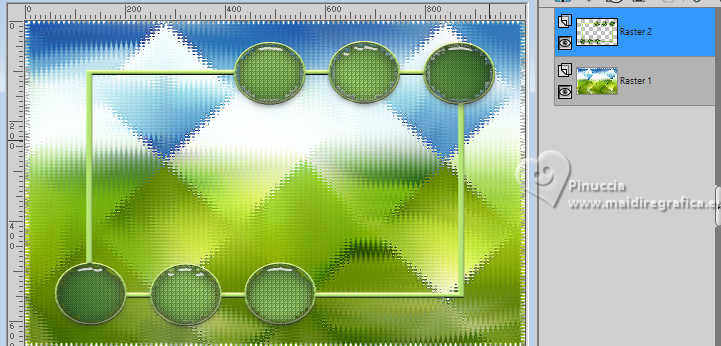
Activate again the tube SoniaTubes_9120
Activate the central layer of the misted and go to Edit>Copy.
Go back to your work and go to Edit>Paste as new layer.
Image>Resize, if necessary (if you use the supplied tube it is not), resize all layers not checked.
Adjust>Sharpness>Sharpen.
Place  the tube in the center. the tube in the center.
If you use the supplied tube don't move it
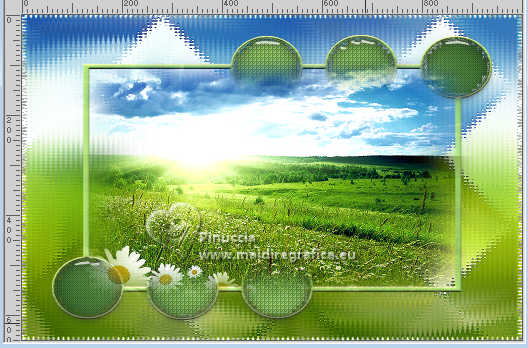
Layers>Arrange>Move Down.
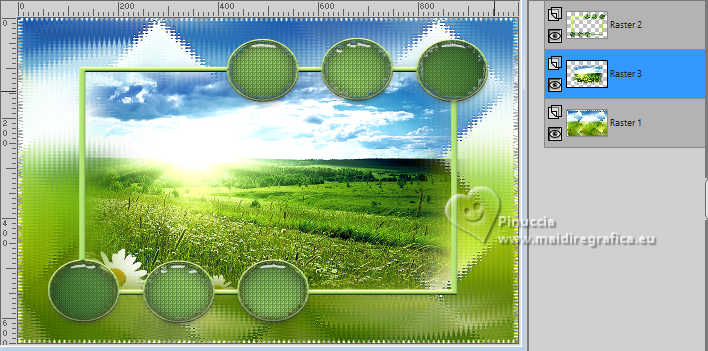
Activate again your top layer.
Effects>3D Effects>Drop Shadow, color black.

5. Layers>Merge>Merge Down.
Image>Resize, to 80%, resize all layers not checked.
K key to activate your Pick Tool 
and set Position X and Y to 0,00.

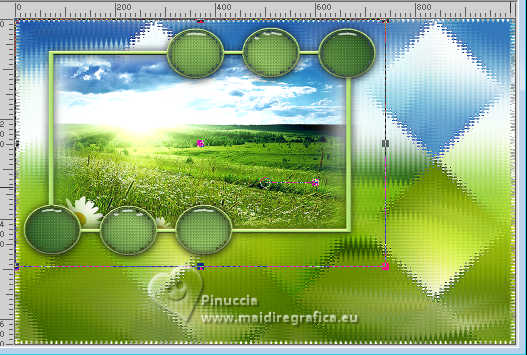
Activate the layer Raster 1.
Layers>Duplicate.
Effects>Plugins>Mura's Meister - Perspective Tiling.
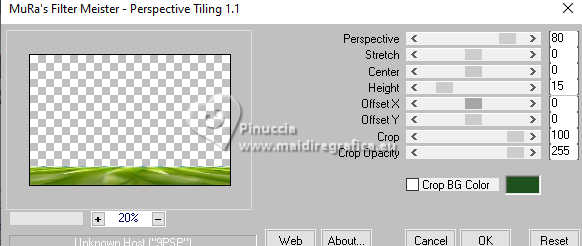
Effects>Reflection Effects>Rotating Mirror, default settings.

Effects>3D Effects>Drop Shadow, same settings.
Activate again your top layer.
6. Open your main tube and go to Edit>Copy.
Go back to your work and go to Edit>Paste as new layer.
Image>Resize, if necessary, resize all layers not checked.
Adjust>Sharpness>Sharpen.
Move  the tube to the right side. the tube to the right side.
Effects>3D Effects>Drop Shadow, color black.

Layers>New Raster Layer.
Flood Fill  the layer with your dark color. the layer with your dark color.
Layers>New Mask layer>From image
Open the menu under the source window
and select the mask NarahsMasks_1690
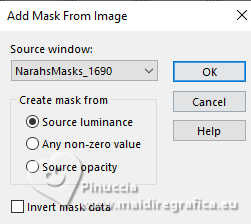
Effects>Edge Effects>Enhance.
Layers>Merge>Merge Group.
7. Image>Mirror>Mirror vertical (Image>Flip)
K key to activate your Pick Tool 
and set Position X: -2,00 and Position Y: -99,00.

Layers>Arrange>Move Down - 2 times.
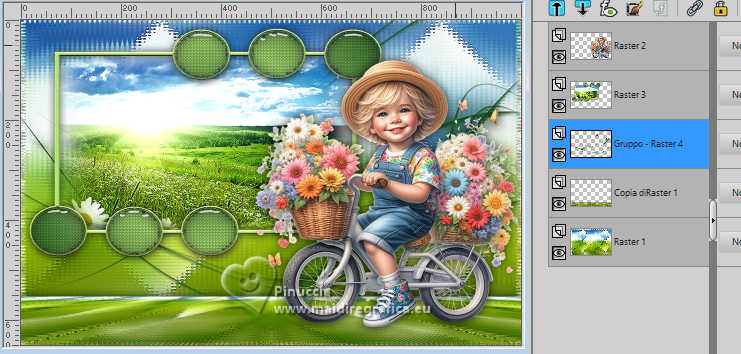
Activate the layer Raster 1.
Edit>Copy
Activate your top layer.
Layers>New Raster Layer.
Selections>Select All.
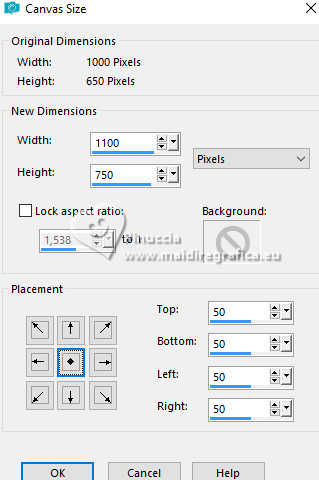
8. Image>Canvas Size - 1100 x 750 pixels.
Selections>Invert.
Edit>Paste into Selection
Effects>Plugins>AAA Frames - Foto Frame.
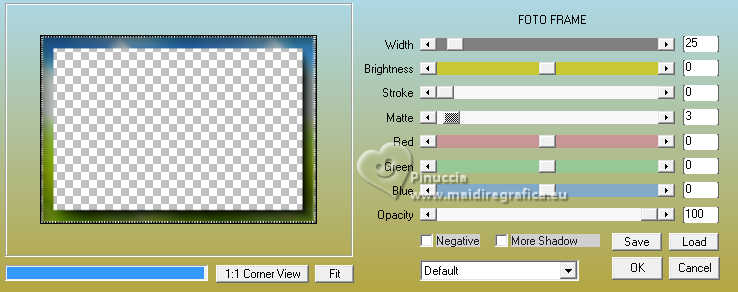
Effects>Reflection Effects>Rotating Mirror, default settings.

Selections>Invert.
Effects>3D Effects>Drop Shadow, color black.

Selections>Select None.
9. Open deco-1 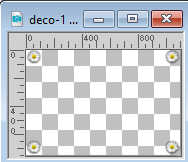
Edit>Copy.
Go back to your work and go to Edit>Paste as new layer.
Effects>3D Effects>Drop Shadow, same settings.
Open deco-2 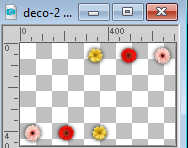
Edit>Copy.
Go back to your work and go to Edit>Paste as new layer.
Pick Tool (K) 
set Position X: 67,00 and Position Y: 62,00.

Open fleurs-cerisier_2 
Edit>Copy.
Go back to your work and go to Edit>Paste as new layer.
Image>Resize, to 70%, resize all layers not checked.
Adjust>Sharpness>Sharpen.
Set Position X: -38,00 and Position Y: 30,00.

Effects>3D Effects>Drop Shadow, same settings.
9. Open deco-3 
Edit>Copy.
Go back to your work and go to Edit>Paste as new layer.
Seet Position X: 89,00 and Position Y: 601,00.

Effects>3D Effects>Drop Shadow, same settings.
Move this layer over the layer Raster 3.
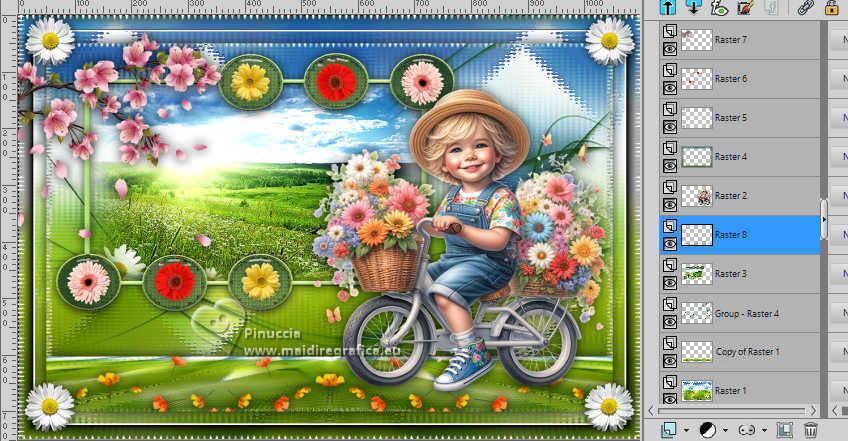
Activate your top layer.
Sign your work.
Layers>Merge>Merge All and save as jpg.
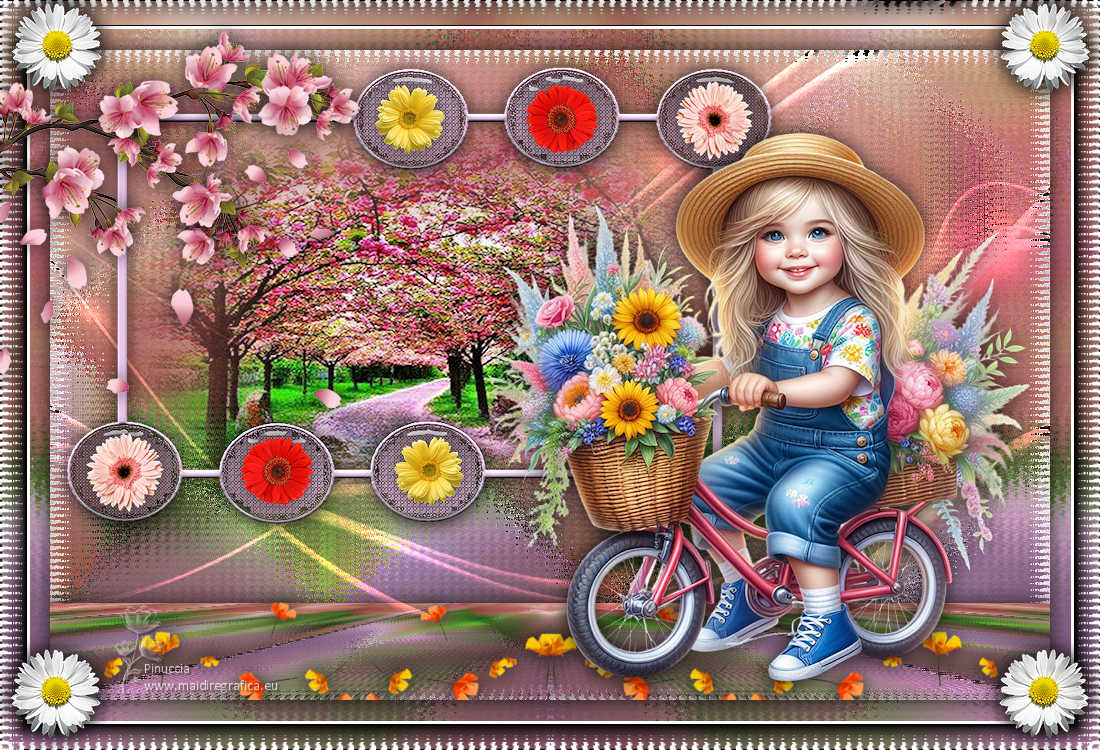
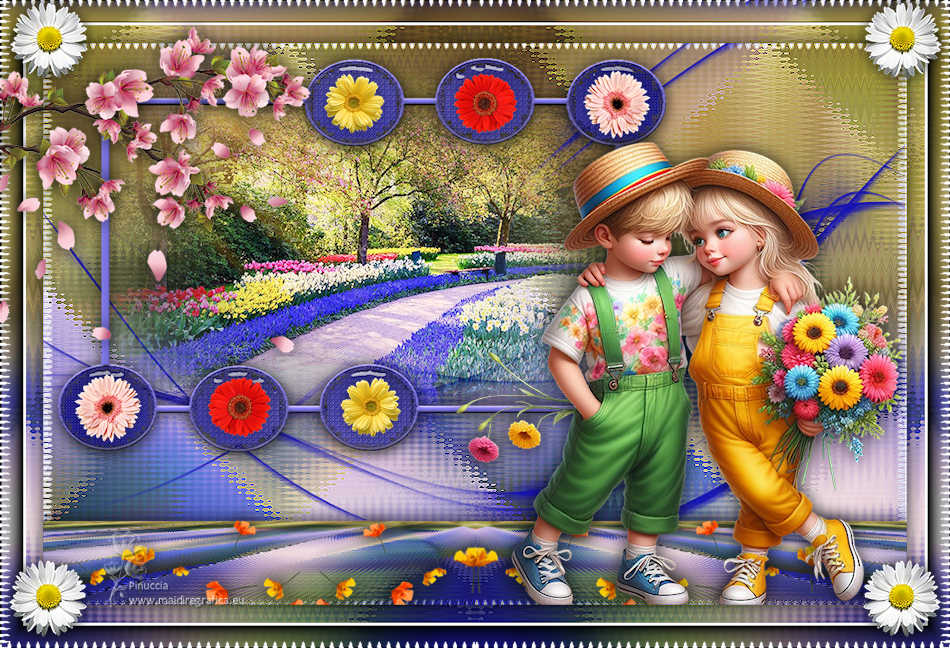

If you have problems or doubts, or you find a not worked link, or only for tell me that you enjoyed this tutorial, write to me.
8 March 2024

|


