|
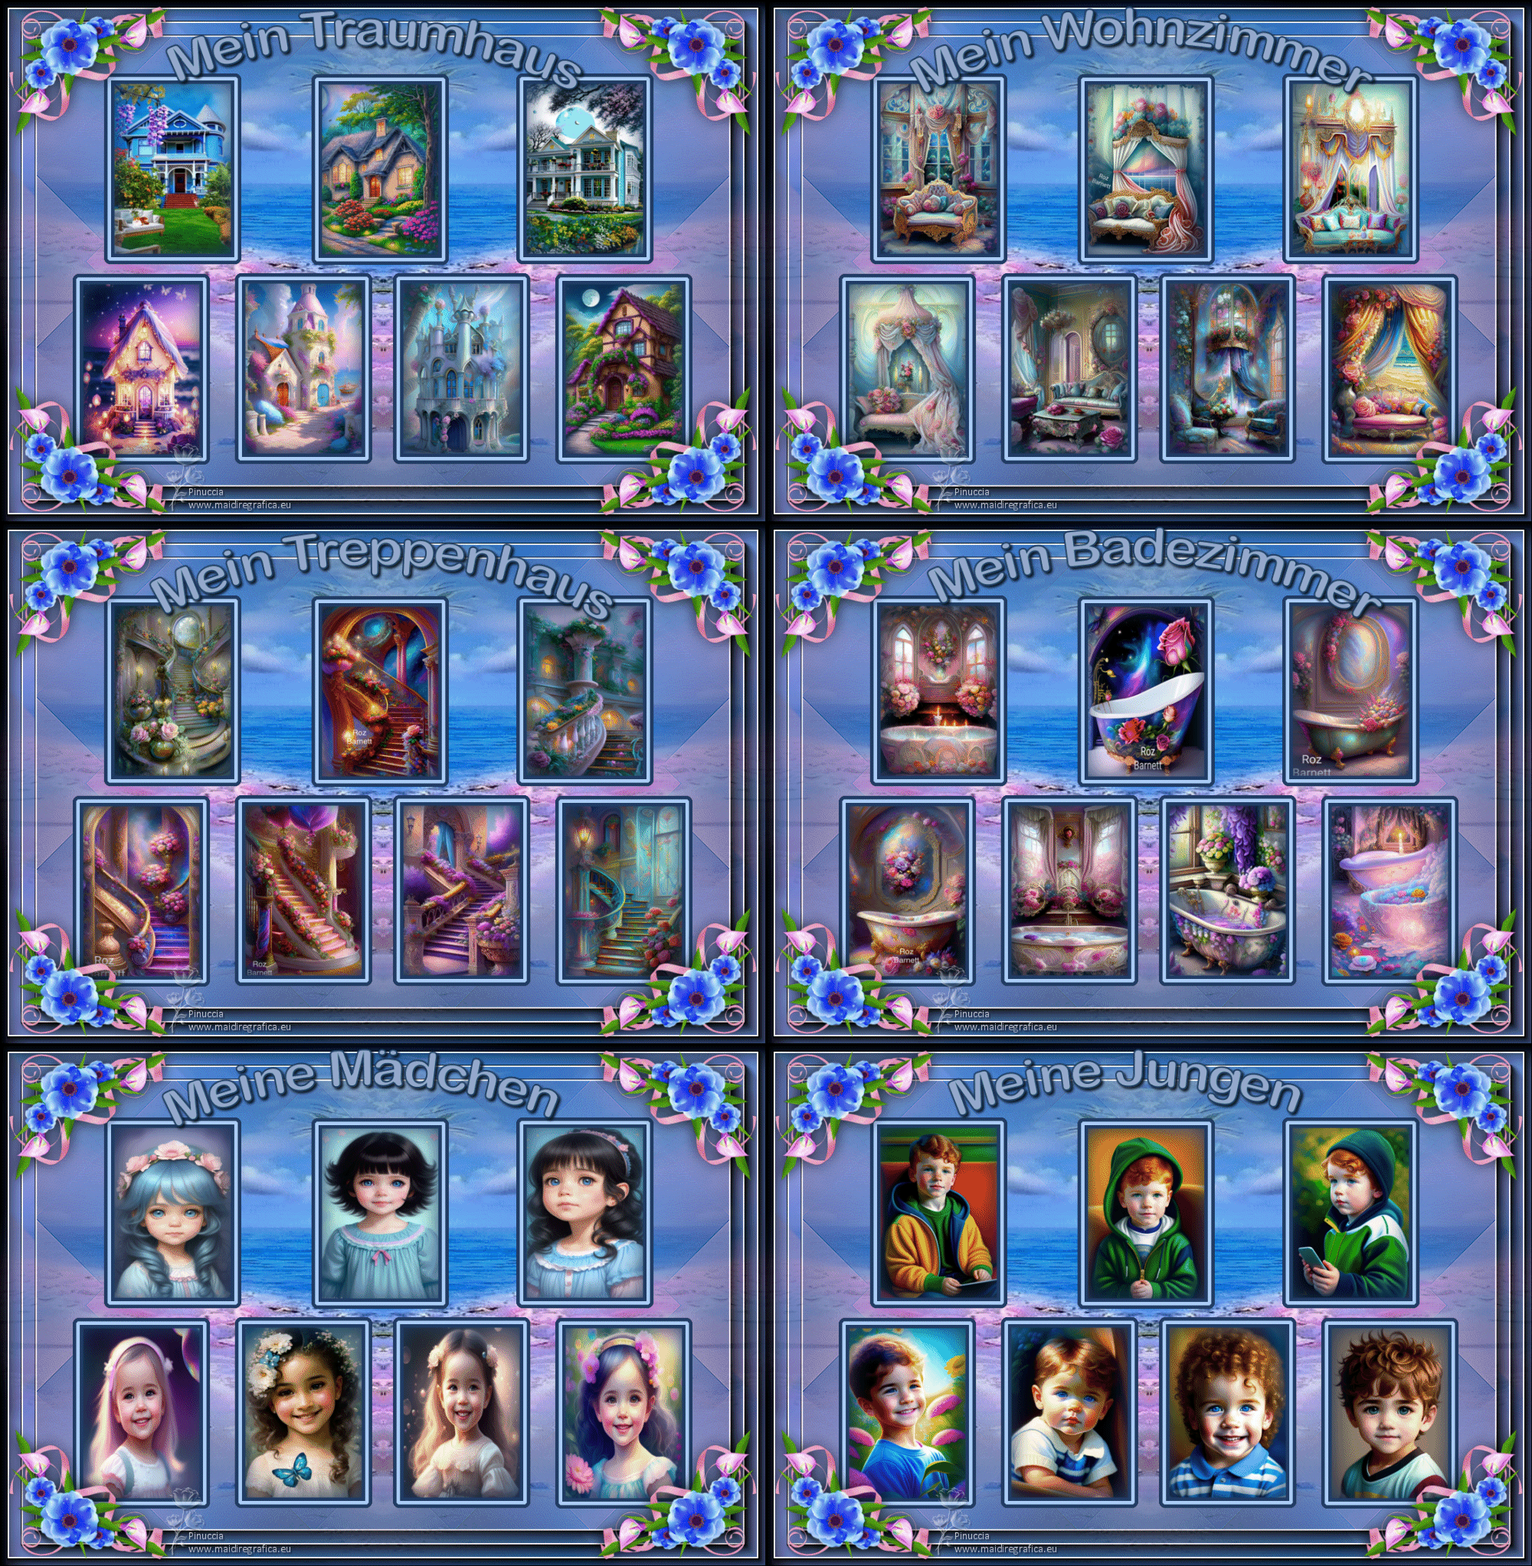
MEIN TRAUMHAUS
 MY DREAM HOME MY DREAM HOME
Thanks Inge-lore for your invitation to translate your tutorials.

This tutorial was translated with PSPX, PSPX2, PSPX3, but it can also be made using other versions of PSP.
Since version PSP X4, Image>Mirror was replaced with Image>Flip Horizontal,
and Image>Flip with Image>Flip Vertical, there are some variables.
In versions X5 and X6, the functions have been improved by making available the Objects menu.
In the latest version X7 command Image>Mirror and Image>Flip returned, but with new differences.
See my schedule here
 Italian translation qui Italian translation qui
 French translation here French translation here
 Your versions ici Your versions ici
Material 
For the flowers tube thanks Lady Valella.
(you find here the links to the material authors' sites)

consult, if necessary, my filter section here
AAA Frames - Foto Frame here
Mehdi - Sorting Tiles here
Animation Shop here

You can change Blend Modes according to your colors.

Open the mask in PSP and minimize it with the rest of the material.
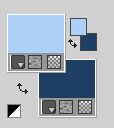
1. Choose 2 colors from your material;
set your foreground color to the light color; for me #add0f8
and your background color to the dark color; for me #203e64
Open a new transparent image 1000 x 650 pixels.
Flood Fill  the transparent image with your dark color. the transparent image with your dark color.
Layers>New Raster Layer.
Selections>Select All.
Open your background tube 0a2db 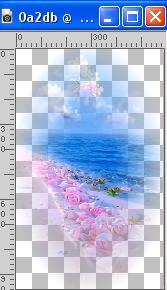
Edit>Copy.
Go back to your work and go to Edit>Paste into Selection.
Selections>Select None.
Effects>Image Effects>Seamless Tiling, default settings.

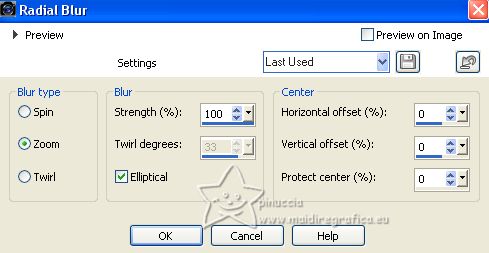
Adjust>Blur>Radial Blur.
2. Effects>Plugins>Mehdi - Sorting Tiles.
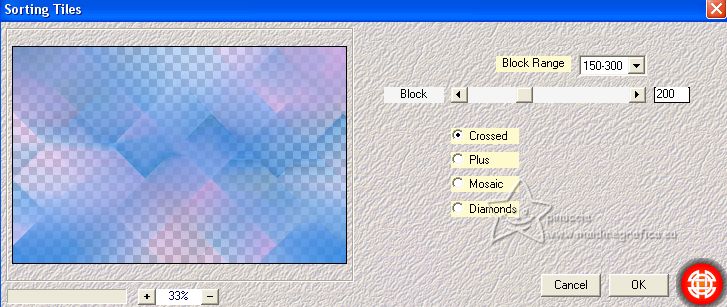
Effects>Edge Effects>Enhance More.
Effects>Reflection Effects>Rotating Mirror.

Effects>Reflection Effects>Rotating Mirror.
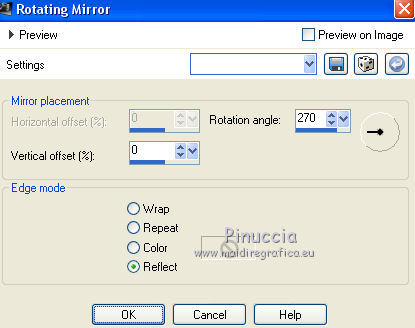
Adjust>Sharpness>Sharpen.
Layers>Merge>Merge Down.
3. Layers>New Raster Layer.
Flood Fill  the layer with your light color. the layer with your light color.
Layers>New Mask layer>From image
Open the menu under the source window and you'll see all the files open.
Select the mask maske114©ILR
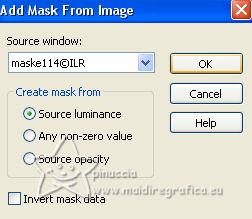
Effects>Edge Effets>Enhance More.
Layers>Merge>Merge Group.
Activate your Magic Wand Tool 
and click in the rectangles to select them.
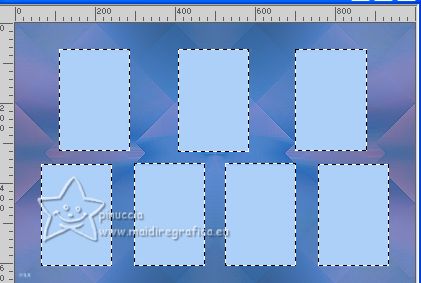
Selections>Modify>Expand - 10 pixels.
Layers>New Raster Layer.
Flood Fill  the selection with your dark color. the selection with your dark color.
4. Selections>Modify>Contract - 5 pixels.
Flood Fill  width your light color. width your light color.
Selections>Modify>Contract - 5 pixels.
Flood Fill  with your dark color. with your dark color.
Selections>Modify>Contract - 5 pixels.
Effects>3D Effects>Cutout, with a very dark color, not black.
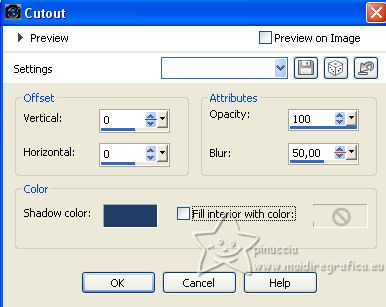
Selections>Select None.
Close this layer.
5. Activate the layer above of the mask.
Select the rectangle at the upper left with your Magic Wand Tool 
Layers>New Raster Layer, Raster 3.
Open the image of your first house (Folder Häuser).
Edit>Copy.
Go back to your work and go to Edit>Paste into Selection.
Selections>Select None.
****Activate again the layer of the mask.
Select the second rectangle with your Magic Wand Tool 
Activate the layer above, Raster 3.
Copy/Paste into Selection the image of your second house.
Selections>Select None.****
Repeat from **** to **** with the other rectangles.
Don't forget to activate the mask layer to select the rectangle,
and activate the layer above Raster 3 to paste the images on the same layer.
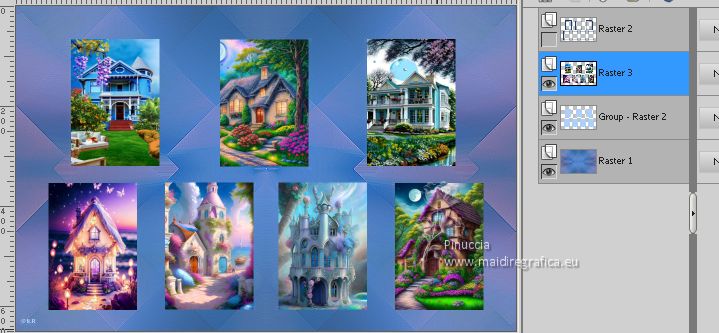
Rename this layer House and close it.
6. ****Activate again the layer of the mask.
Click again in the top left rectangle.
Layers>New Raster Layer, and rename this layer "stairs".
Copy one of the stairs images (folder Treppenhaus).
Go back to your work and go to Edit>Paste into Selection.
Selections>Select None. ***
Repeat from *** to *** with the other rectangles.
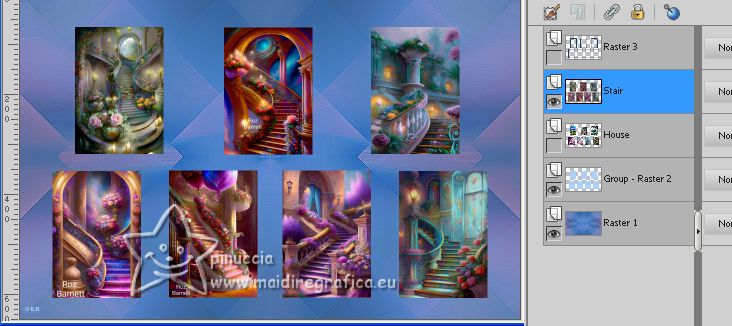
Close this layer.
7. Activate again the layer of the mask.
Repeat all this with the images of the others folders:
Living room (folder Wohnzimmer),
Bedroom (folder Schlafzimmer),
Bathroom (folder Badezimmer),
Girls (folder Mädchen),
Boys (folder Jungen).
In the end your layers should look like this
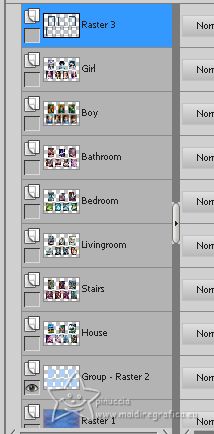
Activate the layer Raster 1.
Edit>Copy
Image>Canvas Size - 1100 x 750 pixels.
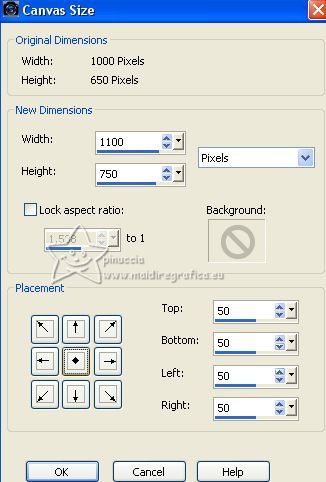
8. Layers>New Raster Layer.
Layers>Arrange>Move Down.
Selections>Select All.
Edit>Paste into Selection.
Selections>Select None.
Activate the layer Raster 1.
Layers>Merge>Merge Down.
Effects>Plugins>AAA Frames - Foto Frame.
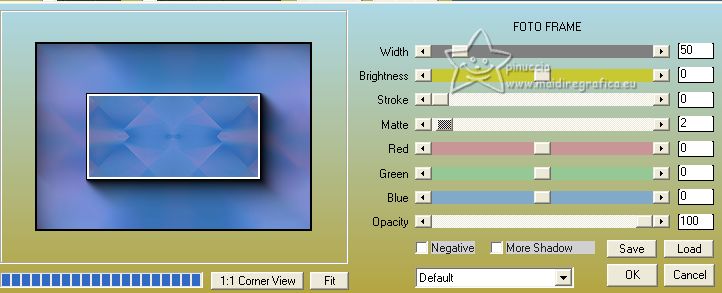
Repeat Effects>Plugins>AAA Frames - Foto Frame, width 30.
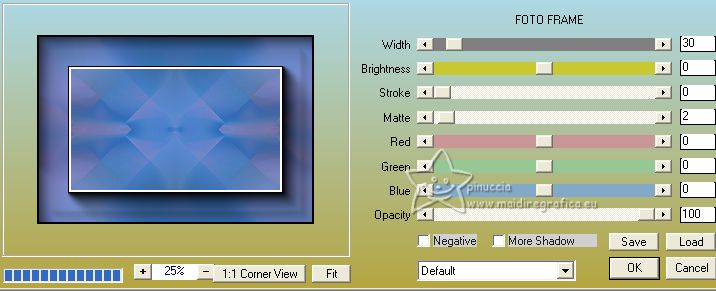
Repeat Effects>Plugins>AAA Frames - Foto Frame, width 10.

9. Activate the top layer.
Open the file with the texts Text 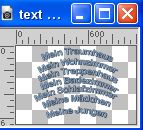
Copy/Paste as new layer every text.
Move  the text up the text up
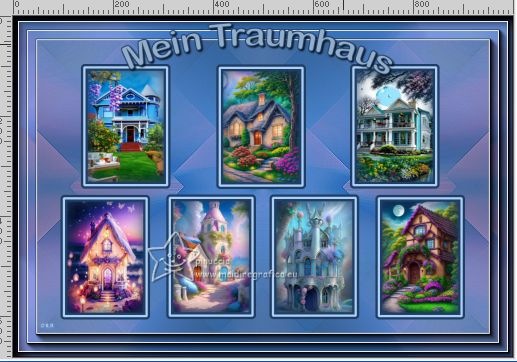
Rename the layers "text house", "text stairs" ecc. ecc. and close them.
10. Activate the top layer.
Open bouquetFiori6-LV16 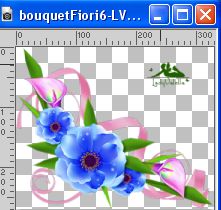
Erase the watermark and go to Edit>Copy.
Go back to your work and go to Edit>Paste as new layer.
Image>Resize, to 70%, resize all layers not checked.
Move  the tube to the lower left corner. the tube to the lower left corner.
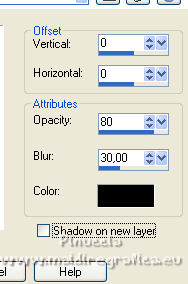
Effects>3D Effects>Drop Shadow.
Layers>Duplicate.
Image>Mirror.
Layers>Merge>Merge Down.
Layers>Duplicate.
Image>Flip.
Layers>Merge>Merge Down.
11. Activate your bottom layer.
Layers>New Raster Layer.
Selections>Select All.
Activate again the background tube 0a2db and go to Edit>Copy.
Go back to your work and go to Edit>Paste into Selection.
Selections>Select None.
Effects>Reflection Effects>Rotating Mirror.

Activate again your top layer.
Image>Resize, 1000 pixels width, resize all layers checked.
Sign your work on a new layer.
12. Close all the layers of the images and of the Texts,
except the layer "House" and its text "text house".
Edit>Copy Special>Copy Merged.
Open Animation Shop and go to Edit>Paste>Paste as new animation.
*** Go back to PSP.
Close the layer "house" and the layer of its text.
Open the following layers "Stairs" and its text "text stairs".
Edit>Copy Special>Copy Merged.
Go back to Animation Shop and go to Edit>Paste>Paste after the current frame.
13. Repeat from *** to ***
by closing the previous layers and opening the following layers.
(make sure the text matches its room layer).
Finally you will have an animation composed by 7 frames.
Edit>Select All.
Animation>Frame Properties and set to 300.
Check the result clicking on View animation 
and save as gif.

If you have problems or doubts, or you find a not worked link, or only for tell me that you enjoyed this tutorial, write to me.
4 Luglio 2023

|
 MY DREAM HOME
 MY DREAM HOME