|
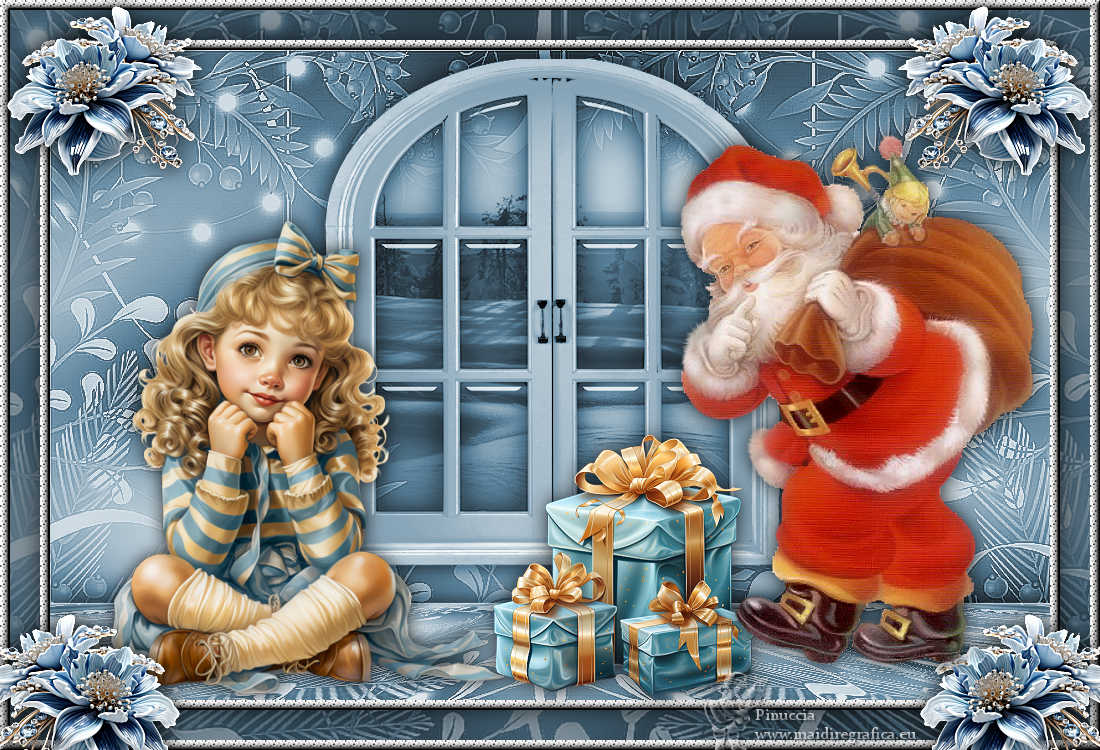
WAITING FOR SANTA CLAUS

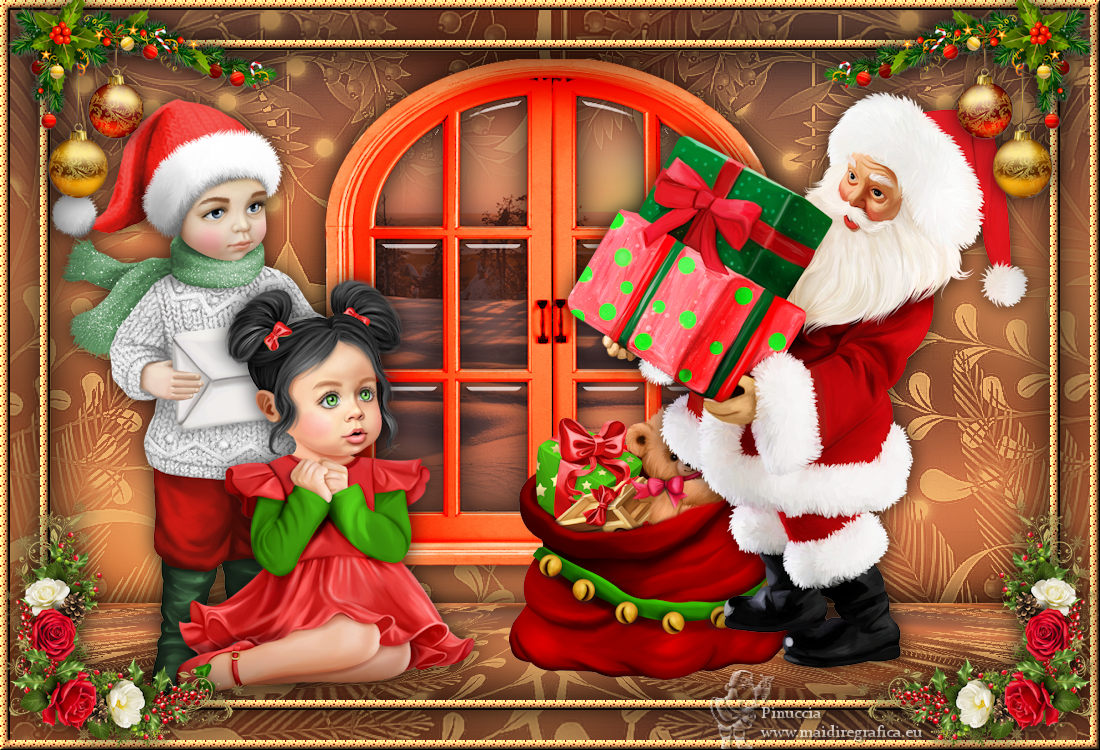
Thanks Inge-Lore for your invitation to translate your tutorials.

This tutorial, created with PSP2019, was translated with PSPX9 and PSP2020, but it can also be made using other versions of PSP.
Since version PSP X4, Image>Mirror was replaced with Image>Flip Horizontal,
and Image>Flip with Image>Flip Vertical, there are some variables.
In versions X5 and X6, the functions have been improved by making available the Objects menu.
In the latest version X7 command Image>Mirror and Image>Flip returned, but with new differences.
See my schedule here
 Italian translation qui Italian translation qui
 French translation here French translation here
 Your versions ici Your versions ici

For this tutorial, you will need:

For the tubes thanks Mentali, Angi, DBK.
(you find here the links to the material authors' sites)

consult, if necessary, my filter section here
Mura's Meister - Perspective Tiling here
Alien Skin Eye Candy 5 Impact - Glass here

You can change Blend Modes according to your colors.

Open the mask in PSP and minimize it with the rest of the material.
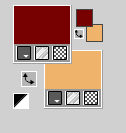
1. Choose from your tubes a light and a dark color.
My colors.
2. Open a new transparente image 1000 x 650 pixels.
Selections>Select All.
Open your background image, for me mentali-misted2213 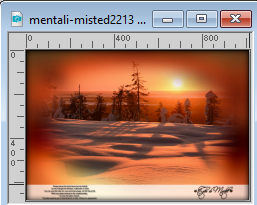
Close the watermark layer and go to Edit>Copy Speciale>Copy Merged.
(if you prefer you can copy only the background layer)
Go back to your work and go to Edit>Paste into Selection.
Selections>Select None.
Effects>Image Effects>Seamless Tiling, default settings.

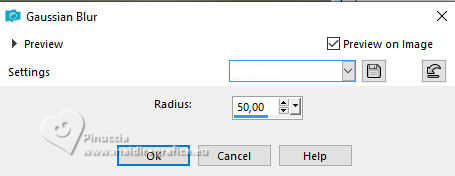
Adjust>Blur>Gaussian Blur - radius 50.
2. Open DBK_SantaBabyE63 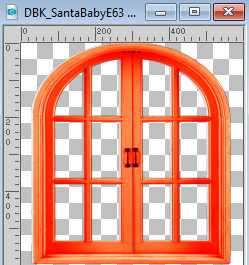
Edit>Copy.
Go back to your work and go to Edit>Paste as new layer.
Colorize with your colors.
Keep the tube in the center.
Activate again the tube mentali-misted2213 and copy the tube's layer.
Go back to your work and go to Edit>Paste as new layer.
Layers>Arrange>Move Down.
Image>Resize, if necessary, for me to 75%, resize all layers not checked.
Activate again your top layer.
Activate your Magic Wand Tool 
and click in the outside of the window to select it.
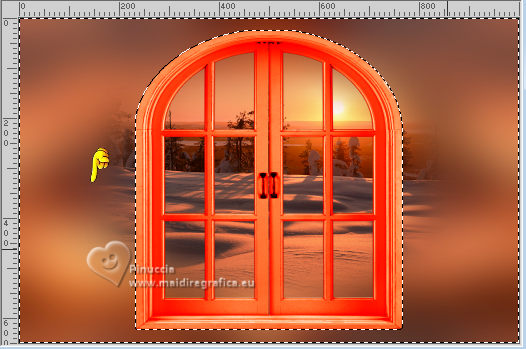
Activate the layer below.
Press CANC on the keyboard 
Selections>Select None.
3. Activate again your top layer.
Select with your Magic Wand Tool  all window openings. all window openings.
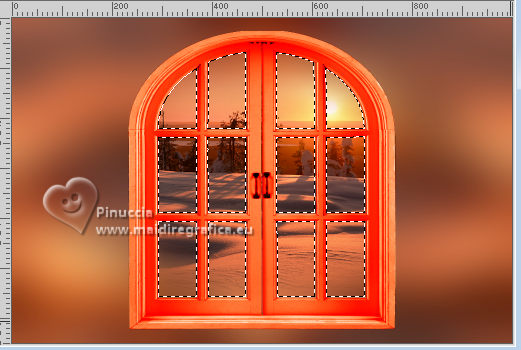
Effects>Plugins>Alien Skin Eye Candy 5 Impact - Glass
Glass Color for me #ffb1b1
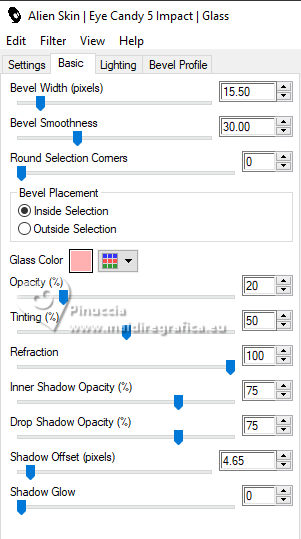
Selections>Select None.
Effects>3D Effects>Drop Shadow.

Layers>Merge>Merge Down.
Image>Resize, to 85%, resize all layers not checked.
K key to activate your Pick Tool 
and set Position X: 244,00 and Position Y: -13,00.

4. Activate the layer Raster 1.
Layers>New Raster Layer.
Flood Fill  the layer with your light color. the layer with your light color.
Layers>New Mask layer>From image
Open the menu under the source window and you'll see all the files open.
Select the mask WINTER_BG 49
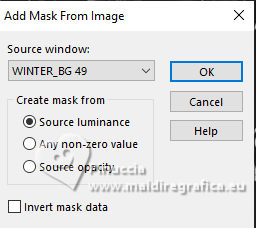
Effects>Edge Effects>Enhance More.
Layers>Merge>Merge Group.
Layers>Merge>Merge Down.
Layers>Duplicate.
Effects>Plugins>Mura's Meister - Perspective Tiling.
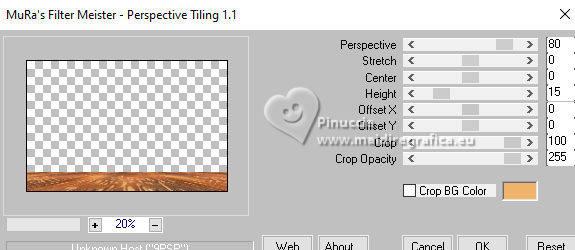
Effects>3D Effects>Drop Shadow, same settings.
5. Effects>Reflection Effects>Rotating Mirror.

Activate your bottom layer.
Edit>Copy.
Edit>Paste as new image, and minimize this image.
Go back to your work.
Activate your top Layer.
Copy/Paste as new layer the persons and decos tubes:
Open Angi Designs>CU_vol120 el(1) 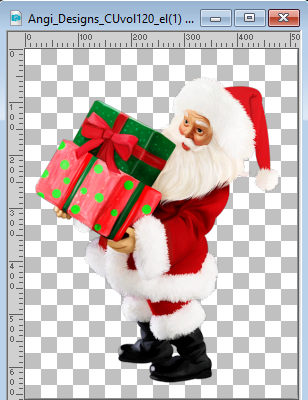
Edit>Copy.
Go back to your work and go to Edit>Paste as new layer.
Image>Resize, if necessary, for the supplied tube I didn't resize.
Adjust>Sharpness>Sharpen.
Move  che tube to the right. che tube to the right.
Effects>3D Effects>Drop Shadow.

Open santa hood-bonus2 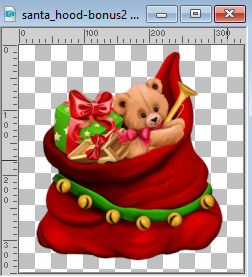
Edit>Copy.
Go back to your work and go to Edit>Paste as new layer.
Image>Resize, if necessary, for the supplied tube I didn't resize.
Adjust>Sharpness>Sharpen.
Place  the tube au centre. the tube au centre.
Layers>Arrange>Move Down.
Effects>3D Effects>Drop Shadow.

Actvate your top layer.
Open HD IKHD Merry ChristmasCU23 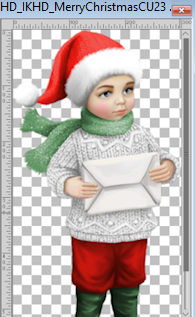
Edit>Copy.
Go back to your work and go to Edit>Paste as new layer.
Image>Resize, if necessary, for the supplied tube I didn't resize.
Adjust>Sharpness>Sharpen.
Move  the tube to the left. the tube to the left.
Effects>3D Effects>Drop Shadow.

Open little girl xmas 1 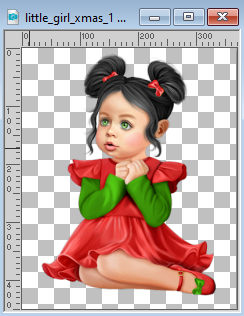
Edit>Copy.
Go back to your work and go to Edit>Paste as new layer.
Image>Resize, if necessary, for the supplied tube I didn't resize.
Adjust>Sharpness>Sharpen.
Move  the tube to the left. the tube to the left.
Effects>3D Effects>Drop Shadow.

Check that all is rightly positioned.
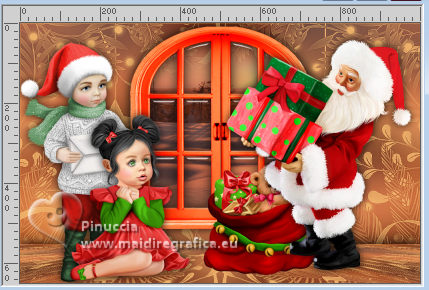
Layers>Merge>Merge visible.
6. Selections>Select All.
Layers>New Raster Layer.
Effects>3D Effects>Cutout.
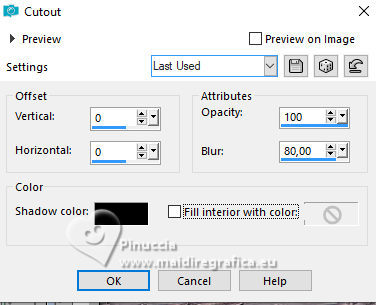
Layers>Merge>Merge Down.
Image>Canvas Size - 1100 x 750 pixels.
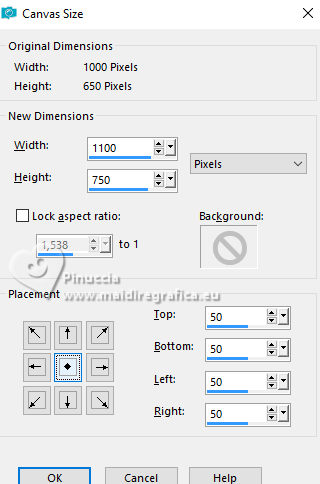
Selections>Invert.
Activate the image minimized at step 5 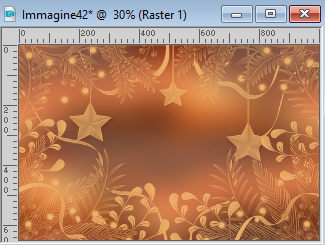
Edit>Copy.
Go back to your work and go to Edit>Paste into Selection.
Layers>New Raster Layer.
Flood Fill  with your light color. with your light color.
7. Selections>Modify>Contract - 10 pixels.
Press CANC on the keyboard 
Selections>Invert.
Effects>3D Effects>Drop Shadow.
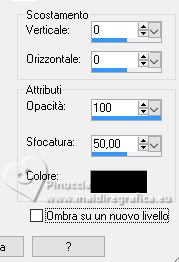
Selections>Select None.
Activate your Magic Wand Tool 
and click in the two light borders to select them.
8. Effects>Texture Effects>Weave
weave color: dark color
gap color: light color
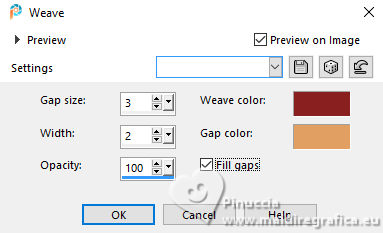
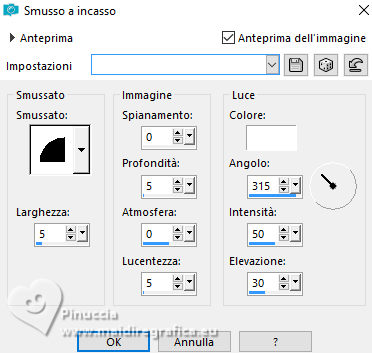
Effects>3D Effects>Inner Bevel.
Selections>Select None.
Open DBK_SantaBabyE13 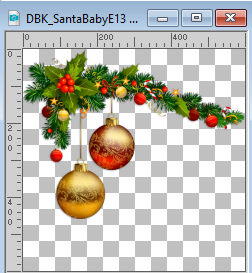
Edit>Copy.
Go back to your work and go to Edit>Paste as new layer.
Image>Resize, to 45%, resize all layers not checked.
Move  it to the top left of the border. it to the top left of the border.
Effects>3D Effects>Drop Shadow.

Effects>Reflection Effects>Rotating Mirror, same settings.

9. Open DBK_SantaBabyE24 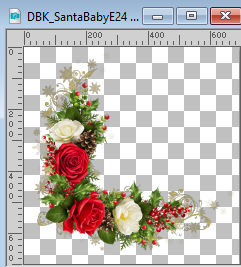
Edit>Copy.
Go back to your work and go to Edit>Paste as new layer.
Image>Resize, to 40%, resize all layers not checked.
Move  it to the bottom left of the border. it to the bottom left of the border.
Effects>3D Effects>Drop Shadow.

Effects>Reflection Effects>Rotating Mirror, same settings.
Sign your work on a new layer.
Layers>Merge>Merge All and save as jpg.
For the tube of this version thanks Adrienne

If you have problems or doubts, or you find a not worked link, or only for tell me that you enjoyed this tutorial, write to me.
3 November 2023

|


