|
JOUR DE L'AN 2021
 DAY OF YEAR 2021 DAY OF YEAR 2021
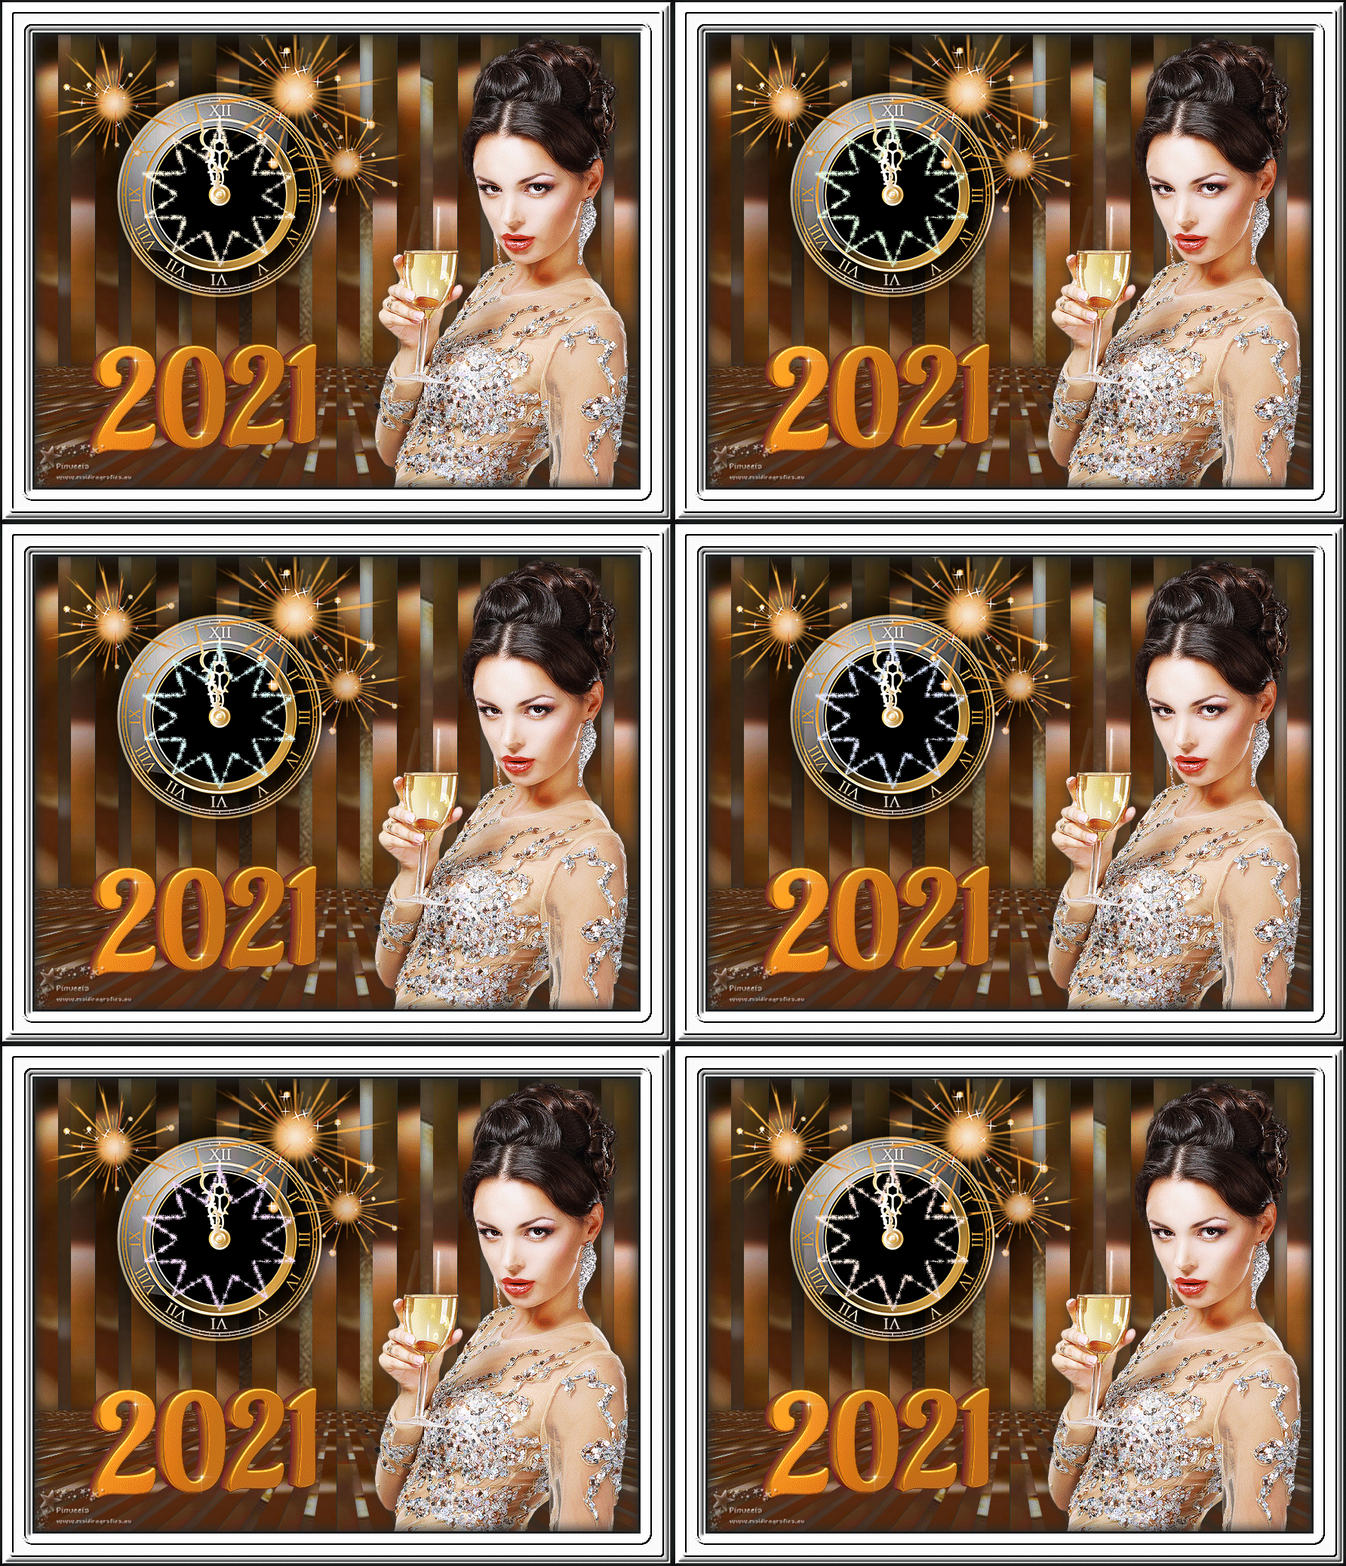


Version after the update of the material january 2021
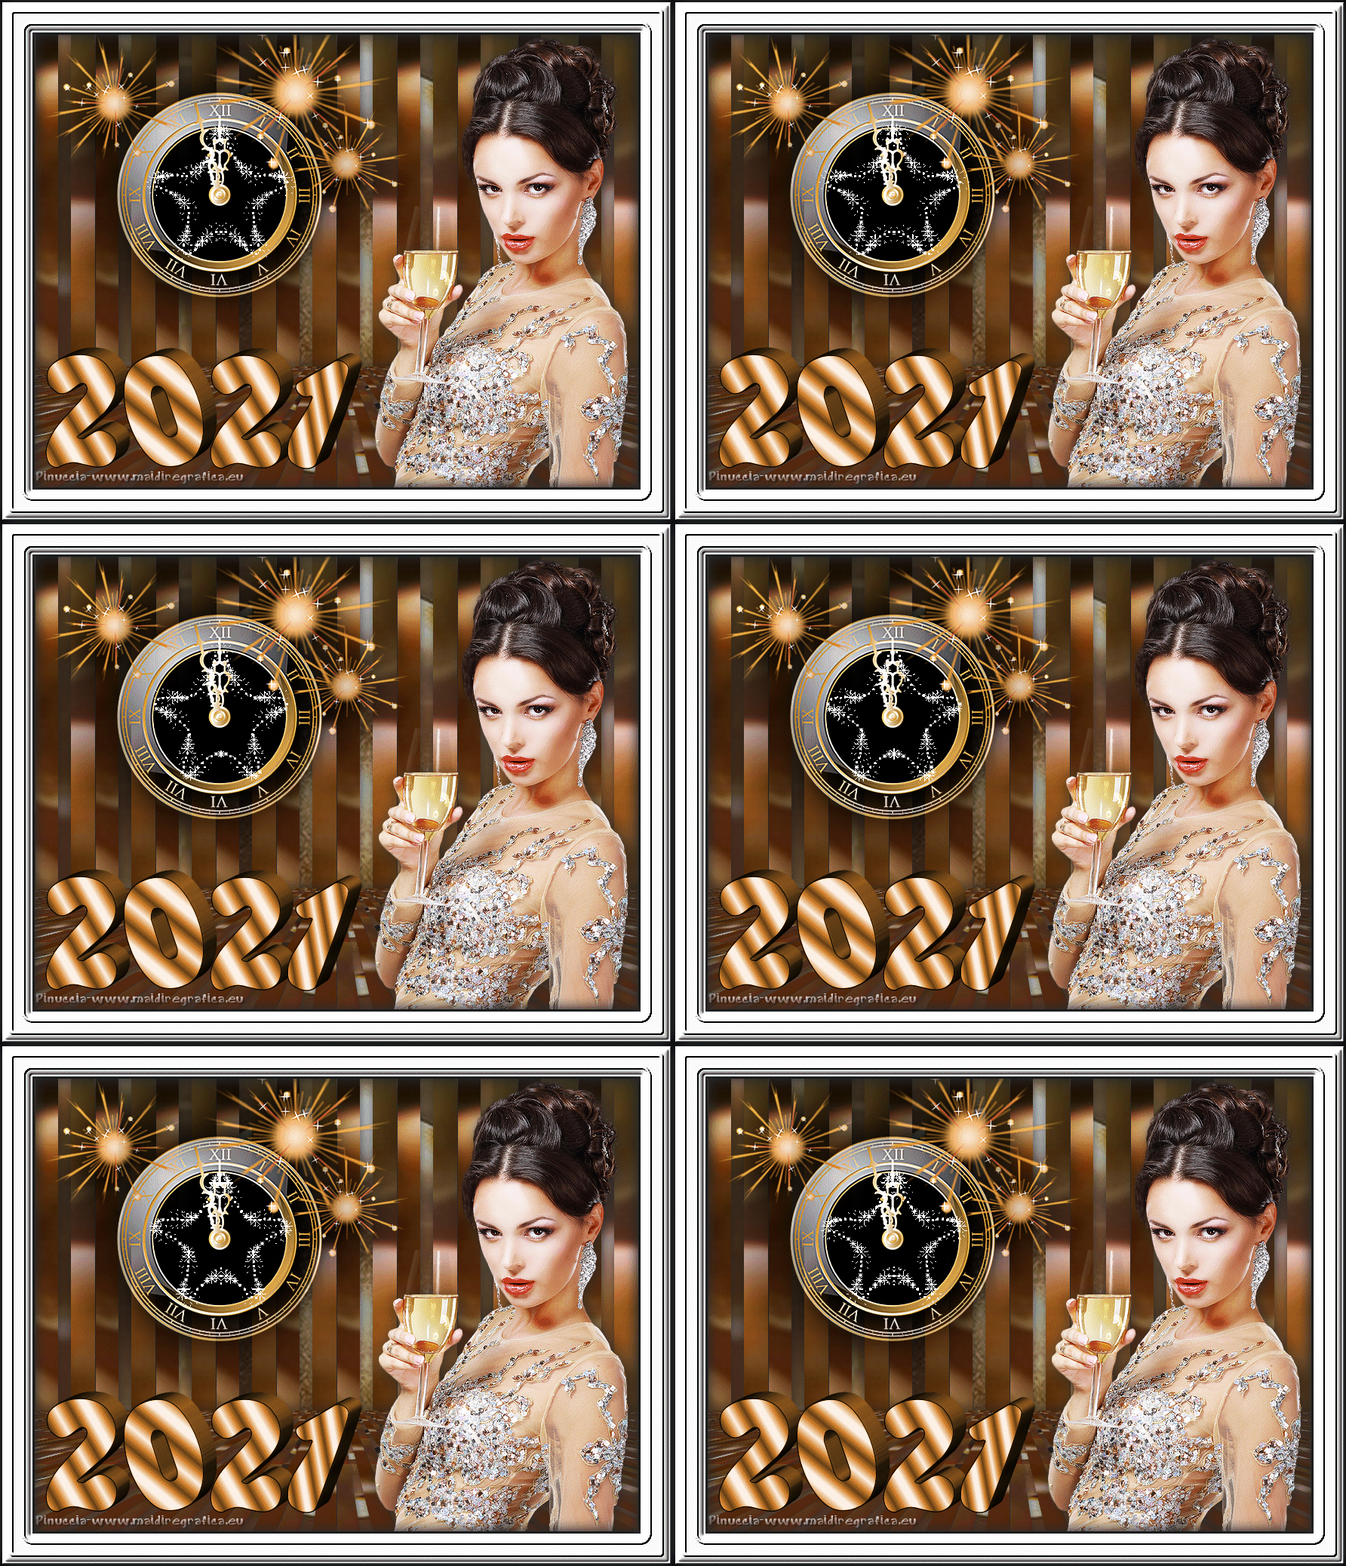
Thanks Joanne for the invitation to translate your tutorials:

This tutorial was translated with PSPX3 but it can also be made using other versions of PSP.
Since version PSP X4, Image>Mirror was replaced with Image>Flip Horizontal,
and Image>Flip with Image>Flip Vertical, there are some variables.
In versions X5 and X6, the functions have been improved by making available the Objects menu.
In the latest version X7 command Image>Mirror and Image>Flip returned, but with new differences.
See my schedule here
 Italian translation here Italian translation here
 Your versions Your versions
For this tutorial, you will need:
Material here
Thanks for the woman tube Maryse and for the clock and the wordart Colybrix.
The rest of the material is not signed.
(The links of the tubemakers sites here).
Plugins
consult, if necessary, my filter section here
Mura's Meister - Copies here
Mura's Meister - Perspective Tiling here
Animation Shop here

You can change Blend Modes according to your colors.
Copy the Selections in the Selections Folder.
1. Open a new transparent image 800 x 600 pixels.
2. Open the golden sphere image and go to Edit>Copy.
Go back to your work and go to Edit>Paste as new layer.
Image>Resize, to 250%, resize all layers not checked.
3. Layers>New Raster Layer.
Selections>Load/Save Selection>Load Selection from Disk.
Look for and load the selection Joanne_selection_bonne_annee_2021
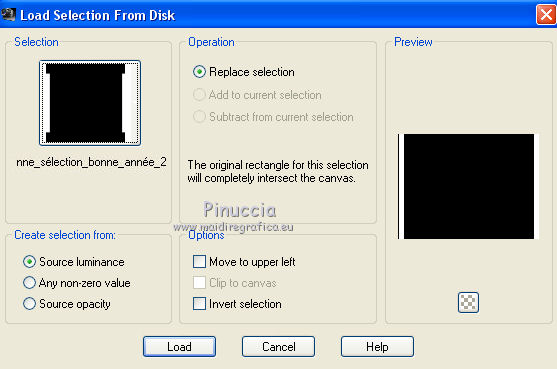
4. Edit>Paste into Selection (the sphere image is still in memory)
Selections>Select None.
5. Effects>Pluigins>Mura's Meister - Copies.
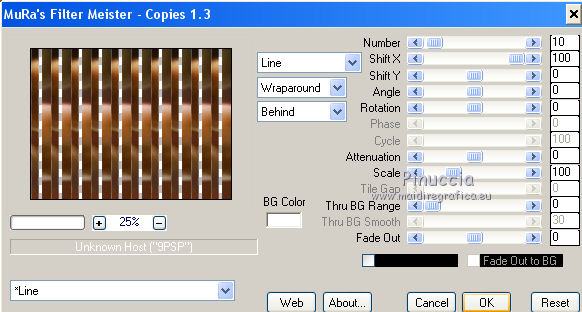
6. Effects>3D Effects>Drop Shadow.
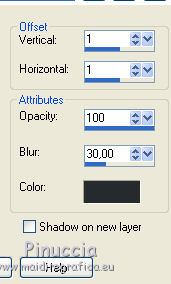
7. Layers>Merge>Merge visible.
8. Selections>Load/Save Selection>Load Selection from Disk.
Look for and load the selection Joanne_selection_bonne_annee_2021_2

9. Effects>Plugins>Mura's Meister - Perspective Tiling, default settings.
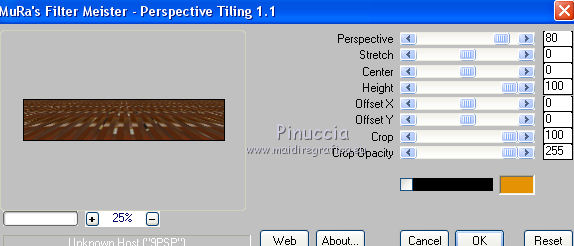
10. Effects>3D Effects>Drop Shadow.
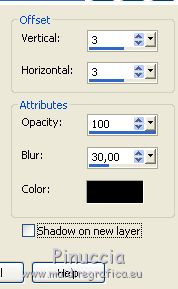
Selections>Select None.
11. Open the clock tube, erase the watermark and go to Edit>Copy.
Go back to your work and go to Edit>Paste as new layer.
Image>Resize, to 110%, resize all layers not checked.
Adjust>Sharpness>Sharpen More.
12. Effects>Image Effects>Offset.
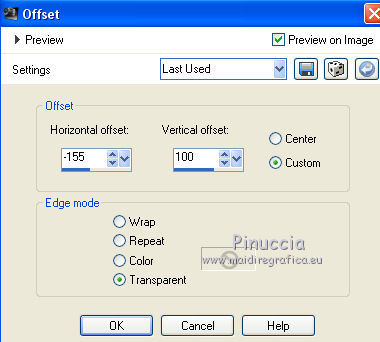
13. Open the woman tube, erase the watermark and go to Edit>Copy.
Go back to your work and go to Edit>Paste as new layer.
14. Effects>Image Effects>Offset.
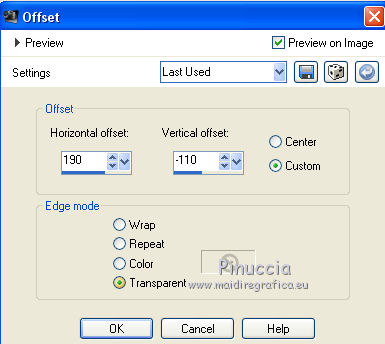
15. Effects>3D Effects>Drop Shadow.
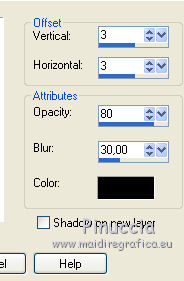
16. In the material there is not the wordart used by Joanne.
I used and joined in the material a wordart of Coly.
Open the wordart "2021", erase the watermark,and go to Edit>Copy.
Go back to your work and go to Edit>Paste as new layer.
Image>Resize, to 50%, resize all layers not checked.
17. Effects>Image Effects>Offset.
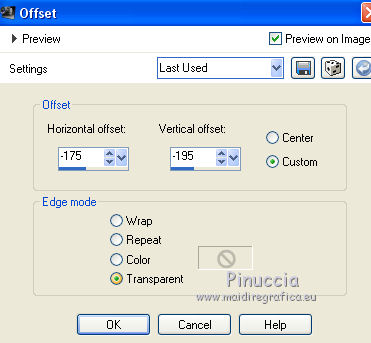
18. Sign your work on a new layer.
little note about the watermark:
I never ask to put watermark on the versions made by my translations.
But if you decide to use the watermark supplied by the author (to change in Soft Light),
I would appreciate that my work as translator was respected too.
For that, I added my watermark to the material.
19. Layers>Merge>Merge All.
20. Image>Add borders, 3 pixels, symmetric, color black.
Image>Add borders, 40 pixels, symmetric, color white.
Image>Add borders, 3 pixels, symmetric, color black.
21. Activate your Magic Wand Tool 
and click on the 40 pixels border to select it.
22. Activate again the sphere image and go to Edit>Copy.
Go back to your work and go to Edit>Paste into Selection.
23. Effects>3D Effects>Inner Bevel.
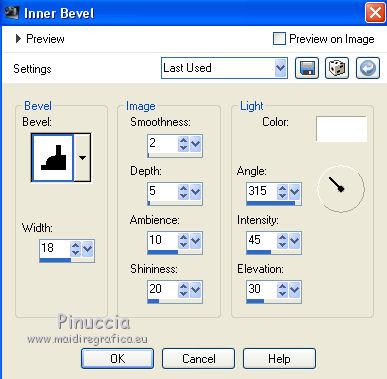
24. Effects>3D Effects>Drop Shadow.

Repeat Drop Shadow, vertical and horizontal -3.
Selections>Select None.
If you don't want realize the animation, save as jpg.
The animation is optional, because not having be able to open the gif provided in the material,
I used my own.
See the instruction at the bottom, using my gif
****
Update January 2021. Joanne has updated the material by adding the wordart and an animation that can be opened.
You find the two files here
*****
Here are the steps of the original tutorial (maybe you will by luckier and can open the provided gif).
25. Edit>Copy.
Open Animation Shop and go to Edit>Paste>Paste as new animation.
Edit>Duplicate, and repeat until you have an animation consisting of 8 frames.
26. Click on the first frame to select it and go to Edit>Select All.
27. Open the star animation - 11b3e96ac0fea0900b0....gif - also consisting of 8 frames.
Edit>Select All.
Edit>Copy.
28. Activate your work and go to Edit>Paste>Paste in the current frame.
Place the star on the clock.
29. Check your result clicking on View Animation 
and save as gif.
*****
With my gif "etoile".
Edit>Copy.
Open Animation Shop and go to Edit>Paste>Paste as new animation.
Edit>Duplicate and repeat. You'll get an animationj consisting of 3 frames.
Click on the first frame to select it and go to Edit>Selection All.
Open my gif - etoile - also consisting of 3 frames.
Edit>Select All.
Edit>Copy.
Go back to your work and go to Edit>Paste>Paste in the current frame.
Place the animation on the clock.
Check the result clicking on View animation 
and save as gif.
Of you want to use my second gif "stella rotazione cromatica" (color rotation star),
follow the same steps, but duplicate your work until you get 15 frames.

 Your versions Thanks Your versions Thanks
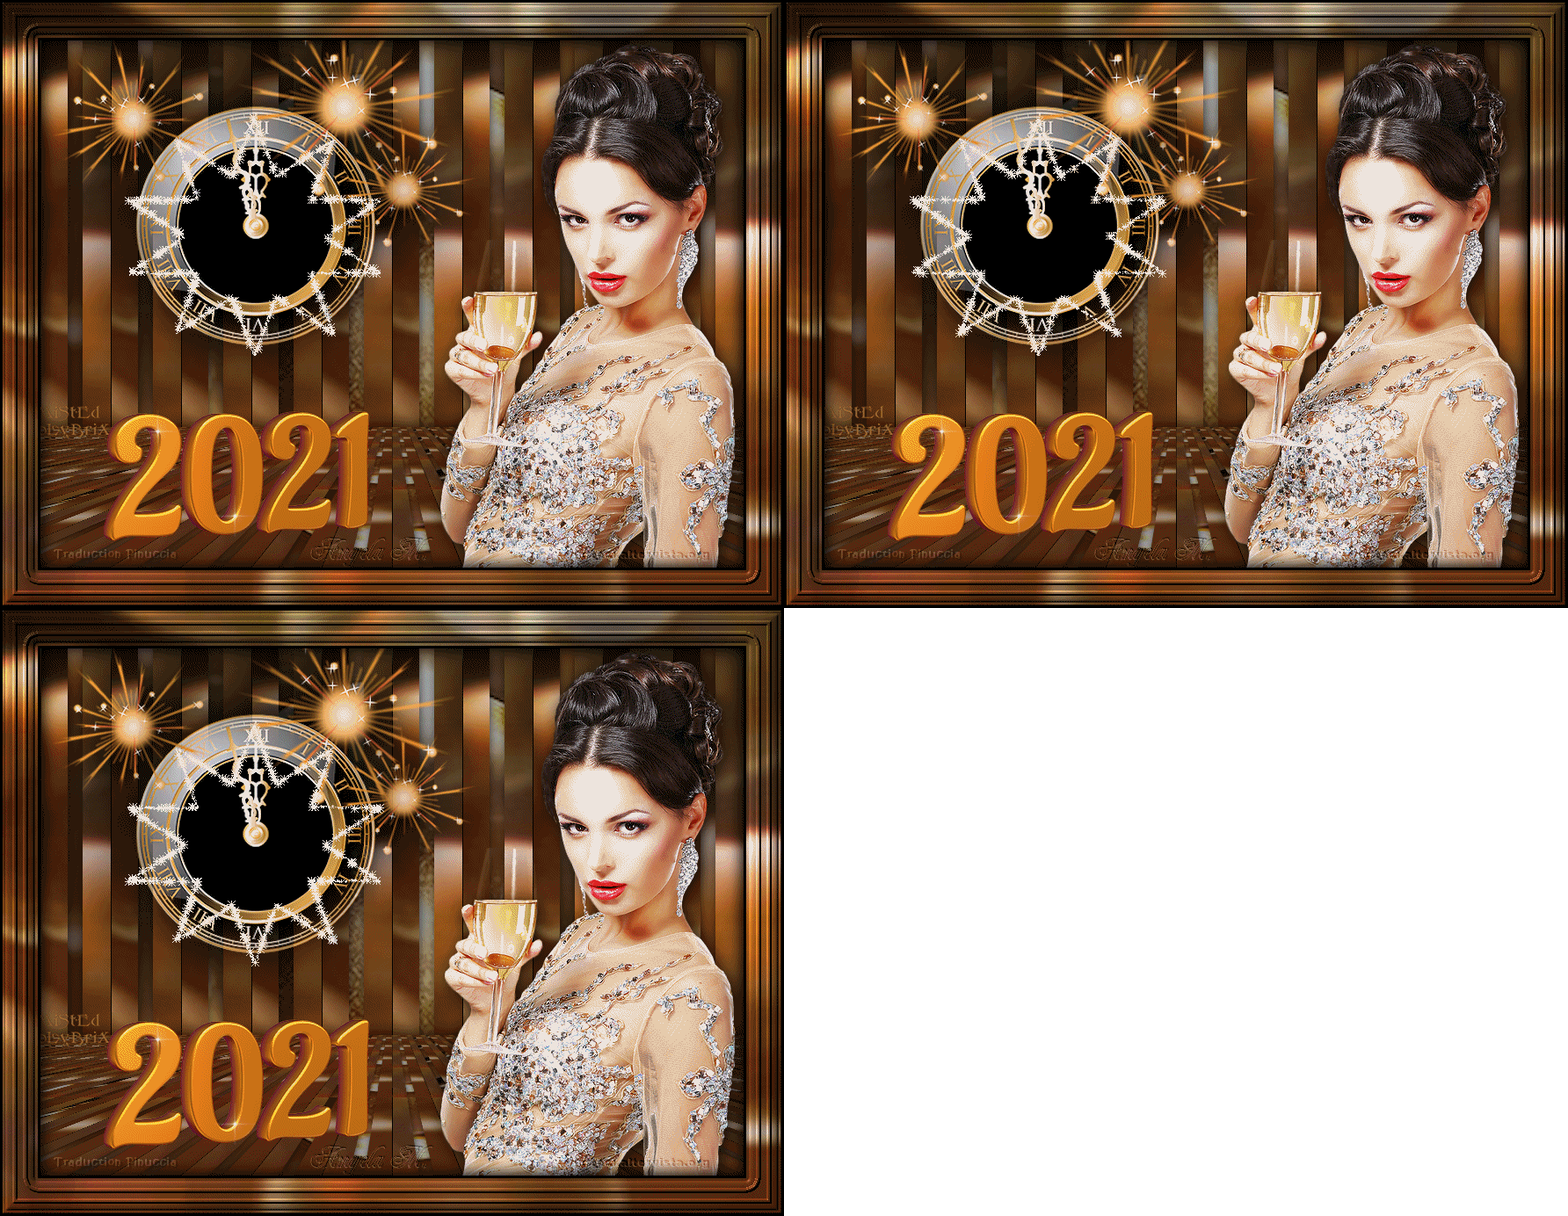
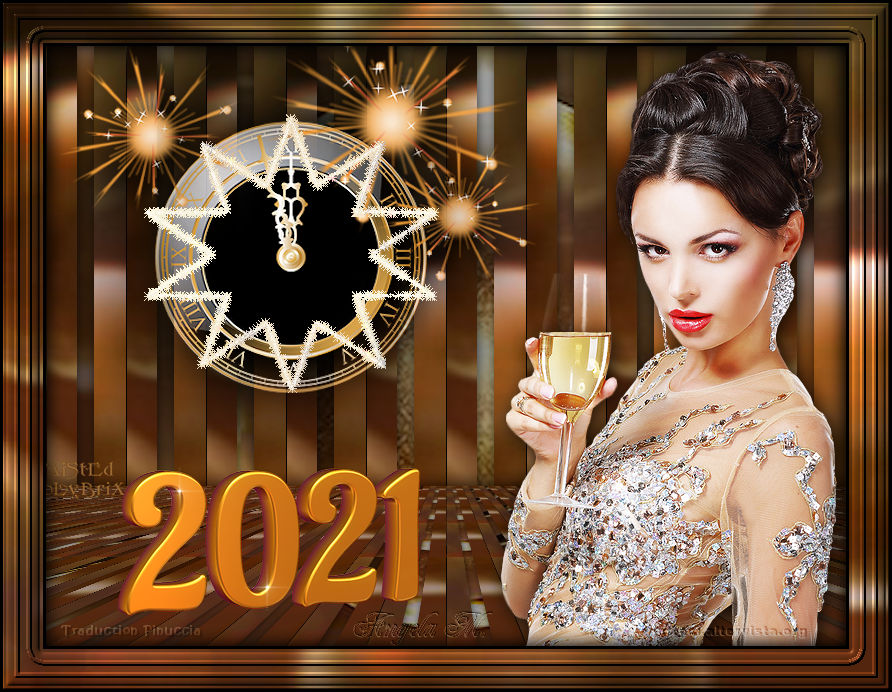
Angela M.
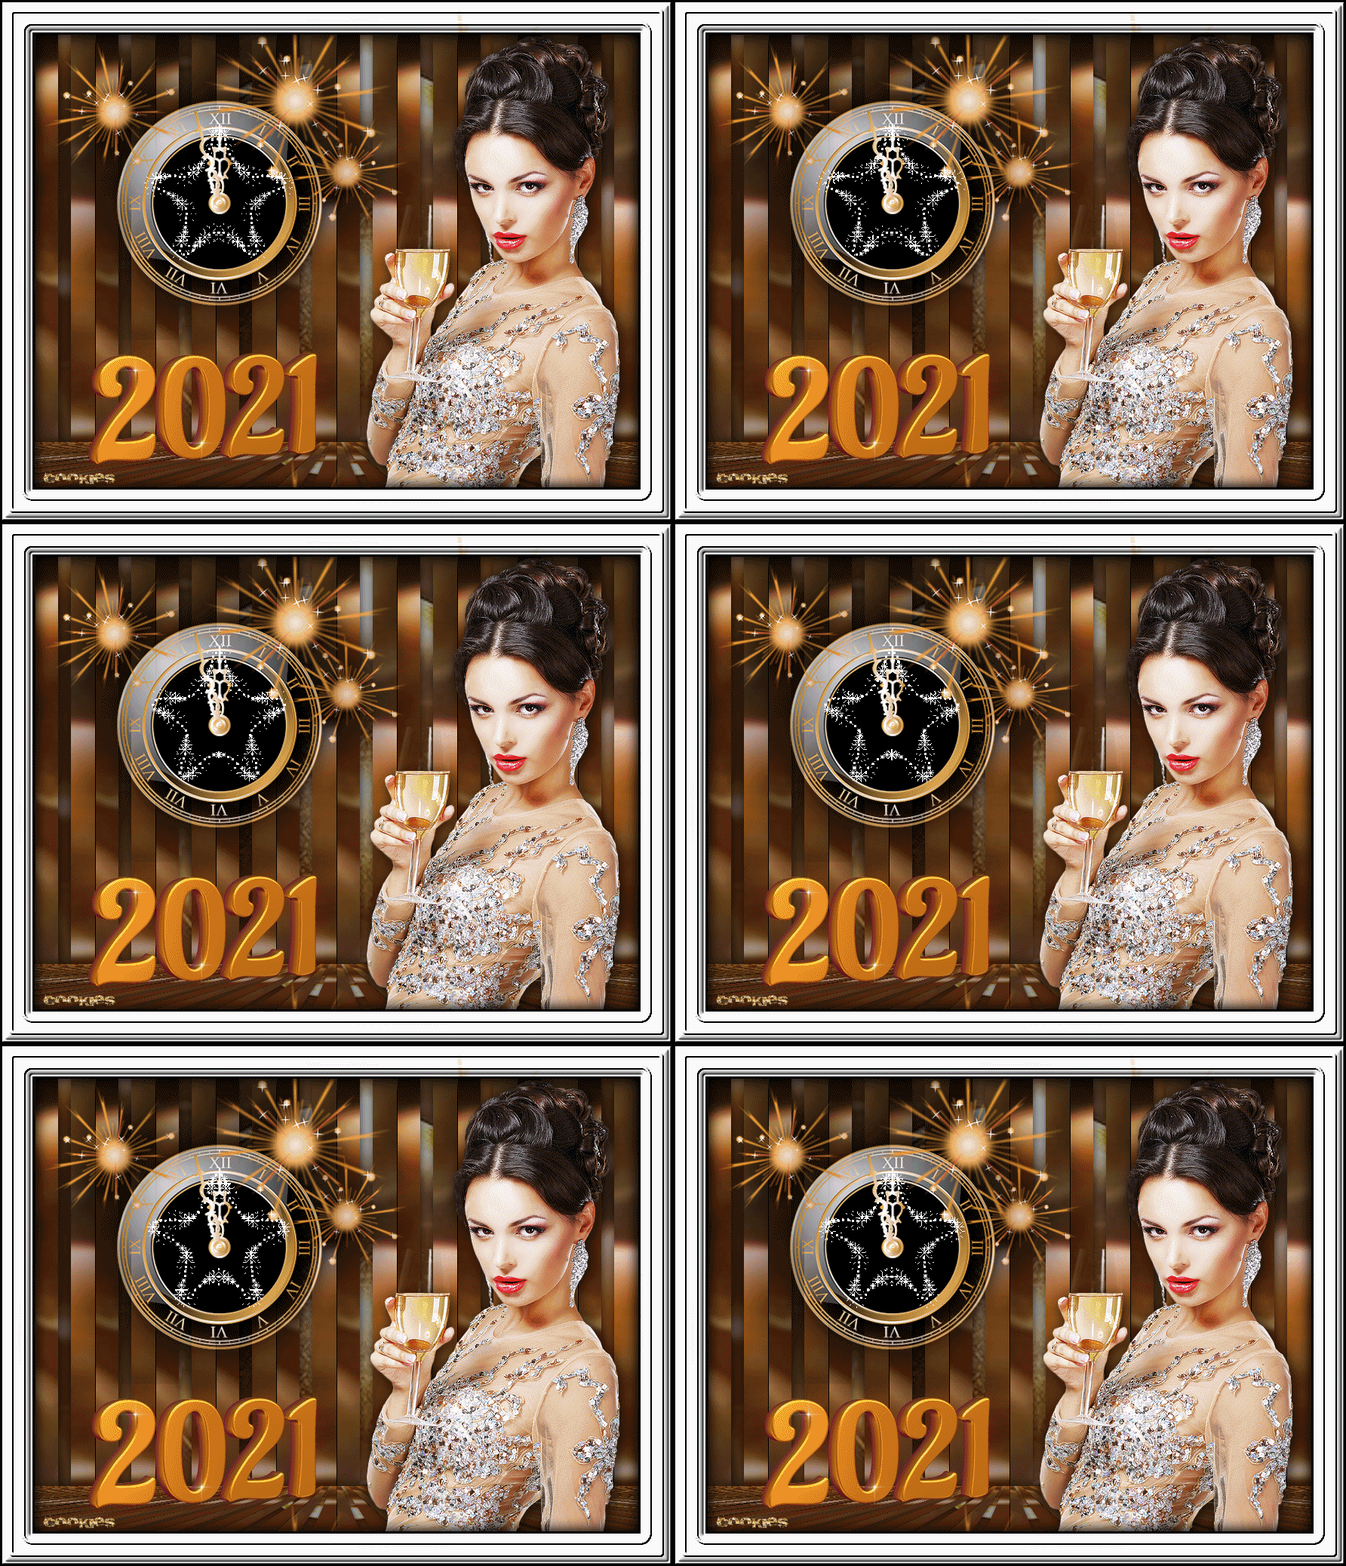
Cookies

If you have problems or doubts, or you find a not worked link, or only for tell me that you enjoyed this tutorial, write to me.
31 December 2020
|
 DAY OF YEAR 2021

 DAY OF YEAR 2021
