|
ANNABELLE
 ENGLISH VERSION ENGLISH VERSION
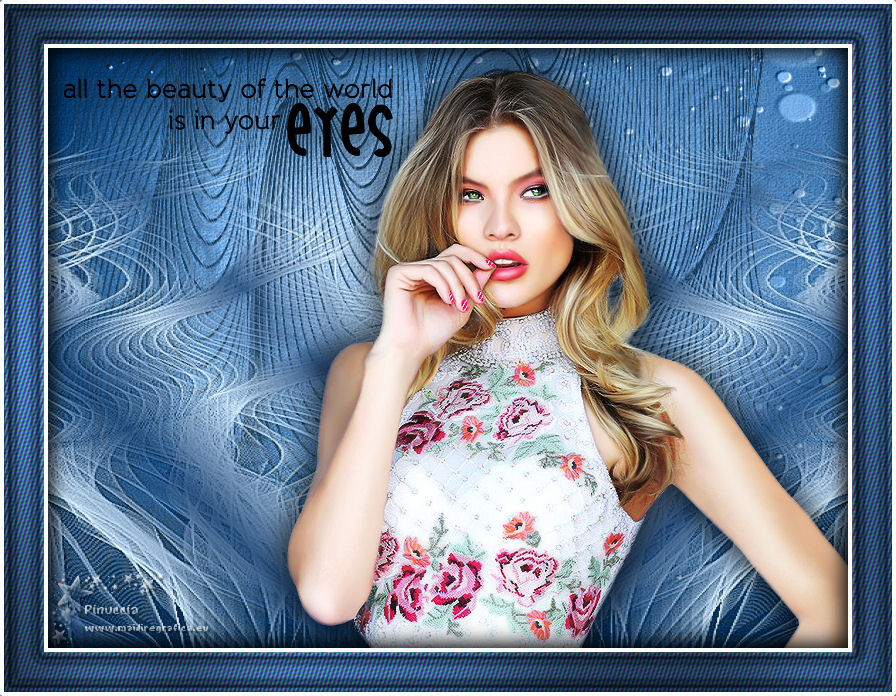
Thanks Joanne for the invitation to translate your tutorials:

This tutorial was translated with PSPX3 but it can also be made using other versions of PSP.
Since version PSP X4, Image>Mirror was replaced with Image>Flip Horizontal,
and Image>Flip with Image>Flip Vertical, there are some variables.
In versions X5 and X6, the functions have been improved by making available the Objects menu.
In the latest version X7 command Image>Mirror and Image>Flip returned, but with new differences.
See my schedule here
 Italian translation here Italian translation here
 Your versions Your versions
For this tutorial, you will need:
Material here
Thanks Vio for the woman tube and Aline for the background image from her scrap "Flocons Enchantés".
The two mask are not signed
(The links of the tubemakers sites here).
Plugins
consult, if necessary, my filter section here
Filters Unlimited 2.0 here
Graphics Plus - Cross Shadow here
Filters Graphics Plus can be used alone or imported into Filters Unlimited.
(How do, you see here)
If a plugin supplied appears with this icon  it must necessarily be imported into Unlimited it must necessarily be imported into Unlimited

You can change Blend Modes according to your colors.
Copy the Gradient in the Gradients Folder.
Copy the preset Emboss 3 in the Presets Folder.
Open the masks in PSP and minimize them with the rest of the material.
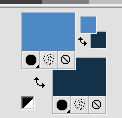
1. Set your foreground color to #4e8ac5,
and your background color to #153249.
2. Open a new transparent image 800 x 600 pixels.
Flood Fill  the transparent image with your light foreground color. the transparent image with your light foreground color.
3. Layers>New Raster Layer.
Selections>Select all.
4. Open the background image "aline_design_papier9_flocons enchantes" and go to Edit>Copy.
Go back to your work and go to Edit>Paste into Selection.
Selections>Select None.
Change the Blend Mode of this layer to Luminance (legacy).
5. Effects>User Defined Filter - select the preset Emboss 3 and ok.

6. Layers>New Raster Layer.
Flood Fill  with your dark background color. with your dark background color.
7. Layers>New Mask layer>From image
Open the menu under the source window and you'll see all the files open.
Select the mask e1dda84758b41...
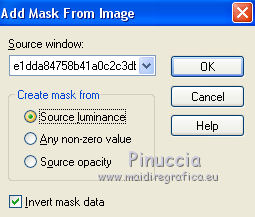
Layers>Merge>Merge Group.
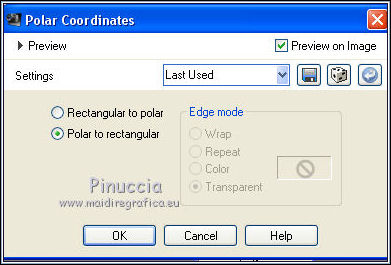
8. Effects>Distortion Effects>Polar Coordinates.
9. Image>Mirror.
Image>Flip.
10. Effects>User Defined Filter - Emboss 3.
11. Set your foreground color to Gradient and select the gradient dbaw_bluesgrad, style Linear.
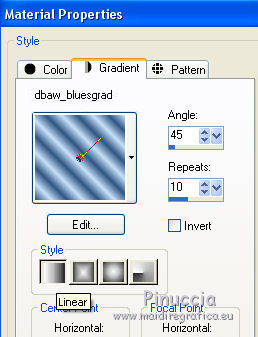
12. Layers>New Raster Layer.
Flood Fill  the layer with your gradient. the layer with your gradient.
if you are using other colors, change the Blend Mode of this layer to Luminance (legacy)
13. Layers>New Mask layer>From image
Open the menu under the source window
and select the mask c9a034496044...
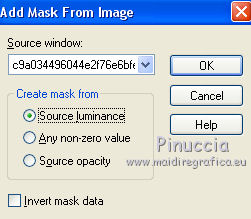
Layers>Merge>Merge Group.
14. Effects>Image Effects>Offset.
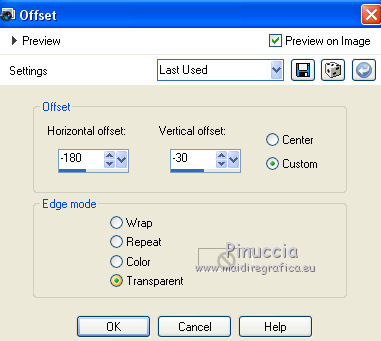
15. Layers>Duplicate.
Image>Mirror.
Layers>Merge>Merge down.
Adjust>Sharpness>Sharpen More.
16. Layers>Duplicate.
17. Open the text and go to Edit>Copy.
Go back to your work and go to Edit>Paste as new layer.
Image>Resize, to 70%, resize all layers not checked.
18. Layers>Duplicate.
Layers>Merge>Merge down.
19. Effects>3D Effects>Drop Shadow.
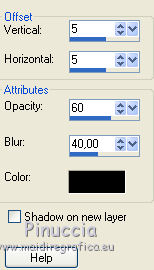
20. Effects>Image Effects>Offset.
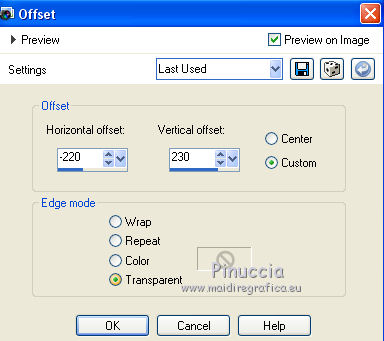
21. Open the woman tube and go to Edit>Copy.
Go back to your work and go to Edit>Paste as new layer.
Place  correctly the tube as in my example. correctly the tube as in my example.
22. Effects>3D Effects>Drop Shadow, same settings.

Repeat Drop Shadow, vertical and horizontal -5.
23. Sign your work on a new layer.
little note about the watermark:
I never ask to put watermark on the versions made by my translations.
But if you decide to use the watermark supplied by the author (to change in Soft Light),
I would appreciate that my work as translator was respected too.
For that, I added my watermark to the material.
24. Layers>Merge>Merge All.
25. Image>Add borders, 4 pixels, symmetric, color white.
Image>Add borders, 40 pixels, symmetric, light foreground color.
Image>Add borders, 4 pixels, symmetric, color white.
26. Activate your Magic Wand Tool 
and click on the 40 pixels border to select it.
27. Effects>Artistic Effects>Halftone.
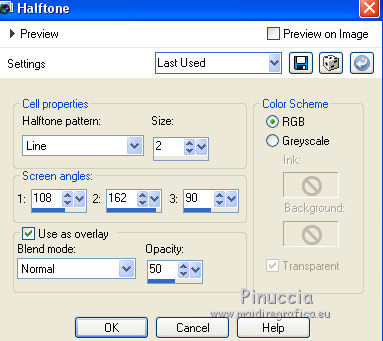
28. Effects>3D Effects>Inner Bevel.
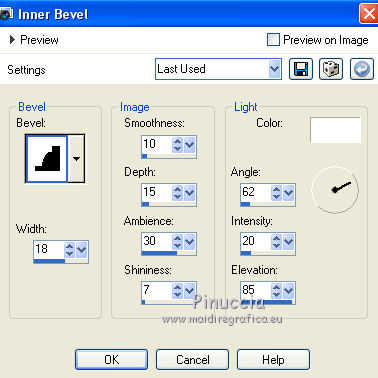
29. Effects>Plugins>Graphics Plus - Cross Shadow.
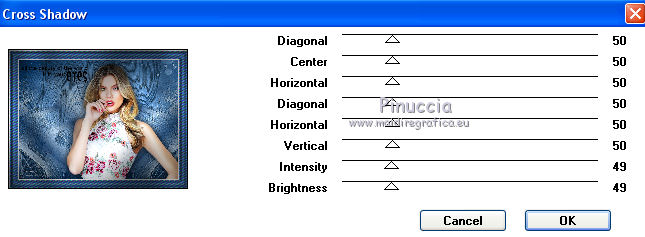
30. Sélections>Modify>Expand - 4 pixels.
Effects>3D Effects>Drop Shadow.
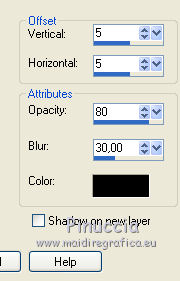
Repeat Drop Shadow, vertical and horizontal -5.
Selections>Select None.
31. Save as jpg.
Version with tube by Criss


 Your versions Thanks Your versions Thanks
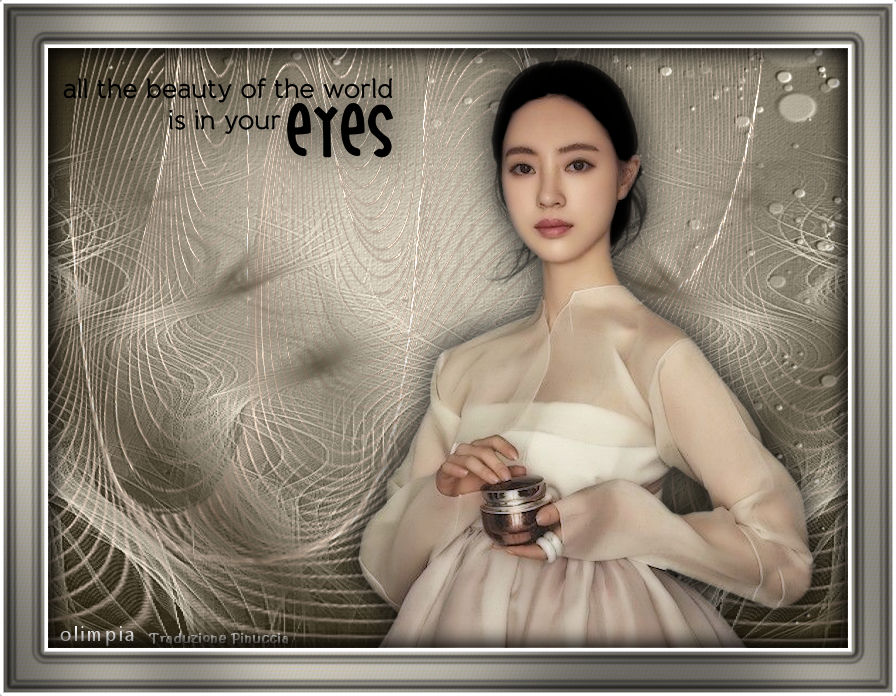
Olimpia
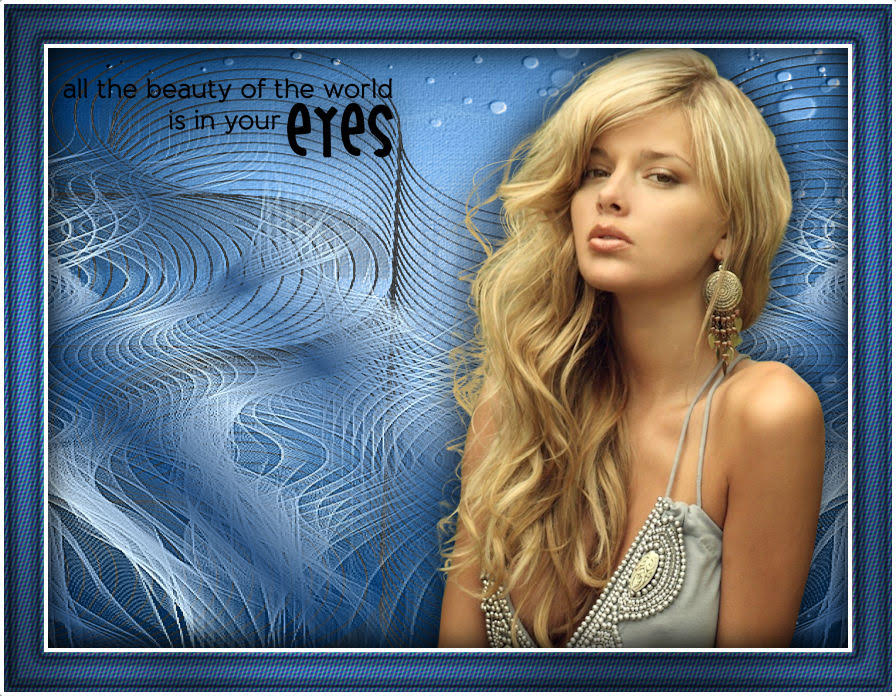
Birte

If you have problems or doubts, or you find a not worked link, or only for tell me that you enjoyed this tutorial, write to me.
9 December 2020
|
 ENGLISH VERSION

 ENGLISH VERSION
