|
CUBISME

Thanks Joanne for the invitation to translate your tutorials:

This tutorial was translated with PSPX3 but it can also be made using other versions of PSP.
Since version PSP X4, Image>Mirror was replaced with Image>Flip Horizontal,
and Image>Flip with Image>Flip Vertical, there are some variables.
In versions X5 and X6, the functions have been improved by making available the Objects menu.
In the latest version X7 command Image>Mirror and Image>Flip returned, but with new differences.
See my schedule here
 Italian translation here Italian translation here
For this tutorial, you will need:
Material here
Thanks for the tube and a mask DBK Katrina and Nikita.
The rest of the materil is not signed.
(The links of the tubemakers sites here).
Plugins
consult, if necessary, my filter section here
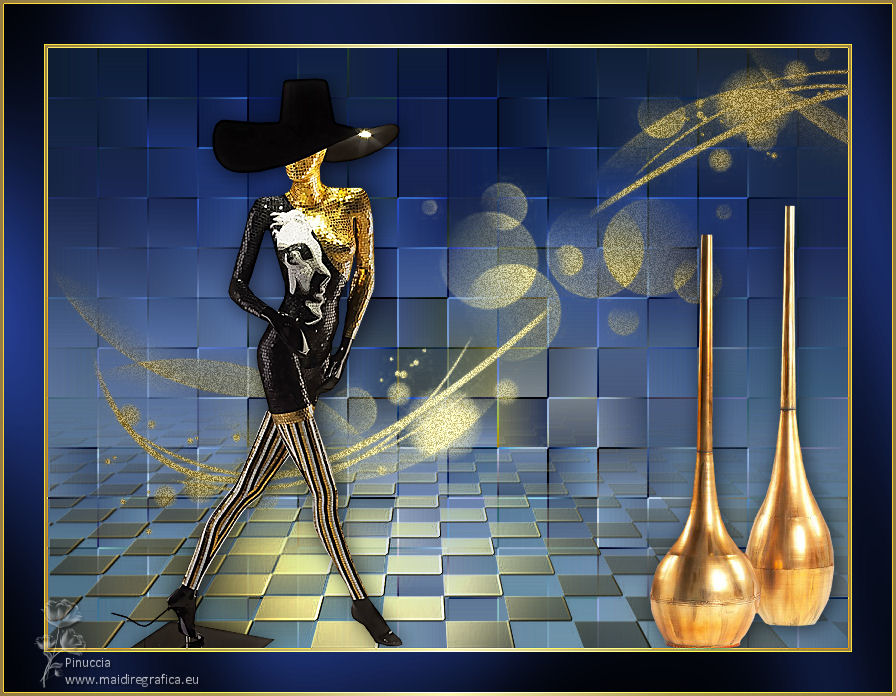
Filters Unlimited 2.0 - here
Neology - Blend Mosaic here
Graphics Plus - Graphics Plus here
Nik Software - Color Efex here
Filters Neology and Graphics Plus can be used alone or imported into Filters Unlimited.
(How do, you see here)
If a plugin supplied appears with this icon  it must necessarily be imported into Unlimited it must necessarily be imported into Unlimited

You can change Blend Modes according to your colors.
Copy the presets Emboss 3 e and Emboss 6 in the Presets Folder.
Copy the Gradient in the Gradients Folder.
Open the masks in PSP and minimize them with the rest of the material.
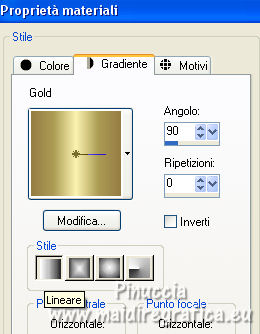
1. Set your foreground color to Gradient and select the gradient gold, style Linear.
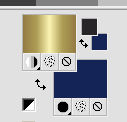
Set your background color to #162556.
2. Open a new transparent image 800 x 600 pixels.
Selections>Select All.
Open the blue fractal and go to Edit>Copy.
Go back to your work and go to Edit>Paste into Selection.
Selections>Select None.
3. Adjust>Blur>Gaussian Blur - radius 15.

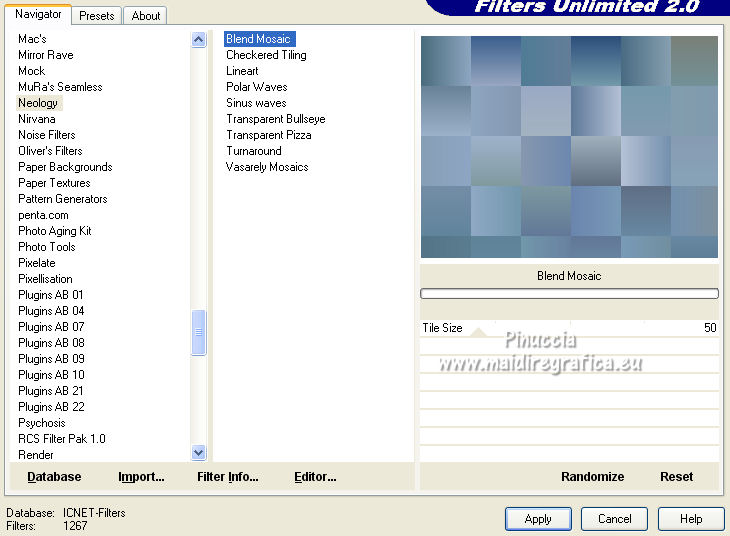
4. Effects>Plugins>Neology - Blend Mosaic.
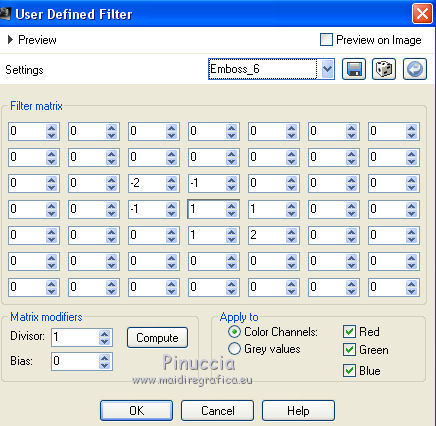
5. Effects>User Defined Filter - selec the preset Emboss 6 and ok.
6. Layers>New Raster Layer.
Flood Fill  the layer with your golden Gradient. the layer with your golden Gradient.
7. Layers>New Mask layer>From image
Open the menu under the source window and you'll see all the files open.
Select the mask Empty_1400x1050.
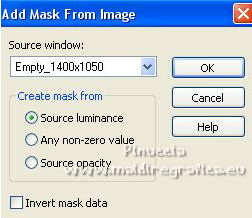
Layers>Merge>Merge Group.
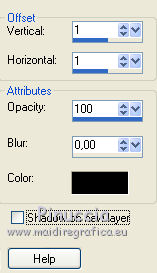
8. Effects>3D Effects>Drop Shadow.
9. Effects>User Defined Filter - select the preset Emboss 3 and ok.

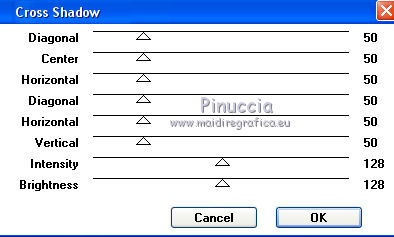
10. Effects>Plugins>Graphics Plus - Cross Shadow, default settings.
11. Layers>Merge>Merge visible.
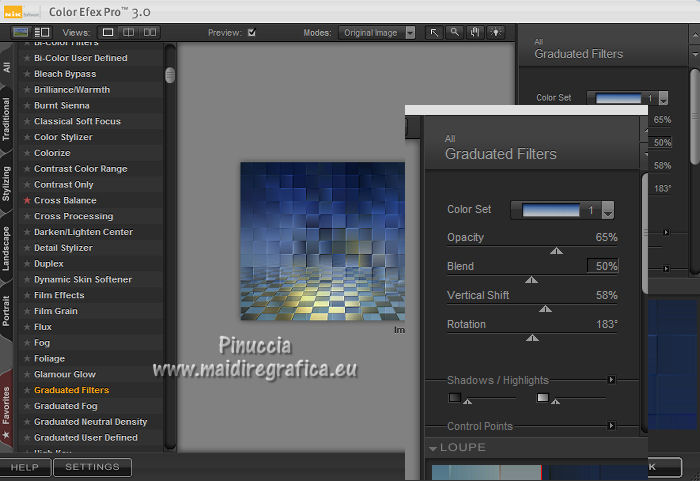
12. Effects>Plugins>Nik Software - Color Efex Pro - Graduated Filters
13. Layers>New Raster Layer.
Flood Fill  the layer with your golden Gradient. the layer with your golden Gradient.
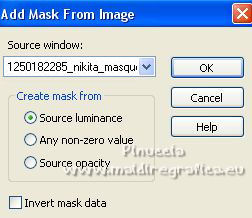
14. Layers>New Mask layer>From image
Open the menu under the source window
and select the mask 12501822752285_nikita_masque.
Layers>Merge>Merge Group.
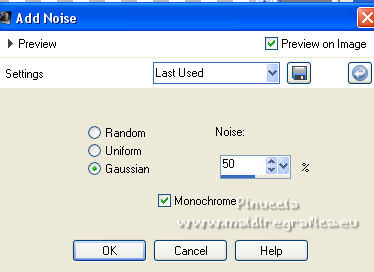
15. Adjust>Add/Remove Noise>Add Noise.
16. Image>Mirror.
Move  the image at the upper right. the image at the upper right.
17. Open the woman tube and go to Edit>Copy.
Go back to your work and go to Edit>Paste as new layer.
Image>Resize, to 60%, resize all layers not checked.
Image>Mirror.
Move  the tube at the bottom left. the tube at the bottom left.
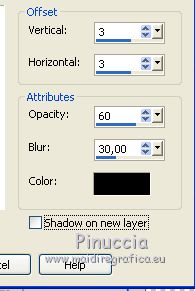
18. Effects>3D Effects>Drop Shadow.
19. Open the tube of the golden vases and go to Edit>Copy.
Go back to your work and go to Edit>Paste as new layer.
Image>Resize, to 60%, resize all layers not checked.
Move  the tube at the bottom right. the tube at the bottom right.
Effects>3D Effects>Drop Shadow, same settings.
20. Sign your work on a new layer.
If you add the author watermark (to put in mode Soft Light),
don't forget to add also the translator watermark.
21. Layers>Merge>Merge All.
22. Image>Add borders, 4 pixels, symmetric, color white.
Image>Add borders, 40 pixels, symmetric, blue background color.
Image>Add borders, 4 pixels, symmetric, color white.
23. Activate your Magic Wand Tool 
and click on the 2 white borders to select them.
Flood Fill  the selection with your golden Gradient. the selection with your golden Gradient.
Effects>Edge Effects>Enhance.
Selections>Select None.
24. Select the 40 pixels border with your Magic Wand Tool 
Effects>Plugins>Graphics Plus - Cross Shadow - 2 times.
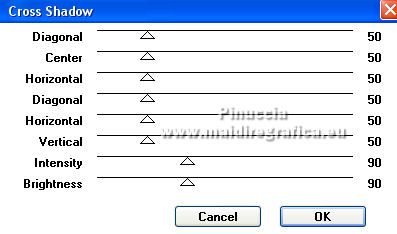
Selections>Select None.
25. Save as jpg.
For the tubes of this version thanks Luz Cristina
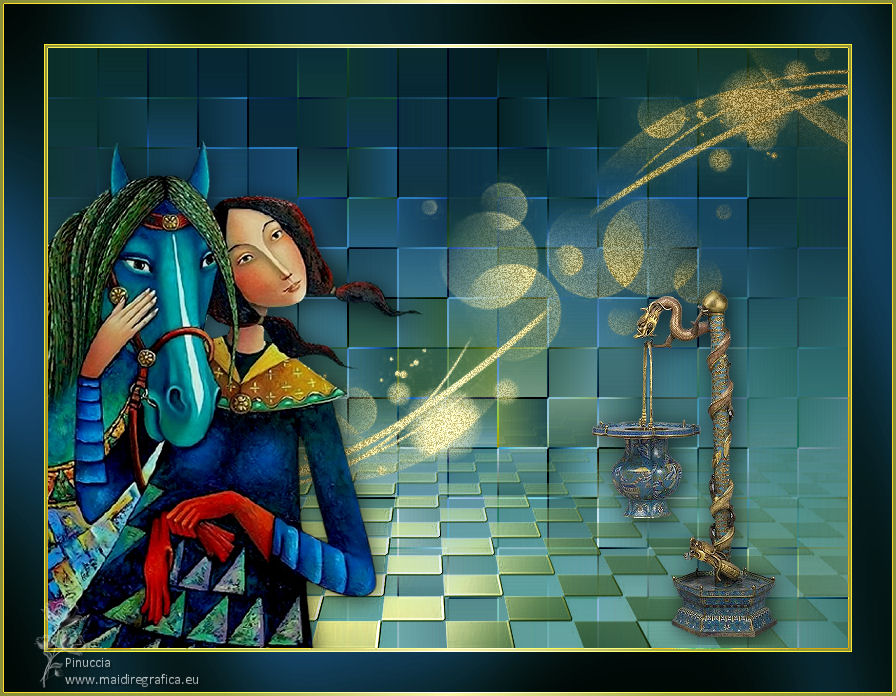

Your versions. Thanks
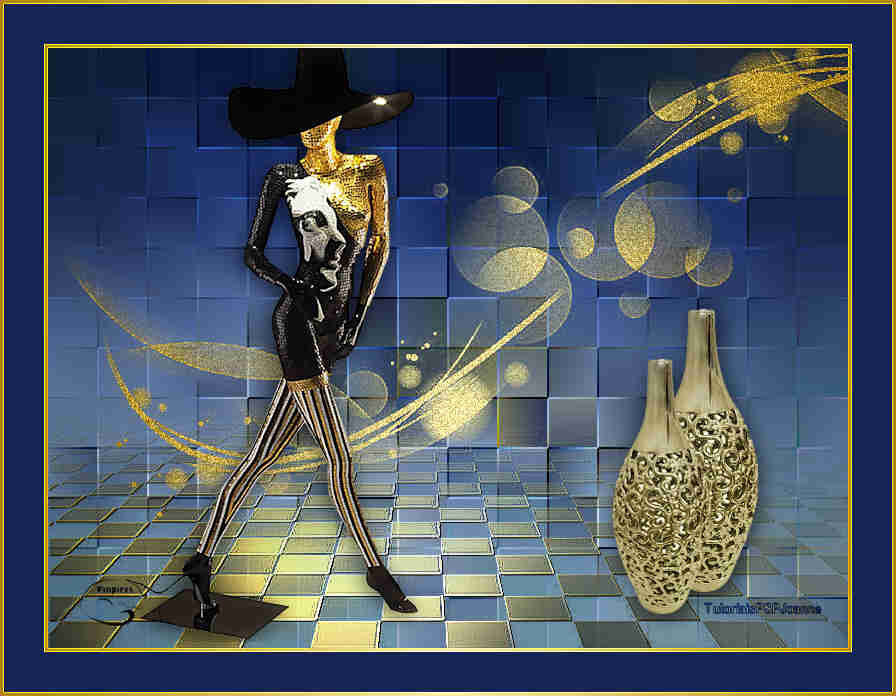
Vanpires
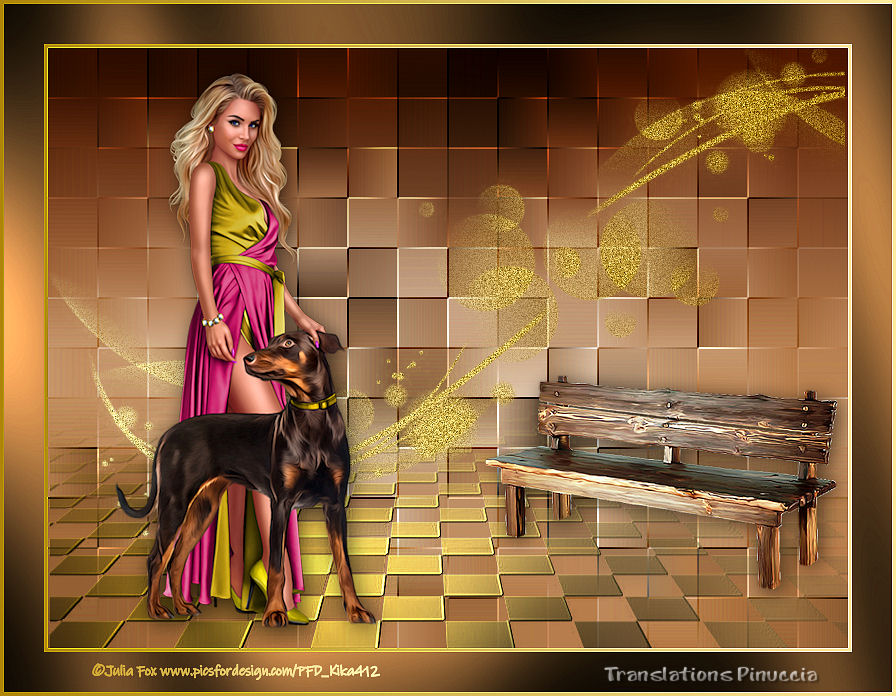
Kika

If you have problems or doubts, or you find a not worked link,
or only for tell me that you enjoyed this tutorial, write to me.
15 April 2022

|


