|
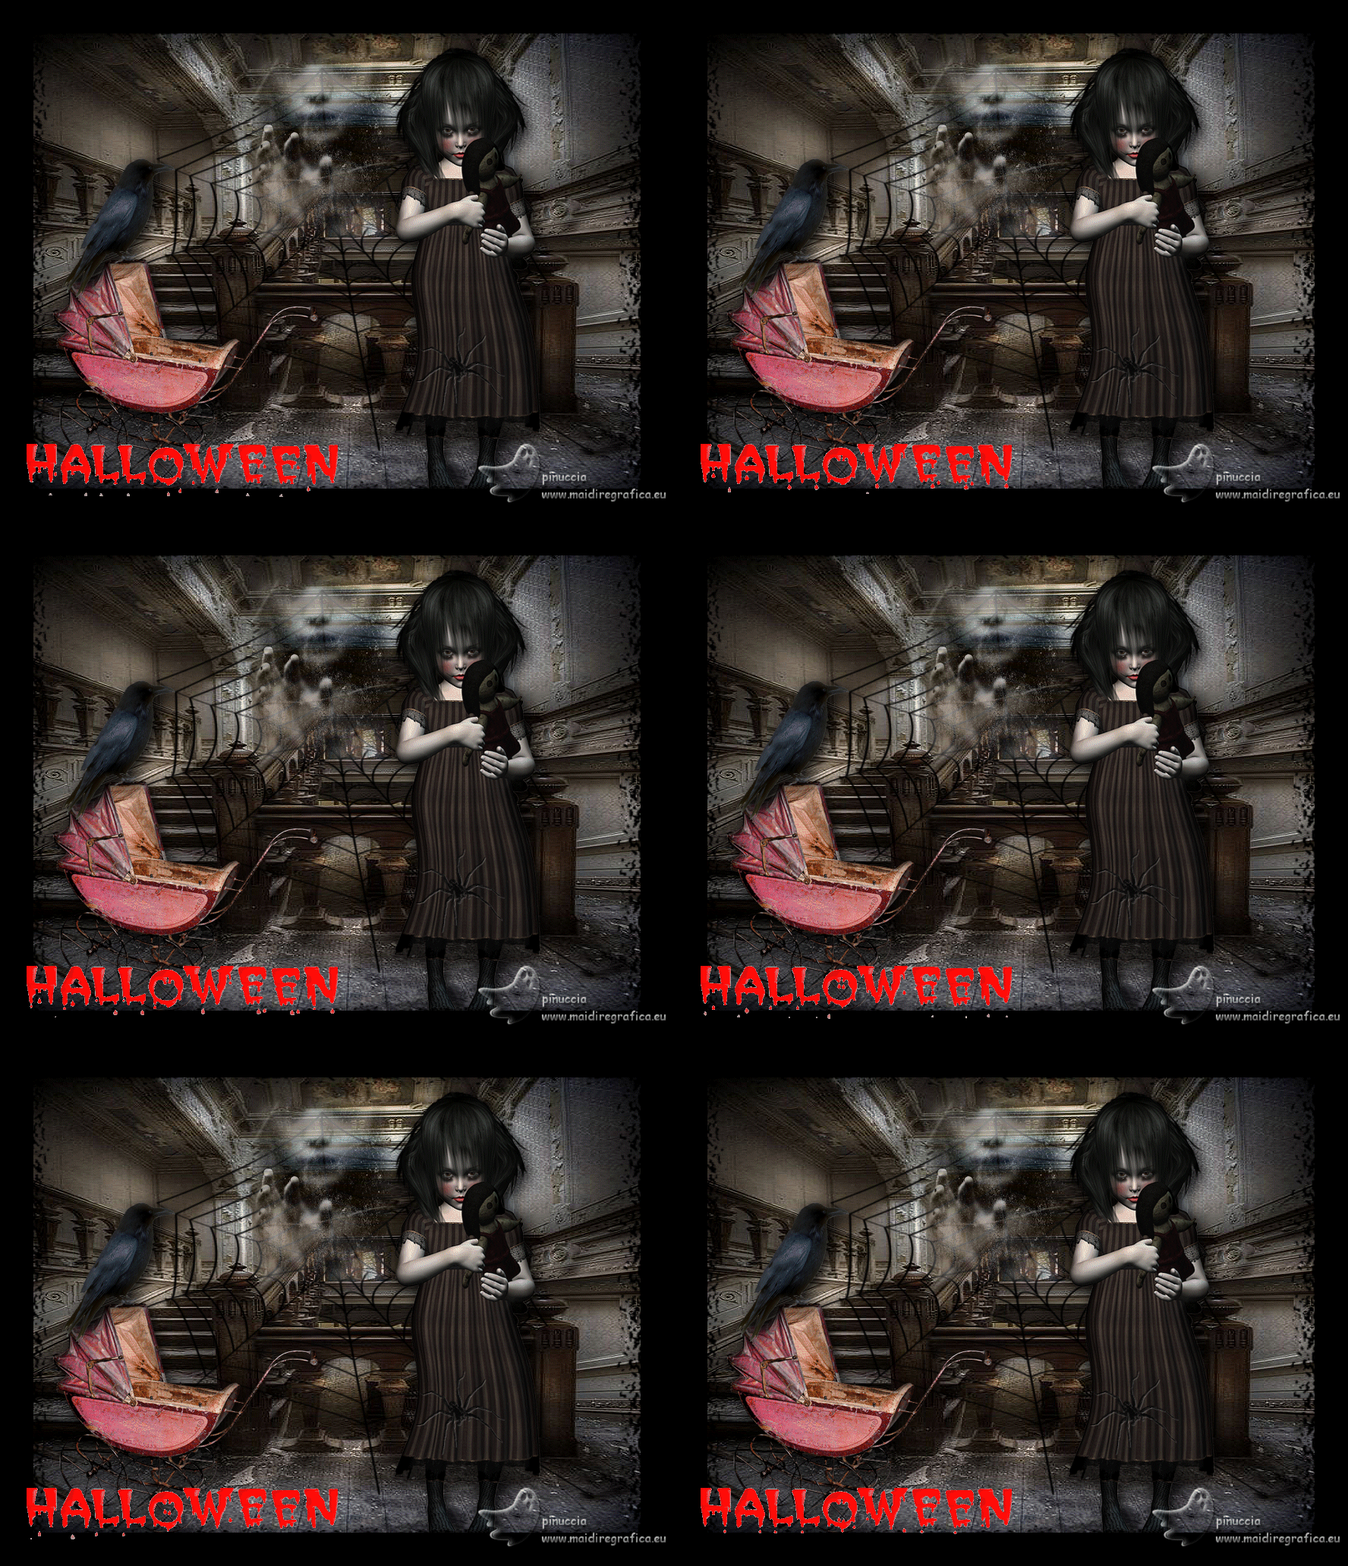
HALLOWEEN 2021

Thanks Joanne for the invitation to translate your tutorials:

This tutorial was translated with PSPX3 but it can also be made using other versions of PSP.
Since version PSP X4, Image>Mirror was replaced with Image>Flip Horizontal,
and Image>Flip with Image>Flip Vertical, there are some variables.
In versions X5 and X6, the functions have been improved by making available the Objects menu.
In the latest version X7 command Image>Mirror and Image>Flip returned, but with new differences.
See my schedule here
 Italian translation here Italian translation here
For this tutorial, you will need:
Material here
For the woman face thanks Linda Ferdinand.
The rest of the material is not signed.
(The links of the tubemakers sites here).
Plugins
consult, if necessary, my filter section here
Filters Unlimited 2.0 Impact here
Animation Shop here

You can change Blend Modes according to your colors.
Open the mask in PSP and minimize it with the rest of the material.
1. Set your foreground color to black #000000.
1. Imposta il colore di primo piano con il colore nero #000000.
2. Open a new transparent image 800 x 600 pixels.
Selections>Select All.
3. Open the image of the stairs and go to Edit>Copy.
Go back to your work and go to Edit>Paste into Selection.
Selections>Select None.
Effects>Edge Effects>Enhance.
4. Layers>New Raster Layer.
Flood Fill  the layer with color black. the layer with color black.
5. Layers>New Mask layer>From image
Open the menu under the source window and you'll see all the files open.
Select the mask toile d'araigné.
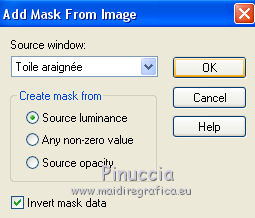
Layers>Merge>Merge Group.
6. Layers>Duplicate.
Layers>Merge>Merge Down.
7. Image>Resize, to 85%, resize all layers not checked.
8. Open the face tube and go to Edit>Copy.
Go back to your work and go to Edit>Paste as new layer.
Image>Resize, to 40%, resize all layers not checked.
9. Change the Blend Mode of this layer to Luminance (legacy)
and reduce the opacity to 86%.
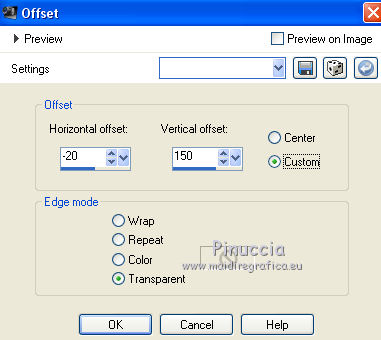
10. Effects>Image Effects>Offset.
11. Open the landau tube and go to Edit>Copy.
Go back to your work and go to Edit>Paste as new layer.
Image>Mirror.
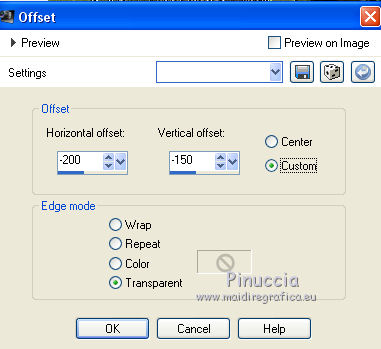
12. Effects>Image Effects>Offset.
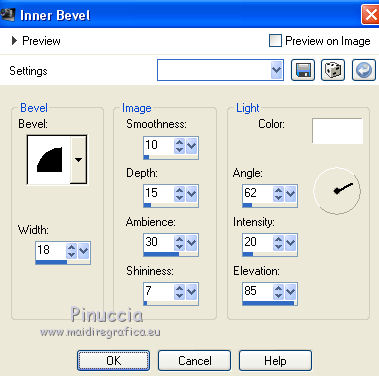
13. Effects>3D Effects>Inner Bevel.
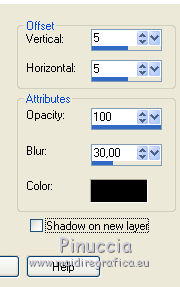
14. Effects>3D Effects>Drop Shadow.
15. Open the girl tube and go to Edit>Copy.
Go back to your work and go to Edit>Paste as new layer.
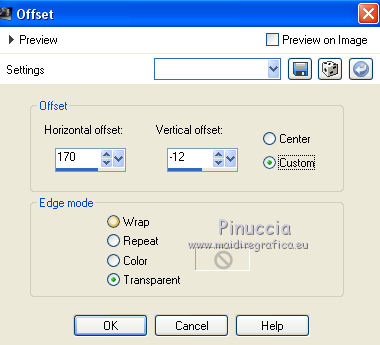
16. Effects>Image Effects>Offset.
17. Effects>3D Effects>Inner bevel, same settings.
18. Effects>3D Effects>Drop Shadow, same settings.
19. Open the crow's tube and go to Edit>Copy.
Go back to your work and go to Edit>Paste as new layer.
Place it  over the landau. over the landau.
20. Effects>3D Effects>Inner bevel, same settings.
21. Effects>3D Effects>Drop Shadow, same settings.
22. Sign your work on a new layer.
If you add the author watermark (to put in mode Soft Light),
don't forget to add also the translator watermark.
(attention, please, leave the left part free for the animated wordart)
23. Layers>Merge>Merge All.
24. Image>Add borders, 44 pixels, symmetric, color black.
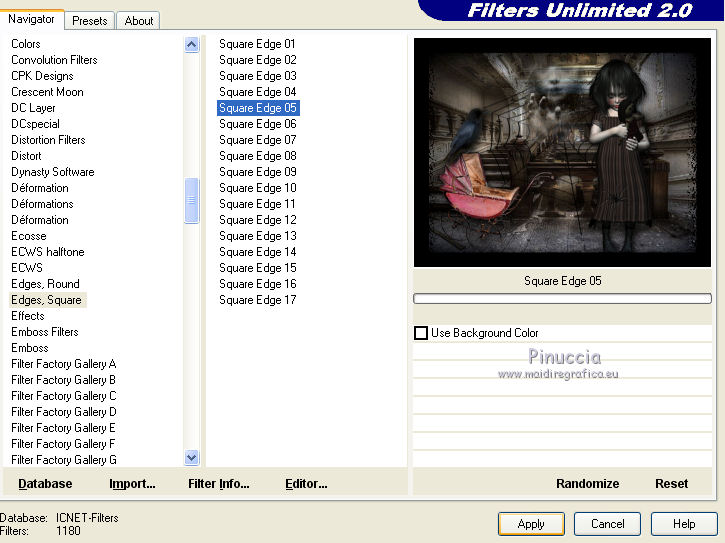
25. Effects>Plugins>Filters Unlimited 2.0 - Edges Square - Square Edge 05.
26. Save your work as jpg.
27. Edit>Copy.
Open Animation Shop and go to Edit>Paste>Paste as new image.
28. Edit>Duplicate and repeat until you have an animation consisting of 9 frames.
Click on the first frame to select it and go to Edit>Select All.
29. Open the animation, also made up of 9 frames.
Edit>Select All.
Edit>Copy.
30. Go back to your work and go to Edit>Paste>Paste in the selected frame.
Place the animation at the bottom left,
and when you are sure you have found the correct position,
click with the left mouse button to apply.
Check your result clicking on View animation 
and save as gif.
Version with tubes by Renée et Krys
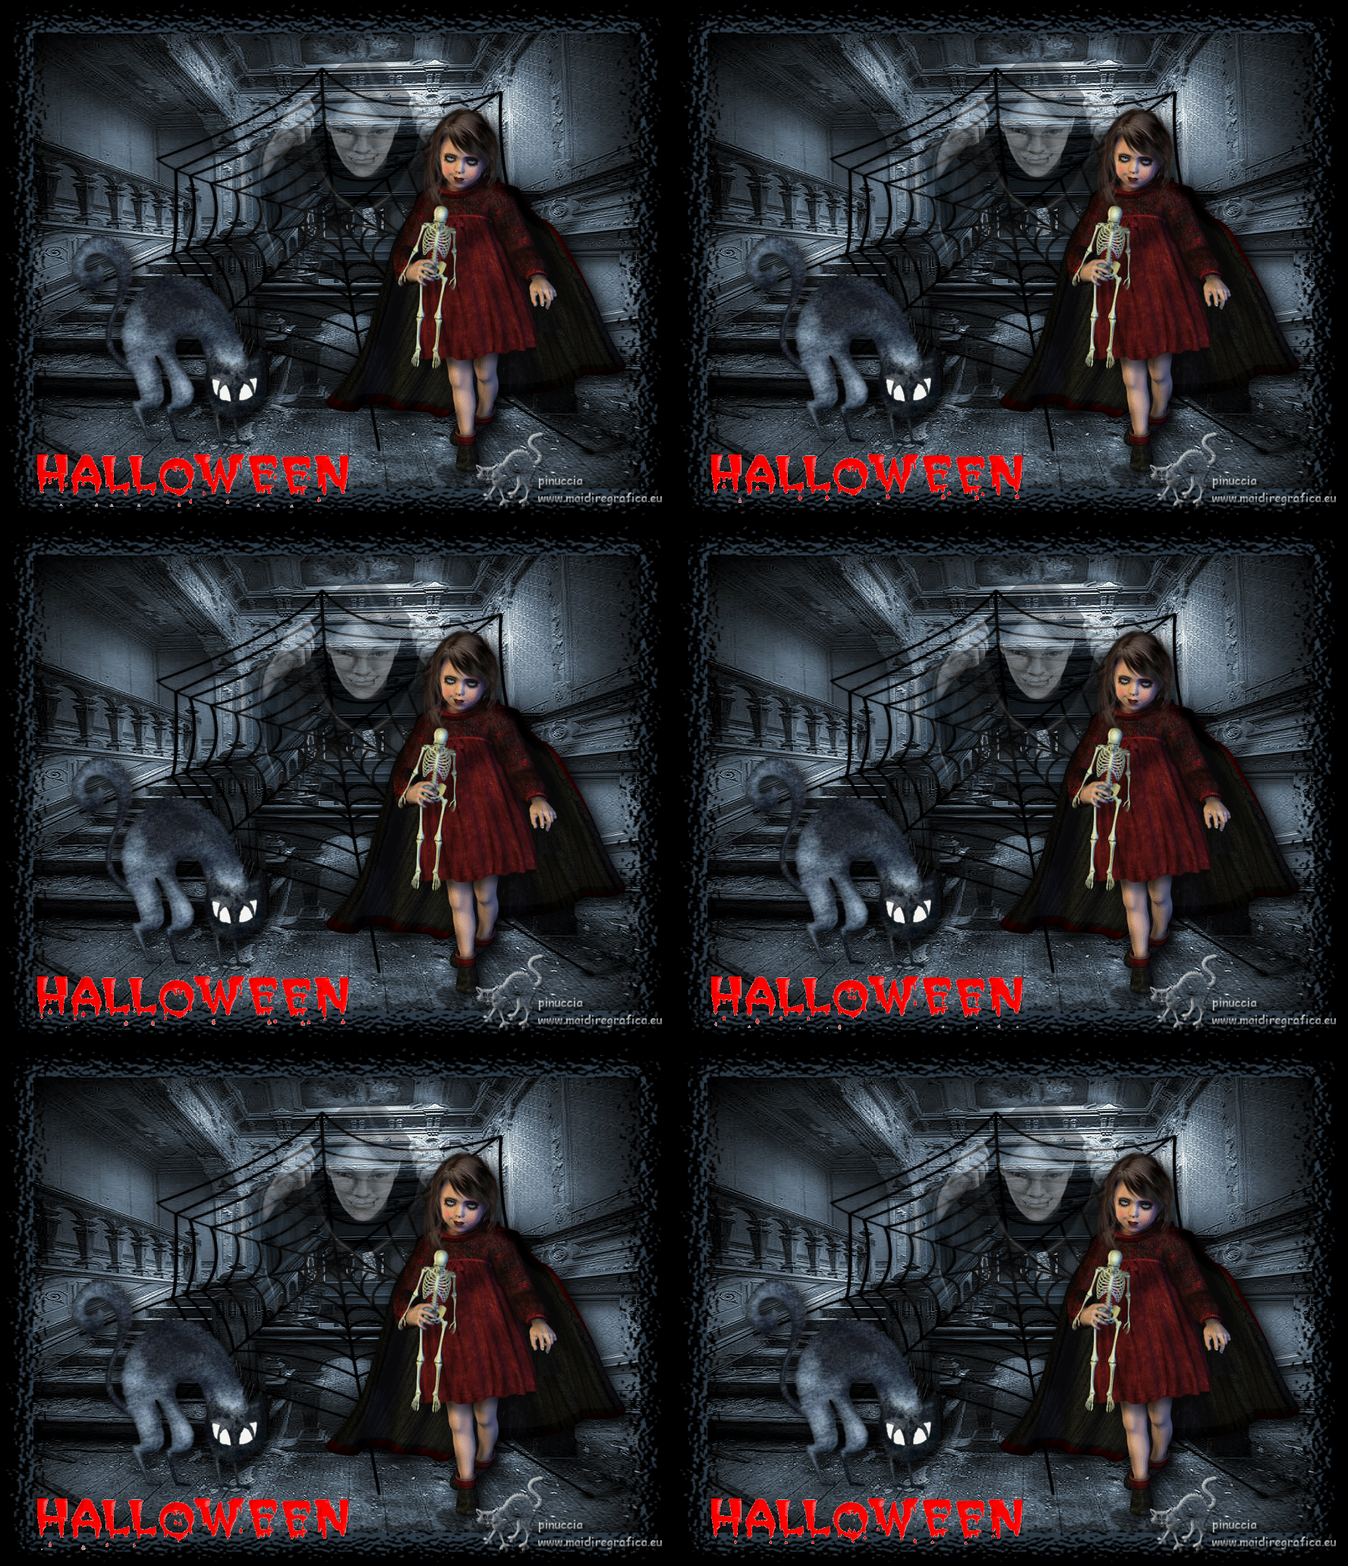

Yours versions. Thanks
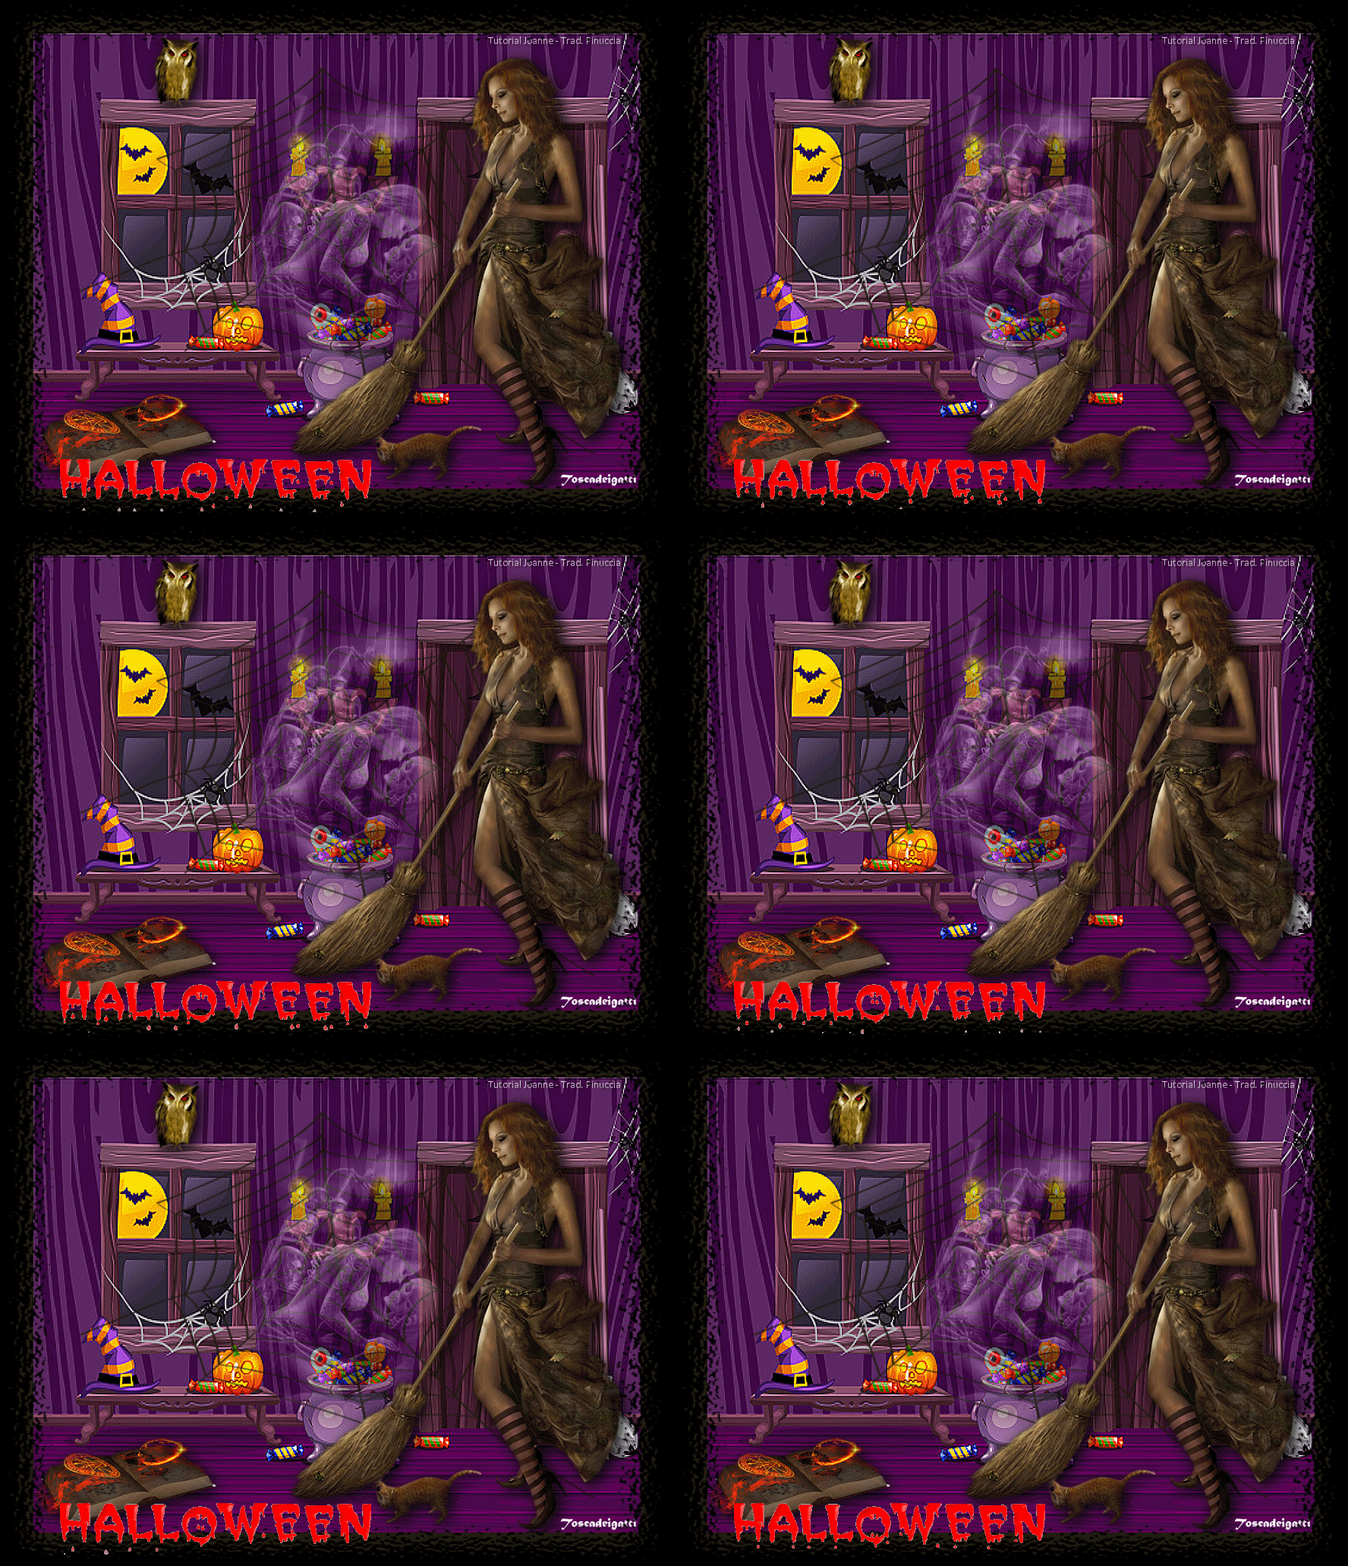
Tosca dei gatti
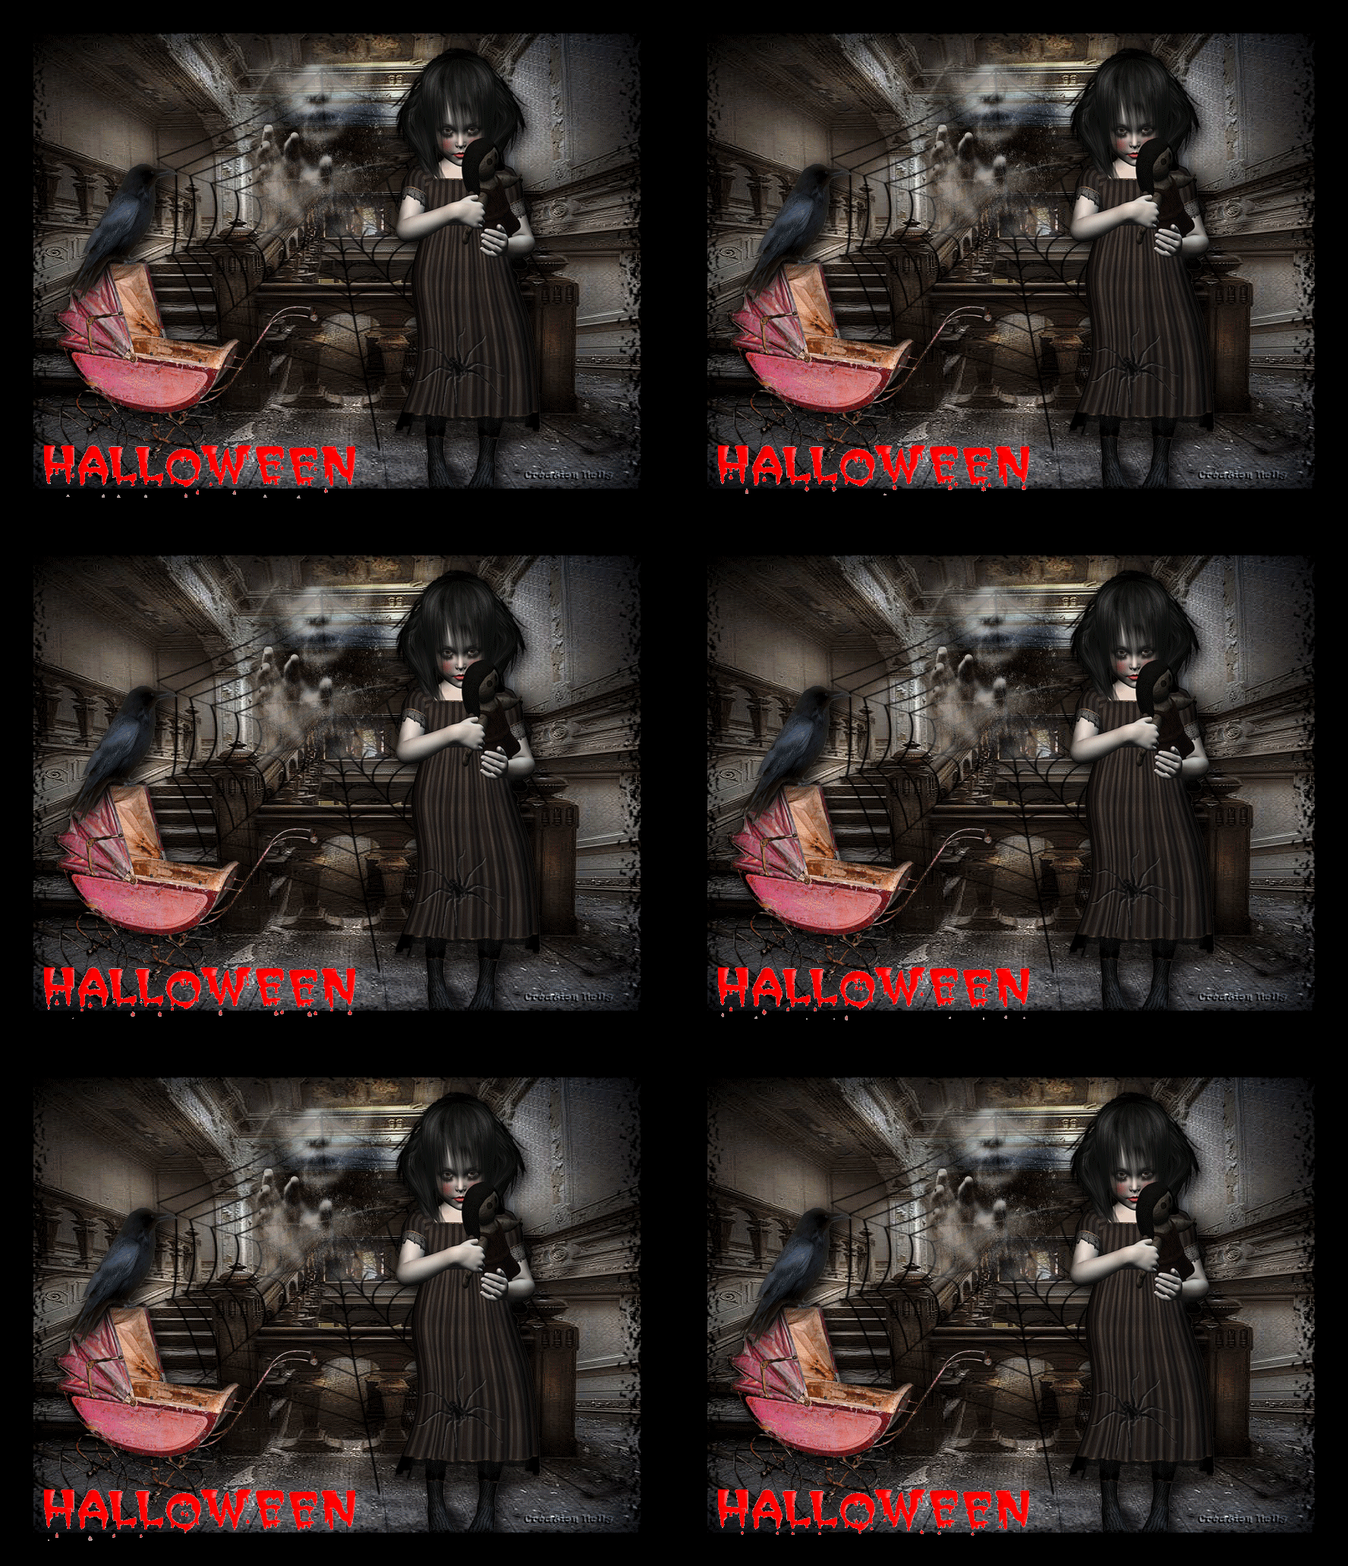
Nelly

If you have problems or doubts, or you find a not worked link,
or only for tell me that you enjoyed this tutorial, write to me.
30 October 2021

|


