|
AGATHE

english version

Here you find the original of this tutorial:

This tutorial was written with CorelX9 and translated with CorelX3, but it can also be made using other versions of PSP.
Since version PSP X4, Image>Mirror was replaced with Image>Flip Horizontal,
and Image>Flip with Image>Flip Vertical, there are some variables.
In versions X5 and X6, the functions have been improved by making available the Objects menu.
In the latest version X7 command Image>Mirror and Image>Flip returned, but with new differences.
See my schedule here
italian translation here
your versions here
Material here
For the woman tube thanks Nadège.
(The links of the tubemakers here).
Plugins
consult, if necessary, my filter section here
Alien Skin Eye Candy 5 Impact - Glass here
VM Toolbox - Instant Tile here
Toadies - What are you here
Ap Lines - Lines SilverLining here
Mehdi - Wavy Lab 1.1. here
Mura's Seamless - Emboss at Alpha here
Filters Unlimited 2.0 here
Filters VM Toolbox, Toadies and Mura's Seamless can be used alone or imported into Filters Unlimited.
(How do, you see here)
If a plugin supplied appears with this icon  it must necessarily be imported into Unlimited it must necessarily be imported into Unlimited

In the newest versions of PSP, you don't find the foreground/background gradient (Corel_06_029).
You can use the gradients of the older versions.
The Gradient of CorelX here
Copy the preset  in the folder of the plugins Alien Skin Eye Candy 5. in the folder of the plugins Alien Skin Eye Candy 5.
One or two clic on the file (it depends by your settings), automatically the preset will be copied in the right folder.
why one or two clic see here
The texture Corel_15_021 is standard in PSP (in the previous versions is Hatch Fine).
If you don't find it in your PSP, copy the supplied texture in the Textures Folder.
Open the masks in PSP and minimize them with the rest of the material.
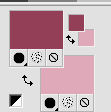
Used colors

Set your foreground color to #933f57,
set your background color to #e0a9ba.
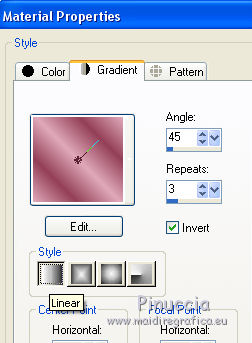
Set your foreground color to a Foreground/Background Gradient, style Linear
1. Open "Canal Alpha Agathe".
Duplicate with shift+D and close the original.
The copy, that will be the basis of your work, is not empty,
but it containts the selections saved on the alpha channel.
Flood Fill  the transparent image with your Gradient. the transparent image with your Gradient.
Adjust>Blur>Gaussian Blur, radius 30.

Effects>Texture Effects>Texture - select the texture Corel_15_021 or Hatch Fine.
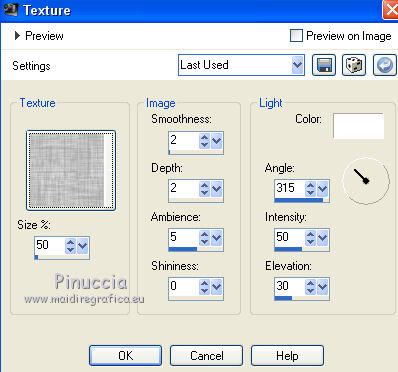
2. Layers>New Raster Layer.
Set your background color to #d3abbe
Fill Flood  the layer with your new background color. the layer with your new background color.
Layers>New Mask layer>From image
Open the menu under the source window and you'll see all the files open.
Select the mask 24_14.

Layers>Duplicate - 2 times.
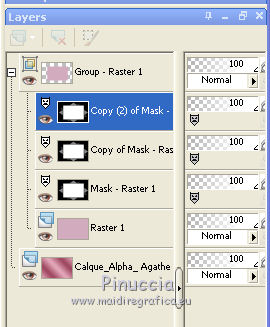
Effects>Edge Effects>Enhance.
Adjust>Sharpness>Sharpen.
Layers>Merge>Merge Group.
Again Effects>Edge Effects>Enhance More.
Layers>Merge>Merge visible.
3. Selection Tool 
(no matter the type of selection, because with the custom selection your always get a rectangle)
clic on the Custom Selection 
and set the following settings.
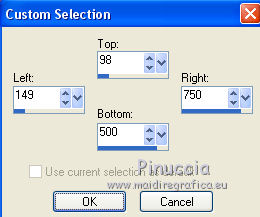
Selections>Promote Selection to Layer.
Set your background color to white #ffffff.
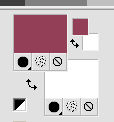
Flood Fill  the selection with color white. the selection with color white.
Selections>Modify>Contract - 4 pixels.
Flood Fill  the selection with your dark foreground color #9333f57. the selection with your dark foreground color #9333f57.
Selections>Modify>Contract - 2 pixels.
Flood Fill  the selection with color white. the selection with color white.
Selections>Modify>Contract - 4 pixels.
Press CANC on the keyboard 
Selections>Select None.
Effects>Plugins>Alien Skin Eye Candy 5 Impact - Glass.
select the preset ©agathe and ok
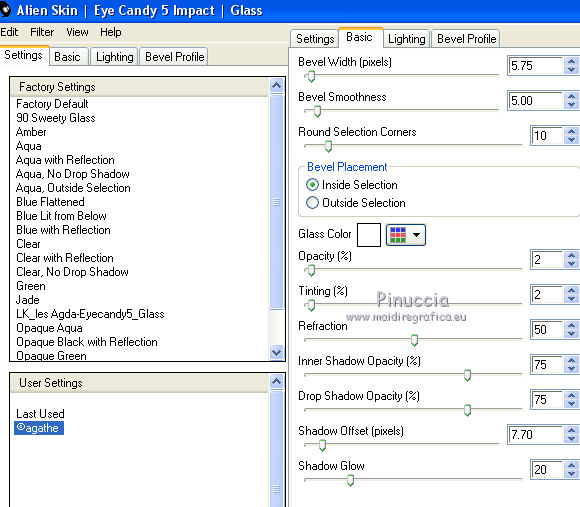
Adjust>One Step Photo Fix.
4. Layers>New Raster Layer, Raster 1.
Custom Selection  , same settings. , same settings.

Selections>Modify>Contract - 10 pixels.
Open your jpg image and go to Edit>Copy.
Go back to your work and go to Edit>Paste into Selection.
Effects>Plugins>Alien Skin Eye Candy 5 Impact - Glass, preset ©agathe

Layers>New Raster Layer.
Effects>3D Effects>Cutout
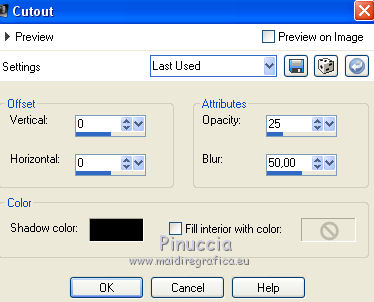
Selections>Select None.
Layers>Merge>Merge Down - 2 times and you'll get two layers.
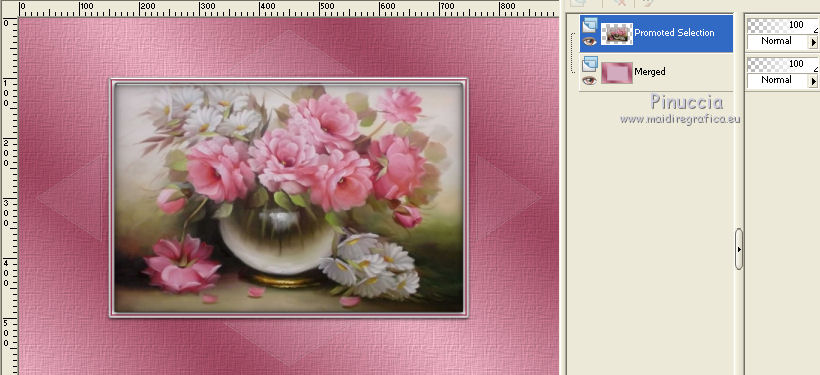
5. Activate the background layer.
Layers>New Raster Layer.
Flood Fill  with color white. with color white.
Selections>Select All.
Selections>Modify>Contract - 85 pixels.
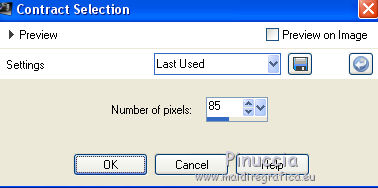
Selections>Invert.
Press CANC on the keyboard.
Again Selections>Invert.
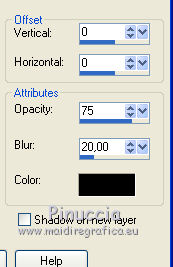
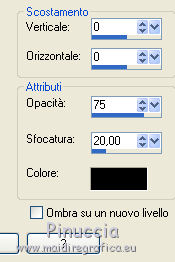
Effects>3D Effects>Drop Shadow, foreground color #933f57.
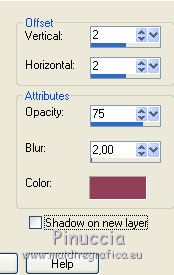
Repeat Drop Shadow, vertical and horizontal -2.
Selections>Select None.
6. Activate again the background layer.
Layers>New Raster Layer.
Flood Fill  with color white. with color white.
Layers>New Mask layer>From image
Open the menu under the source window and select the mask XnlcSSN
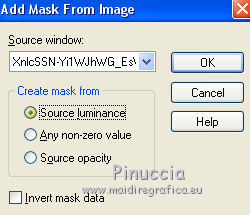
Adjust>Sharpness>Sharpen.
Layers>Merge>Merge Group.
Effects>3D Effects>Drop Shadow, color #30a9ba.
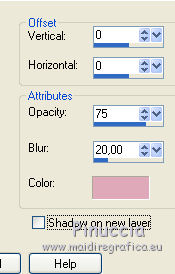
Layers>Merge>Merge Down.
7. Activate the top layer.
Layers>New Raster Layer.
Selections>Load/Save Selection>Load from Alpha Channel.
The selection ©Agathe-01 is immediately available.
You should only click on Load.
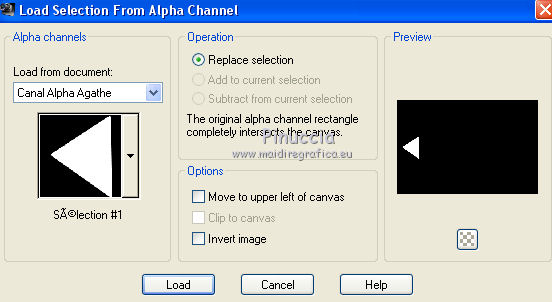
Flood Fill  the selection with your dark foreground color #933f57. the selection with your dark foreground color #933f57.
Selections>Select None.
Effects>Plugins>AP Lines - Lines SilverLining.
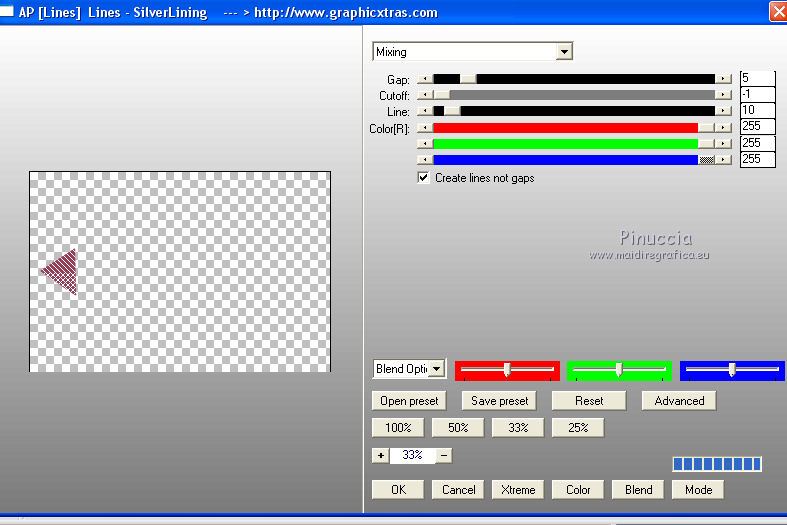
Layers>Duplicate.
Image>Miroir.
Layers>Merge>Merge Down.
Effects>Plugins>Toadies - What are you.
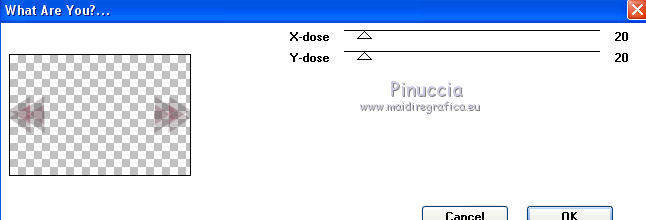
Layers>Arrange>Move Down.
Effects>3D Effects>Drop Shadow, foreground color #933f57.

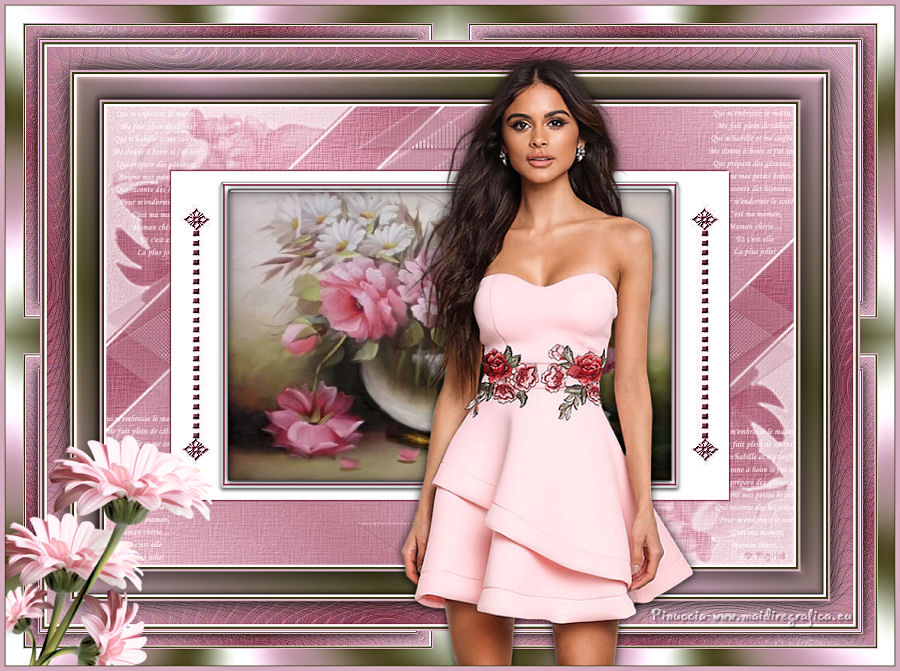
You should have this
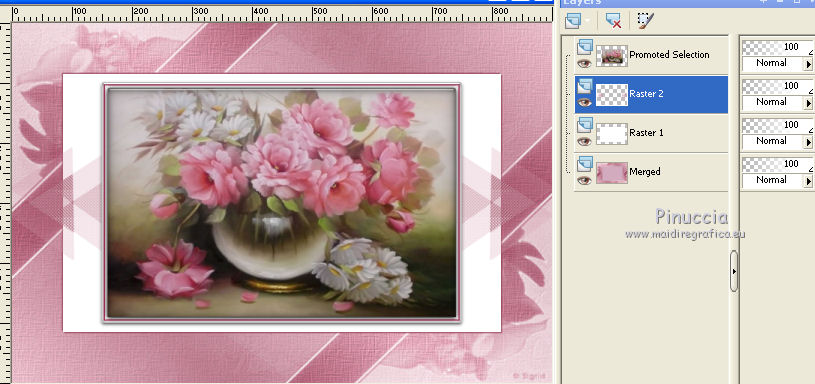
8. Activate the top layer.
Layers>New Raster Layer.
Selections>Load/Save Selection>Load Selection from Alpha Channel.
Open the selections menu and load the selection ©Agathe 02.
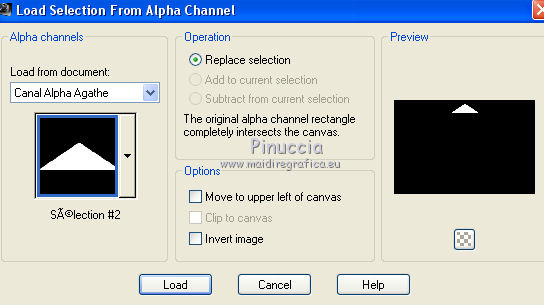
Flood Fill  the selection with your dark foreground color #933f57. the selection with your dark foreground color #933f57.
Selections>Select None.
Effects>Plugins>AP Lines - Lines SilverLining.
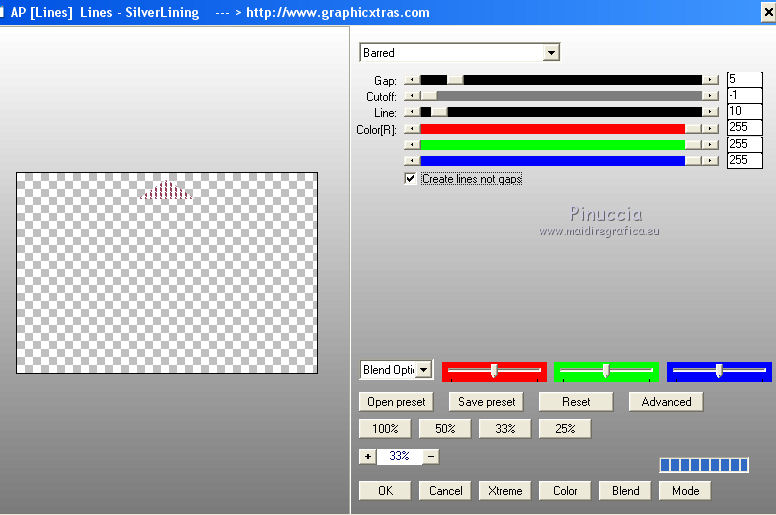
Layers>Duplicate.
Image>Flip.
Layers>Merge>Merge Down.
Effects>Plugins>Toadies - What are you, same settings.
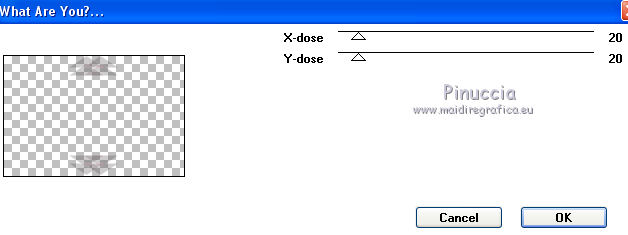
Effects>3D Effects>Drop Shadow, foreground color #933f57.

9. Custom Selection  , same settings. , same settings.

Press CANC on the keyboard 
Selections>Select None.
Layers>Arrange>Move Down.
Layers>Merge>Merge Down.
Layers>Arrange>Move Down.
Effects>3D Effects>Drop Shadow, same settings.
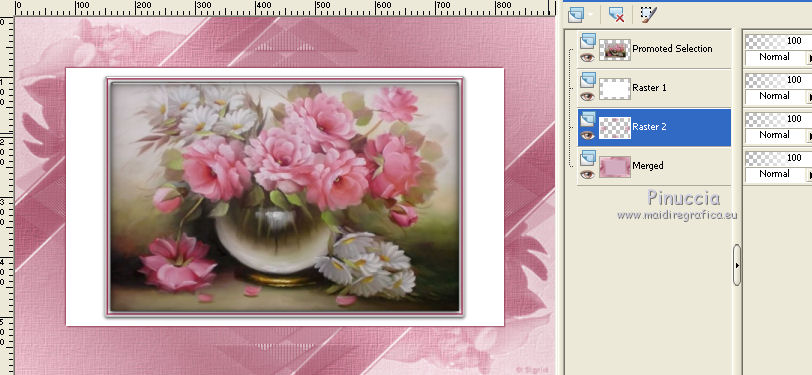
You should have this
10. Activate the background layer.
Open the tube déco CL Agathe écriture and go to Edit>Copy.
Go back to your work and go to Edit>Paste as new layer.
Don't move it.
Change the Blend Mode of this layer to Hard Light.
Layers>Duplicate.
Layers>Merge>Merge visible.
11. Layers>New Raster Layer.
Open the Brush.
File>Export>Custom Brush - give a name to the brush
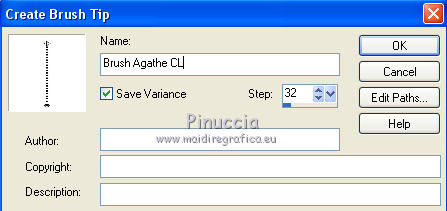
Activate the Brush Tool 
look for and select the brush you have just exported

Apply the brush 2 times with your foreground color #933f57.
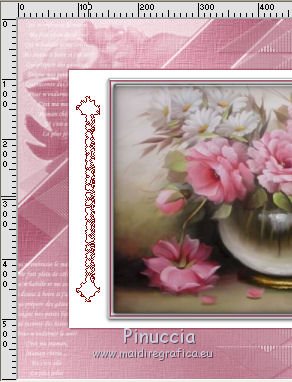
Layers>Duplicate.
Image>Mirror.
Layers>Merge>Merge Down.
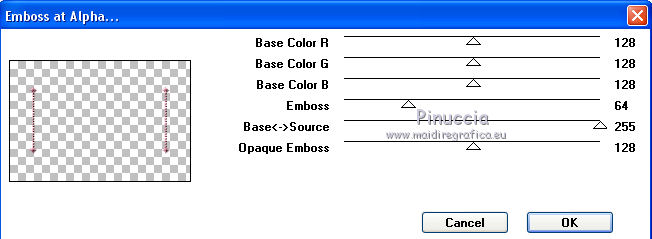
Effects>Plugins>Mura's Seamless - Emboss at Alpha, default settings - 2 times.
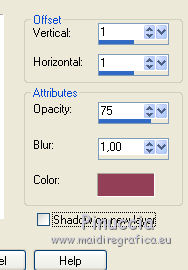
Effects>3D Effects>Drop Shadow, foreground color #933f57.
Layers>Merge>Merge Down.
12. Set your foreground color to green color #56532c
and your background color to light rose color #d3abbe.
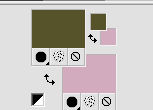
Set your foreground color to Gradient, same settings.
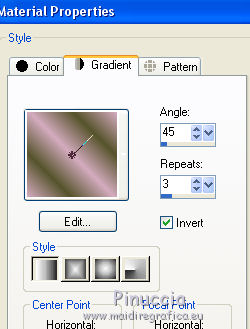
Image>Add borders, 3 pixels, symmetric, color white.
Image>Add borders, 3 pixels, symmetric, green foreground color #56532c.
Image>Add borders, 3 pixels, symmetric, light rose background color #d3abbe.
Image>Add borders, 30 pixels, symmetric, color white.
Activate the Magic Wand Tool 
and click on the 30 pixels bord to select it.
Flood Fill  the selection with your Gradient. the selection with your Gradient.
Effects>3D Effects>Inner Bevel.
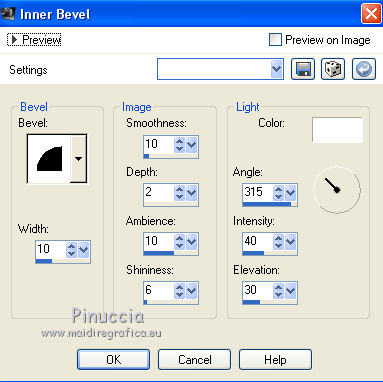
Selections>Invert.
Effects>3D Effects>Drop Shadow, color black.
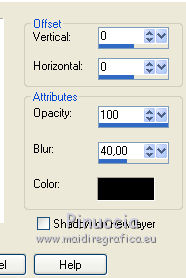
Selections>Select None.
13. Image>Add borders, 3 pixels, symmetric, color white.
Image>Add borders, 3 pixels, symmetric, green foreground color #56532c.
Image>Add borders, 3 pixels, symmetric, light rose background color #d3abbe.
Image>Add borders, 30 pixels, symmetric, color white.
Set your foreground color to #933f57,
and keep the background color to #d3abbe.
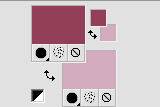
Keep the Gradient with the same settings.
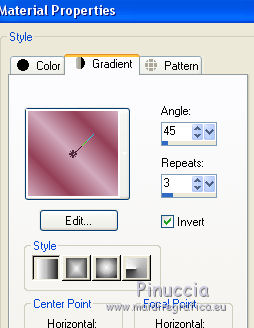
Select the 30 pixels border with your Magic Wand Tool 
Flood Fill  the selection with your Gradient. the selection with your Gradient.
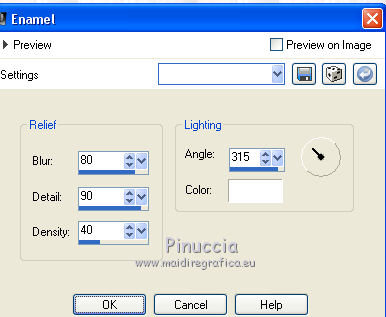
Effects>Artistic Effects>Enamel.
Selections>Invert.
Effects>3D Effects>Drop Shadow, same settings.

Selections>Select None.
14. Set again your foreground color to green color #56532c.
Image>Add borders, 3 pixels, symmetric, color white.
Image>Add borders, 3 pixels, symmetric, green foreground color #56532c.
Image>Add borders, 3 pixels, symmetric, light rose background color #d3abbe.
Selections>Select All.
Image>Add borders, 45 pixels, symmetric, colore white.
Selections>Invert.
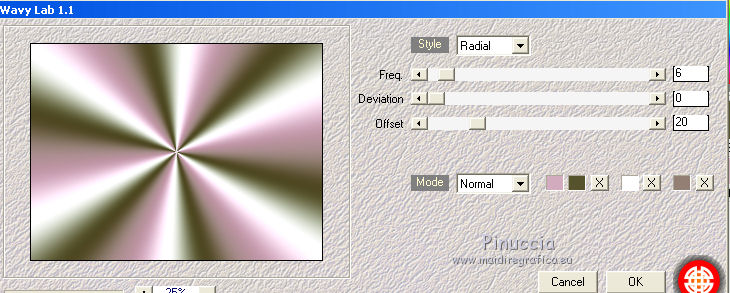
Effetti>Plugins>Mehdi - Wavy Lab 1.1.
This filter creates gradients with your materials colors:
The first is your background color, the second is your foreground color;
of the last two colors created by the filter, change the third color with color white #ffffff.
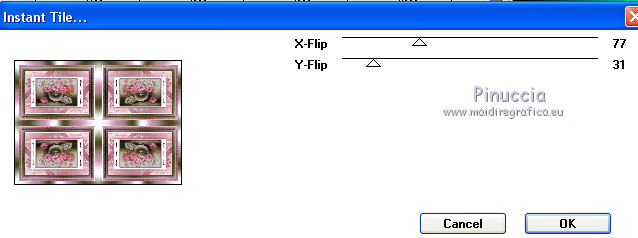
Effects>Plugins>VM Toolbox - Instant Tiles.
Selections>Select None.
15. Open the tube fleur and go to Edit>Copy.
Go back to your work and go to Edit>Paste as new layer.
K key on the keyboard to activate the Pick Tool 
and set Position X: -56,00 and Position Y: 561,00

Effects>3D Effects>Drop Shadow, color black.
16. Open the woman tube by Nadège and go to Edit>Copy.
Go back to your work and go to Edit>Paste as new layer.
K key on the keyboard to activate the Pick Tool 
and set Position X: 515,00 and Position Y: 71,00

Effects>3D Effects>Drop Shadow, same settings.
Layers>Merge>Merge All.
16. Image>Add borders, 1 pixel, symmetric, green foreground #56532c.
Image>Add borders, 6 pixels, symmetric, light rose background color #d3abbe.
Sign your work.
Image>Resize, 900 pixels width, resize all layers checked.
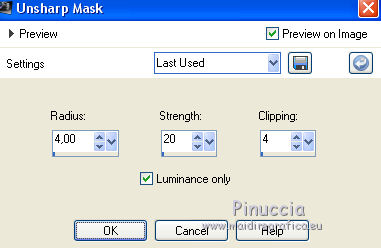
Adjust>Sharpness>Unsharp Mask.

If you have problems or doubts, or you find a not worked link,
or only for tell me that you enjoyed this tutorial, write to me.
24 May 2018
|

