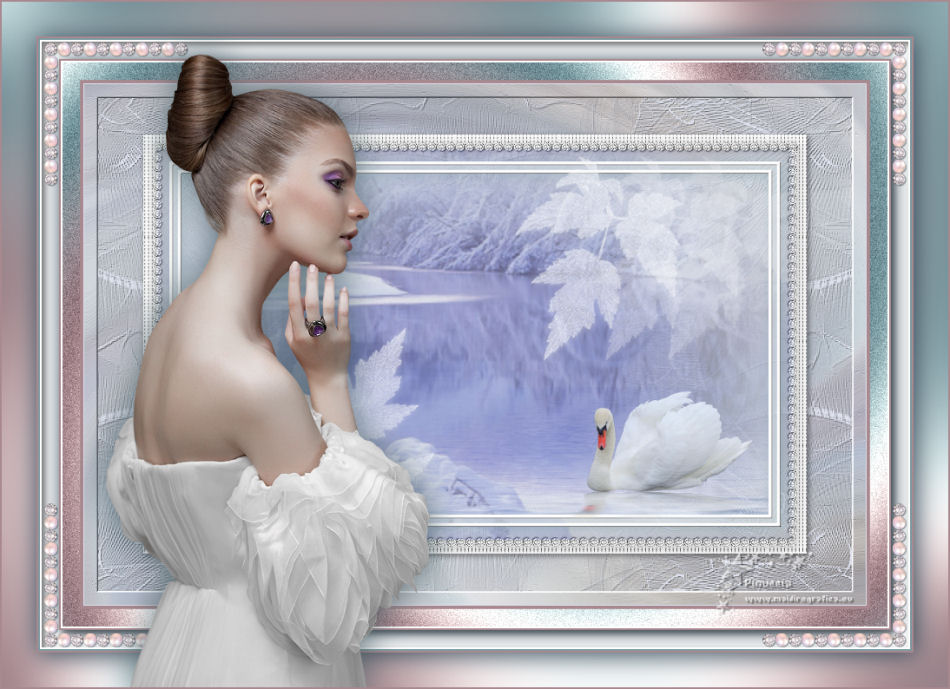
|
ANNABELLE

english version

Here you find the original of this tutorial:

This tutorial was written with CorelX9 and translated with Corel X7 and CorelX3, but it can also be made using other versions of PSP.
Since version PSP X4, Image>Mirror was replaced with Image>Flip Horizontal,
and Image>Flip with Image>Flip Vertical, there are some variables.
In versions X5 and X6, the functions have been improved by making available the Objects menu.
In the latest version X7 command Image>Mirror and Image>Flip returned, but with new differences.
See my schedule here
italian translation here
Material here
For the tube thanks Cibi and Animabelle.
The rest of the material is by Laurette.
(The links of the tubemakers here).
Plugins
consult, if necessary, my filter section here
Filters Unlimited 2.0 here
Mehdi - Wavy Lab 1.1 here
Simple - Top Left Mirror here
Mura's Seamless - Emboss at alpha here
Filters Simple and Mura's Seamless can be used alone or imported into Filters Unlimited.
(How do, you see here)
If a plugin supplied appears with this icon  it must necessarily be imported into Unlimited it must necessarily be imported into Unlimited

You can change Blend Modes according to your colors.
Copy the Selection in the Selections Folder (if you want to use it instead of the alpha channel)
Copy the texture in the Textures Folder.
Open the mask in PSP and minimize it with the rest of the material.
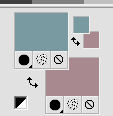
Set your foreground color to #7a9aa1,
and your background color to #a8898f.
1. Open canal_alpha_annabelle.
Window>Duplicate, or on the keyboard shift+D, to make a copy.
Close the original.
The copy, that will be the basis of your work, is not empty,
but contains a selection saved on the alpha channel.
Rename this layer "Raster 1".
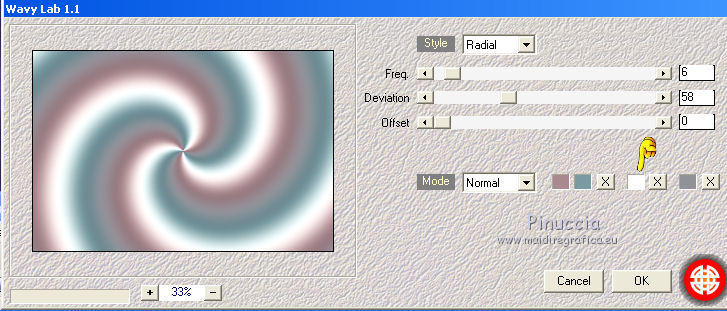
2. Effects>Plugins>Mehdi - Wavy Lab 1.1
This filter creates gradients with the colors of your Materials palette:
the first is your background color, the second is your foreground color.
Of the last two colors created by the filter, change the third color with color white #ffffff.
Adjust>Blur>Gaussian Blur - radius 30.

3. Selections>Select All.
Open the tube "Paysage Annabelle n.1" and go to Edit>Copy.
Go back to your work and go to Edit>Paste into Selection.
Selections>Select None.
Effects>Image Effects>Seamless Tiling, default settings.

Adjust>Blur>Radial Blur.
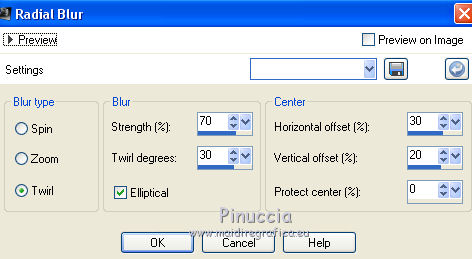
Effects>Art Media Effects>Brush Strokes, color #f6f9ee.
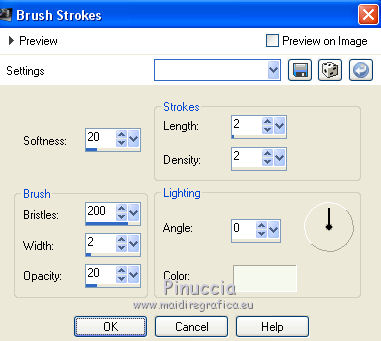
Adjust>Sharpness>Sharpen.
Layers>Duplicate.
Change the Blend Mode of this layer to Hard Light.
Layers>Merge>Merge Down.
Layers>Duplicate.
4. Set your foreground color to #dee2ee,
and your background color to white #ffffff
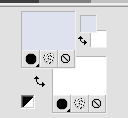
Layers>New Raster Layer.
Flood Fill  with your foreground color #dee2ee. with your foreground color #dee2ee.
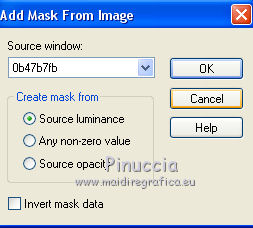
Layers>New Mask layer>From image
Open the menu under the source window and you'll see all the files open.
Select the mask 0b47b7fb.
Adjust>Sharpness>Sharpen.
Effects>Edge Effects>Enhance More.
Layers>Merge>Merge Group.
Layers>Duplicate.
Image>Mirror.
Layers>Merge>Merge Down.
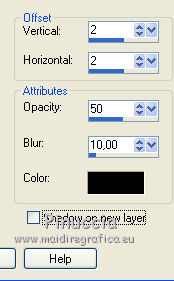
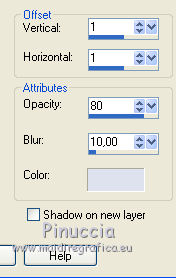
Effects>3D Effects>Drop Shadow, color black.
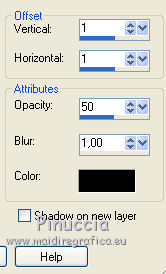
Effects>Image Effects>Seamless Tiling, default settings.
5. Selection Tool 
(no matter the type of selection, because with the custom selection your always get a rectangle)
clic on the Custom Selection 
and set the following settings.
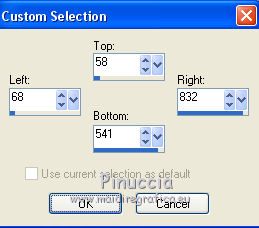
Selections>Modify>Select Selection Borders.
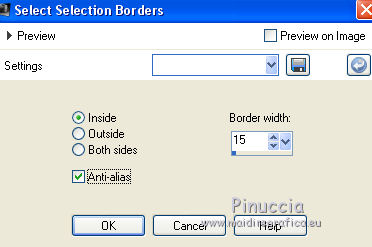
Layers>New Raster Layer.
Flood Fill  with your white background color #ffffff. with your white background color #ffffff.
Effects>Texture Effects>Texture - select the texture Texture n.170.
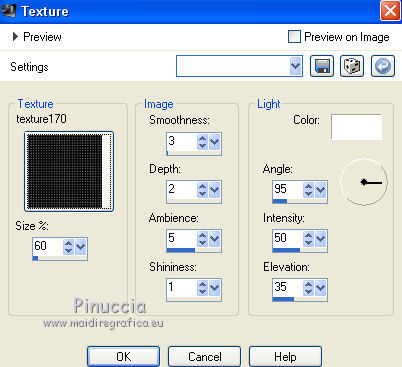
Selections>Select None.
Effects>3D Effects>Drop Shadow, color black.
6. Activate the layer Raster 1.
Selections>Select All.
Selections>Modify>Select Selection Borders, same settings.

Selections>Promote Selection to Layer.
Layers>Arrange>Bring to Top.
Selections>Select None.
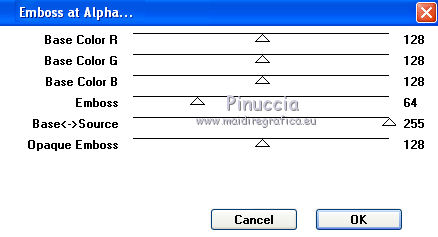
Effects>Plugins>Mura's Seamless - Emboss at Alpha, default settings.
7. Keep the top layer selected.
Reduce the opacity of your Flood Fill Tool to 50%.

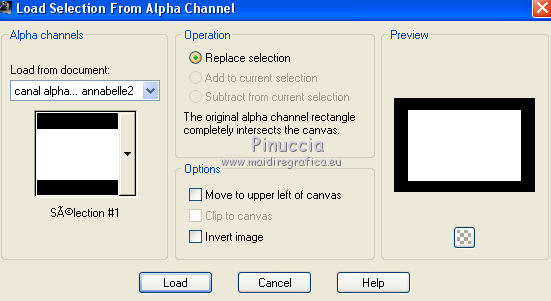
Selections>Load/Save Selection>Load Selection from Alpha Channel.
The selection sélection#1 is immediately available.
You just have to click Load.
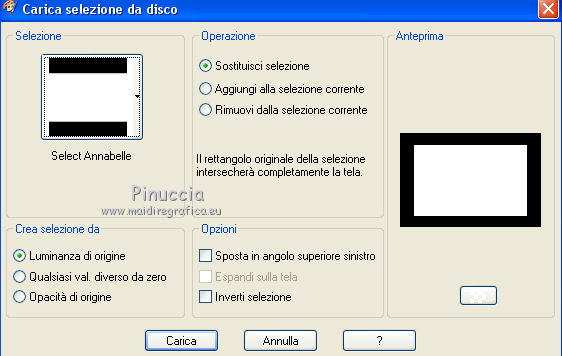
if your like better, you can do Load Selection from Disk
and load the selection Select Annabelle
Both the selections do not completely cover the inner frame
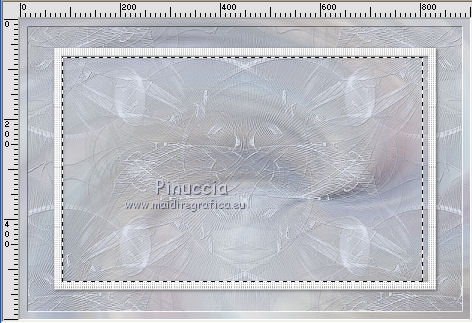
If you want to correct the dimensions, go to Selections>Edit Selection
and the selected area will become red
Activate your Pick Tool 
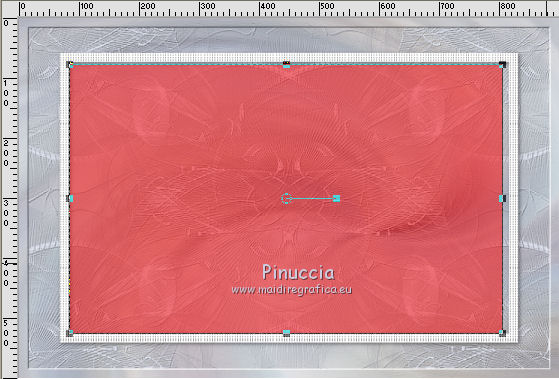
and push the central node to the right to reach to the edge
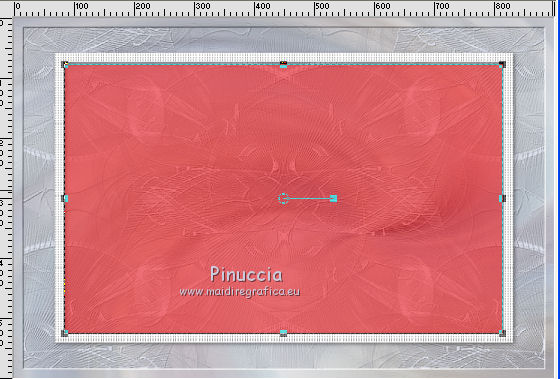
Selections>Edit Selection and the selection will return normal.
Layers>New Raster Layer.
Flood Fill  with your foreground color #dee2ee. with your foreground color #dee2ee.
Set again the opacity of your Flood Fill Tool to 100.
8. Open the tube Paysage-Annabelle n.2 and go to Edit>Copy.
Go back to your work and go to Edit>Paste as new layer.
Selections>Invert.
Press CANC on the keyboard 
Selections>Select None.
Layers>Merge>Merge visible.
9. Open the tube déco Annabelle n.1 and go to Edit>Copy.
Go back to your work and go to Edit>Paste as new layer.
Don't move it.
Effects>3D Effects>Drop Shadow, with your initial foreground color #7a9aa1.
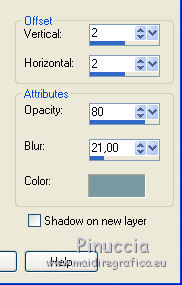
10. Open the tube déco Annabelle n. 2 and go to Edit>Copy.
Go back to your work and go to Edit>Paste as new layer.
Don't move it.
Effects>3D Effects>Drop Shadow, with your actual foreground color #dee2ee
11. Open the tube déco Annabelle n.3 and go to Edit>Copy.
Go back to your work and go to Edit>Paste as new layer.
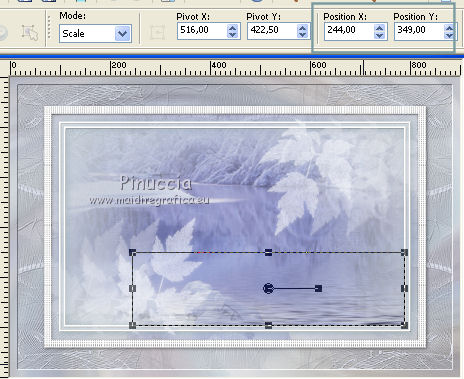
K key on the keyboard to activate the Pick Tool 
and set Position X: 244,00 and Position Y: 349,00
Change the Blend Mode of this layer to Overlay.
12. Open the tube Cygne and go to Edit>Copy.
Go back to your work and go to Edit>Paste as new layer.
Set Position X: 555,00 and Position Y: 354,00

M key to deselect the Tool.
Reduce the opacity of this layer to 80%.
13. Open the tube cadre perle and go to Edit>Copy.
Go back to your work and go to Edit>Paste as new layer.
Don't move it.
Effects>3D Effects>Drop Shadow, with your initial foreground color #7a9aa1.

Change the Blend Mode of this layer to Luminance (legacy).
14. Image>Add borders, 1 pixels, symmetric, color #dee2ee.
Image>Add borders, 4 pixels, symmetric, color #a8898f.
Image>Add borders, 20 pixels, symmetric, color white.
Activate your Magic Wand Tool 

Click on the 20 pixels border to select it.
Set your foreground and background colors with the initial colors
foreground #7a9aa1,
background #a8898f.

Effects>Plugins>Mehdi - Wavy Lab 1.1, as at step 2

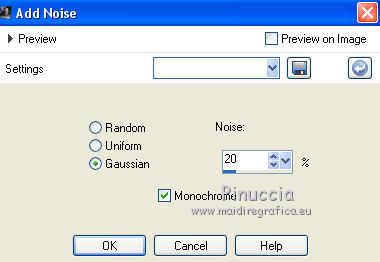
Adjust>Add/Remove Noise>Add Noise
Selections>Select None.
15. Image>Add borders, 2 pixels, symmetric, color white.
Image>Add borders, 2 pixels, symmetric, color #a8898f.
Selections>Select All.
Image>Add borders - 20 pixels symmetric, color white.
Selections>Invert.
Effects>3D Effects>Cutout
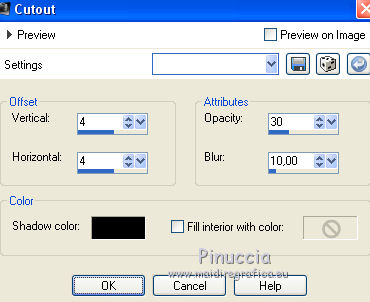
Edit>Repeat Cutout.
Selections>Invert.
Effects>3D Effects>Drop Shadow, color #142c3e.
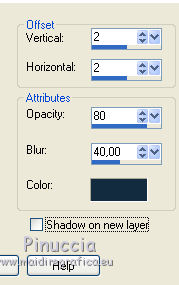
Selections>Select None.
16. Image>Add borders, 2 pixels, symmetric, color white.
Image>Add borders, 2 pixels, symmetric, color #719aa1.
Image>Add borders, 2 pixels, symmetric, color #a8898f.
Selections>Select All.
Image>Add borders, 40 pixels, symmetric, color white.
Selections>Invert.
Effects>Plugins>Mehdi - Wavy Lab 1.1., same settings.
Adjust>Blur>Gaussian Blur - radius 30

Selections>Invert.
Effects>3D Effects>Drop Shadow, color #142c3e.

Selections>Select None.
17. Open the tube déco coins perle and go to Edit>Copy.
Go back to your work and go to Edit>Paste as new layer.
Effects>Image Effects>Offset.
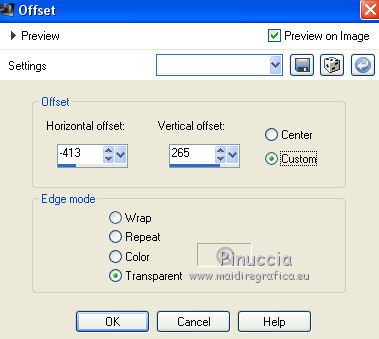
Effects>Plugins>Simple - Top Left Mirror.
Effects>3D Effects>Drop Shadow, color #445b62.
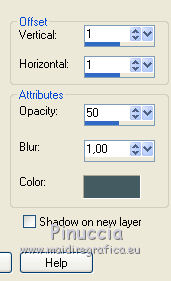
Or, if you prefer, copy/paste as new layer the tube Déco coins.
Dont' move it
Effects>3D Effects>Drop Shadow, same settings
18. Open the tube of the woman and go to Edit>Copy.
Go back to your work and go to Edit>Paste as new layer.
Effects>3D Effects>Drop Shadow, at your choice.
Place  rightly the tube. rightly the tube.
19. Sign your work on a new layer.
Image>Add borders, 2 pixels, symmetric, background color.
Image>Resize, 950 pixels width, resize all layers checked.
Adjust>Sharpness>Sharpen.
Save as jpg.
The tube of this version is by Danimage
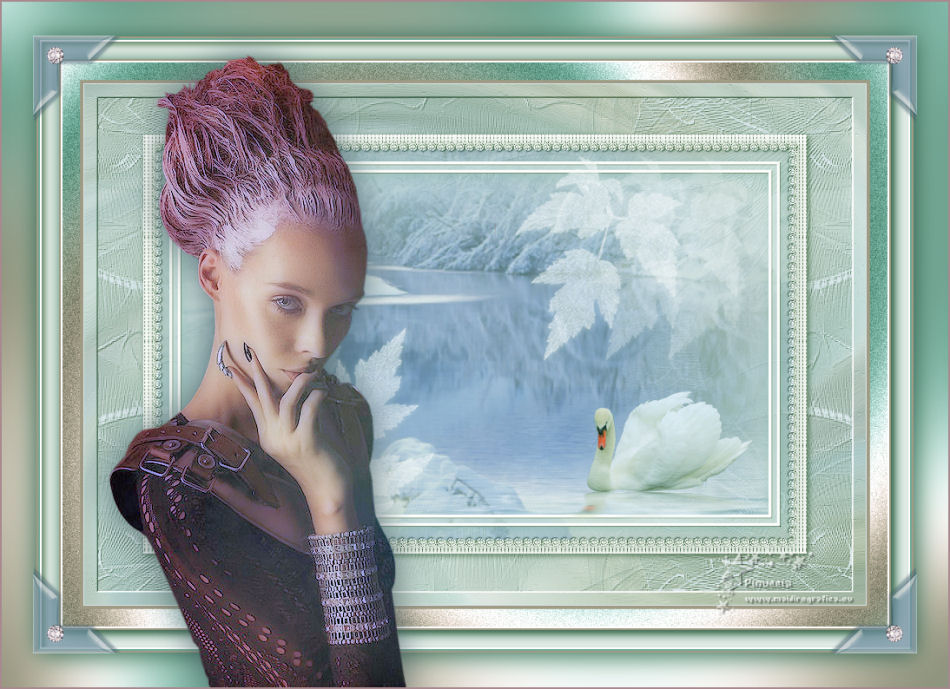

Le vostre versioni. Grazie
Your versions. Thanks
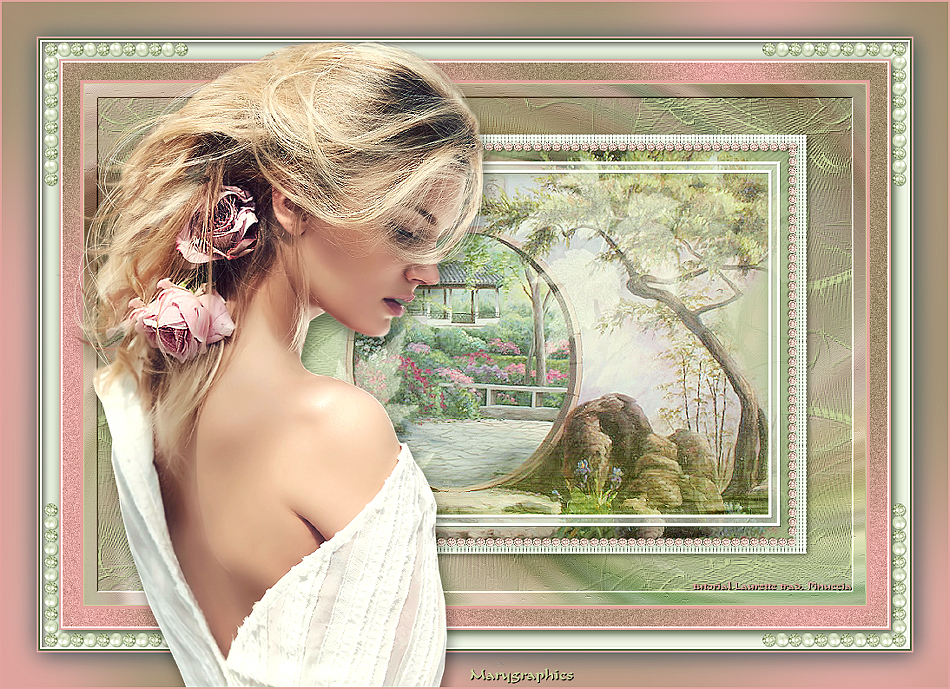
Marygraphics
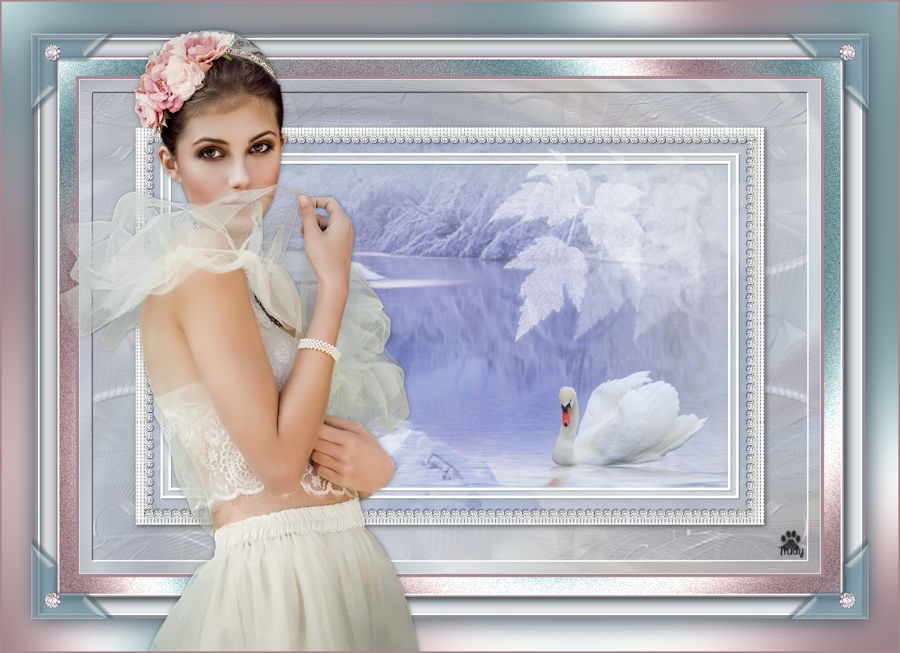
Trudy
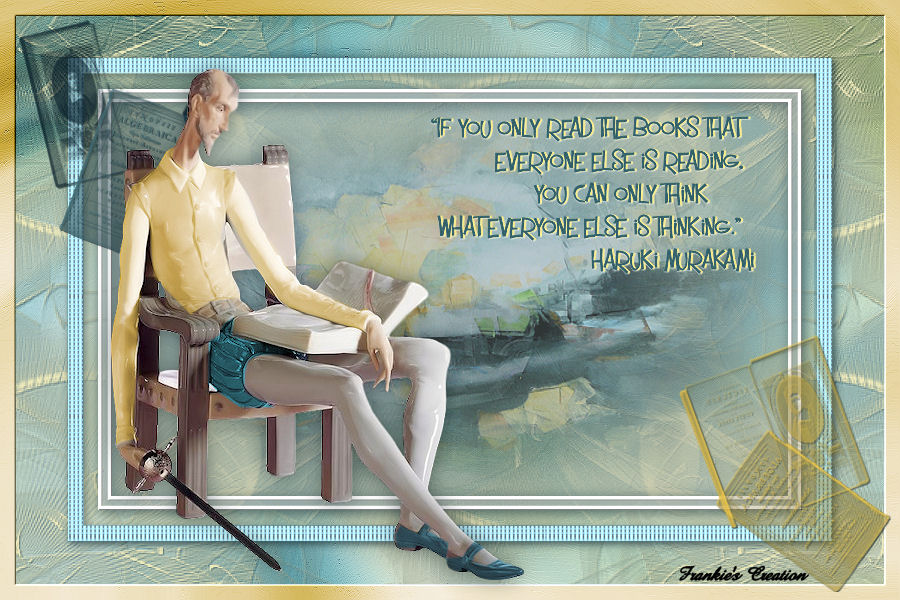
Frankie

If you have problems or doubts, or you find a not worked link, or only for tell me that you enjoyed this tutorial, write to me.
My mail is in the menu on the top of the page.
17 January 2019
|

