|
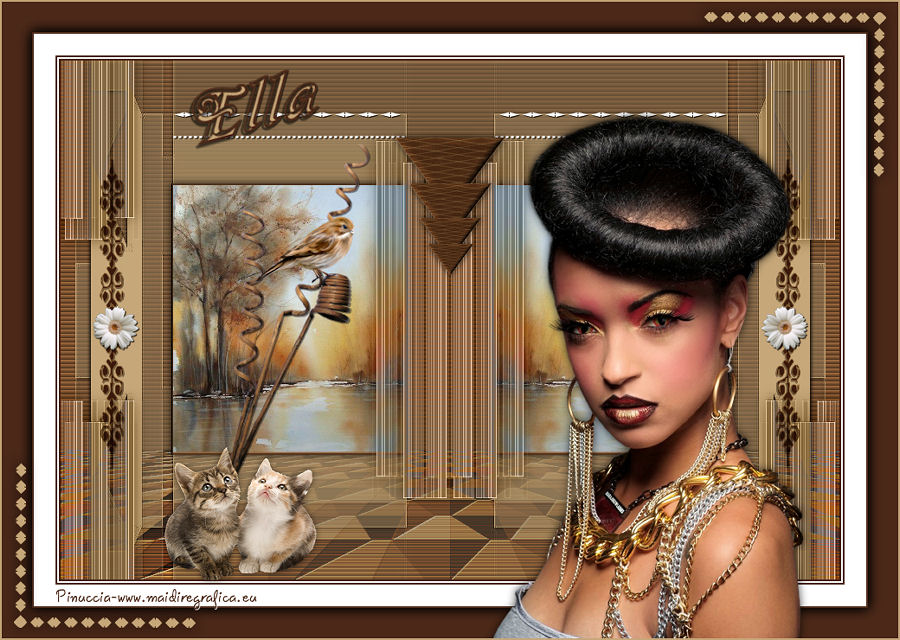
ELLA

english version

Here you find the original of this tutorial:

This tutorial was written with CorelX19 and translated with CorelX17, but it can also be made using other versions of PSP.
Since version PSP X4, Image>Mirror was replaced with Image>Flip Horizontal,
and Image>Flip with Image>Flip Vertical, there are some variables.
In versions X5 and X6, the functions have been improved by making available the Objects menu.
In the latest version X7 command Image>Mirror and Image>Flip returned, but with new differences.
See my schedule here
italian translation here
your versions here
A tube of yours
The rest of the material here
For the tube thanks Anna.br
The masks are by Ildiko.
The other tubes are found on the net.
The rest of the material created by Laurette with the Preset Shapes Tool.
Plugins:
consult, if necessary, my filter section here
Filters Unlimited 2.0 here
Crescent Moon - CutGlass here
FM Tile Tools - Blend Emboss here
Mura's Meister - Perspective Tiling here
Filters Crescent Moon can be used alone or imported into Filters Unlimited.
(How do, you see here)
If a plugin supplied appears with this icon  it must necessarily be imported into Unlimited it must necessarily be imported into Unlimited

You can change Blend Modes according to your colors.
Open the mask in PSP and minimize it with the rest of the material.
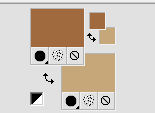
1. Set your foreground color to #a06a3e,
and your background color to #c6a779.
2. Open a new transparent image 900 x 600 pixels.
Flood Fill  the transparent image with your dark foreground color. the transparent image with your dark foreground color.
Layers>New Raster Layer - Raster 2.
Flood Fill  the layer with your light foreground color. the layer with your light foreground color.
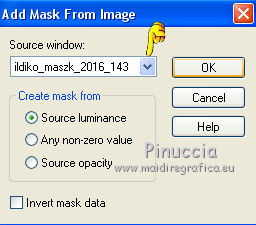
Layers>New Mask layer>From image
Open the menu under the source window and you'll see all the files open.
Select the mask ildiko maszk2016_143.
Effects>Edge Effects>Enhance.
Layers>Duplicate.
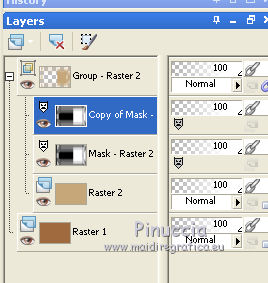
Layers>Merge>Merge Group.
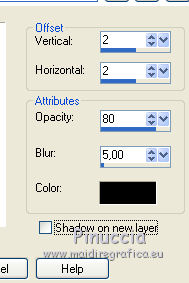
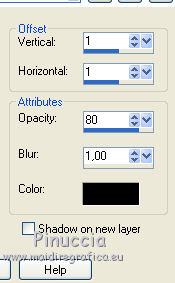
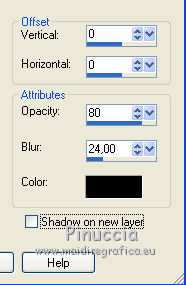
Effects>3D Effects>Drop Shadow.
Layers>Duplicate.
Image>Mirror.
Layers>Merge>Merge Down.
Layers>Duplicate.
Image>Mirror.
Layers>Merge>Merge Down.
Effects>Reflection Effects>Rotating Mirror.

Selection Tool 
(no matter the type of selection, because with the custom selection your always get a rectangle)
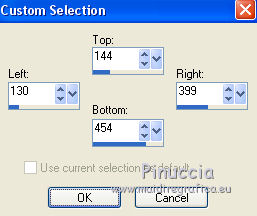
clic on the Custom Selection 
and set the following settings.
Layers>New Raster Layer.
Open the landscape tube and go to Edit>Copy.
Go back to your work and go to Edit>Paste into Selection.
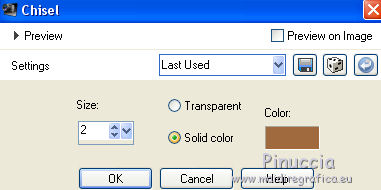
Effects>3D Effects>Chisel, dark color.
Selections>Select None.
Layers>Duplicate.
Image>Mirror.
Layers>Merge>Merge Down.
Effects>3D Effects>Drop Shadow, color black.
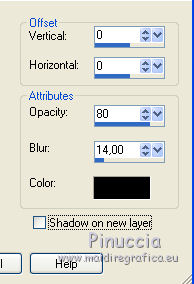
3. Open the tube ILdiko créate _0003 free and go to Edit>Copy.
Go back to your work and go to Edit>Paste as new layer.
Don't move it.
Effects>Image Effects>Seamless Tiling, default settings.

Change the Blend Mode of this layer to Luminance (legacy).
Effects>Edge Effects>Enhance, ou according to your color.
Layers>Duplicate.
Image>Mirror.
Layers>Merge>Merge Down.
4. Activate the bottom layer, Raster 1.
Effects>Texture Effects>Blinds
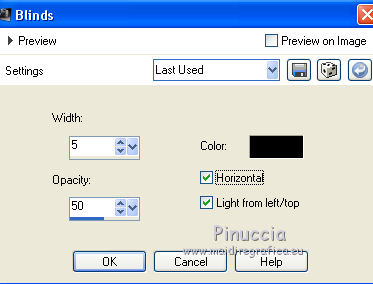
Layers>Duplicate.
Change the Blend Mode of this layer to Hard Light, or other.
Effects>Plugins>Crescent Moon - Cut Glass
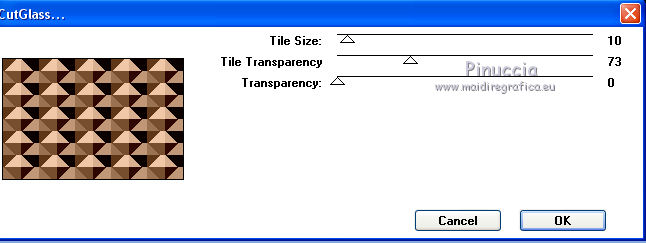
Effects>Plugins>Mura's Meister - Perspective Tiling.
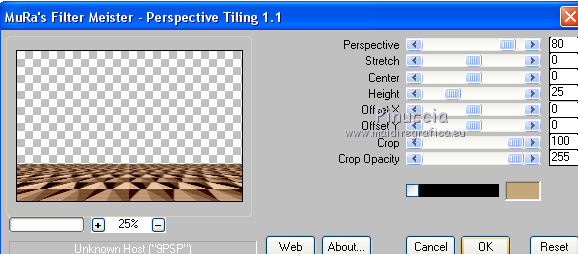
Effects>Plugins>FM Tile Tools - Blend Emboss, default settings.

You should have this.
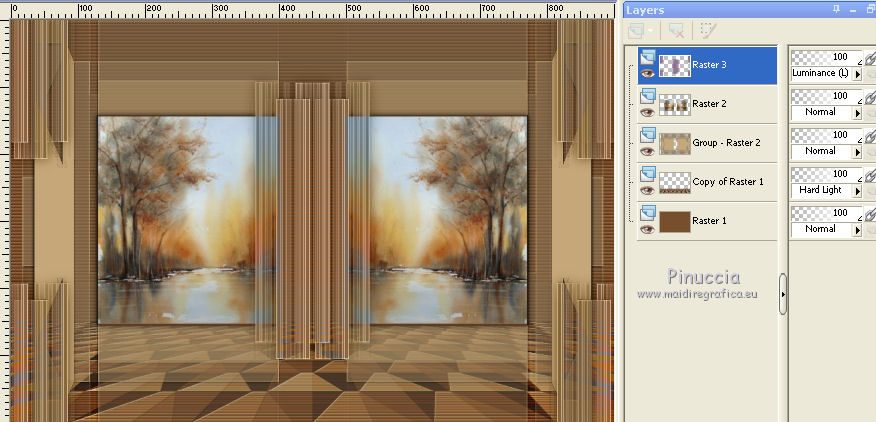
Layers>Merge>Merge All.
5. Open the tube Deco CL n.3, and go to Edit>Copy.
Go back to your work and go to Edit>Paste as new layer.
To place the tube:
K key on the keyboard to activate the Pick Tool 
mode Scale 
and set Position X: 45,00 and Position Y: 114,00
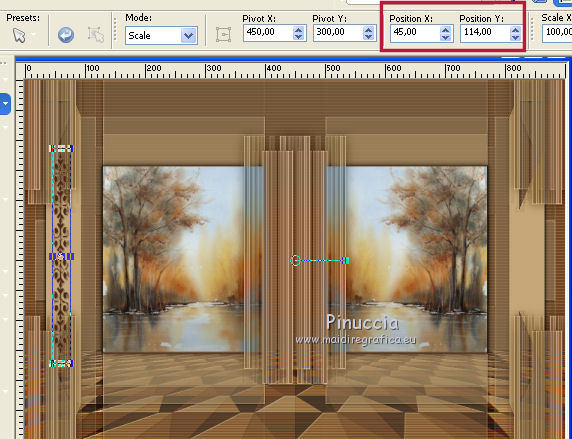
Layers>Duplicate.
Image>Mirror.
Layers>Merge>Merge Down.
Change the Blend Mode of this layer to Multiply, or other.
There is not Drop Shadow.
If you use an other color, as in my second version:
Adjust>Hue and Saturation>Colorize
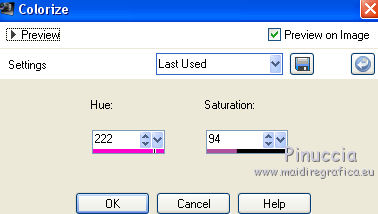
6. Open the tube Déco CL fleur seule, and go to Edit>Copy.
Go back to your work and go to Edit>Paste as new layer.
Pick Tool 
and set Position X: 37,00 and Position Y: 284,00
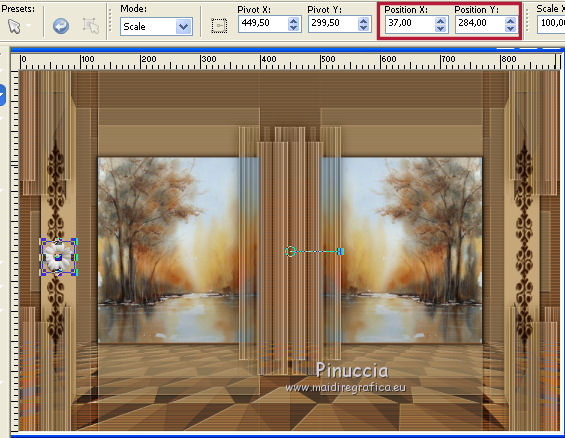
Layers>Duplicate.
Image>Mirror.
Layers>Merge>Merge Down.
Effects>3D Effects>Drop Shadow, color black.
7. Set your foreground color to white.
Activate the Pen Tool 
look for and select the line style vyp ligne Losange, width 2.

If you prefer, in the zip you find the tube to copy/paste as new layer.
To drawn the line, click on the start point (a little away from the edge)
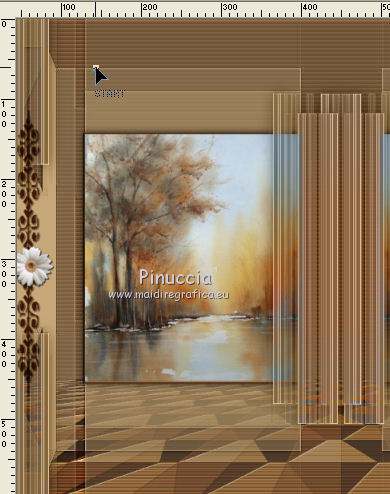
then click on arrival point and the line will draw itself.
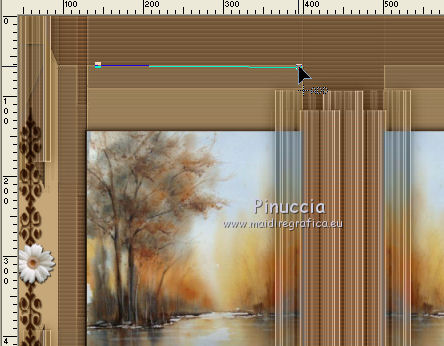 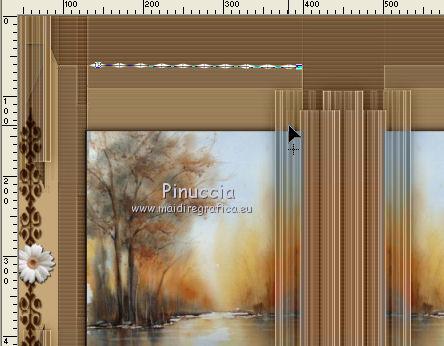
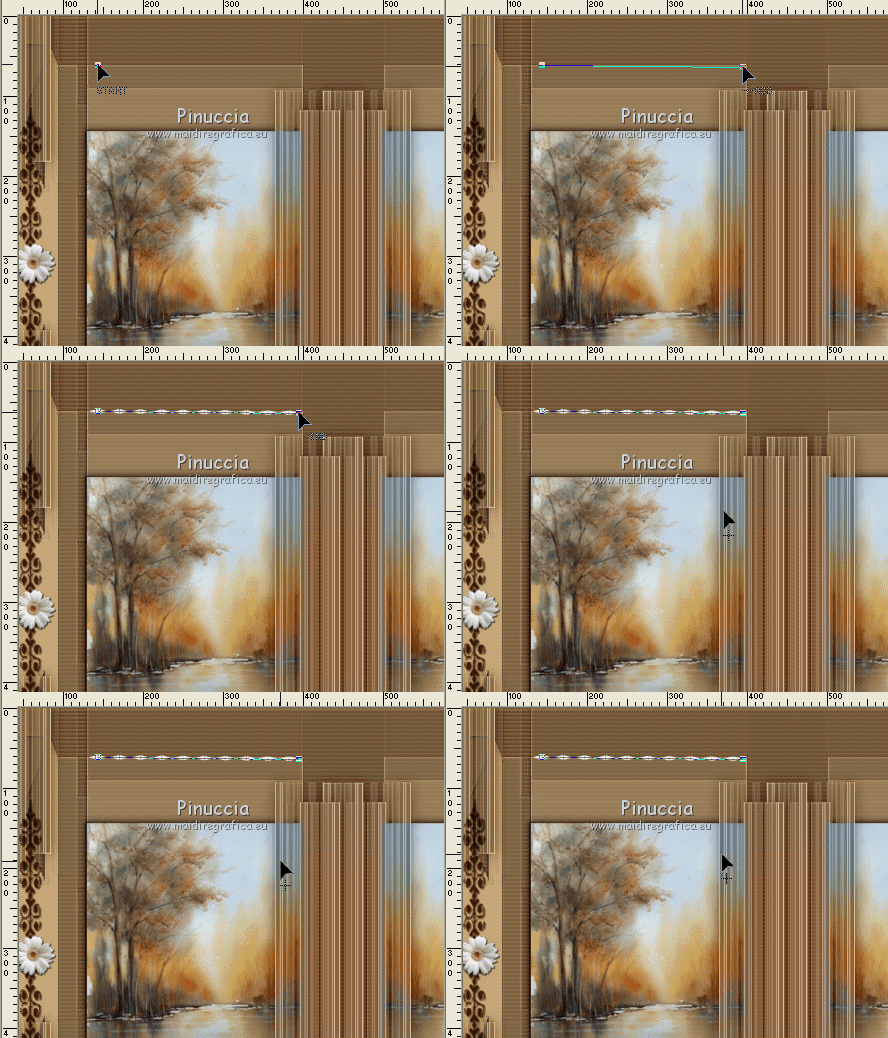
Attention please: it is important to select Connect segment; otherwise this doesn't work.
Layers>Promote Selection to Layer.
Layers>Duplicate.
Image>Mirror.
Layers>Merge>Merge Down.
Effects>3D Effects>Drop Shadow, color black.

8. Layers>New Raster Layer.
Activate again the Pen tool 
look for and select the line style Dots, width 3

always with color white, draw a line as above
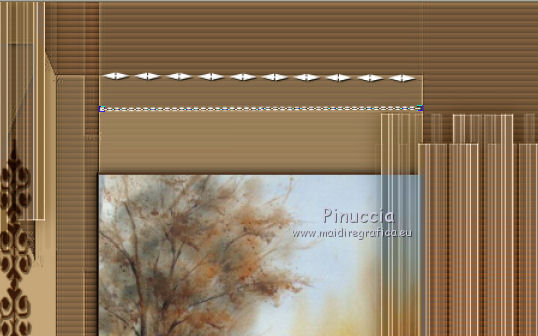
Layers>Promote Selection to Layer.
Layers>Duplicate.
Image>Mirror.
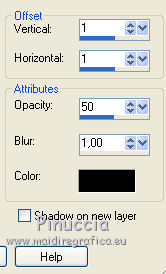
Effects>3D Effects>Drop Shadow, same settings.

9. Open the tube petits triangle and go to Edit>Copy.
Go back to your work and go to Edit>Paste as new layer.
Pick Tool 
and set Position X: 387,00 and Position Y: 89,00
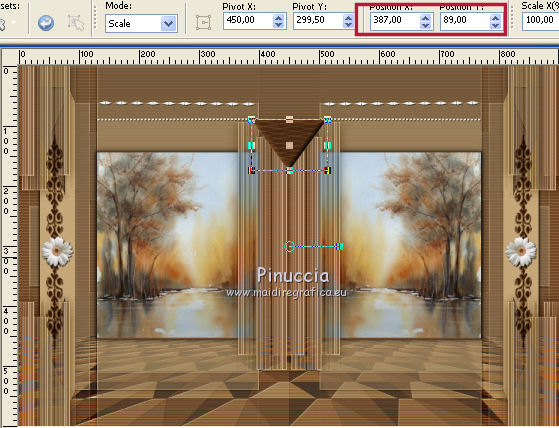
Layers>Duplicate.
Image>Resize, to 75%, resize all layers not checked.
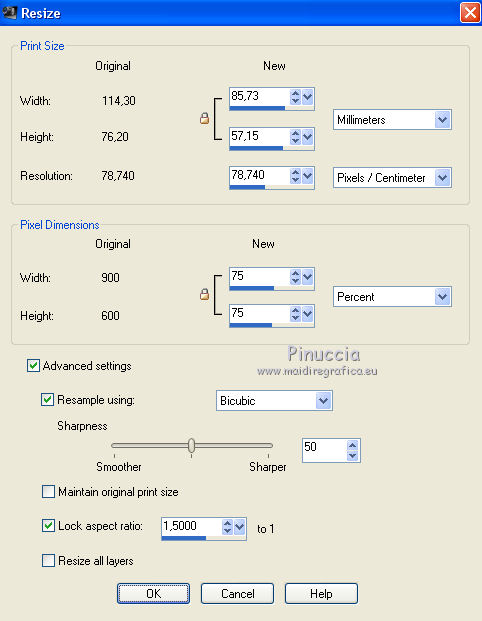
Repeat this step until you get 4 triangles that will automatically position themselves.
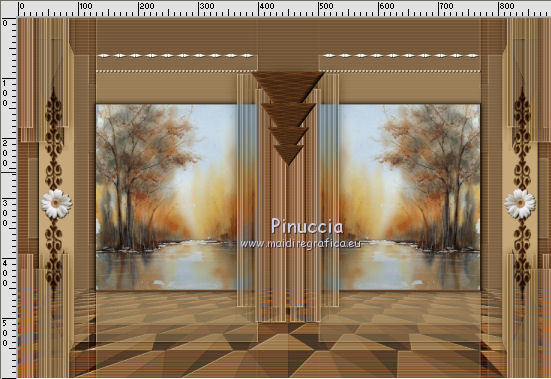
Layers>Merge>Merge Down - 3 times, to have the four triangles in one level.
Effects>3D Effects>Drop Shadow, color black.
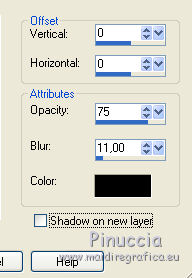
Colorize, if your are using another color.
10. Image>Add borders, 2 pixels, symmetric, dark color.
Image>Add borders, 2 pixels, symmetric, color white.
Image>Add borders, 2 pixels, symmetric, dark color.
Image>Add borders, 25 pixels, symmetric, color white.
Image>Add borders, 2 pixels, symmetric, dark color.
Selections>Select All.
Image>Add borders, 35 pixels, symmetric, dark color.
Effects>3D Effects>Drop Shadow, color black.
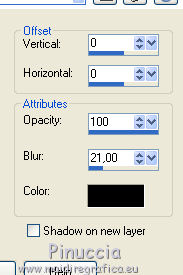
Edit>Repeat Drop Shadow.
Selections>Select None.
11, Open the tube coin CL.design and go to Edit>Copy.
Go back to your work and go to Edit>Paste as new layer.
Pick Tool 
and place Position X: 811,00 and Position Y: 11,00
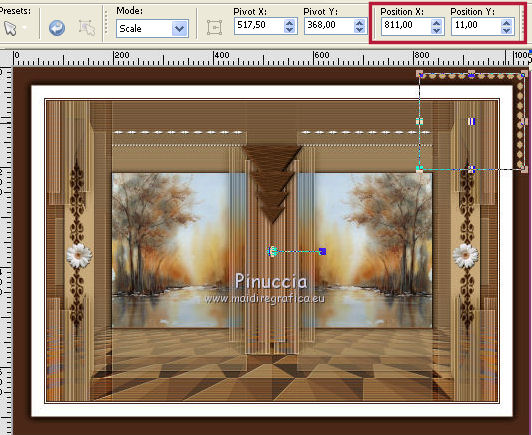
Layers>Duplicate.
Image>Flip.
Image>Mirror.
Layers>Merge>Merge Down.
Effects>3D Effects>Drop Shadow, color black.
12. Open the tube branche, and go to Edit>Copy.
Go back to your work and go to Edit>Paste as new layer.
Move  it to the left side. it to the left side.
Effects>3D Effects>Drop Shadow, color black.
13. Open the tube petit oiseau, and go to Edit>Copy.
Go back to your work and go to Edit>Paste as new layer.
Place  the bird over the branch. the bird over the branch.
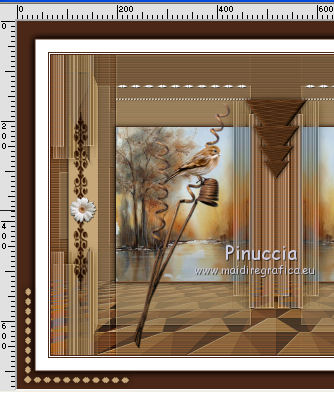
Effects>3D Effects>Drop Shadow, color black.

14. Open the tube petits chat, and go to Edit>Copy.
Go back to your work and go to Edit>Paste as new layer.
Adjust>Sharpness>Sharpen.
Place  the cats in front of the branch. the cats in front of the branch.
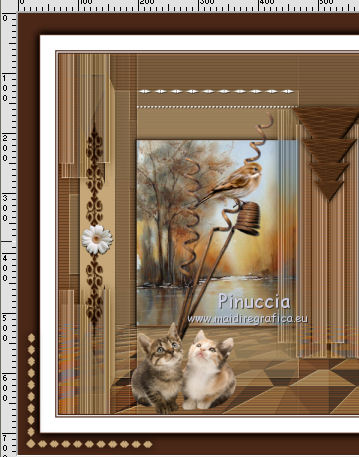
Effects>3D Effects>Drop Shadow, color black.
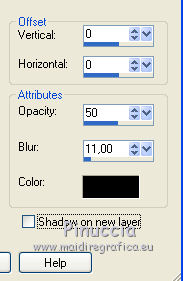
15. Open the tube of the woman and go to Edit>Copy.
Go back to your work and go to Edit>Paste as new layer.
Adjust>Sharpness>Sharpen.
Move  the tube to the right side, or where you want. the tube to the right side, or where you want.
Effects>3D Effects>Drop Shadow, color black.
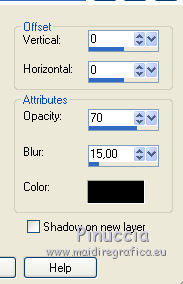
16, Open the tube titre and go to Edit>Copy.
Go back to your work and go to Edit>Paste as new layer.
Move  the text at the upper left. the text at the upper left.
Effects>3D Effects>Drop Shadow, color black.

Sign your work.
Image>Add borders, 2 pixels, symmetric, light color.
Image>Resize, 900 pixels width, resize all layers checked.
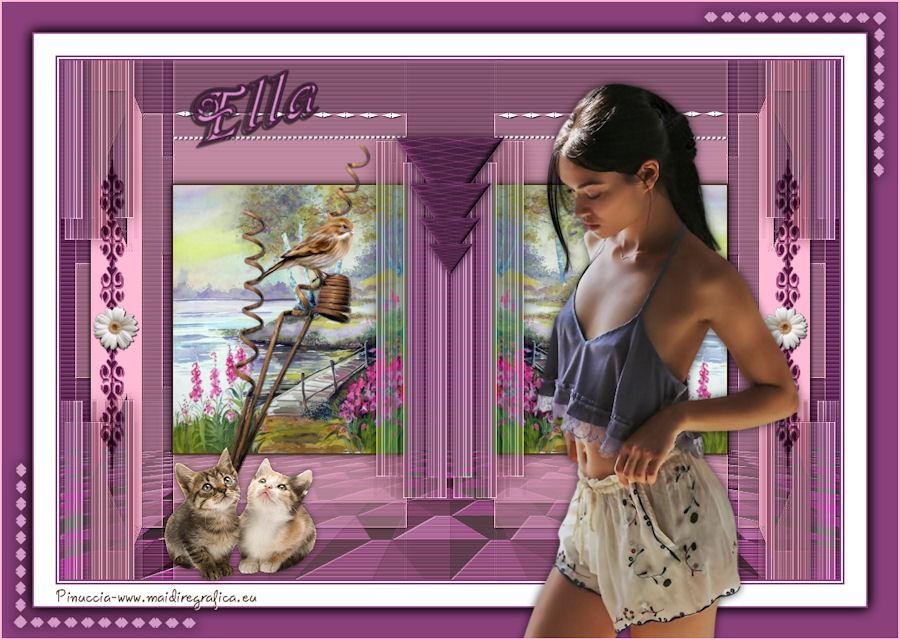
The tube of this version is by Rooske

If you have problems or doubts, or you find a not worked link,
or only for tell me that you enjoyed this tutorial, write to me.
3 February 2018
|

