|
AURORE

english version


This tutorial was written with CorelX9 and translated with Corel X7 and CorelX3, but it can also be made using other versions of PSP.
Since version PSP X4, Image>Mirror was replaced with Image>Flip Horizontal,
and Image>Flip with Image>Flip Vertical, there are some variables.
In versions X5 and X6, the functions have been improved by making available the Objects menu.
In the latest version X7 command Image>Mirror and Image>Flip returned, but with new differences.
See my schedule here
italian translation here
Tube of yours
The rest of the material here
For the tube I used thanks Tocha.
The rest of the material is by Laurette
(The links of the tubemakers here).
Plugins
consult, if necessary, my filter section here
Filters Unlimited 2.0 here
&<Bkg Designer sf10II> - Downstairs (da importare in Unlimited) here
Mehdi - Wavy Lab 1.1 here

You can change Blend Modes according to your colors.
Open the mask in PSP and minimize it with the rest of the material.
Colors used

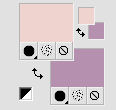
Set your foreground color to color #efd3cf,
and your background color to color #b5990af.
1. Open canal_alpha.
Window>Duplicate, or on the keyboard shift+D, to make a copy.
Close the original.
The copy, that will be the basis of your work, is not empty,
but contains the selections saved on the alpha channel.
Rename the layer Raster 1.
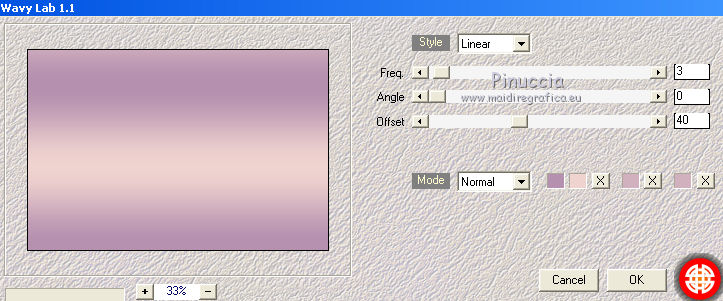
Effects>Plugins>Mehdi - Wavy Lab 1.1.
This filter creates gradients with the colors of your Materials palette:
the first is your background color, the second is your foreground color.
Keep the last two colors created by the filter.
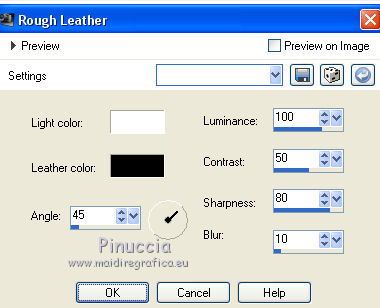
Effects>Texture Effects>Rough Leather
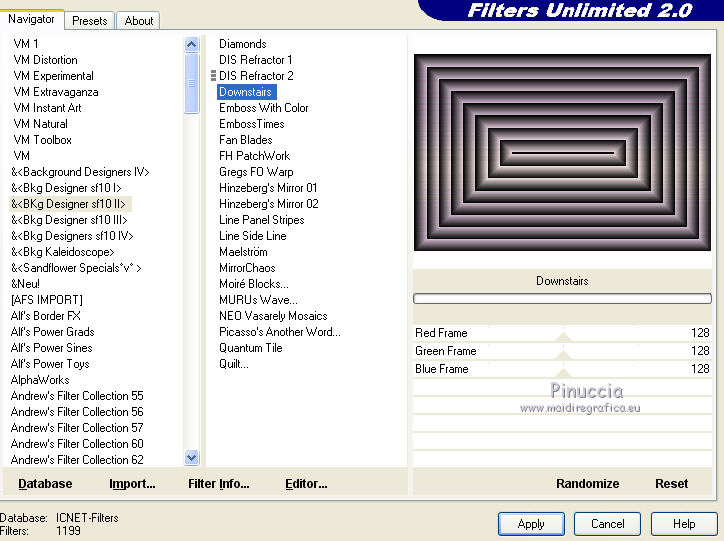
Effects>Plugins>Filters Unlimited 2.0 - &<Bkg Designer sf10II> - Downstairs, default settings
According to your colors: Adjust>One Step Photo Fix
2. Open the tube Laurette-fond and go to Edit>Copy.
Go back to your work and go to Edit>Paste as new layer.
Don't move it.
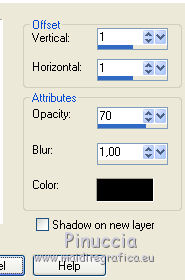
Effects>3D Effects>Drop Shadow, color black.
Layers>Merge>Merge down.
3. Set your foreground color to white.
Layers>New Raster Layer.
Flood Fill  the layer with color white. the layer with color white.
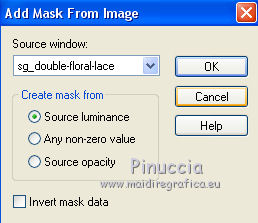
Layers>New Mask layer>From image
Open the menu under the source window and you'll see all the files open.
Select the mask sg_double-floral-lace
Adjust>Sharpness>Sharpen More.
Layers>Merge>Merge group.
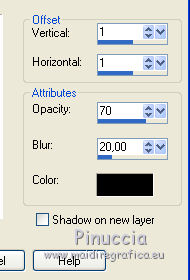
Effects>3D Effects>Drop Shadow, color black, or your foreground color.
4. Activate the bottom layer.
Layers>New Raster Layer.
Selections>Load/Save Selection>Load Selection from Alpha Channel.
The selection #1 is immediately available. You just have to click Load.

Set your foreground color to #d1bbd0
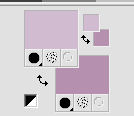
Flood Fill  the selection with your foreground color. the selection with your foreground color.
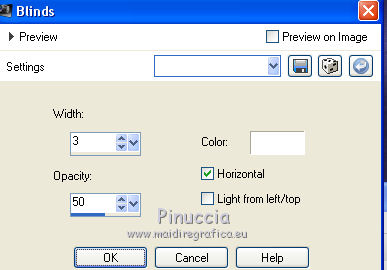
Effects>Texture Effects>Blinds.
Keep selected.
5. Layers>New Raster Layer.
Open the tube femme & fleur and go to Edit>Copy.
Go back to your work and go to Edit>Paste into Selection.
If you use another tube: Edit>Paste as new layer.
Selections>Invert.
Press CANC on the keyboard.
Again Selections>Invert.
Layers>New Raster Layer.
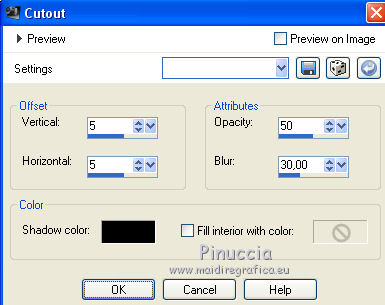
Effects>3D Effects>Cutout, color black.
Selections>Select None.
Layers>Merge>Merge Down (2 times, if you use another tube)
6. Layers>New Raster Layer.
Selections>Load/Save Selection>Load Selection from Alpha Channel.
Open the Selections menu and load the selection sélection#2.
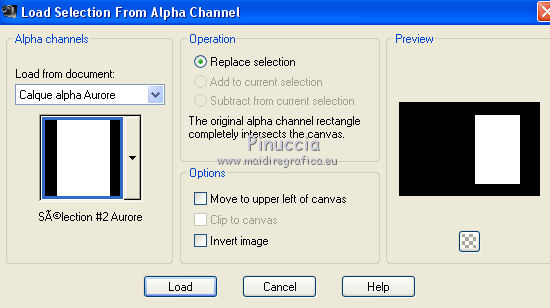
Flood Fill  the selection with your foreground color #d1bbd0. the selection with your foreground color #d1bbd0.
Effects>Texture Effects>Blinds.

Keep selected.
7. Layers>New Raster Layer.
Open the tube fleur and go to Edit>Copy.
Go back to your work and go to Edit>Paste into Selection.
If you use another tube: Edit>Paste as new layer.
Selections>Invert.
Press CANC on the keyboard.
Again Selections>Invert.
Layers>New Raster Layer.
Effects>3D Effects>Cutout, color black.

Selections>Select None
Layers>Merge>Merge Down (2 times if you use another tube).
8. Activate your top layer.
Open the tube Wordart and go to Edit>Copy.
Go back to your work and go to Edit>Paste as new layer.
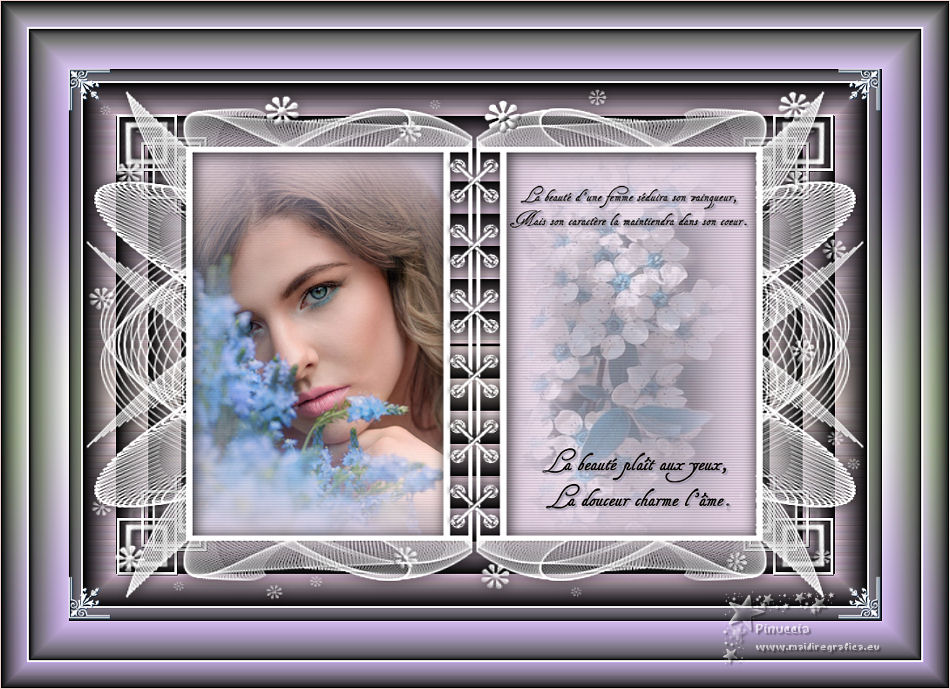
Move  the tube to the right side in the frame, see my example. the tube to the right side in the frame, see my example.
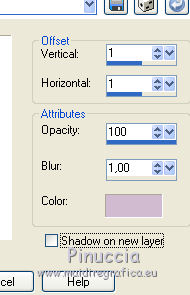
Effects>3D Effects>Drop Shadow, color black or your foreground color.
9. Set your foreground color to initial color #efd3cf.

Image>Add borders, 2 pixels, symmetric, color white.
Selections>Select All.
Image>Add borders, 60 pixels, symmetric, color white.
Selections>Invert.
Effects>Plugins>Mehdi - Wavy Lab 1.1, same settings.

Effects>Plugins>Filters Unlimited 2.0 - &<Bkg Designer sf10II> - Downstairs, same settings.
Selections>Promote Selection to layer.
Adjust>One Step Photo Fix.
Layers>Merge>Merge Down.
10. Image>Add borders, 2 pixels, symmetric, color white.
Selections>Select All.
Image>Add borders, 30 pixels, symmetric, color white.
Selections>Invert.
Effects>Plugins>Mehdi - Wavy Lab 1.1., same settings.
Effects>Plugins>Filters Unlimited 2.0 - &<Bkg Designer sf10II> - Downstairs, same settings.
Selections>Promote Selection to layer.
Adjust>One Step Photo Fix.
Layers>Merge>Merge Down.
11. Open the tube déco coin Laurette and go to Edit>Copy.
Go back to your work and go to Edit>Paste as new layer.
Don't move it.
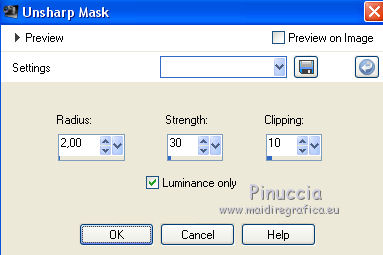
12. Adjust>Sharpness>Unsharp Mask.
Sign your work.
Image>Add borders, 1 pixel, symmetric, foreground color.
Image>Resize, 950 pixels width, resize all layers checked.
Save as jpg.

Your versions. Thanks
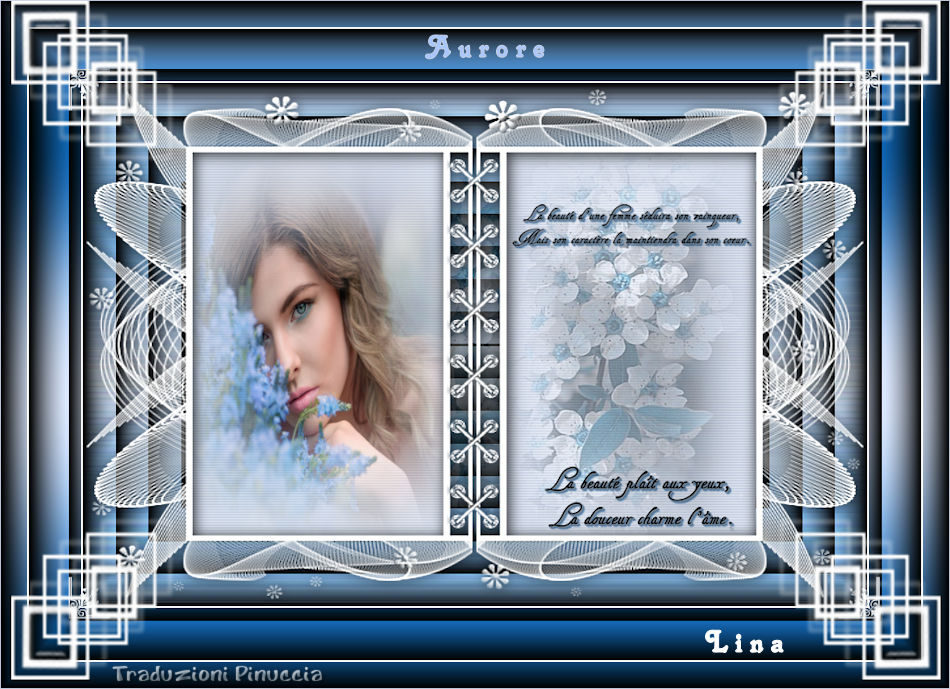
Lina
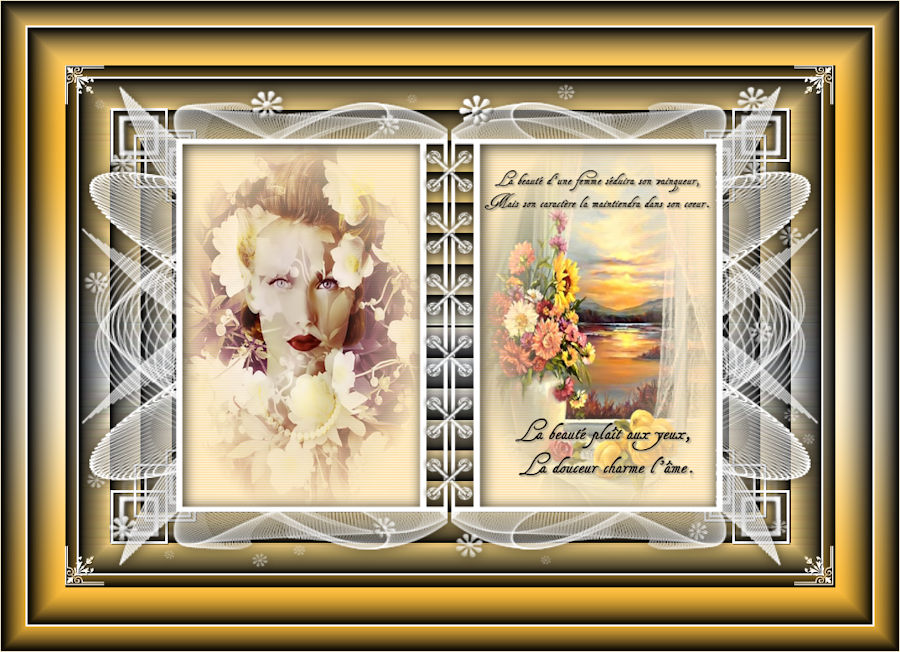
Trudy

If you have problems or doubts, or you find a not worked link, or only for tell me that you enjoyed this tutorial, write to me.
2 June 2019
|

