|
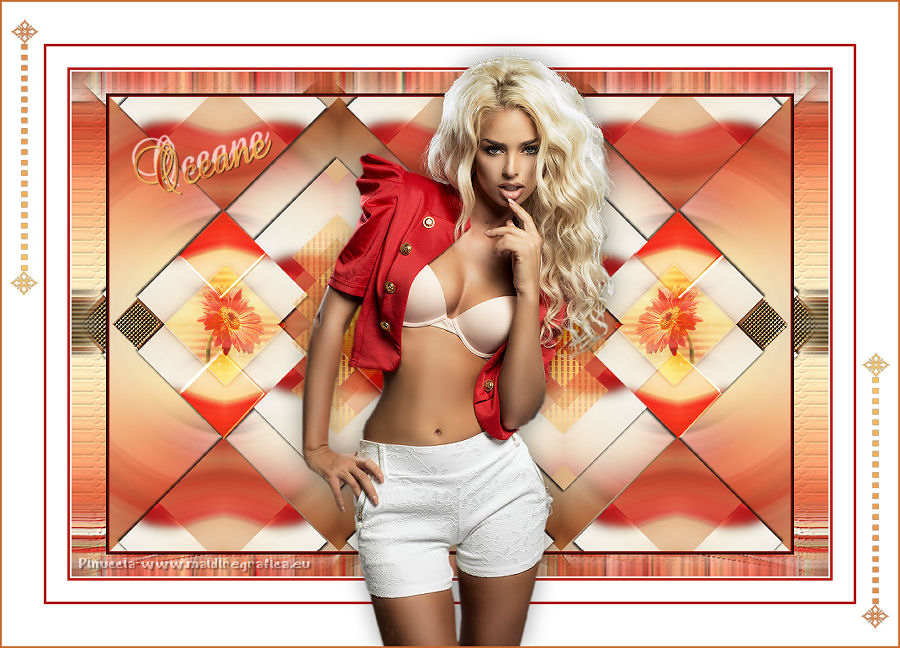
OCÉANE

english version

Here you find the original of this tutorial:

This tutorial was written with CorelX8 and translated with Corel X7 and CorelX3, but it can also be made using other versions of PSP.
Since version PSP X4, Image>Mirror was replaced with Image>Flip Horizontal,
and Image>Flip with Image>Flip Vertical, there are some variables.
In versions X5 and X6, the functions have been improved by making available the Objects menu.
In the latest version X7 command Image>Mirror and Image>Flip returned, but with new differences.
See my schedule here
italian translation here
Material here
For the woman tube thanks Babette.
(The links of the tubemakers here).
Plugins
consult, if necessary, my filter section here
Filters Unlimited 2.0 here
&<Bkg Kaleidoscope> (da importare in Unlimited) here
VM Instant Art - Tripolis here
Mura's Meister - Perspective Tiling here
Simple - Top Left Mirror here
L&K's - L&K's Katharina here
Italian Editors Effect - Effetto Fantasma here
AP Lines - Lines SilverLining here
VM Natural - Sparkle here
Alien Skin Eye Candy 5 Impact - Glass here
Filters VM Instant Art, Simple, Italian Editors and VM Natural can be used alone or imported into Filters Unlimited.
(How do, you see here)
If a plugin supplied appears with this icon  it must necessarily be imported into Unlimited it must necessarily be imported into Unlimited

You can change Blend Modes according to your colors.
In the newest versions of PSP, you don't find the foreground/background gradient (Corel_06_029).
You can use the gradients of the older versions.
The Gradient of CorelX here
Open the font and minimize. You'll find it in the list of fonts available when you need it.
With the most recent o.s., this is no longer possible.
To use a font, you must copy it into the Fonts folder in Windows.
Place the brush in the Brushes folder. Attention, please, the brush is composed by two files, you must place both the files in the folder.
See my notes about Brushes here
Copy the Preset Emboss 3 in the Presets Folder.
Copy the texture texture38 in the Textures Folder.
Copy the selections in the Selections Folder.
Colors

1.
Set your foreground color to #ffebc5,
and your background color to #fec964.
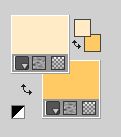
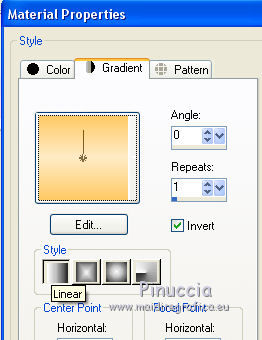
Set your foreground color to a Foreground/Background Gradient, style Linear.
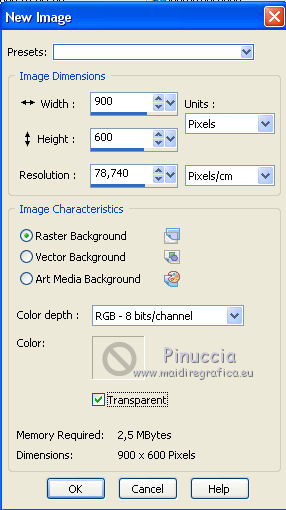
Open a new transparent image 900 x 600 pixels.
Flood Fill  the transparent image with your Gradient. the transparent image with your Gradient.
2. Layers>New Raster Layer.
Selections>Select All.
Open the woman tube, erase the watermark, and go to Edit>Copy.
Minimize the tube.
Go back to your work and go to Edit>Paste into Selection.
Selections>Select None.
3. Effects>Image Effects>Seamless Tiling.

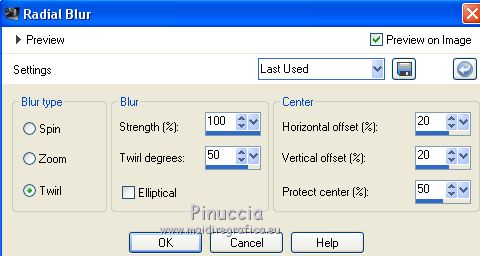
Adjust>Blur>Radial Blur.
Layers>Merge>Merge Down.
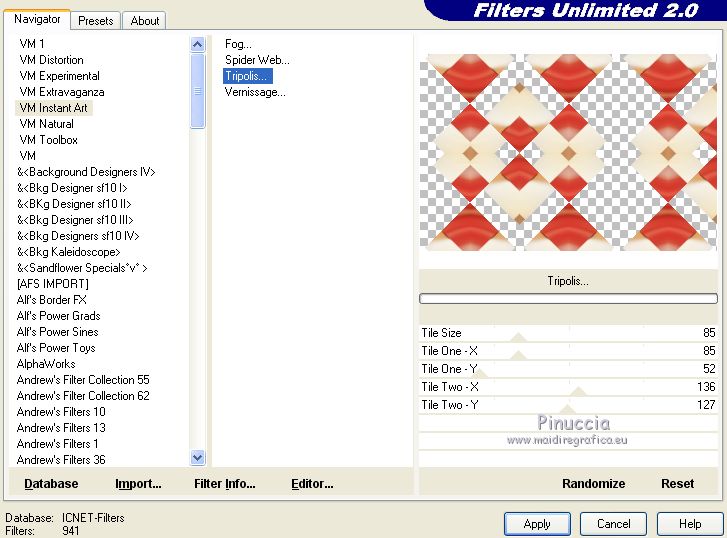
4. Effects>Plugins>Filters Unlimited 2.0 - VM Instant art - Tripolis.
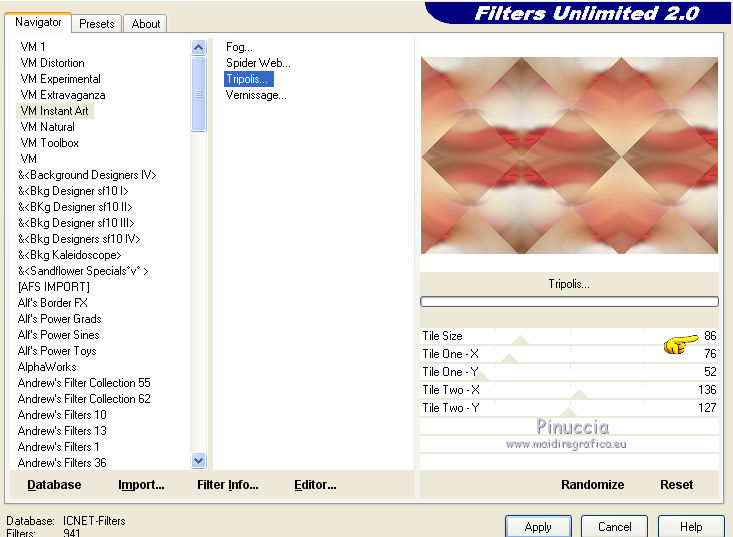
Note: as I often wrote in my translations, there is a version of Unlimited that does not install,
and is composed of files in 8bf format.
This is one of the cases in which the result changes according to the Unlimited version used.
To run the tutorial I used the sofware version of Unlimited.
If you are using the version that does not install, you will have a different result,
which will also influence the results of the subsequent filters and the final result.
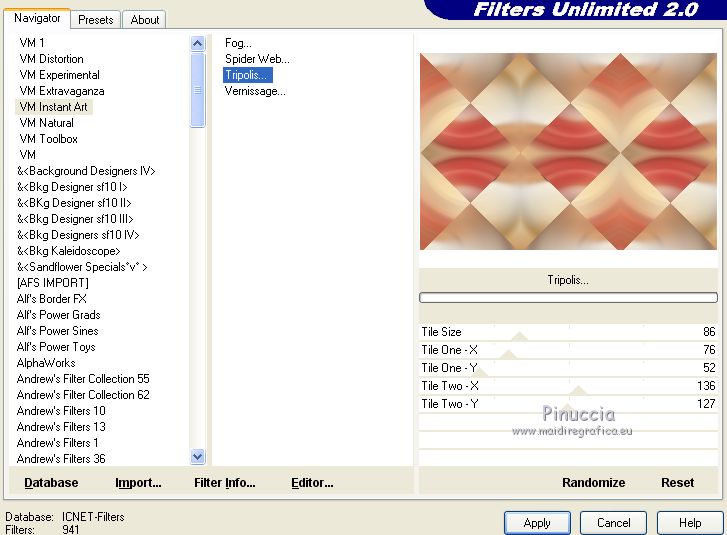
This is the Tripolis window with the Unlimited version that does not installa.
Layers>Duplicate.
Change the Blend Mode of this layer to Soft Light.
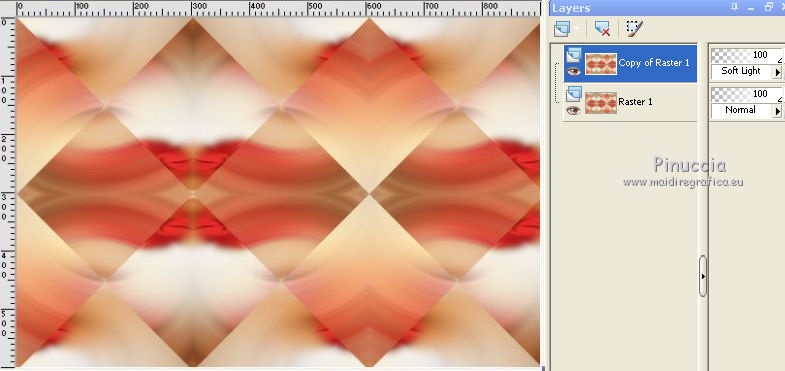
Layers>Merge>Merge Down.
Effects>Plugins>Filters Unlimited 2.0 - Simple - Top Left Mirror.
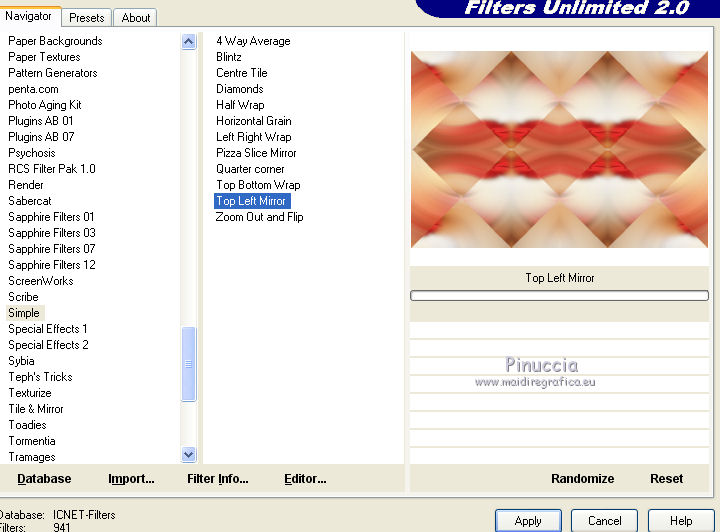
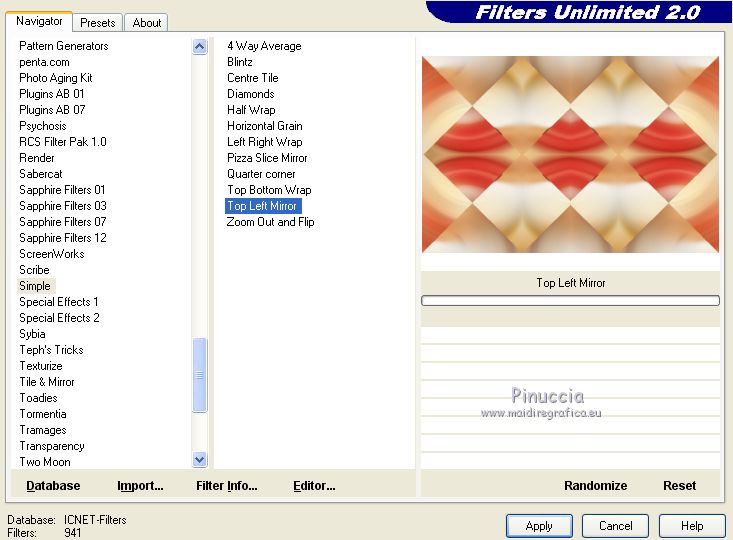
for your curiosity, here is the filter window with the Unlimited version that does not install
5. Selections>Load/Save Selection>Load Selection from Disk.
Look for and load the selection ©océane1.
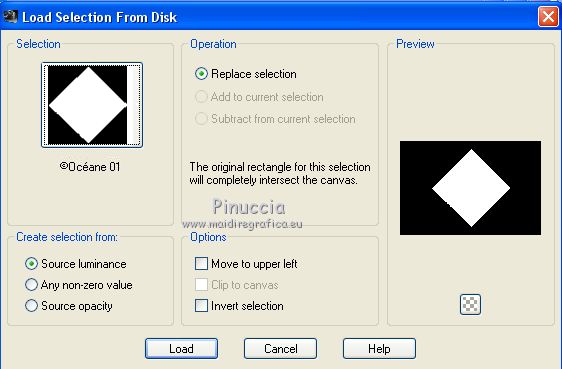
Selectons>Promote Selection to Layer.
Selections>Select None.
Effects>Plugins>Filters Unlimited 2.0 - VM Instant art - Tripolis.

Here is the filter window with the Unlimited version that does not install
Effects>3D Effects>Drop Shadow, color black.
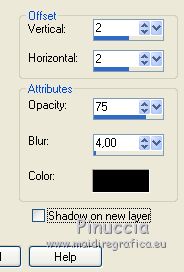
Repeat Drop Shadow, but vertical and horizontal -2.
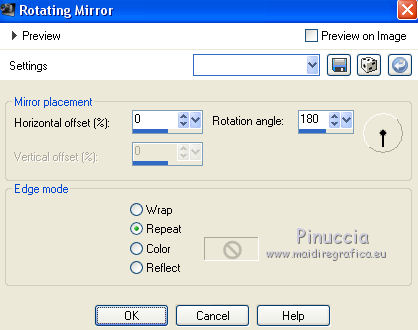
Effects>Reflection Effects>Rotating Mirror.
Layers>Merge>Merge Down.
6. Layers>Duplicate.
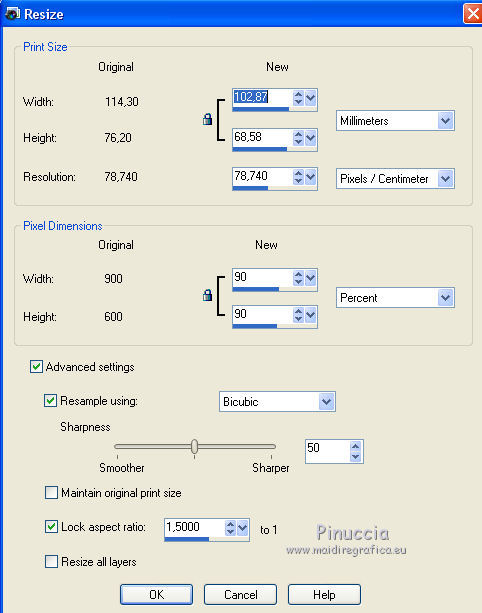
Image>Resize, to 90%, resize all layers not checked.
Selections>Select All.
Selections>Float.
Selections>Defloat.
Effects>3D Effects>Chisel color #b51a13.
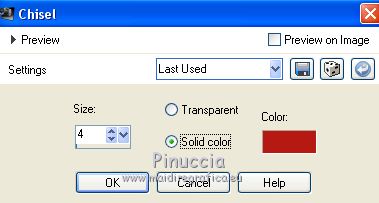
Selections>Select None.
7. Activate the bottom layer, Raster 1.
Effects>Texture Effects>Texture - select the texture texture38.
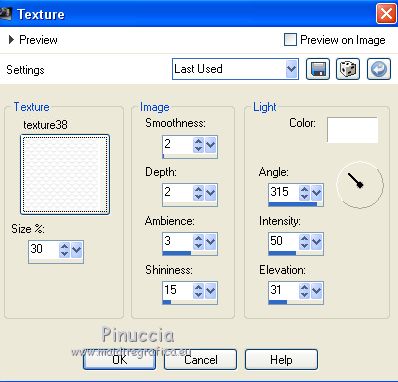
Layers>Duplicate.
Effects>Plugins>Mura's Meister - Perspective Tiling 1.1.
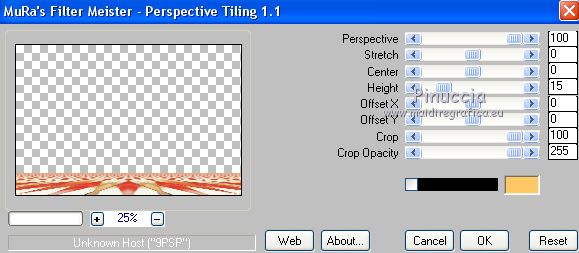
Effects>User Defined Filter - select the preset Emboss 3 et ok.

8. Keep this layer selected (Copy of Raster 1).
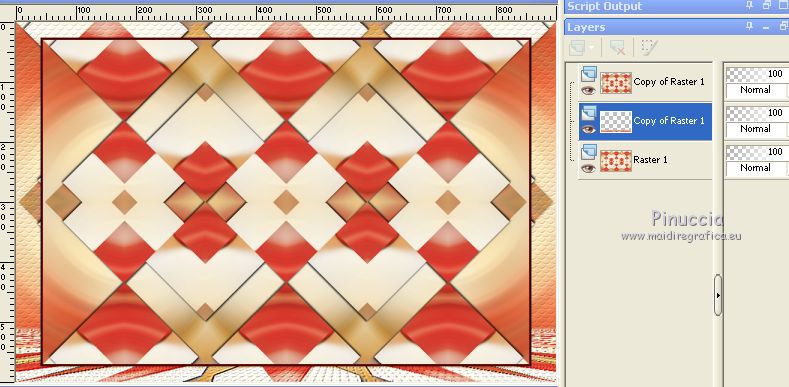
Selections>Load/Save Selection>Load Selection from Disk.
Look for and load the selection ©océane2.
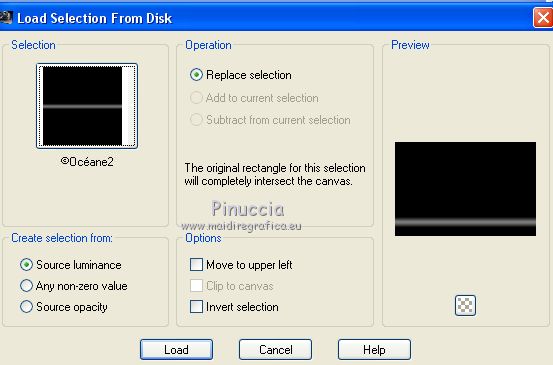
Press 2-3 times CANC on the keyboard 
Layers>Merge>Merge Down.
Selections>Select None.
9. Activate the top layer.
Selections>Load/Save Selection>Load Selection from Disk.
Look for and load the selection ©océane3.
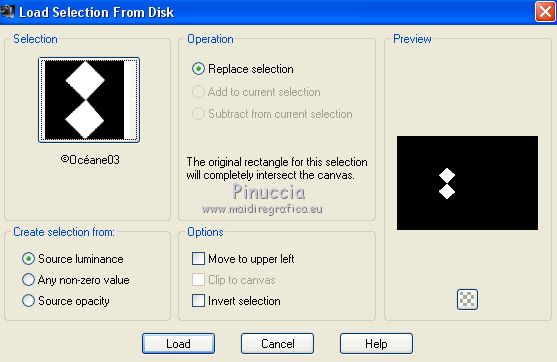
Selectons>Promote Selection to Layer.
Selections>Select None.
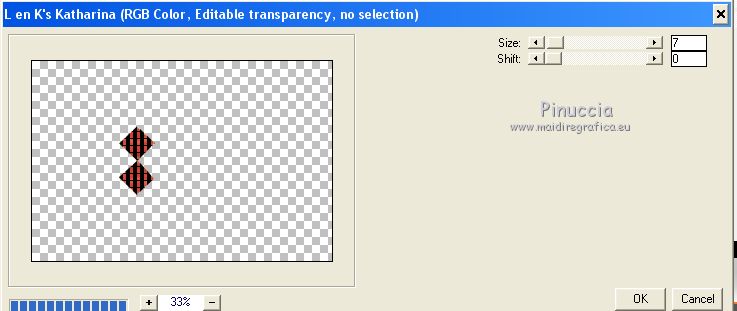
Effects>Plugins>L&K's - L&K's Katharina.
Layers>Duplicate.
Image>Mirror.
Layers>Merge>Merge Down.
Effects>Plugins>Italian Editors Effect - Effetto Fantasma.
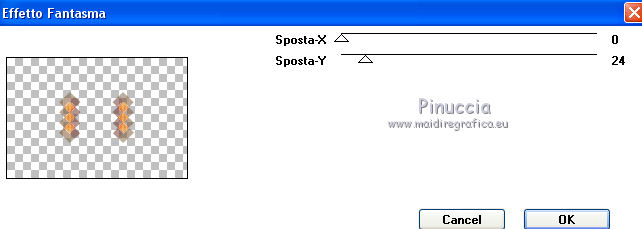
Layers>Merge>Merge Down.
10. Keep this layer selected.
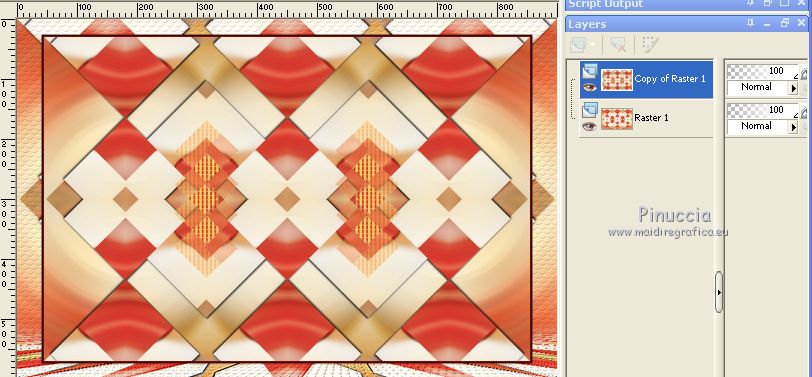
Selections>Load/Save Selection>Load Selection from Disk.
Look for and load the selection ©océane4.
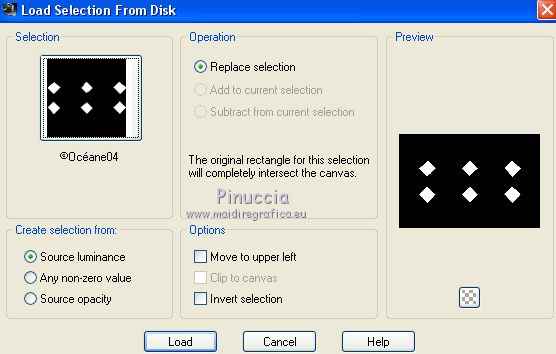
Selectons>Promote Selection to Layer.
Selections>Select None.
Effects>User Defined Filter - Emboss 3

Change the Blend Mode of this layer to Hard Light.
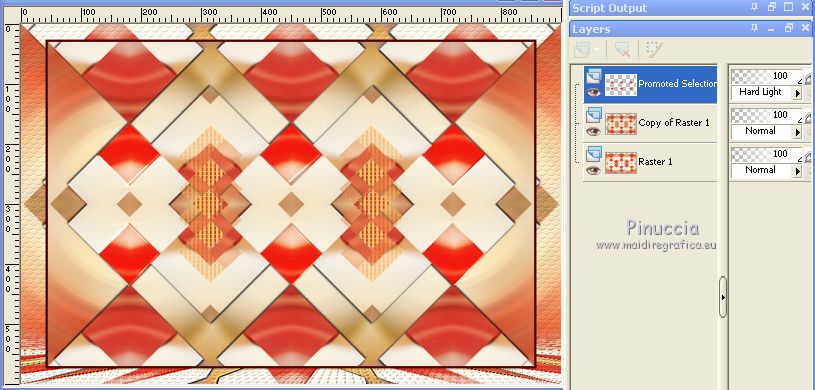
Layers>Merge>Merge Down.
11. Keep this layer selected.
Selections>Load/Save Selection>Load Selection from Disk.
Look for and load the selection ©océane5.
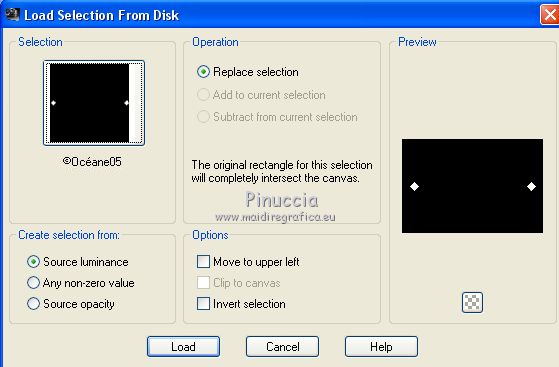
Selectons>Promote Selection to Layer.
Selections>Select None.
12. Effects>Plugins>AP Lines - Lines SilverLining.
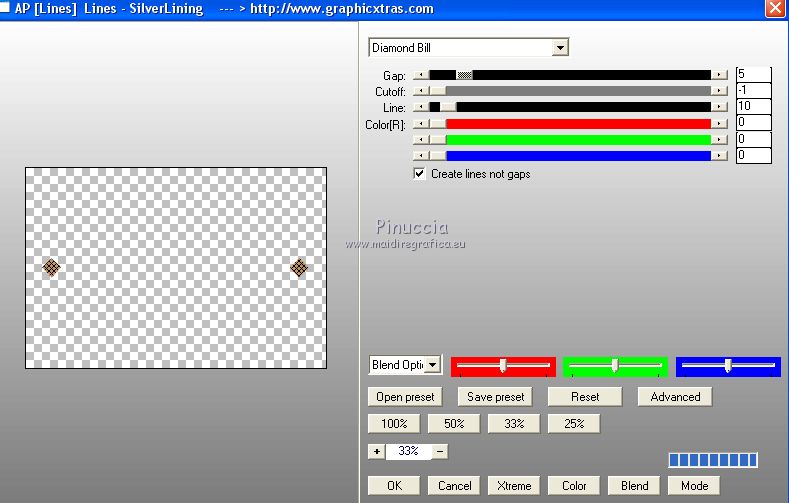
Effects>User Defined Filter - Emboss 3

Layers>Duplicate.
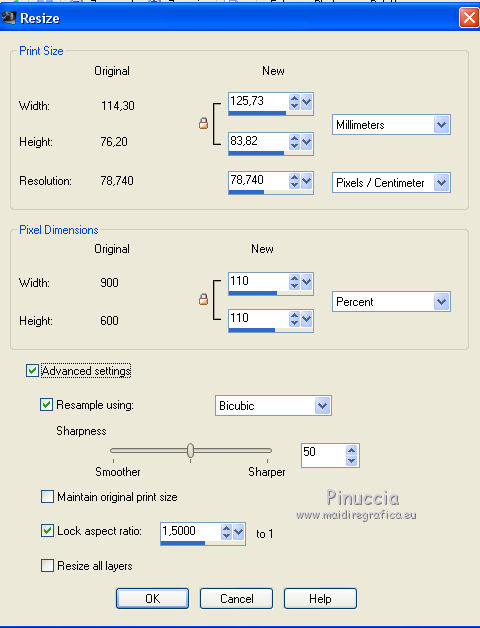
Image>Resize, to 110%, resize all layers not checked.
Layers>Arrange>Move Down - 2 times.
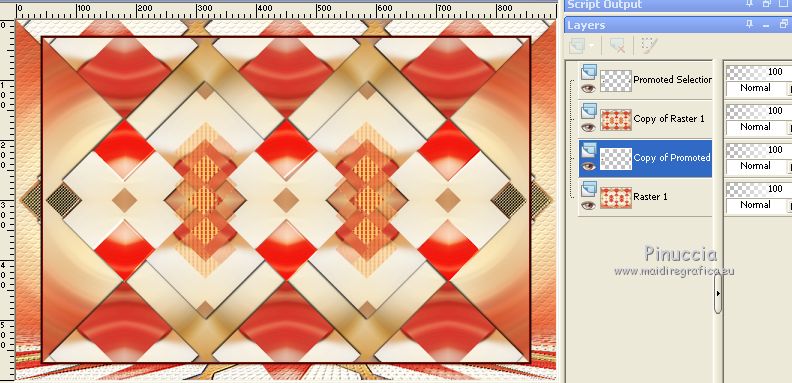
Layers>Merge>Merge Down.
13. Activate the top layer.
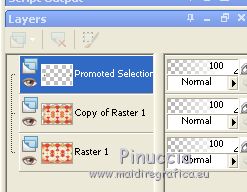
Layers>Merge>Merge Down.
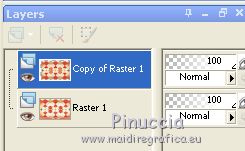
Layers>New Raster Layer.
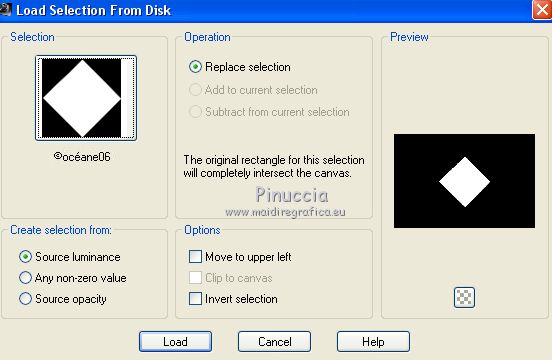
Selections>Load/Save Selection>Load Selection from Disk.
Look for and load the selection ©océane6.
Set your foreground color to white.
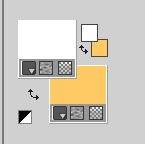
Flood Fill  the layer with color white. the layer with color white.
Selections>Modify>Contract - 3 pixels.
14. Set your foreground color to #b51a13.
Your background color is still #fec964.
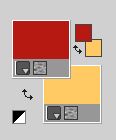
Set your foreground color to a Foreground/Background Gradient, style Radial.
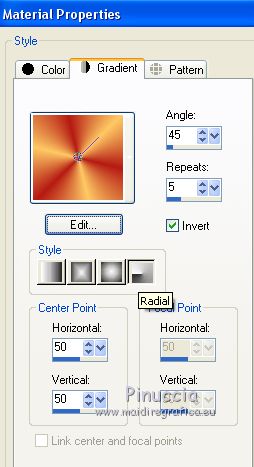
Flood Fill  the selection with your Gradient. the selection with your Gradient.
Keep selected.
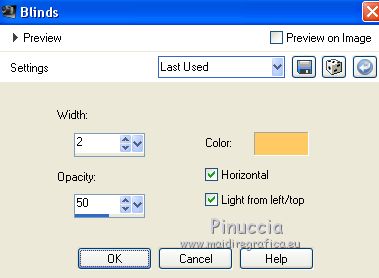
15. Effects>Texture Effects>Blinds, background color #fec964.
Effects>Plugins>VM Natural - Sparkle.
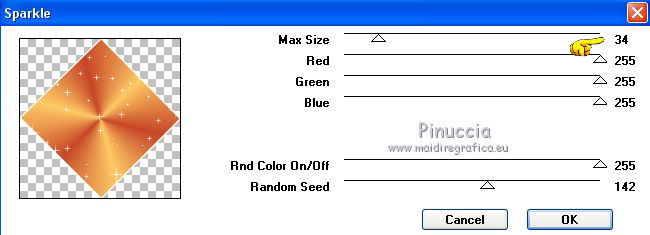
Keep always selected.
16. Open the tube "fleur" and go to Edit>Copy.
Go back to your work and go to Edit>Paste as new layer.
Image>Resize, to 85%, resize all layers not checked.
Place  the tube on the selection. the tube on the selection.
Selections>Invert.
Press CANC on the keyboard 
Selections>Select None.
Layers>Merge>Merge Down.
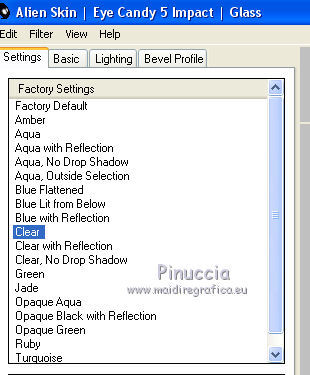
17. Effects>Plugins>Alien Skin Eye Candy 5 Impact - Glass.
select the preset Clear and ok.
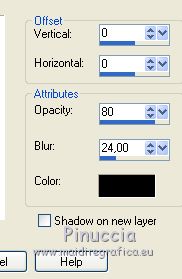
Effects>3D Effects>Drop Shadow, color black.
18. Layers>Duplicate.
Image>Resize, to 45%, resize all layers not checked.
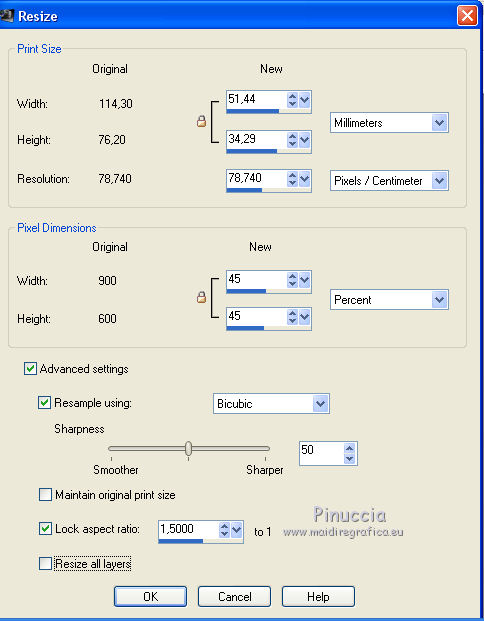
K key on the keyboard to activate the Pick Tool 
and set Position X: 102,00 and Position Y: 221,00

Layers>Duplicate.
Image>Mirror.
Layers>Merge>Merge Down - 2 times.
Change the Blend Mode of this layer to Soft Light.
Layers>Duplicate.
Close the bottom layer, Raster 1.
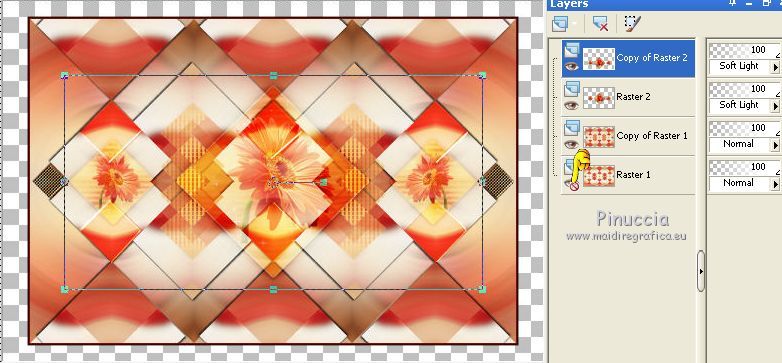
Layers>Merge>Merge visible.
19. Open again and activate the bottom layer.
Effects>Plugins>Filters Unlimited 2.0 - &<Bkg Kaleidoscope> - XTiles Maker 1.0.
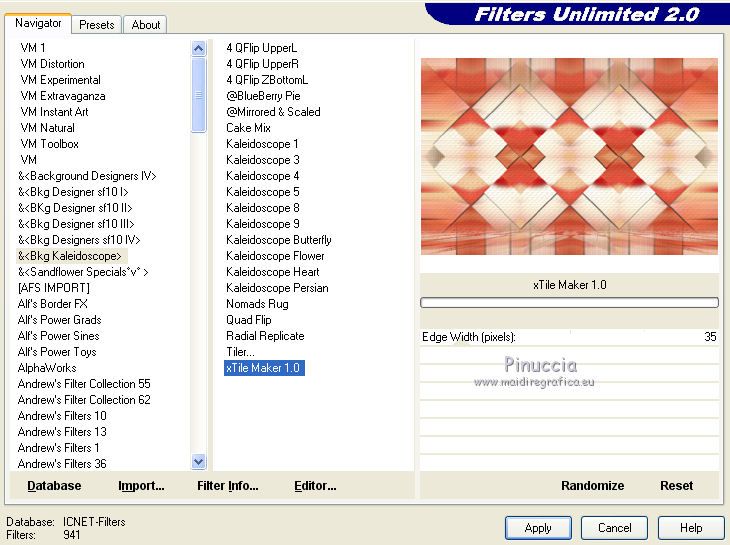
Repeat the Effect one more time.
Layers>Merge>Merge All.
20. Image>Add borders, 2 pixels, symmetric, color white.
Image>Add borders, 3 pixels, symmetric, foreground color #b51a13.
Image>Add borders, 25 pixels, symmetric, color white.
Image>Add borders, 3 pixels, symmetric, foreground color #b51a13.
Image>Add borders, 50 pixels, symmetric, color white.
21. Layers>New Raster Layer.
Activate the Brush Tool 
look for and select the brush pinceau deco

Apply the pinceau at the upper left, clicking with left key of your mouse,
to use your foreground Gradient.
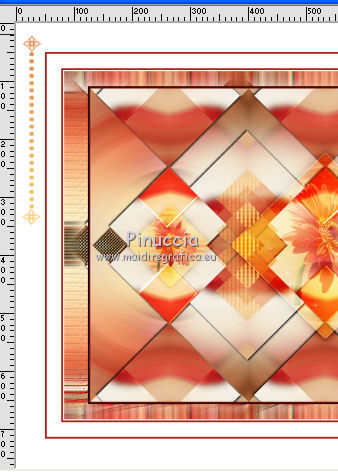
Selections>Select None.
Effects>3D Effects>Drop Shadow, color black.

Layers>Duplicate.
Image>Mirror.
Image>Flip.
Layers>Merge>Merge Down.
22. Activate again the woman tube and go to Edit>Copy.
To back to your work and go to Edit>Paste as new layer.
Image>Resize, to 75%, resize all layers not checked.
Adjust>Sharpness>Sharpen.
K key to activate the Pick Tool 
and set Position X: 355,00 and Position Y: 51,00

Effects>3D Effects>Drop Shadow, color black (or at you choice).
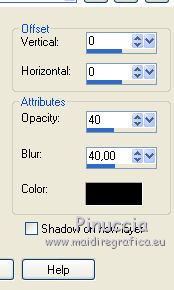
23. Open the wordart and go to Edit>Copy.
Go back to your work and go to Edit>Paste as new layer.
Move  the text at the upper left. the text at the upper left.
If you want to write your text:
Invert the colors of your materials palette
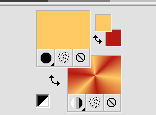
Activate the Text Tool  , font Baroque Script, with these settings , font Baroque Script, with these settings
that you can adjust according to your text and your PSP version.

Write Oceane.
Layers>Converti in livello raster.
Effects>3D Effects>Drop Shadow, color white
and shadow on a new layer checked.
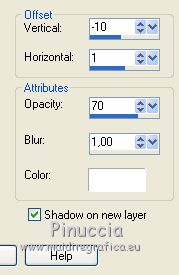
Activate the top layer.
Effects>3D Effects>Drop Shadow, color black
and shadow on a new layer not checked.
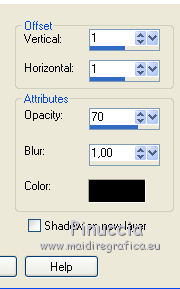
Layers>Merge>Merge Down.
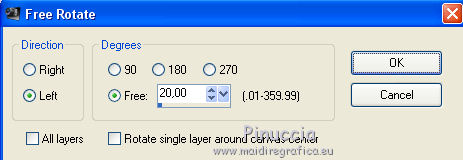
Image>Free Rotate - 20 degrees to left.
Move  the text at the upper left. the text at the upper left.
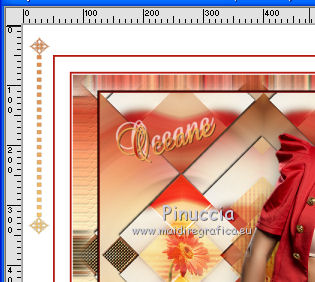
24. Sign your work on a new layer.
Image>Add borders, 2 pixels, symmetric, color #c76528.
Image>Resize, 900 pixels width, resize all layers checked.
Save as jpg.
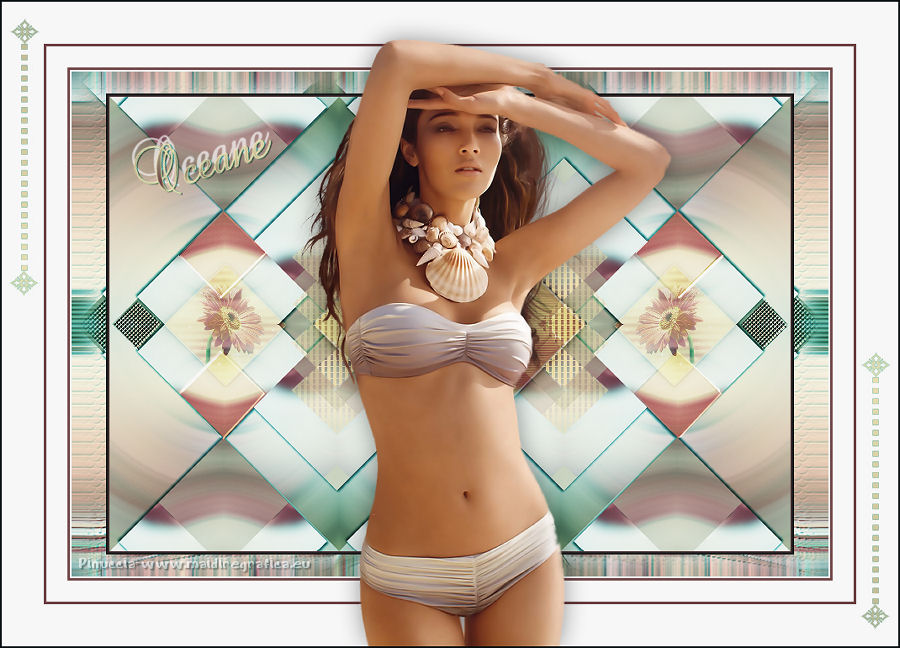
The tube of this version is by Beatrice

If you have problems or doubts, or you find a not worked link,
or only for tell me that you enjoyed this tutorial, write to me.
30 June 2018
|

