|
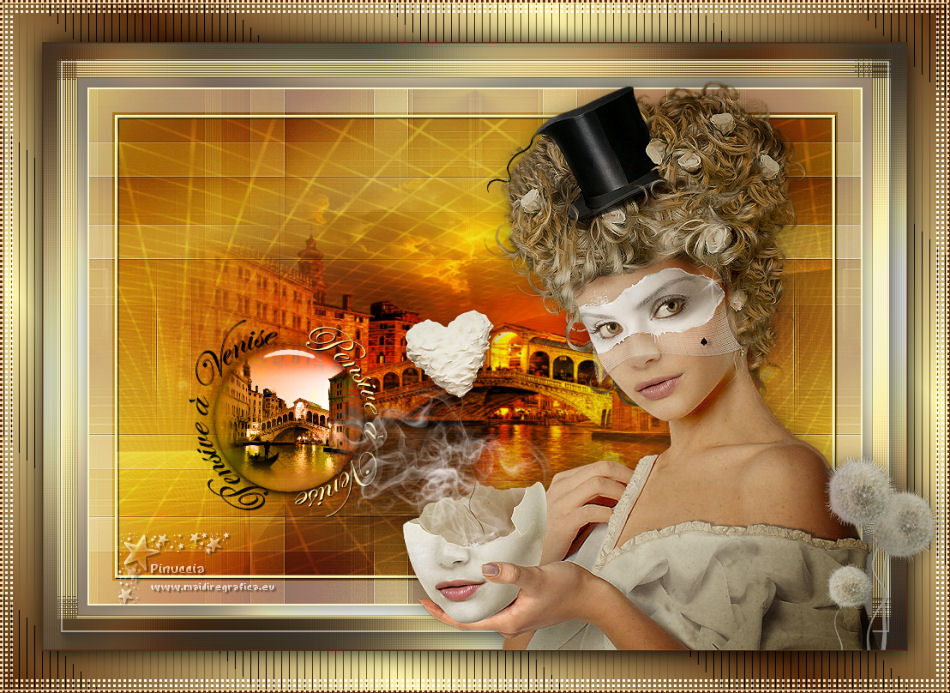
PENSIVE À VENISE
 english version

Here you find the original of this tutorial:

This tutorial was written with CorelX9 and translated with Corel X7 and CorelX3, but it can also be made using other versions of PSP.
Since version PSP X4, Image>Mirror was replaced with Image>Flip Horizontal,
and Image>Flip with Image>Flip Vertical, there are some variables.
In versions X5 and X6, the functions have been improved by making available the Objects menu.
In the latest version X7 command Image>Mirror and Image>Flip returned, but with new differences.
See my schedule here
italian translation here
Material here
Thanks for a landscape Colybrix and for the mask Franiemargot
The rest of the material is by Laurette.
(The links of the tubemakers here).
Plugins
consult, if necessary, my filter section here
Filters Unlimited 2.0 here
AAA Frames - foto Frame here
Italian Editors Effect - Effetto Fantasma here
Graphics Plus - hereck Tile I here
Alien Skin Eye Candy 5 Impact - Glass here
Funhouse - Loom here
Two Moon - Wish it would Rain here
AFS IMPORT - sqborder2 here
Filters Italian Editors, Graphics Plus, Funhouse, Two Moon and AFS IMPORT can be used alone or imported into Filters Unlimited.
(How do, you see here)
If a plugin supplied appears with this icon  it must necessarily be imported into Unlimited it must necessarily be imported into Unlimited

You can change Blend Modes according to your colors.
In the newest versions of PSP, you don't find the foreground/background gradient (Corel_06_029).
You can use the gradients of the older versions.
The Gradient of CorelX here
Copy the Selection in the Selections Folder (if you want to use it instead of the alpha channel)
Open the mask in PSP and minimize it with the rest of the material.
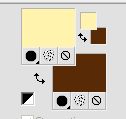
Set your foreground color to #fff3ad,
and your background color to #532b09.
1. Open canal_alpha_Pensive à Venise.
Window>Duplicate, or on the keyboard shift+D, to make a copy.
Close the original.
The copy, that will be the basis of your work, is not empty,
but contains a selection saved on the alpha channel.
(if you prefer: open a new transparent image 900 x 600 pixels)
Selections>Select all.
Open the image "Pensive à Venise" and go to Edit>Copy.
Go back to your work and go to Edit>Paste into Selection.
Selections>Select None.
Effects>Image Effects>Seamless Tiling, default settings.

Adjust>Blur>Gaussian Blur - radius 50.
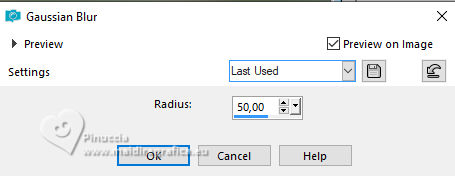
Edit>Repeat Gaussian Blur.
2. Layers>New Raster Layer.
Open the tube "Fond pensive à Venise" and go to Edit>Copy.
Go back to your work and go to Edit>Paste into Selection.
Selections>Select None.
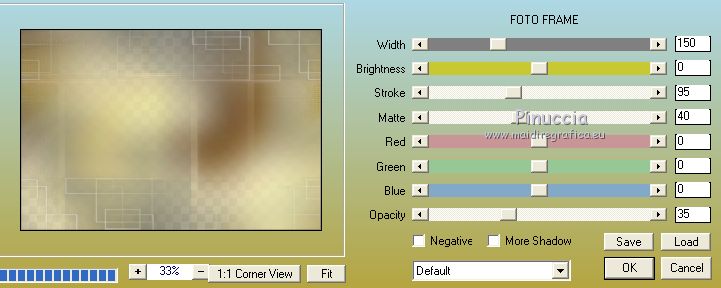
3. Effects>Plugins>AAA Frames - Foto Frame.
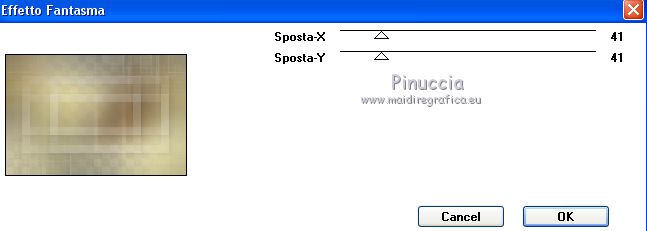
Effects>Plugins>Italian Editors Effect - Effetto Fantasma.
Effets>Edge Effects>Enhance,
Effects>Image Effects>Seamless Tiling, same settings

Change the Blend Mode of this layer to Hard Light.
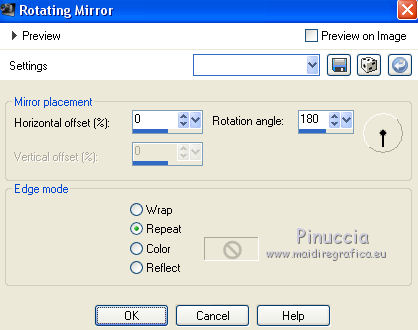
Effects>Reflection Effects>Rotating Mirror.
Adjust>Sharpness>Sharpen.
4. Selections>Select All.
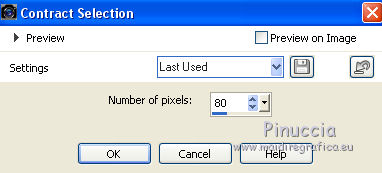
Selections>Modify>Contract - 80 pixels.
5. Open the tube "mistevenise_perso" and go to Edit>Copy.
Go back to your work and go to Edit>Paste into Selection.
Selections>Select None.
5. Activate the bottom layer, Raster 1.
Layers>Duplicate.
Layers>Arrange>Bring to Top.
Selections>Select All.
SelectionsContract - 30 pixels.
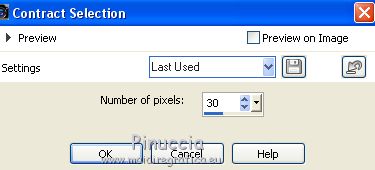
Selections>Invert.
Press CANC on the keyboard 
Again Selections>Invert.
Selections>Modify>Select Selection Borders.
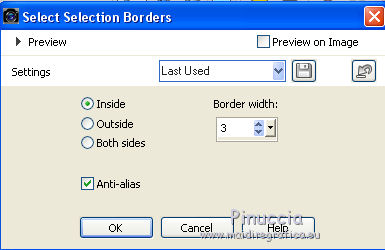
Layers>New Raster Layer.
Flood Fill  the selection with your foreground color #fff3ad. the selection with your foreground color #fff3ad.
Effects>3D Effects>Inner Bevel.
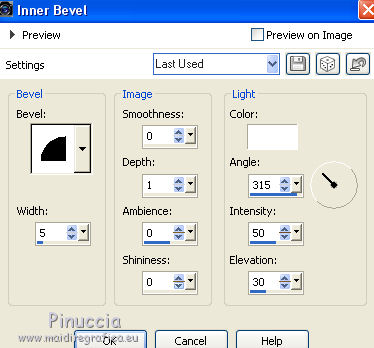
Effects>3D Effects>Drop Shadow, color black.
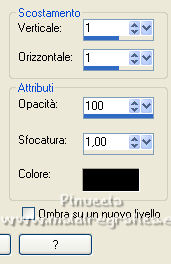
Selections>Select None.
6. Activate the layer below, copy of Raster 1.
Change the Blend Mode of this layer to Soft Light.
Image>Add borders, 2 pixels, symmetric, foreground color #fff3ad.
Selection>Select All.
Image>Add borders, 2 pixels, symmetric, background color #592b09.
Image>Add borders, 50 pixels, symmetric, color white.
Selections>Invert.
Invert the material colors
foreground #592b09,
background #fff3ad.
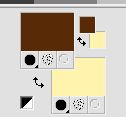
Set your foreground color to a Foreground/Background Gradient, style Linear.
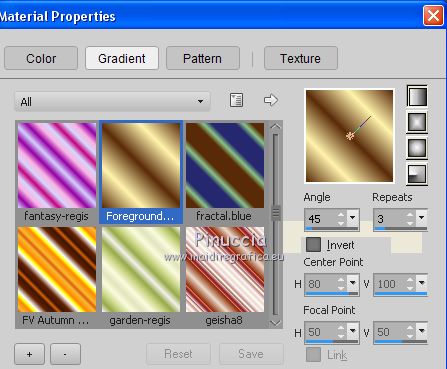
Flood Fill  the selection with your Gradient. the selection with your Gradient.
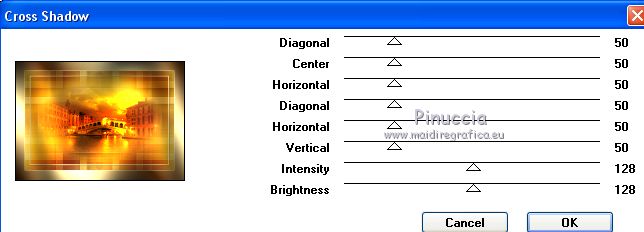
Effects>Plugins>Graphics Plus - Cross shadow, default settings.
Selections>Invert.
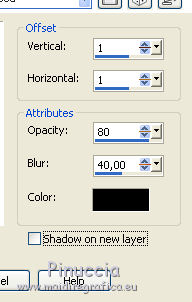
Effects>3D Effects>Drop Shadow, color black.
Selections>Select None.
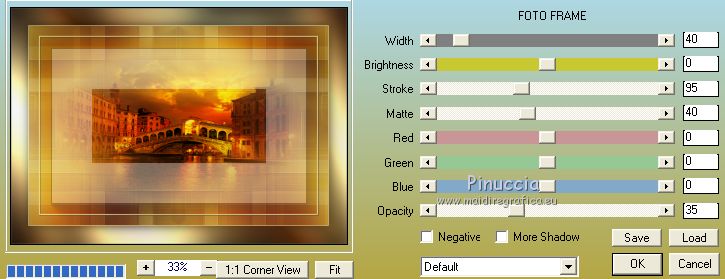
Effects>Plugins>AAA Frames - Foto Frame.
7. Set your foreground color to white
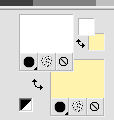
Layers>New Raster Layer.
Selection Tool 
(no matter the type of selection, because with the custom selection your always get a rectangle)
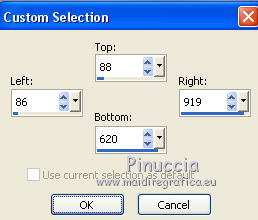
clic on the Custom Selection 
and set the following settings.
Reduce the opacity of Flood Fill Tool to 50

Flood Fill  the selection with color white. the selection with color white.
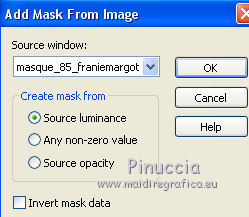
Layers>New Mask layer>From image
Open the menu under the source window and you'll see all the files open.
Select the mask masque_85_franiemargot
Layers>Merge>Merge Group.
Change the Blend Mode of this layer to Overlay.
Selections>Select None.
Layers>Merge Merge Down.
8. Selections>Select All.
Selections>Modify>Contract - 40 pixels.
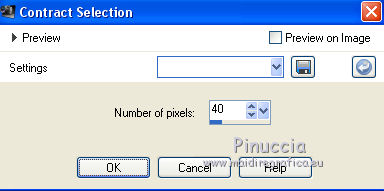
Selections>Invert.
Selections>Promote Selection to Layer.
Selections>Select None.
Effects>Plugins>Funhouse - Loom.
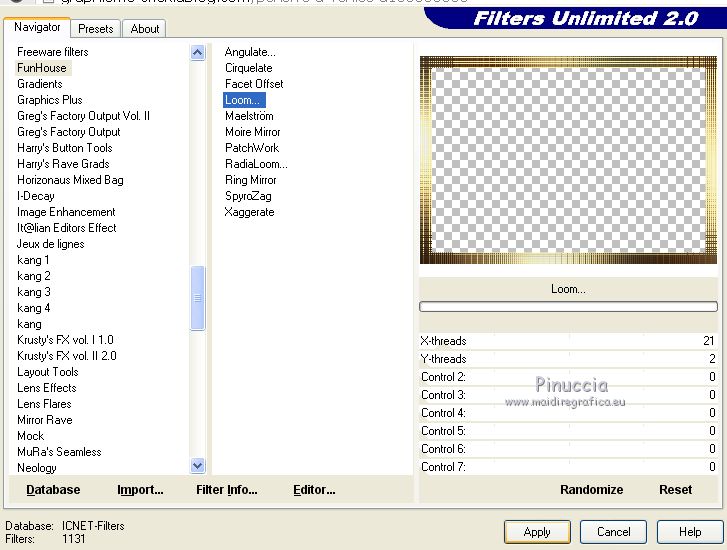
Image>Mirror.
Layers>Duplicate.
Effects>Plugins>Funhouse - Loom, same settings.
Layers>Merge>Merge visible.
Effects>Plugins>AAA Frames - Foto Frame.
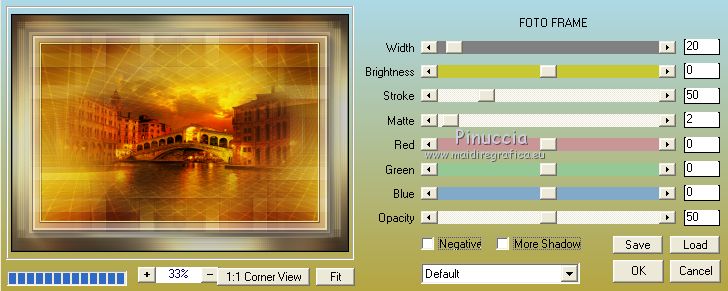
9. Layers>New Raster Layer.
Selections>Load/Save Selection>Load Selection from disk.
The selection sélection#1 is immediately available.
You just have to click Load.
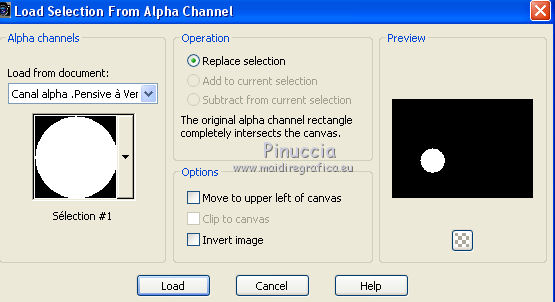
if your like better, you can do Load Selection from Disk
and load the selection Selection pensive 1
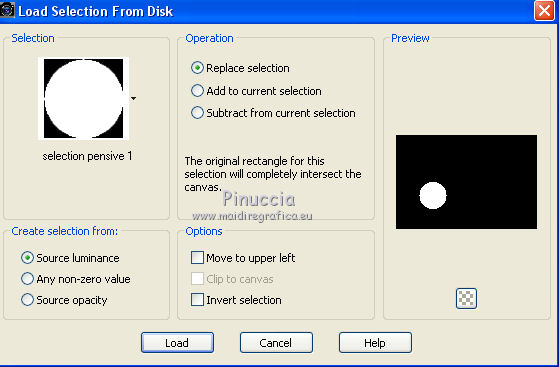
Flood Fill  the selection with your background color #fff3ad. the selection with your background color #fff3ad.
Set again the opacity of Flood Fill Tool to 100
10. Open the landscape by Colybrix, erase the watermark and go to Edit>Copy.
Go back to your work and go to Edit>Paste into selection.
Effects>Plugins>Alien Skin Eye Candy 5 Impact - Glass.
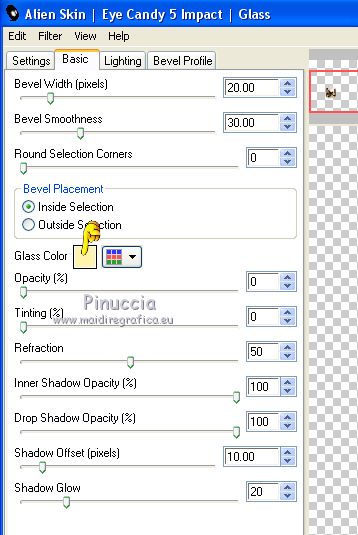
Change the Blend Mode of this layer to Luminance (legacy).
Selections>Select none.
Effects>3D Effects>Drop Shadow, same settings.
11. Open the tube Word_Titre_perso and go to Edit>Copy.
Go back to your work and go to Edit>Paste as new layer.
K key to activate the Pick Tool 
and set Position X: 177,00 and Position Y: 322,00.
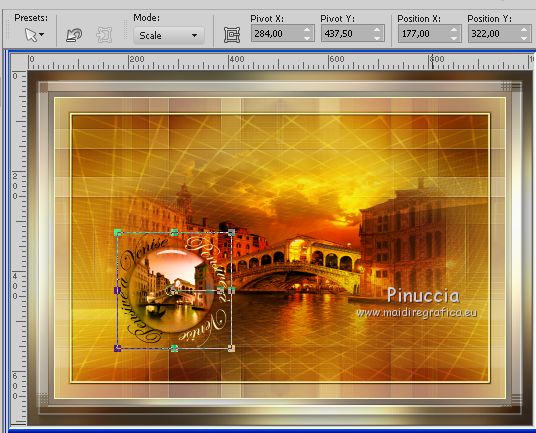
Effects>3D Effects>Drop Shadow, color black.
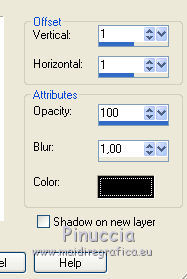
12. Image>Add borders, 1 pixel, symmetric, foreground color.
Selections>Select All.
Image>Add borders 45 pixels, symmetric, color white.
Selection >Invert.
Set again your foreground color to dark color #532b09 and to the Linear Gradient
 
Flood Fill  the selection with your gradient. the selection with your gradient.
Effects>Plugins>Two Moon - Wish it would Rain...
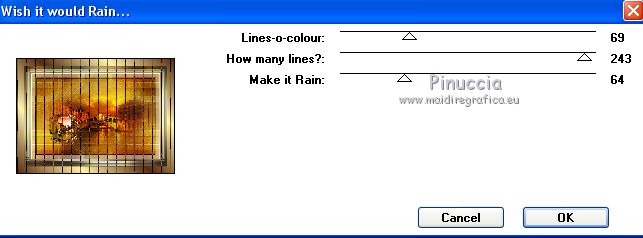
Selections>Invert.
Effects>3D Effects>Drop Shadow, color black.
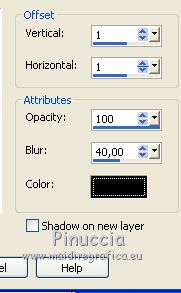
Selections>Select None.
13. Image>Add borders, 1 pixel, symmetric, background color.
Image>Add borders, 3 pixels, symmetric, foreground color.
Effects>Plugins>AFS IMPORT - sqborder2.
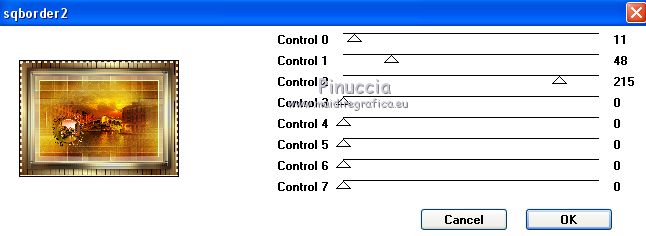
14. Open the tube of the woman and go to Edit>Copy.
Go back to your work and go to Edit>PAste as new layer.
K key to activete the Pick tool 
and set Position X: 379,00 and Position v. 92,00.
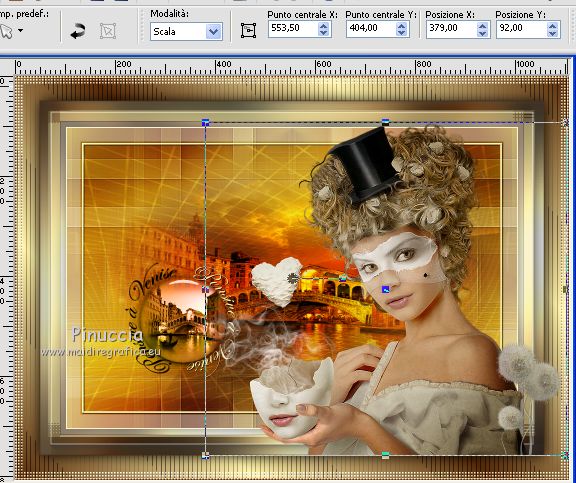
M key to deselect the tool.
Effects>3D Effects>Drop Shadow, color black.
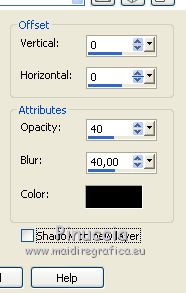
15. Sign your work on a new layer.
Image>Resize, 950 pixels width, resize all layers not checked.
Save as jpg.
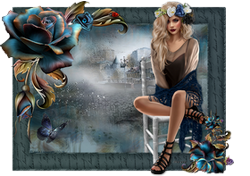
The tubes of this version are by Thafs and Macha
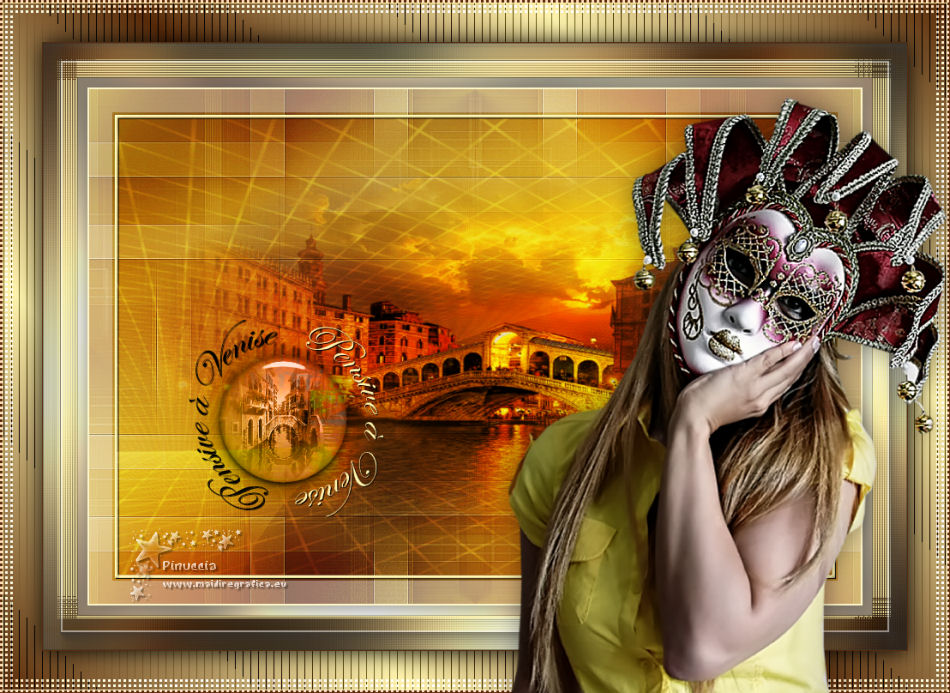

Your versions. Merci
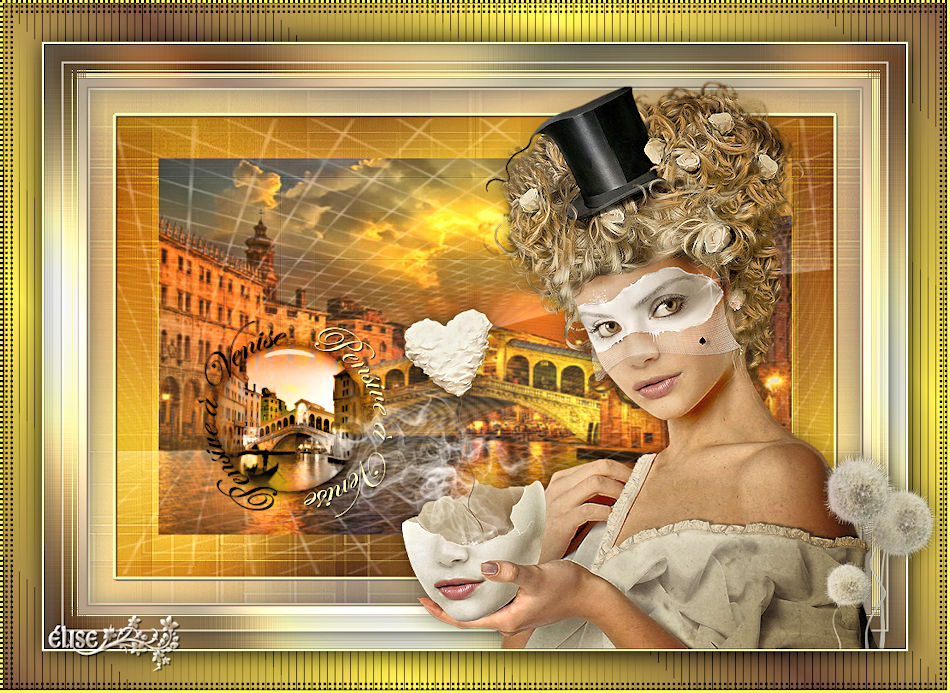
Elise
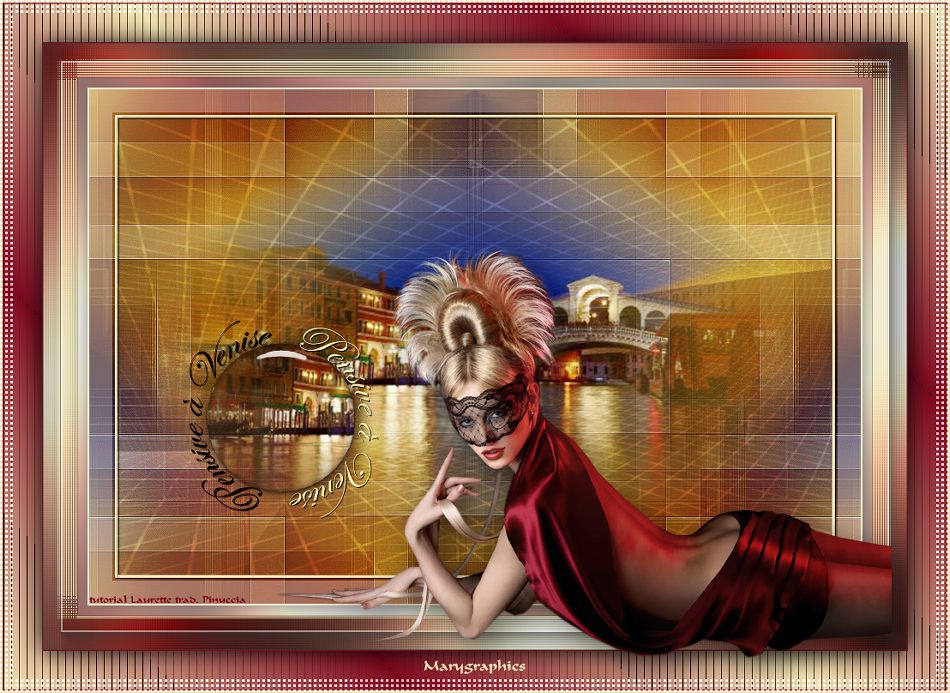
Marygraphics
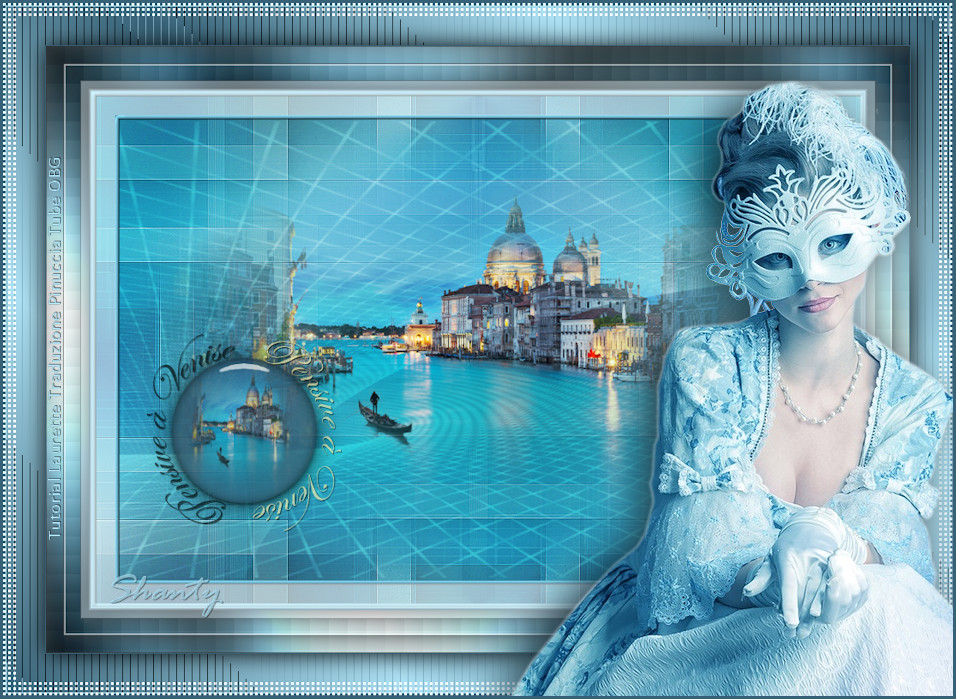
Shanty

If you have problems or doubts, or you find a not worked link, or only for tell me that you enjoyed this tutorial, write to me.
7 February 2019
|

