|
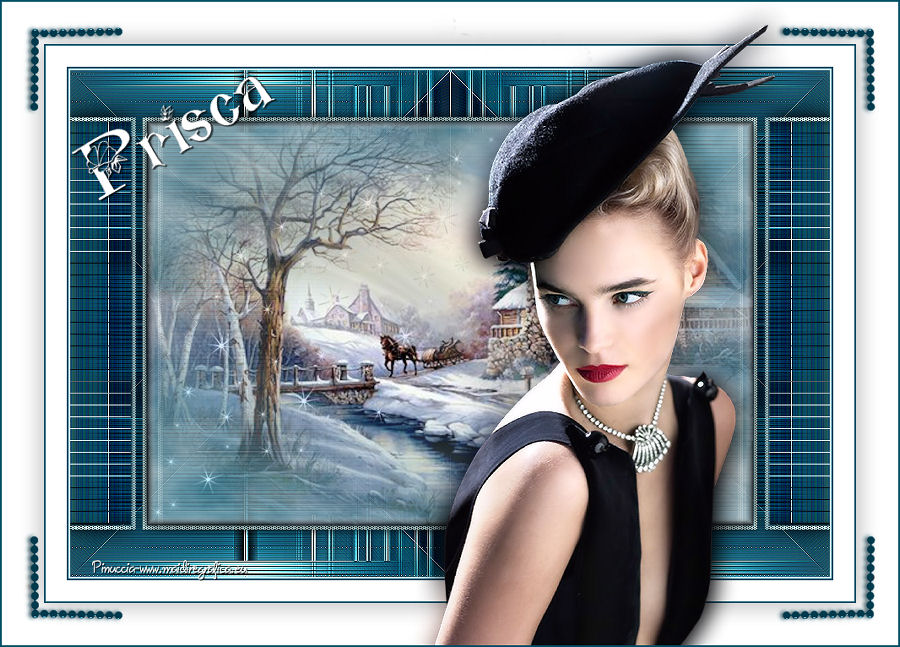
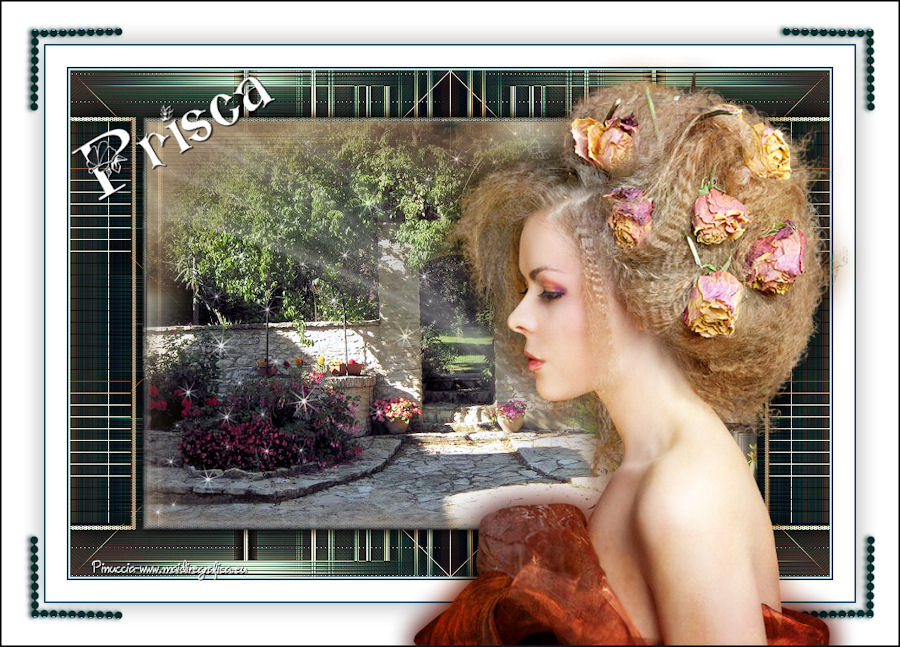
PRISCA

english version

Here you find the original of this tutorial:

This tutorial was written with CorelX19 and translated with CorelX17, but it can also be made using other versions of PSP.
Since version PSP X4, Image>Mirror was replaced with Image>Flip Horizontal,
and Image>Flip with Image>Flip Vertical, there are some variables.
In versions X5 and X6, the functions have been improved by making available the Objects menu.
In the latest version X7 command Image>Mirror and Image>Flip returned, but with new differences.
See my schedule here
italian translation here
your versions here
Material here
For the tube thanks Babette.
The mask found in Internet.
The rest of the material is by Laurette.
Plugins:
consult, if necessary, my filter section here
Filters Unlimited 2.0 here
Simple - Pizza Slice Mirror, Blintz here
Mock - Windo here
Cybia - Screenworks here
L&K's - L&K Zitah here
L&K's - L&K Mayra here
Mura's Meister - Cloud here
Toadies - Weaver here
Filters Simple, Mock, Cybia and Toadies can be used alone or imported into Filters Unlimited.
(How do, you see here)
If a plugin supplied appears with this icon  it must necessarily be imported into Unlimited it must necessarily be imported into Unlimited

You can change Blend Modes according to your colors.
In the newest versions of PSP, you don't find the foreground/background gradient (Corel_06_029).
You can use the gradients of the older versions.
The Gradient of CorelX here
Copy the Selections in the Selection Folder.
Open the mask in PSP and minimize it with the rest of the material.
1. Set your foreground color to #caf0fe,
and your background color to #004d65.
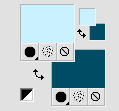
Set your Foreground color to a Foreground/Background Gradient, style Halo.
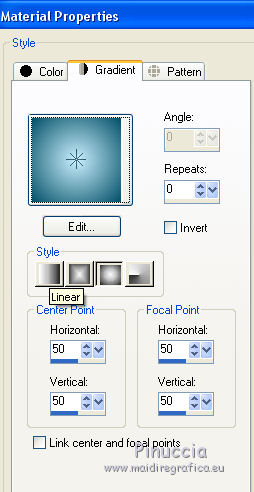
2. Open a new transparent image 900 x 600 pixels.
Flood Fill  the transparent image with your Gradient. the transparent image with your Gradient.
3. Layers>New Raster Layer - Raster 2.
Flood Fill  the layer with the same Gradient. the layer with the same Gradient.
4. Effects>Plugins>Simple - Blintz.
Edit>Repeat Blintz.
Effects>Plugins>Simple - Pizza Slice Mirror.
5. Effects>Reflection Effects>Rotating Mirror.
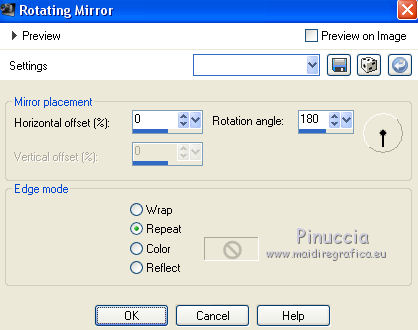
Effects>Edge Effects>Enhance More.
6. Effects>Plugins>Mock - Windo.
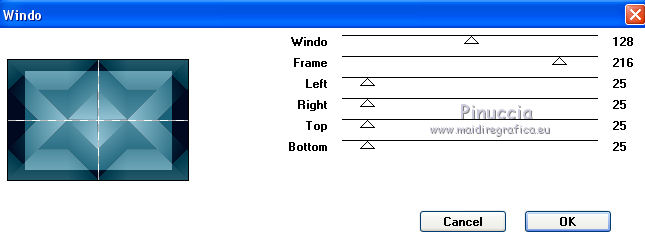
Layers>Merge>Merge Down.
7. Selections>Load/Save Selection>Load Selection from Disk.
Look for and load selection 1Prisca.
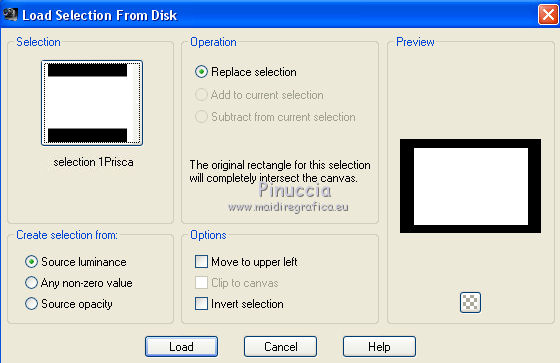
Selections>Promote Selection to Layer.
Change the Blend Mode of this layer to Multiply.
8. Open the landscape tube - Edit>Copy.
Go back to your work and go to Edit>Paste into Selection (don't join a new layer).
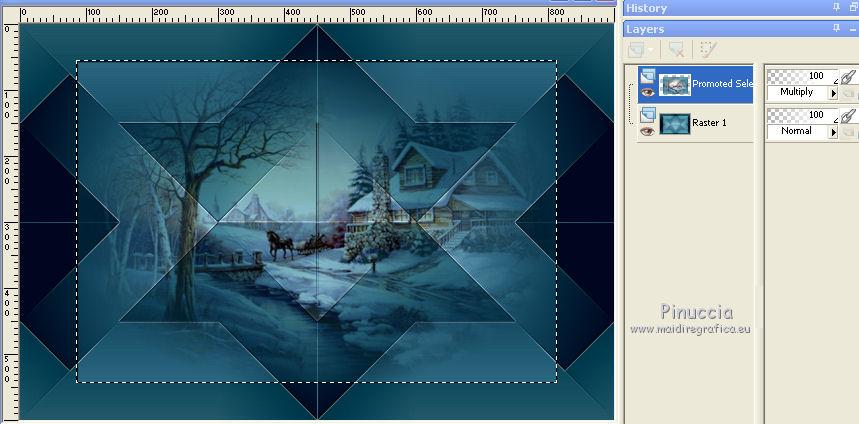
Selections>Modify>Select Selection Borders.
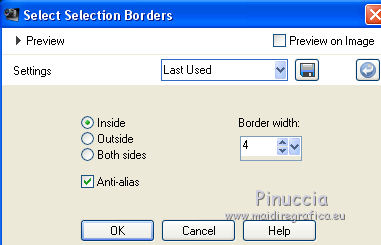
Layers>New Raster Layer.
Set your foreground color to Color
Flood Fill  the selection with your light foreground color #caf0fe. the selection with your light foreground color #caf0fe.
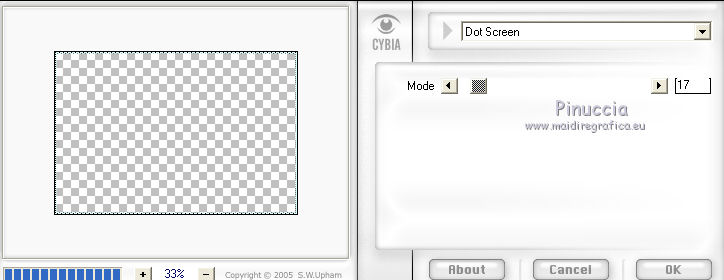
9. Effects>Plugins>Cybia - Screenworks.
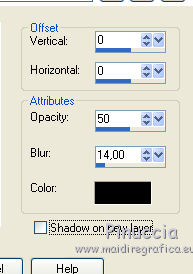
10. Effects>3D Effects>Drop Shadow, color black.
Selections>Select None.
11. Layers>Duplicate.
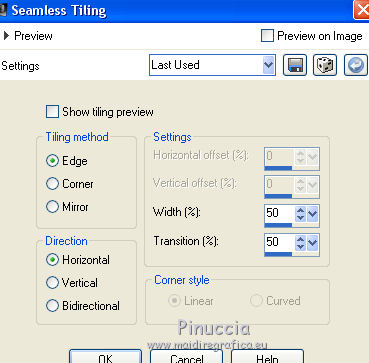
Effects>Image Effects>Seamless Tiling.
12. Effects>Reflection Effects>Rotating Mirror.

Layers>Merge>Merge Down.
13. Layers>Duplicate.
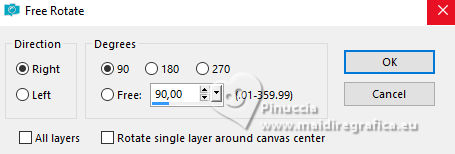
Image>Rotation libre - 90 degrees to right.
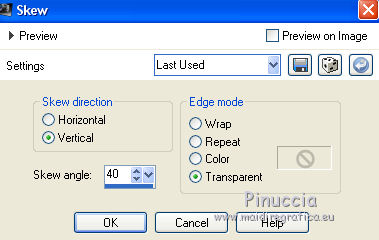
14. Effects>Geometric Effects>Skew.
15. Layers>Duplicate.
Image>Mirror.
Layers>Merge>Merge Down.
Layers>Arrange>Move Down - 2 times.
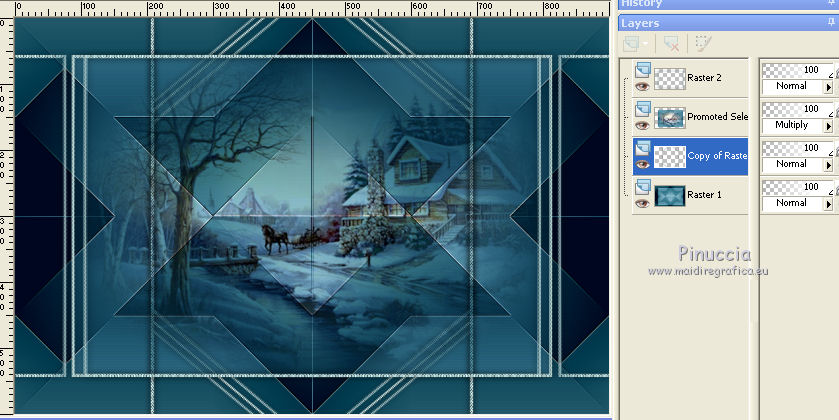
On this layer
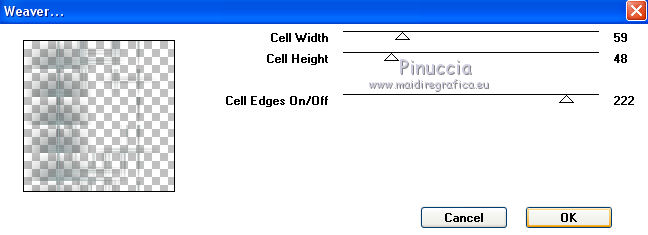
Effects>Plugins>Toadies - Weaver, default settings.
Layers>Duplicate.
Image>Mirror.
Layers>Duplicate.
Image>Flip.
Layers>Merge>Merge Down.
Effects>Edge Effects>Enhance.
Change the Blend Mode of this layer to Hard Light.
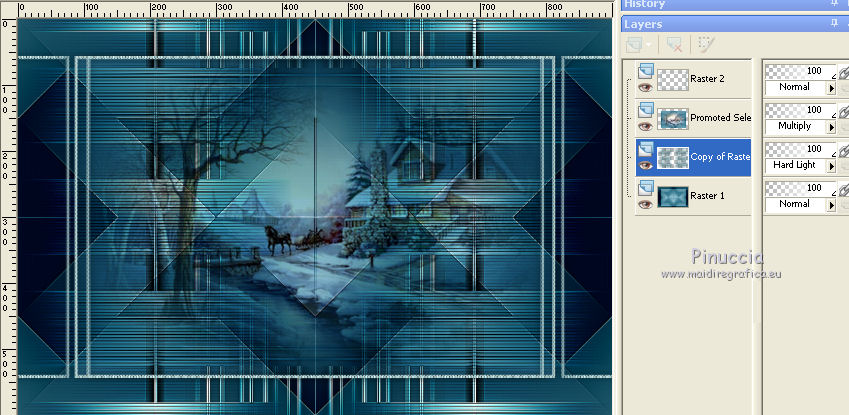
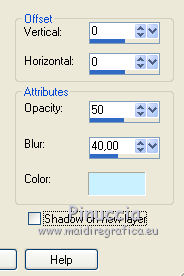
16. Effects>3D Effects>Drop Shadow, color #caf0fe.
17. Activate the background layer.
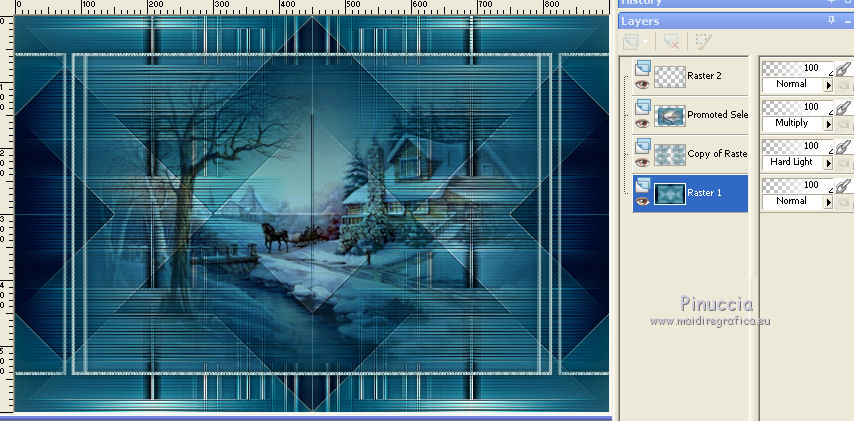
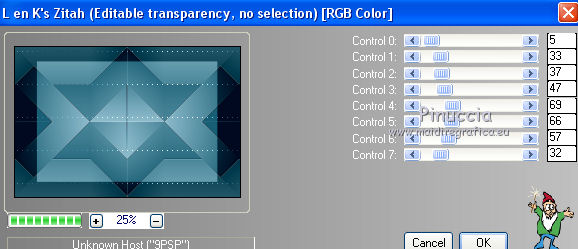
Effects>Plugins>L&K's - L& K Zitah, default settings.
Effects>Edge Effects>Enhance.
18. On the same layer.
Selections>Load/Save Selection>Load Selection from Disk.
Look for and load selection 2Prisca.
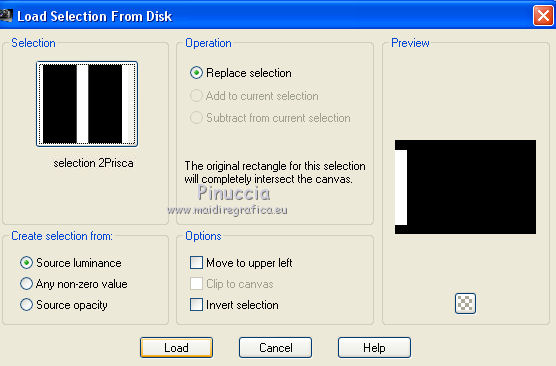
Selections>Promote Selection to Layer.
19. Effects>Plugins>L&K's - L&K Mayra, default settings.
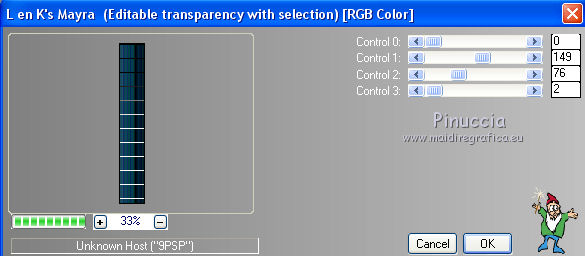
Selections>Select None.
20. Layers>Duplicate.
Image>Mirror.
Layers>Merge>Merge Down.
Effects>3D Effects>Drop Shadow, color black.
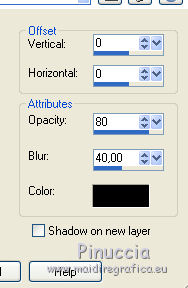
Layers>Duplicate.
21. Layers>Merge>Merge All.
22. Selections>Load/Save Selection>Load Selection from Disk.
Look for and load again selection 1Prisca.

Selections>Modify>Contract - 5 pixels.
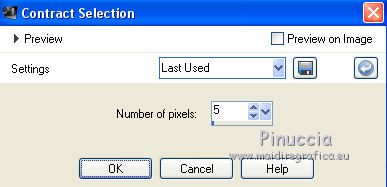
23. Layers>New Raster Layer.
To apply the plugin Cloud: set your foreground color to the dark color
and the background color to white #ffffff.
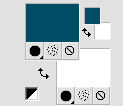
this plugin works with the colors of your Materials,
but keeps in memory the first settings used after the opening of PSP.
So, if you have already used the plugin, press Reset to be sure to have your colors.
The result is Random and for that, your result will be different).
Effects>Plugins>Mura's Meister - Cloud, default settings.
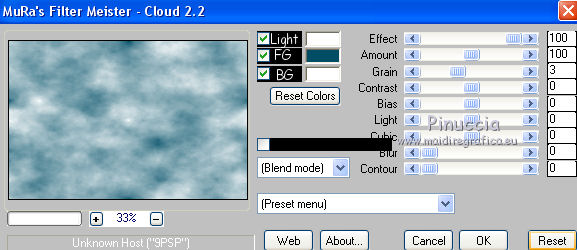
Reduce the opacity of this layer to 75%.
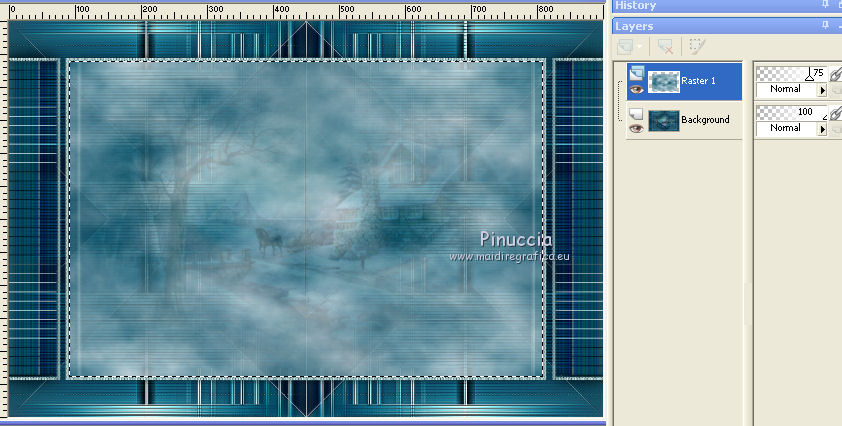
24. Open the landscape tube and go to Edit>Copy.
Go back to your work and go to Edit>Paste as new layer.
Selections>Invert.
Press CANC on the keyboard 
Again Selections>Invert.
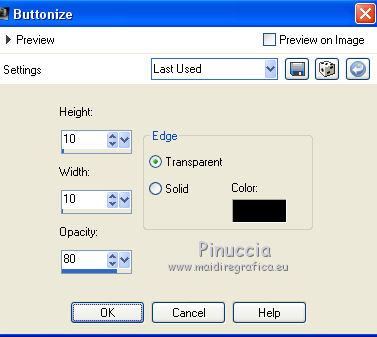
Effects>3D Effects>Buttonize.
25. Effects>3D Effects>Drop Shadow, color black.
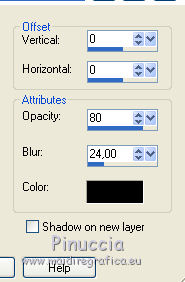
Selections>Select None.
26. Layers>Merge>Merge visible.
27. Reduce the opacity of Flood Fill Tool to 60

Layers>New Raster Layer.
Flood Fill  the layer with your white background color. the layer with your white background color.
don't forget to place again the opacity to 100
28. Layers>New Mask layer>From image
Open the menu under the source window and you'll see all the files open.
Select the mask mask du net
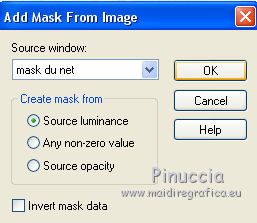
Layers>Merge>Merge Group.
29. Image>Resize, to 78%, resize all layers not checked.
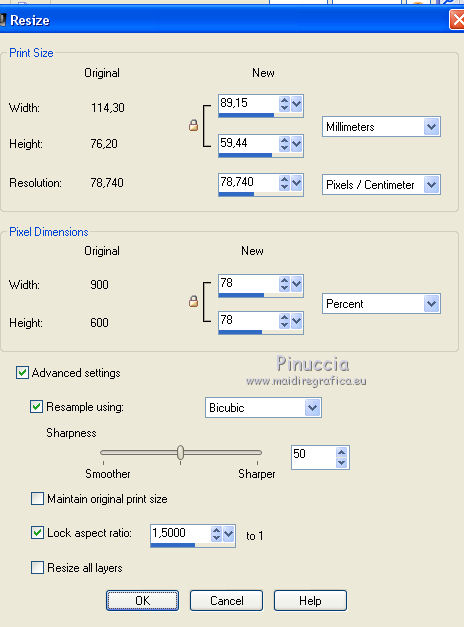
Effects>3D Effects>Drop Shadow, color black.

30. Open the tube brillance - Edit>Copy.
Go back to your work and go to Edit>Paste as new layer.
Press K key to activate the Pick Tool 
mode Scale 
set Position X: 93,00 and Position Y: 63,00
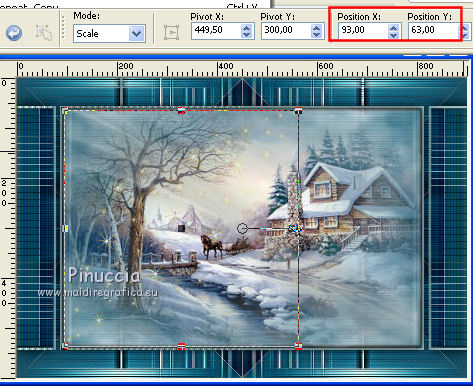
Change the Blend Mode of this layer to Luminance (legacy).
31. For the borders, set again your foreground color to the light color
and your backgorund color to the dark color.

Image>Add borders, 2 pixels, symmetric, light color.
Image>Add borders, 2 pixels, symmetric, dark color.
Image>Add borders, 25 pixels, symmetric, color white.
Image>Add borders, 2 pixels, symmetric, dark color.
Selections>Select All.
Image>Add borders, 50 pixels, symmetric, color white.
32. Effects>3D Effects>Drop Shadow, color #c0c0c0.
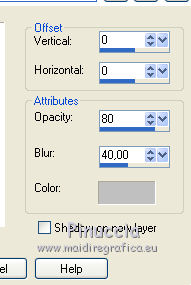
Edit>Repeat Drop Shadow.
Selections>Select None.
33. Open the tube coins - Edit>Copy.
Go back to your work and go to Edit>Paste as new layer.
34. Open the tube of the woman - Edit>Copy.
Go back to your work and go to Edit>Paste as new layer.
Image>Resize, 1 time to 80% and 1 time to 73%, resize all layers not checked.
Adjust>Sharpness>Sharpen.
Pick Tool 
and set Position X: 506,00 and Position Y: 12,00
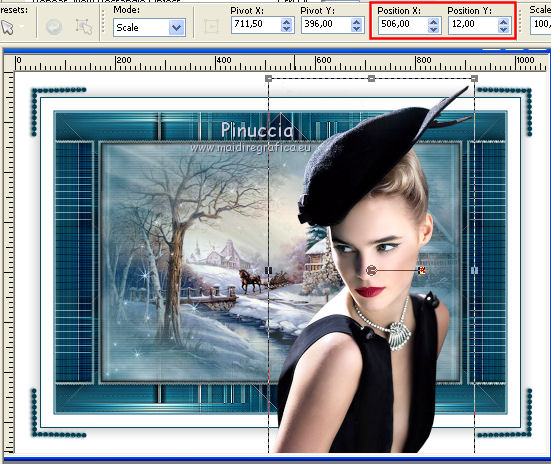
Layers>Duplicate.
Adjust>Blur>Gaussian Blur - radius 15.

Change the Blend Mode of this layer to Multiply.
Layers>Arrange>Move Down.
35. Open the wordart_Prisca - Edit>Copy.
Go back to your work and go to Edit>Paste as new layer.
Image>Rotation libre - 30 degrees to left.
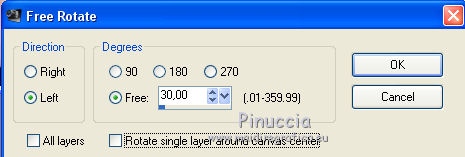
Move  the wordart at the upper left. the wordart at the upper left.
Effects>3D Effects>Drop Shadow, color black.
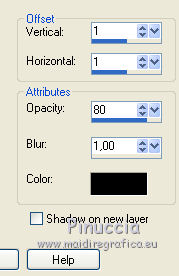
36. Sign your work on a new layer.
37. Image>Add borders, 2 pixels, symmetric, dark color.
Image>Resize, 900 pixels width, resize all layers checked.
Save as jpg.
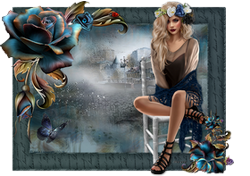
The tubes of this version are by Anna.br

If you have problems or doubts, or you find a not worked link,
or only for tell me that you enjoyed this tutorial, write to me.
30 January 2018
|

