|
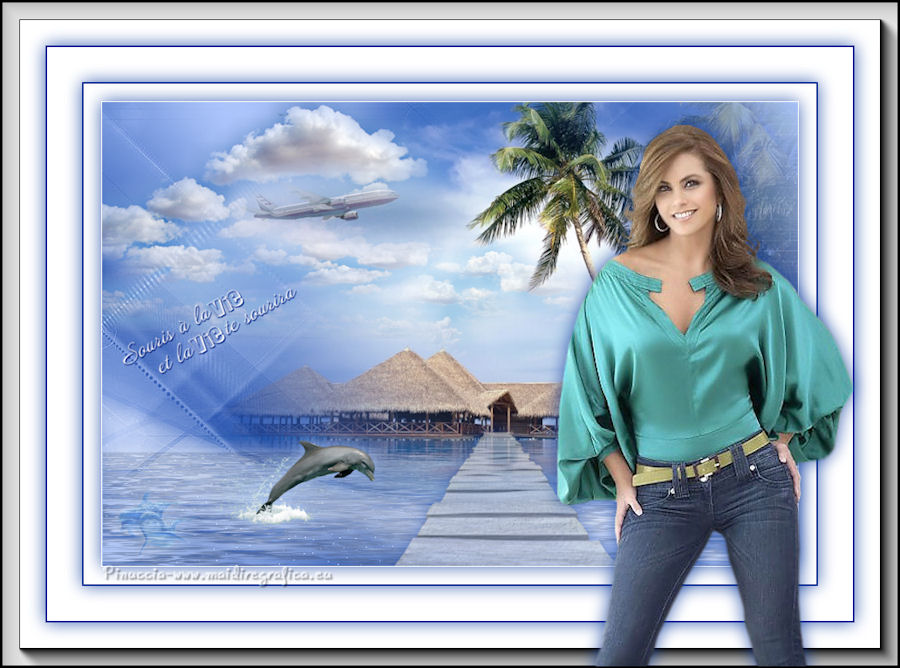
SOURIRE À LA VIE

english version

Here you find the original of this tutorial:

This tutorial was written with CorelX9 and translated with CorelX3, but it can also be made using other versions of PSP.
Since version PSP X4, Image>Mirror was replaced with Image>Flip Horizontal,
and Image>Flip with Image>Flip Vertical, there are some variables.
In versions X5 and X6, the functions have been improved by making available the Objects menu.
In the latest version X7 command Image>Mirror and Image>Flip returned, but with new differences.
See my schedule here
italian translation here
Material here
For the tubes thanks Babette et LisaT.
(The links of the tubemakers here).
Plugins
consult, if necessary, my filter section here
Flaming Pear - Flood here
Graphics Plus - Cross Shadow here
AAA Frames - Foto Frame here
Filters Unlimited 2.0 here
Filters Graphics Plus can be used alone or imported into Filters Unlimited.
(How do, you see here)
If a plugin supplied appears with this icon  it must necessarily be imported into Unlimited it must necessarily be imported into Unlimited

In the newest versions of PSP, you don't find the foreground/background gradient (Corel_06_029).
You can use the gradients of the older versions.
The Gradient of CorelX here
Copy the selection in the Selections Folder.
Open the masks in PSP and minimize them with the rest of the material.
Used colors

1. Open a new transparent image 900 x 600 pixels.
Set your foreground color to #b7ceff,
and your background color to #00329a.
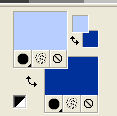
Set your foreground color to a Foreground/Background Gradient, style Linear.

Flood Fill  the transparent image with your Gradient. the transparent image with your Gradient.
2. Adjust>Blur>Gaussian Blur, radius 30.

3. Layers>New Raster Layer.
Set your foreground color to Color.
Flood Fill  the layer with your foreground color #b7ceff. the layer with your foreground color #b7ceff.
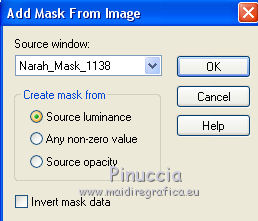
4. Layers>New Mask layer>From image
Open the menu under the source window and you'll see all the files open.
Select the mask Narah_1138.
Effects>Edge Effects>Enhance.
Layers>Merge>Merge Group.
5. Layers>Merge>Merge visible.
6. Layers>New Raster Layer.
Set your foreground color to white #ffffff.
Flood Fill  the layer with color white. the layer with color white.
7. Layers>New Mask layer>From image
Open the menu under the source window
and select the mask Narah 1205.
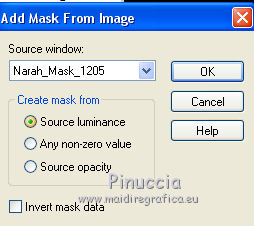
Effects>Edge Effects>Enhance.
Layers>Merge>Merge Group.
8. Effects>3D Effects>Drop Shadow, color white.

9. Open the landscape tube and go to Edit>Copy.
Go back to your work and go to Edit>Paste as new layer.
Image>Resize, to 85%, resize all layers not checked.
10. Effects>Image Effects>Offset.
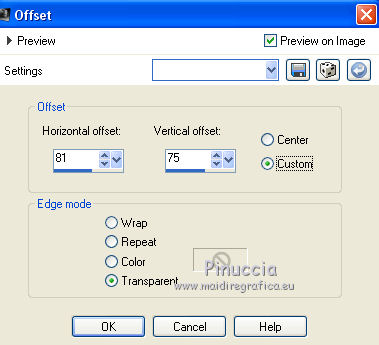
Layers>Duplicate.
Layers>Merge>Merge Down.
11. Effects>3D Effects>Drop Shadow, dark background color #00329a
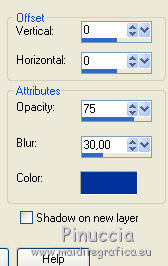
12. Keep the top layer selected.
Open the tube Gros _nuage and go to Edit>Copy.
Go back to your work and go to Edit>Paste as new layer.
Image>Resize, to 85%, resize all layers not checked.
Move  the tube at the bottom left. the tube at the bottom left.
13. Effects>3D Effects>Drop Shadow, color white #ffffff.

14. Open the tube Nuage petit and go to Edit>Copy.
Go back to your work and go to Edit>Paste as new layer.
K key on the keyboard to activate the Pick Tool 
and set Position X: 364,00 and Position Y: 178,00

15. Effects>3D Effects>Drop Shadow, colore #ffffff.

16. Open the tube of the plan and go to Edit>Copy.
Go back to your work and go to Edit>Paste as new layer.
Image>Resize, 2 times to 75%, resize all layers not checked.
17. Effects>3D Effects>Drop Shadow, same settings.

Edit>Repeat Drop Shadow.
18. K key to activate the Pick Tool 
and set Position X: 123,00 and Position Y: 60,00
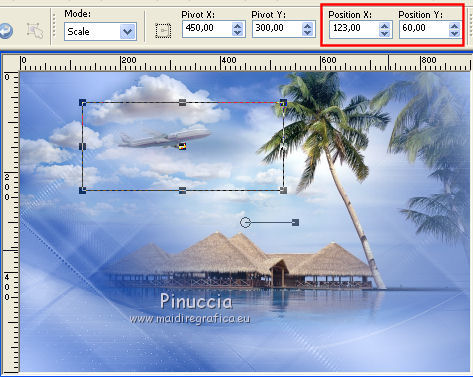
M key to deselect the Tool.
19. Activate the bottom layer.
Selections>Load/Save Selection>Load Selection from Disk.
Look for and load the selection ©souris à la vie
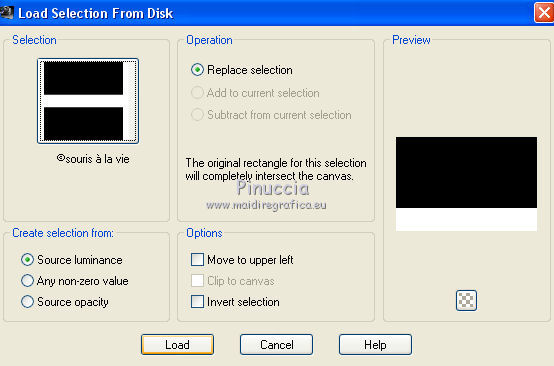
Selections>Promote Selection to layer.
Selections>Select None.
20. Effects>Plugins>Flaming Pear - Flood
light color #b7ceff

21. Effects>3D Effects>Drop Shadow, same settings.

22. Activate the top layer.
Open the tube Pont de bois and go to Edit>Copy.
Go back to your work and go to Edit>Paste as new layer.
K key to activate the Pick Tool 
and set Position X: 373,00 and Position Y: 427,00
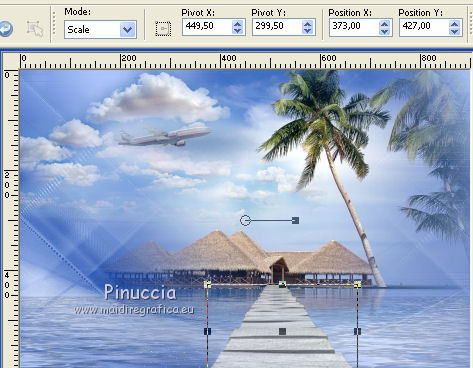
Reduce the opacity of this layer to 80%.
23. Effects>3D Effects>Drop Shadow, dark background color #00329a.

24. Open the tube of the blue dolphins and go to Edit>Copy.
Go back to your work and go to Edit>Paste as new layer.
Image>Resize, 2 times to 75%, resize all layers not checked.
Move  the tube at the bottom left. the tube at the bottom left.
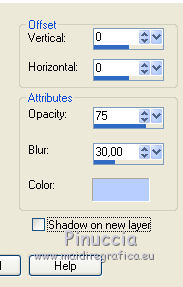
Change the Blend Mode of this layer to Overlay and reduce the opacity to 37%.
25. Effects>3D Effects>Drop Shadow, color white.

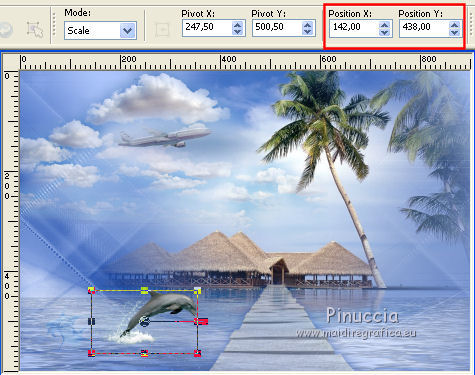
26. Open the tube Dauphin gris and go to Edit>Copy.
Go back to your work and go to Edit>Paste as new layer.
Image>Resize, to 75%, resize all layers not checked.
K key to activate the Pick Tool 
and set Position X: 142,00 and Position Y: 438,00
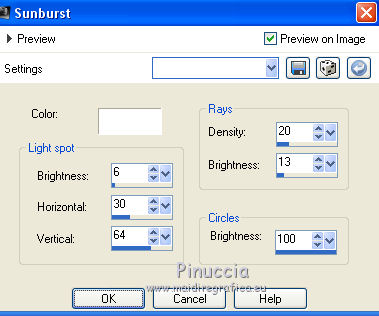
27. Effects>Illumination Effects>Sunburst.
28. Effects>3D Effects>Drop Shadow, light color #b7ceff.
29. Image>Add borders, 1 pixel, symmetric, color white.
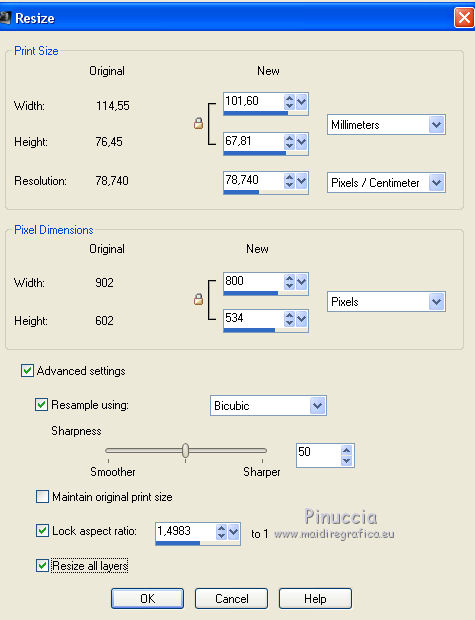
Image>Resize, 800 pixels width, resize all layers checked.
30. Selections>Select All.
Image>Add borders, 20 pixels, symmetric, color white.
31. Effects>3D Effects>Drop Shadow, dark color #00329a.

Selections>Select None.
32. Image>Add borders, 2 pixels, symmetric, dark color.
Image>Add borders, 40 pixels, symmetric, color white.
Activate the Magic Wand Tool 
and clic on the white border to select it.
Selections>Invert.
Effects>3D Effects>Drop Shadow, same settings.

Selections>Select None.
33. Image>Add borders, 2 pixels, symmetric, dark color #00329a.
Selections>Select All.
Image>Add borders, 50 pixels, symmetric, color white.
Effects>3D Effects>Drop Shadow, same settings.

Selections>Select None.
34. Open the Wordart and go to Edit>Copy.
Go back to your work and go to Edit>Paste as new layer.
Image>Resize, 2 times to 75%; resize all layers not checked.
Image>Negative Image.
Move  the tube at the upper left. the tube at the upper left.
35. Effects>3D Effects>Drop Shadow, dark background color,
shadow on new layer checked.

Change the Blend Mode of the shadow layer to Multiply.
36. Layers>Merge>Merge visible.
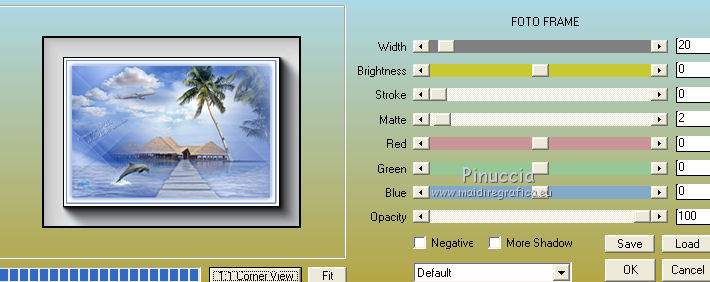
37. Effects>Plugins>AAA Frames - Foto Frame.
38. Open the woman tube by Babette and go to Edit>Copy.
Go back to your work and go to Edit>Paste as new layer.
Image>Miroir.
Image>Resize, to 110%, resize all layers not checked.
Move  the tube to the right side. the tube to the right side.
Effects>3D Effects>Drop Shadow, dark background color.

39. Sign your work.
Image>Add borders, 2 pixels, symmetric, colore black.
Image>Resize, 900 pixels width, resize all layers checked.
Save as jpg.
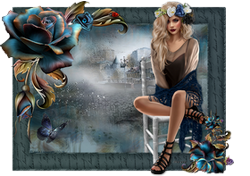
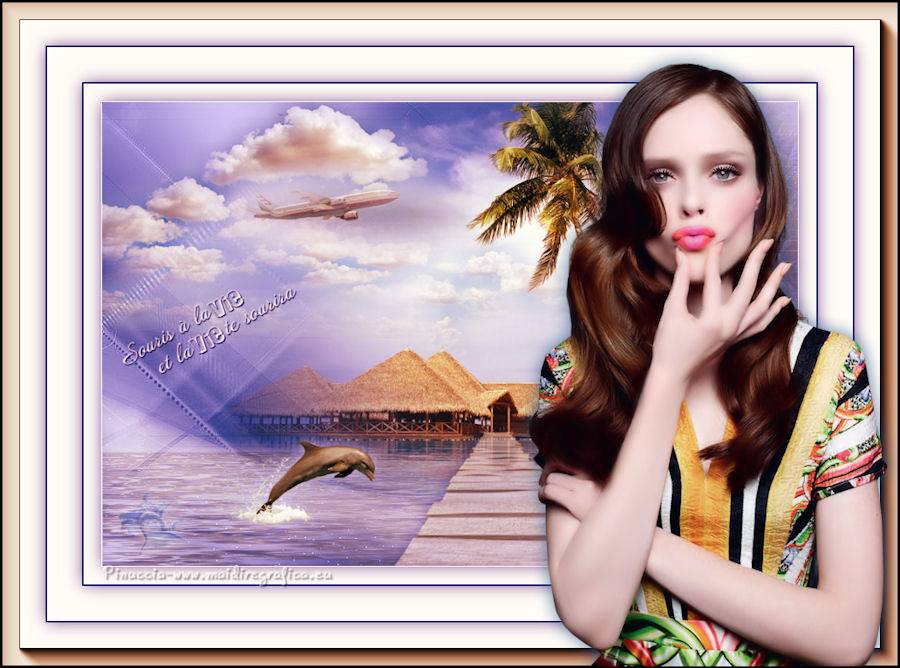
The tube of this version is by Mina

If you have problems or doubts, or you find a not worked link,
or only for tell me that you enjoyed this tutorial, write to me.
2 June 2018
|

