|
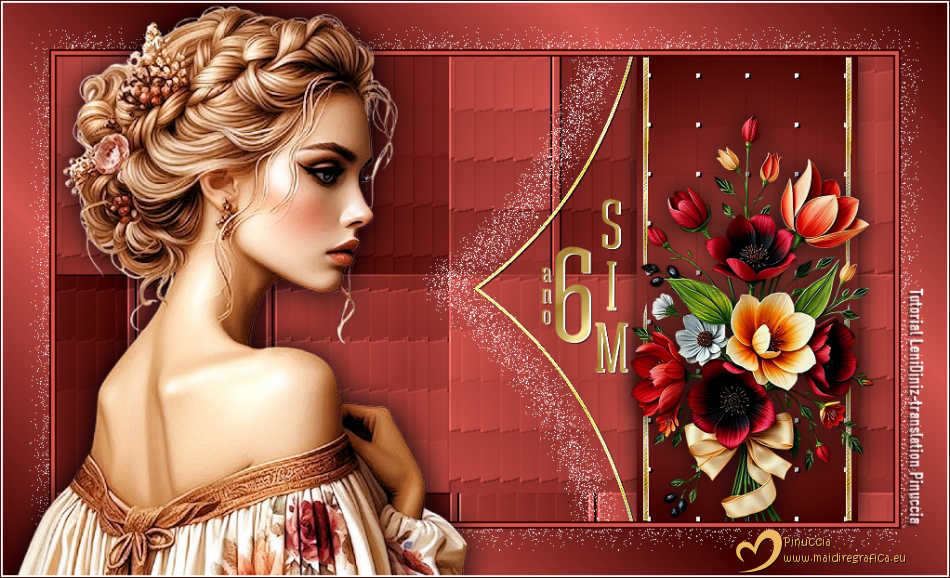
SIM PSP 6 AÑOS


Thanks SIM PSP Group for your invitation to translate your tutorials into english

This tutorial was written and translated with Psp2020, but it can also be made using other versions of PSP.
Since version PSP X4, Image>Mirror was replaced with Image>Flip Horizontal,
and Image>Flip with Image>Flip Vertical, there are some variables.
In versions X5 and X6, the functions have been improved by making available the Objects menu.
In the latest version X7 command Image>Mirror and Image>Flip returned, but with new differences.
See my schedule here

|
Special Note
PSP SIM and its Tutorial Authors ask the public:
- Please, we request that you maintain the originality of the tutorial,
refraining from adding or including unsolicited effects;
- The use of other images is permitted and encouraged,
but please don't modify the content of the original tutorial;
- Please acknowledge and attribute the valuable credits to those who write tutorials, make translations and create materials.
Carefully,
PSP SIM - Leni Diniz
|

For this tutorial, you will need:

Material by Leni Diniz
(The links of the tubemakers here).

consult, if necessary, my filter section here
Filters Unlimited 2.0 here
VM Distortion - Flipchop, Mosaic Ripple here
VM Texture - Tiles a GoGo here
Filters VM Texture and VM Distortion can be used alone or imported into Filters Unlimited.
(How do, you see here)
If a plugin supplied appears with this icon  it must necessarily be imported into Unlimited it must necessarily be imported into Unlimited

You can change Blend Modes according to your colors.

Copy the preset Emboss 4 in the Presets Folder.
Open the golden pattern in PSP and minimize it with the rest of the material.
1. Choose two colors to work.
Set your foreground color to the dark color #3d0000,
and your background color to the light color #d3554f.
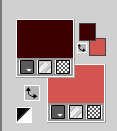
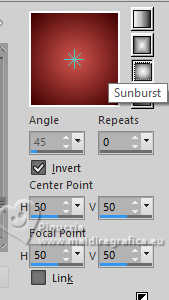
Set your foreground color to a Foreground/Background Gradient, style Sunburst.
Open alpha_channel_sim_6anos
This image, that will be the basis of your work, is not empty,
but contains a selection saved to alpha channel.
Flood Fill  the transparent image with your Gradient. the transparent image with your Gradient.
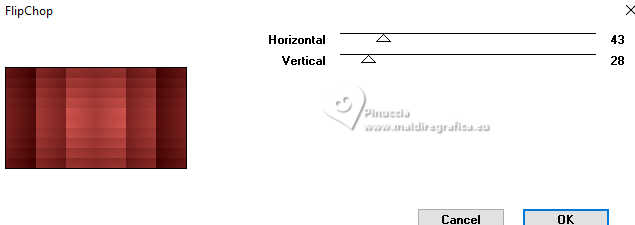
2. Effects>Plugins>VM Distotion - Flipchop
3. Effects>Plugins>VM Distortion - Moicac Ripple
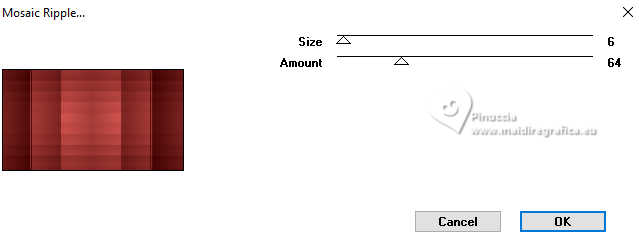
4. Effects>Plugins>Filters Unlimited>VM Texture - Tiles a Gogo
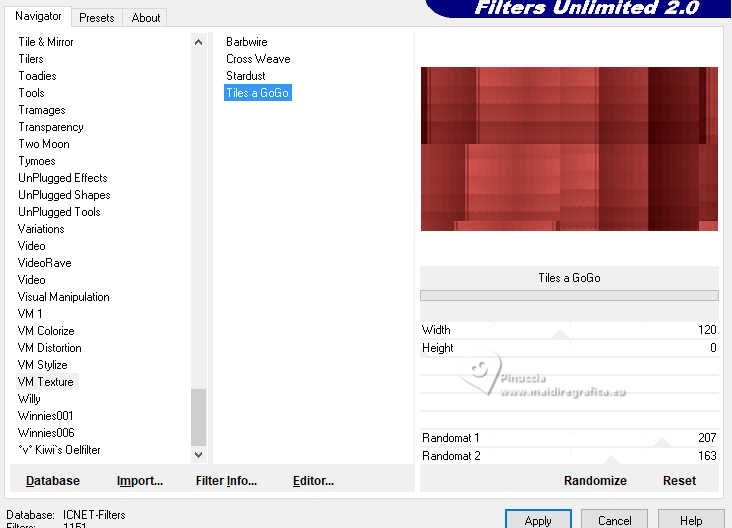
5. Effects>User Defined Filter preset Emboss 4
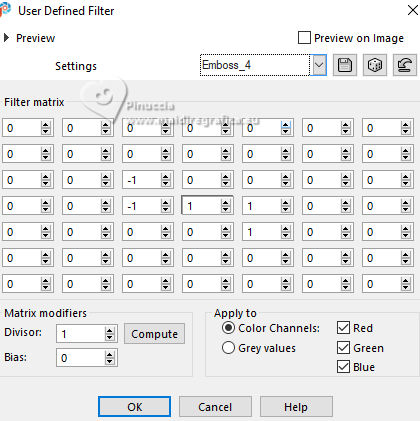
6. Layers>New Raster Layer.
Selections>Load/Save Selections>Load Selection from Alpha Channel.
The selection leni #1 is immediately available. You just have to click Load.
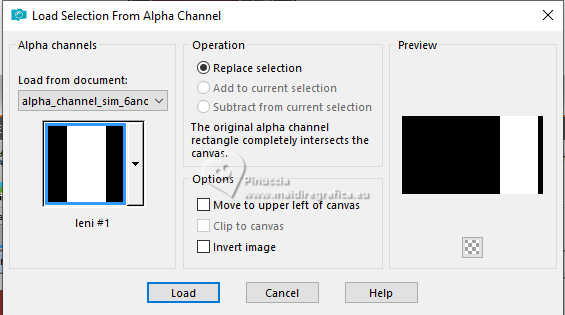
Flood Fill  the selection with your Gradient. the selection with your Gradient.

7. Effects>Texture Effects>Weave
wave color: foreground color
gap color: white
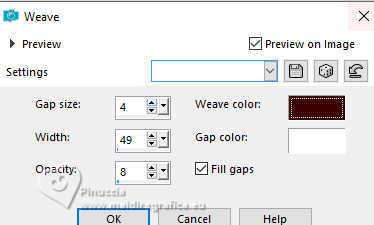
8. Effects>User Defined Filter - preset Emboss 4

9. Effects>3D Effects>Drop Shadow, color #000000.

Selections>Select None.
10. Open decor_leni_sim_6anos 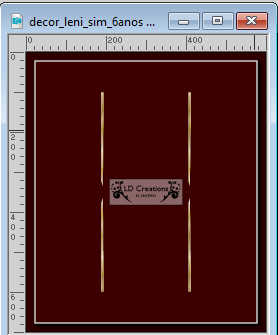
Edit>Copy.
Go back to your work and go to Edit>Paste as New Layer.
11. Pick Tool 
Position X: 630,00 - Position Y: 0,00.

12. Activate the layer Raster 1.
13. Open decor_leni_sim_6anos-2 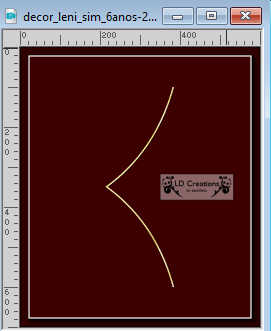
Edit>Copy.
Go back to your work and go to Edit>Paste as New Layer.
14. Pick Tool 
Position X: 447,00 - Position Y: 0,00.

15. Effects>3D Effects>Drop Shadow, color #ffffff,
shadow on new layer checked.
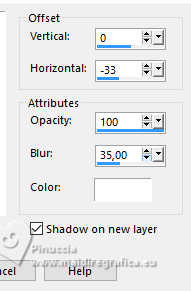
Stay on the shadow's layer.
16. Layer>Duplicate.
Layer>Merge>Merge Down.
17. Layer>Duplicate.
Layer>Merge>Merge Down.
Again Layer>Duplicate.
Layer>Merge>Merge Down.
18. Layers>Properties>General>Blend Mode: Dissolve - Opacity: 25%
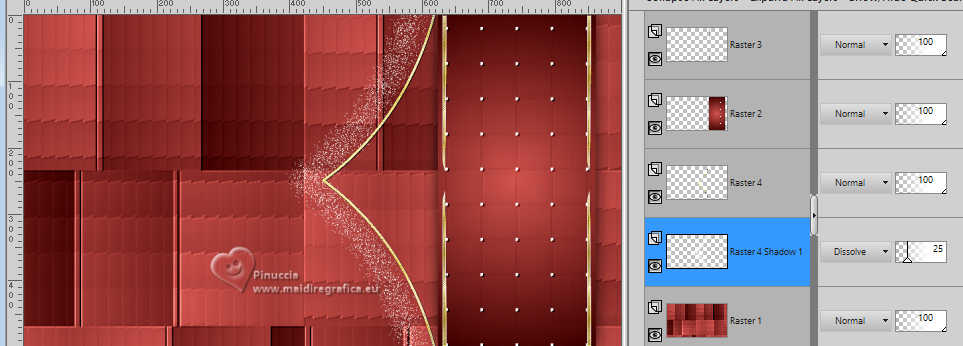
19. Effects>User Defined Filter preset Emboss 4

20. Adjust>Sharpness>Sharpen.
Activate your top layer, Raster 3.
21. Open the flowers tube LeniDiniz_338_misted-flores 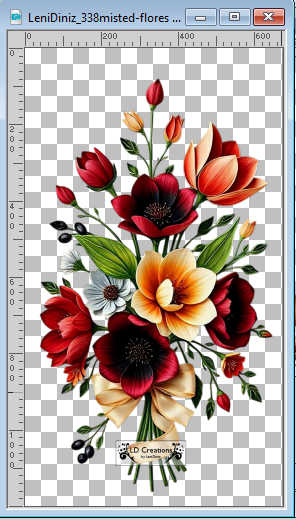
Edit>Copy.
Go back to your work and go to Edit>Paste as New Layer.
Image>Resize, to 43%, resize all layers not checked.
Adjust>Sharpness>Sharpen.
Pick Tool 
Position X: 617,00 - Position Y: 62,00.

Or move  as in my example. as in my example.
Effects>3D Effects>Drop Shadow, at your choice.
22. Open leni_titulo_sem_6anos-1 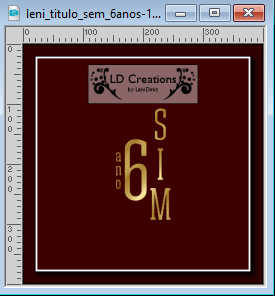
Edit>Copy.
Go back to your work and go to Edit>Paste as New Layer.
Pick Tool 
Position X: 521,00 - Position Y: 153,00.

23. Open leni_titulo_sem_6anos-2 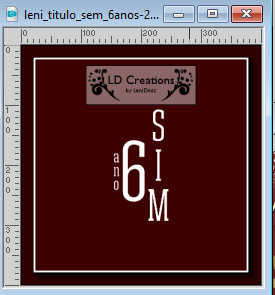
Edit>Copy.
Go back to your work and go to Edit>Paste as New Layer.
Pick Tool 
Position X: 523,00 - Position Y: 154,00.

Layer>Arrange>Move Down.
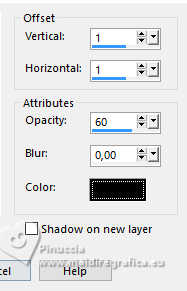
24. Effects>3D Effects>Drop Shadow, colore #000000.
25. Note of the author: OPTIONAL.
In the material I have provided a title in a shade of gray
leni_titulo_sem_6anos3_colorizar 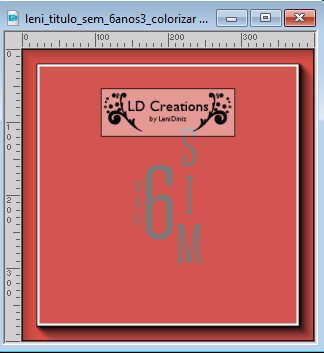
to be colored with the Color Replacer Tool 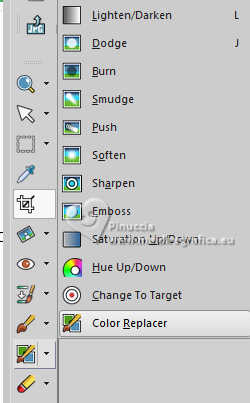

In the Background we put the gray color that is in the title and in the Foreground a Pattern
or your Foreground color.
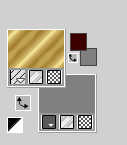
Then we brush the title until it is all colored, or we click on Replace all pixels

26. Image>Add Borders, 2 pixels, symmetric, dark foreground color #3d0000.
Image>Add Borders, 4 pixels, symmetric, light background color #d3554f.
Image>Add Borders, 2 pixels, symmetric, dark foreground color #3d0000.
27. Selections>Select All.
Image>Add Borders, 10 pixels, symmetric, whatever color.
Selections>Invert.
Set your foreground color to Pattern and select the golden pattern arguld10
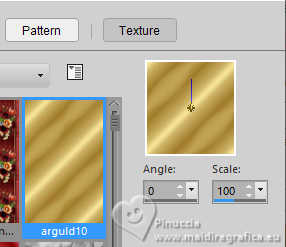
Flood Fill  the selection with the golden pattern arguld10 the selection with the golden pattern arguld10
Selections>Select None.
28. Image>Add Borders, 2 pixels, symmetric, dark foreground color #3d0000.
Image>Add Borders, 4 pixels, symmetric, light background color #d3554f.
Image>Add Borders, 2 pixels, symmetric, dark foreground color #3d0000.
29- Selections>Select All.
Image>Add Bordes, 50 pixels, symmetric, whatever color.
Selections>Invert.
30. Change the Settings of your Gradient, style Linear.
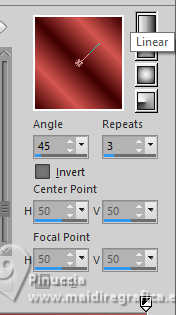
Flood Fill  the selection with your new Gradient. the selection with your new Gradient.
31. Selections>Invert.
Layers>New Raster Layer.
Effects>3D Effects>Drop Shadow, color #ffffff.
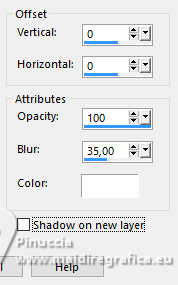
Layers>Properties>General>Blend Mode: Dissolve - Opacity: 25%
32. Effects>User Defined Filter - preset Emboss 4

Selections>Select None.
33. Open your main tube LeniDiniz-2155mulheres 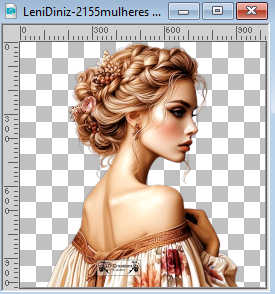
Edit>Copy .
Go back to your work and go to Edit>Paste as New Layer.
Image>Resize, for the supplied tube 62%, resize all layers not checked.
Move  the tube to the left side. the tube to the left side.
Adjust>Sharpness>Sharpen.
Effects>3D Effects>Drop shadow, at your choice.
34. Image>Add Borders, 2 pixels, symmetric, color white #ffffff.
Image>Add Borders, 1 pixel, symmetric, dark foreground color #3d0000.
35. Sign your work.
Add the credit Credit-Tuto_byLeniDiniz without forgetting the translator's.
Layers>Merge>Merge All and save as jpg.
For the tube of this version thanks PqnaAlice
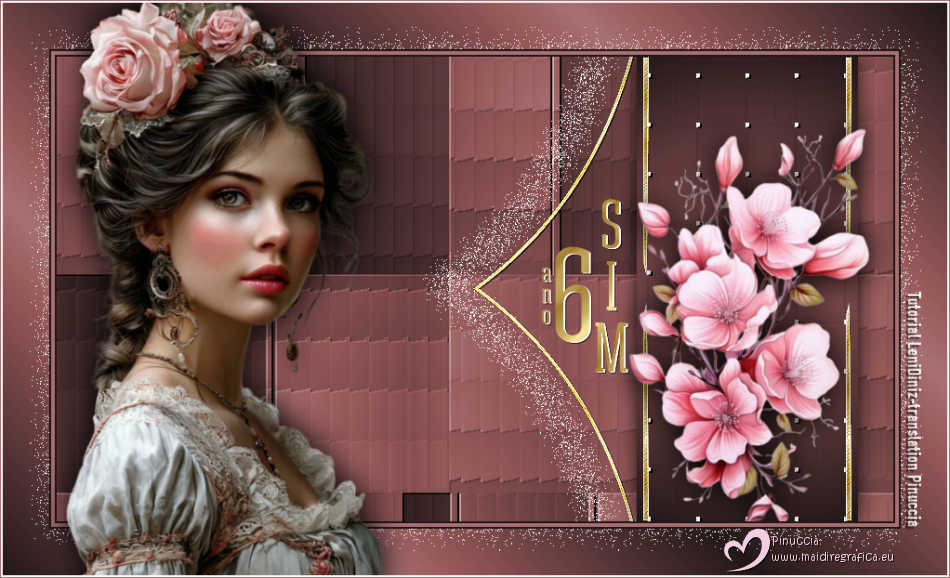

 Your versions.Thanks Your versions.Thanks
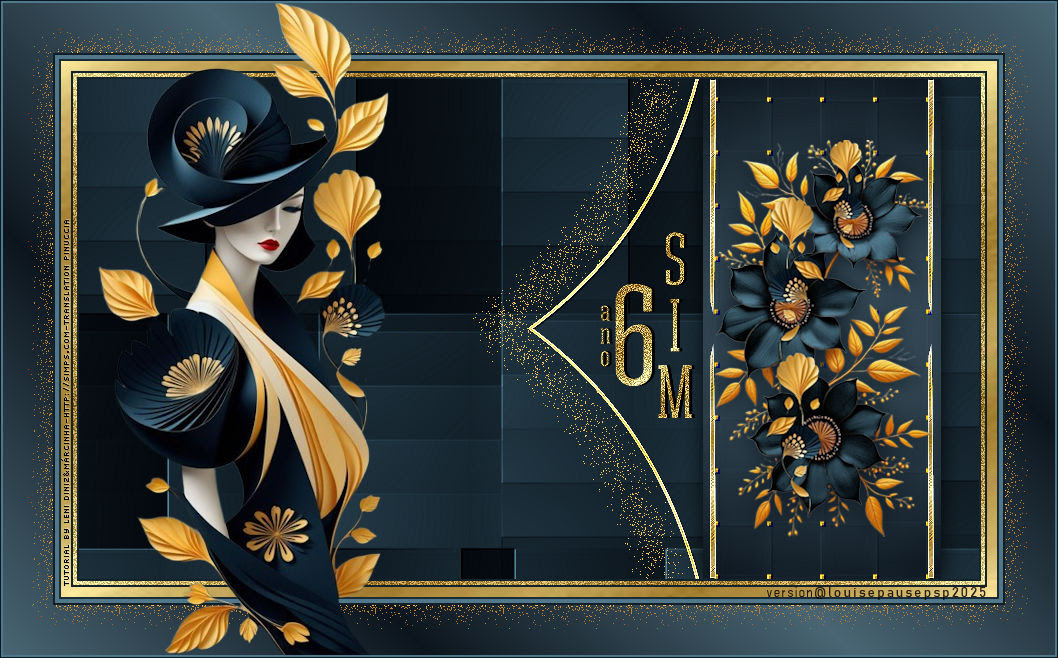
Louise
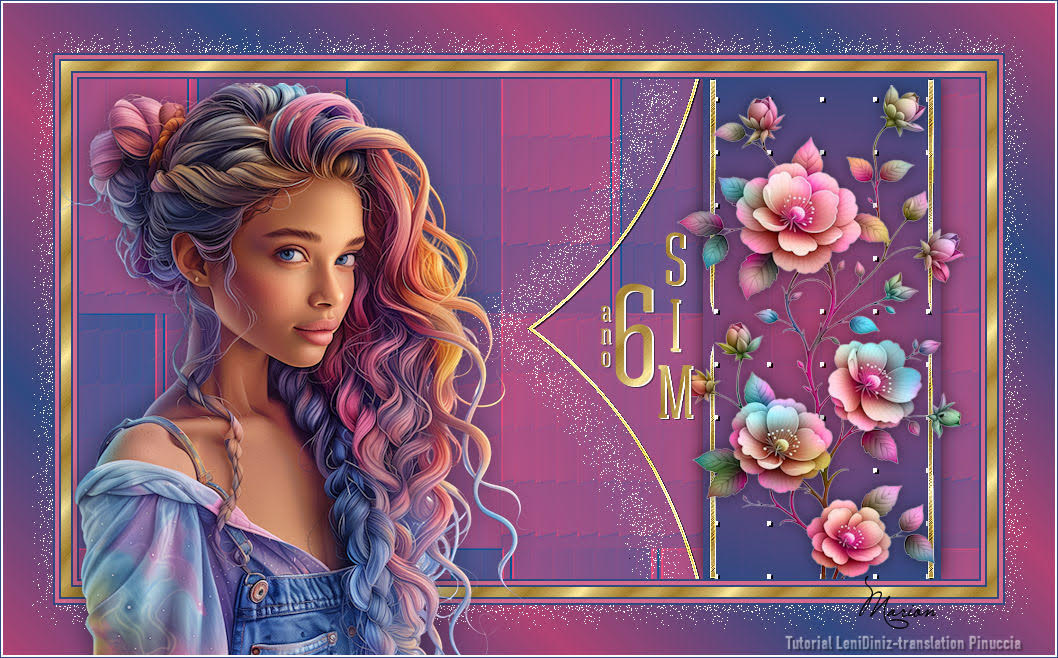
Marion
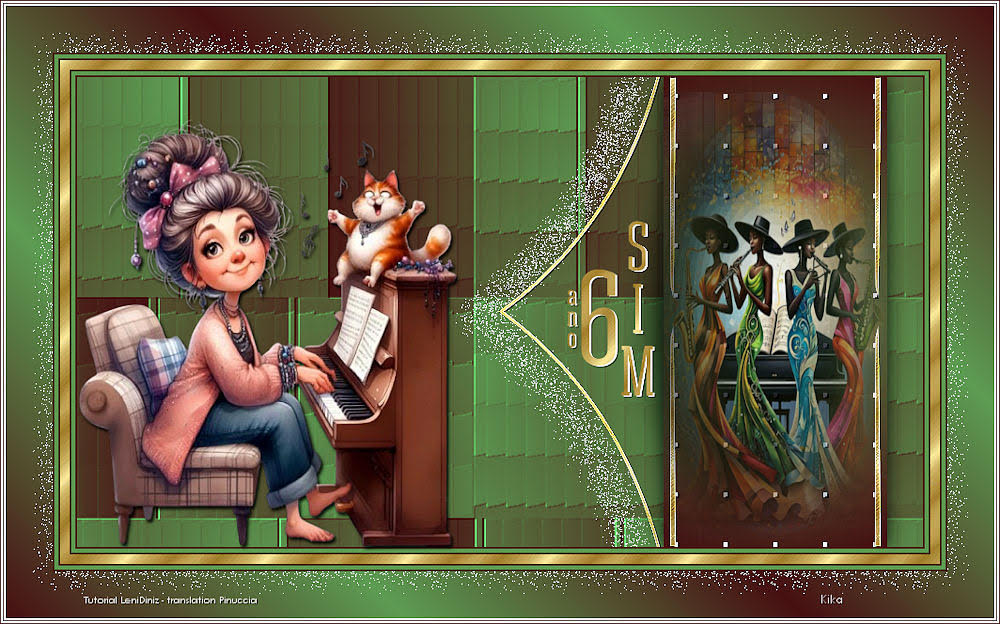
Kika


If you have problems or doubts, or you find a not worked link, or only for tell me that you enjoyed this tutorial,
write to me.
26 June 2025

|

