|
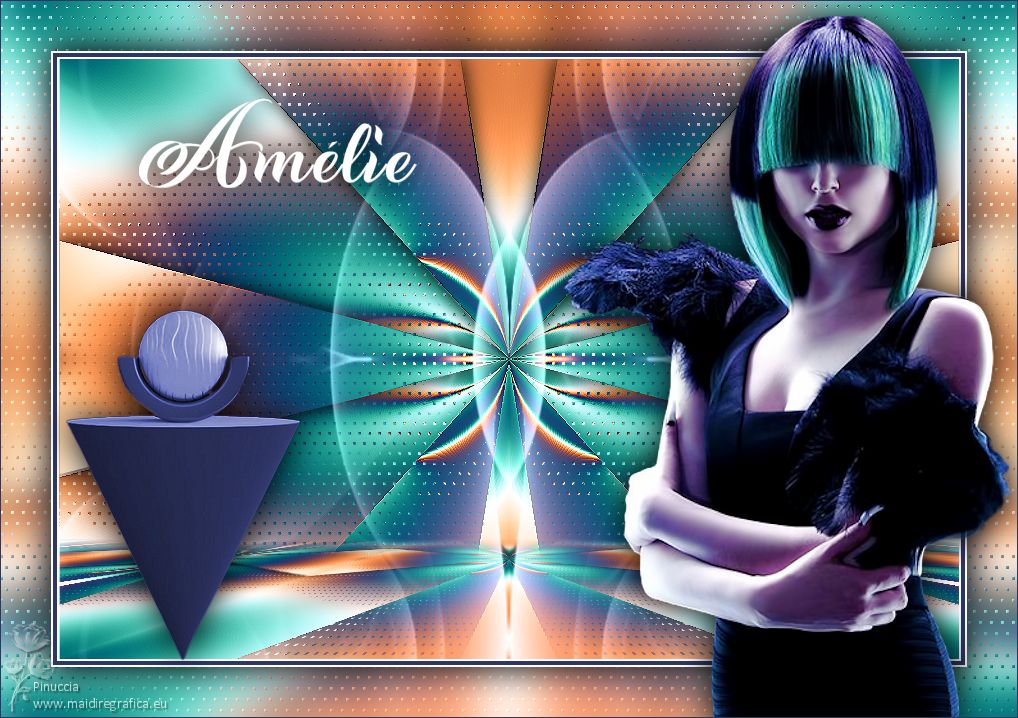
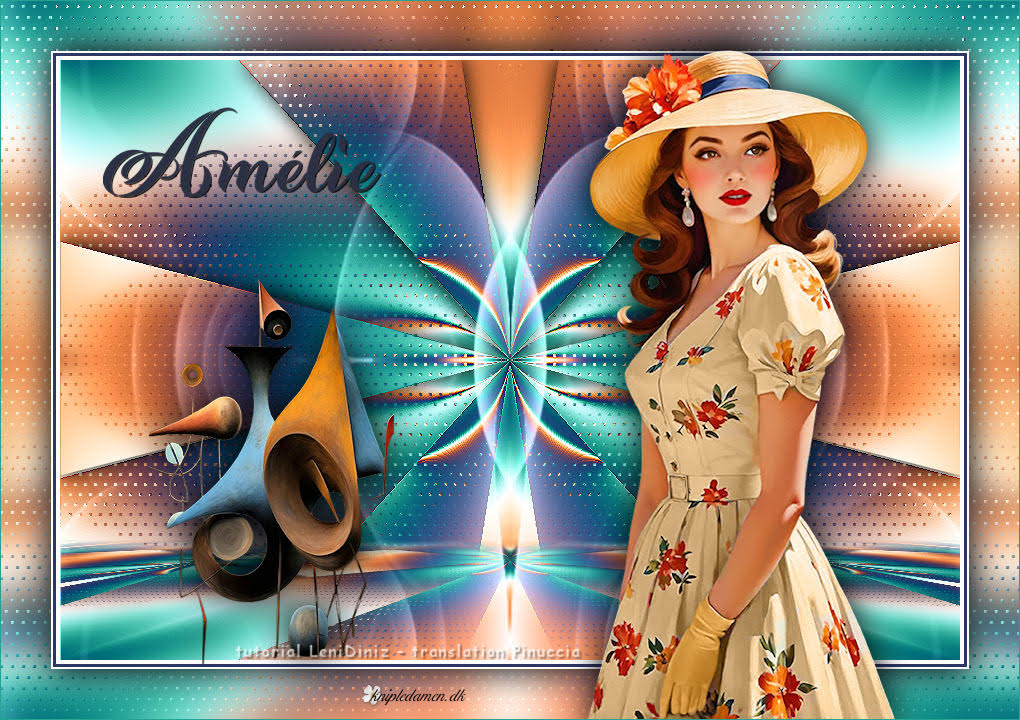
AMÉLIE


Thanks SIM PSP Group for your invitation to translate your tutorials into english

This tutorial was written with Psp2022 and translated with PspX17, but it can also be made using other versions of PSP.
Since version PSP X4, Image>Mirror was replaced with Image>Flip Horizontal,
and Image>Flip with Image>Flip Vertical, there are some variables.
In versions X5 and X6, the functions have been improved by making available the Objects menu.
In the latest version X7 command Image>Mirror and Image>Flip returned, but with new differences.
See my schedule here
For this tutorial, you will need:

For the tube thanks Animabelle, Nikita, Lana and Riet, for the mask thanks Narah.
(The links of the tubemakers here).

consult, if necessary, my filter section here
Filters Unlimited 2.0 here
Mehdi - Wavy Lab 1.1 here
VM Natural - Legoland here
Simple - Top Left Mirror here
&<Bkg Designer sf10III> - Turbine Mirror (to import in Unlimited) here
Mura's Meister - Perspective Tiling here
Filters VM Natural and Simple can be used alone or imported into Filters Unlimited.
(How do, you see here)
If a plugin supplied appears with this icon  it must necessarily be imported into Unlimited it must necessarily be imported into Unlimited

You can change Blend Modes according to your colors.
In the newest versions of PSP, you don't find the foreground/background gradient (Corel_06_029).
You can use the gradients of the older versions.
The Gradient of CorelX here

Open the mask in PSP and minimize it with the rest of the material.
Choose 4 colors from your material.
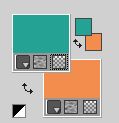
Foreground color #f38d4d
background color #24a294
color 3 #2e3664
color 4 #ffffff

For the Mehdi Filter, set your foreground color to #24a294,
and your background color to #f38d4d.
1. Open Alpha Channel_amelie_leni.
This image, that will be the basis of your work, is not empty,
but contains the selections saved to alpha channel.
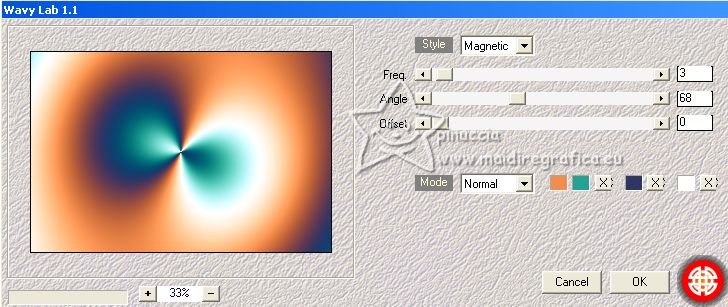
Effects>Plugins>Mehdi - Wavy Lab 1.1.
This filter creates gradients with the colors of your Materials palette.
The first is your background color, the second is your foreground color.
Change the last two colors created by the filtre:
the third color with 3 #2e3664 and the forth color with white #ffffff.
2. Effects>Image Effects>Seamless Tiling, default settings.

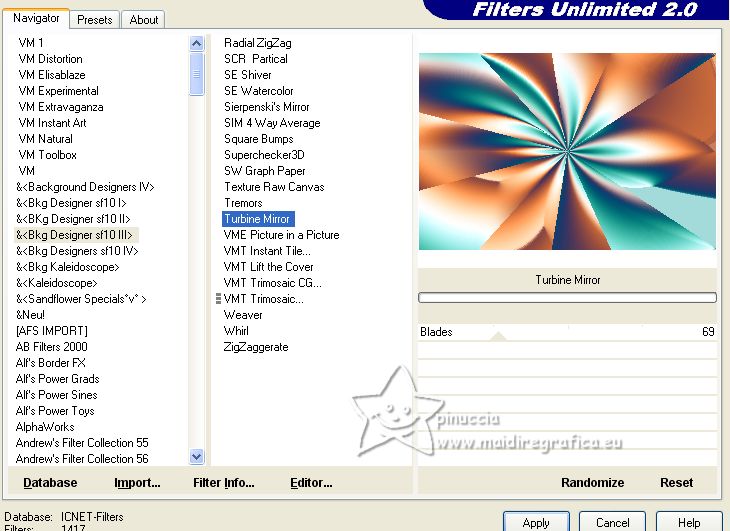
3. Effects>Plugins>Filters Unlimited 2.0 - &<Bkg Designer sf10III> - Turbine Mirror, default settings.
4. Effects>Edge Effects>Enhance.
Selections>Load/Save Selection>Load Selection from Alpha Channel.
The selection leni #1 is immediately available. You just have to click Load.
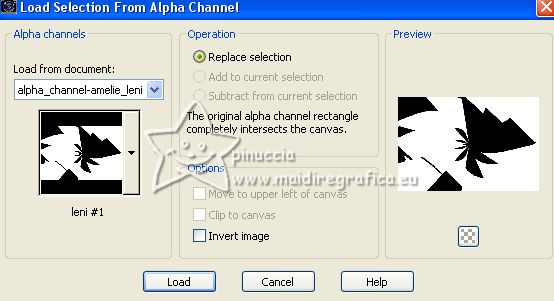 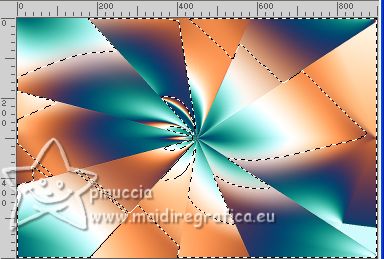
5. Effects>Plugins>VM Natural - Legoland.
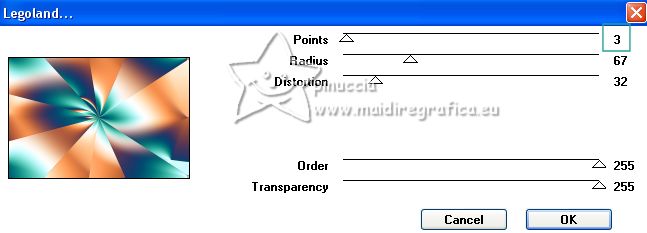
Selections>Select None.
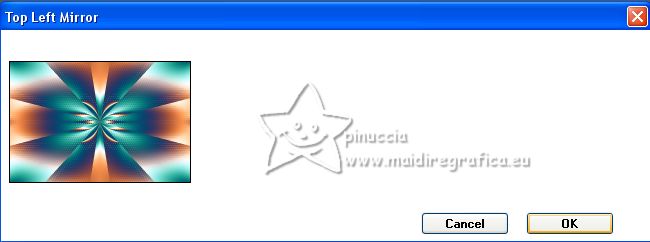
6. Effects>Plugins>Simple - Top Left Mirror.
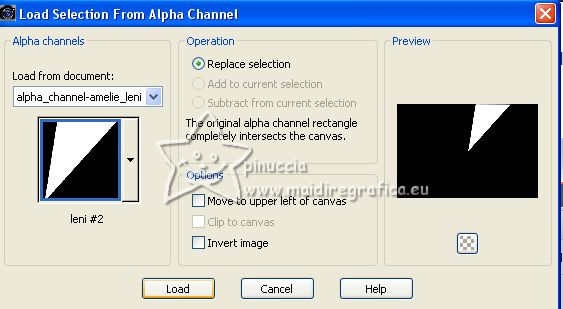
7. Selections>Load/Save Selection>Load Selection from Alpha Channel.
Open the selections menu and load the selection leni #2
 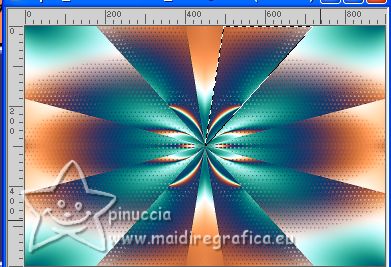
Selections>Promote Selection to Layer.
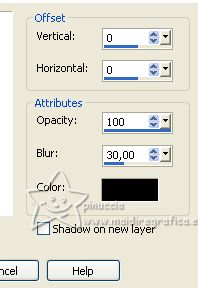
8. Effects>3D Effects>Drop Shadow, color #000000.
Selections>Select None.
9. Layers>Duplicate.
Image>Mirror.
Layers>Merge>Merge Down.
10. Activate your bottom layer, Raster 1.
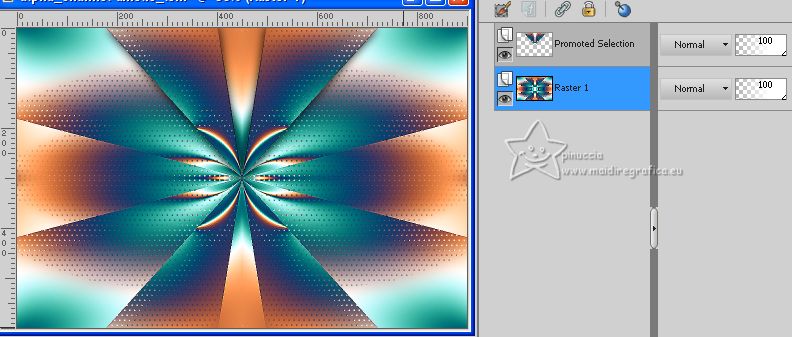
Selections>Load/Save Selection>Load Selection from Alpha Channel.
Open the selections menu and load the selection leni #3
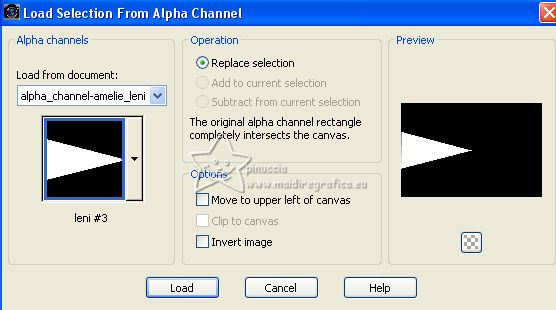 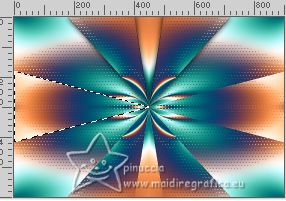
Selections>Promote Selection to Layer.
11. Effects>3D Effects>Drop Shadow, same settings.

Selections>Select None.
12. Layers>Duplicate.
Image>Mirror.
Layers>Merge>Merge Down.
13. Activate your top layer.
Edit>Copy Special>Copy Merged.
Edit>Paste as new layer.
14. Effects>Plugins>Mura's Meister - Perspective Tiling.
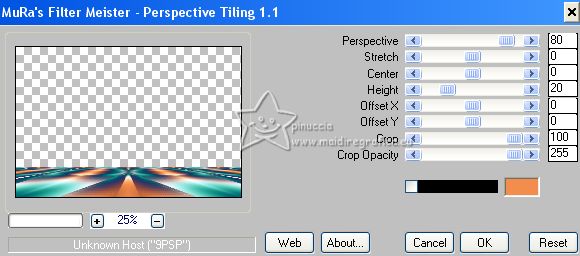
15. Activate your Magic Wand Tool  , tolerance 0 and feather 20 , tolerance 0 and feather 20

and click in the transparent part to select it.
Press 4 times CANC on the keyboard 
Selections>Select None.
16. Open decor_amelie_leni 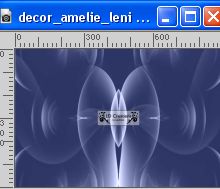
Edit>Copy.
Go back to your work and go to Edit>Paste as new layer.
Edit>Copy Special>Copy Merged.
17. Image>Add borders, 4 pixels, symmetric, color #ffffff.
Image>Add borders, 3 pixels, symmetric, color 3 #2e3664  . .
Image>Add borders, 2 pixels, symmetric, color #ffffff.
18. Selections>Select All.
Image>Add borders, 50 pixels, symmetric, whatever color.
19. Selections>Invert.
Edit>Paste into Selection.
20. Adjust>Blur>Gaussian Blur - radius 15.

21. Effects>Plugins>VM Natural - Legoland.
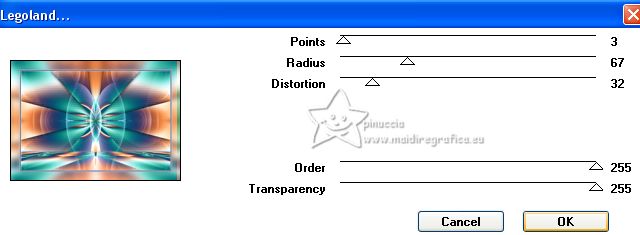
22. Selections>Invert.
Effects>3D Effects>Drop Shadow, color #000000.
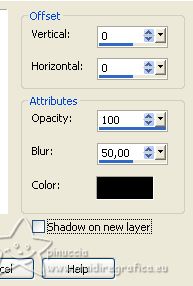
Selections>Select None.
23. Open your main tube LeniDiniz-298mulheres 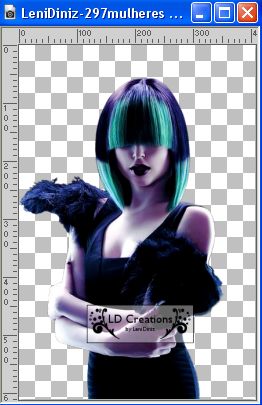
Edit>Copy.
Go back to your work and go to Edit>Paste as new layer.
Image>Resize, if necessary, for this tube to 128%, resize all layers not checked.
Place  the tube to your liking. the tube to your liking.
Adjust>Sharpness>Sharpen.
Effects>3D Effects>Drop Shadow, at your choice.
24. Open your deco tube LeniDiniz-23_decor 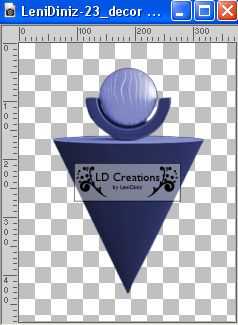
Edit>Copy.
Go back to your work and go to Edit>Paste as new layer.
Image>Resize, if necessary, for this tube to 90%, resize all layers not checked.
Place  the tube to the opposite side of your main tube. the tube to the opposite side of your main tube.
Adjust>Sharpness>Sharpen.
Effects>3D Effects>Drop Shadow, at your choice.
25. Open titulo_amelie_leni 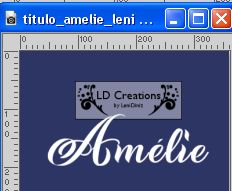
Edit>Copy.
Go back to your work and go to Edit>Paste as new layer.
Place  the text to your liking. the text to your liking.
Effects>3D Effects>Drop Shadow, at your choice.
26. Image>Add borders, 1 pixel, symmetric, foreground color #2e3664  . .
27. Sign your work and save as jpg.
For the tubes of this version thanks Beatrice e Nena Silva .
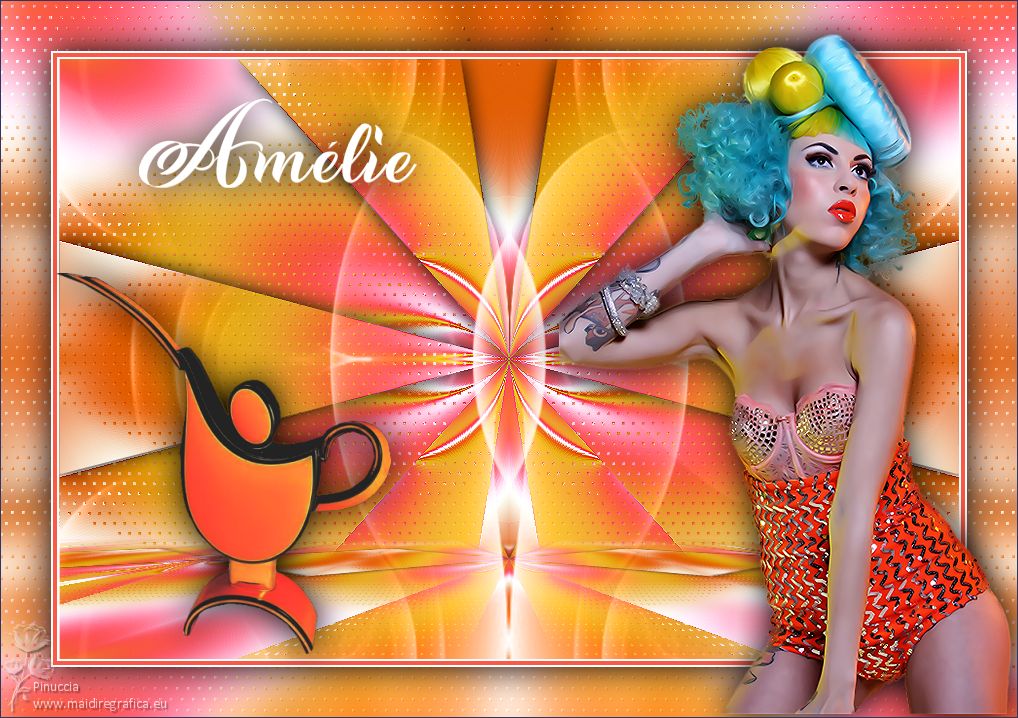

Your versions. Thanks
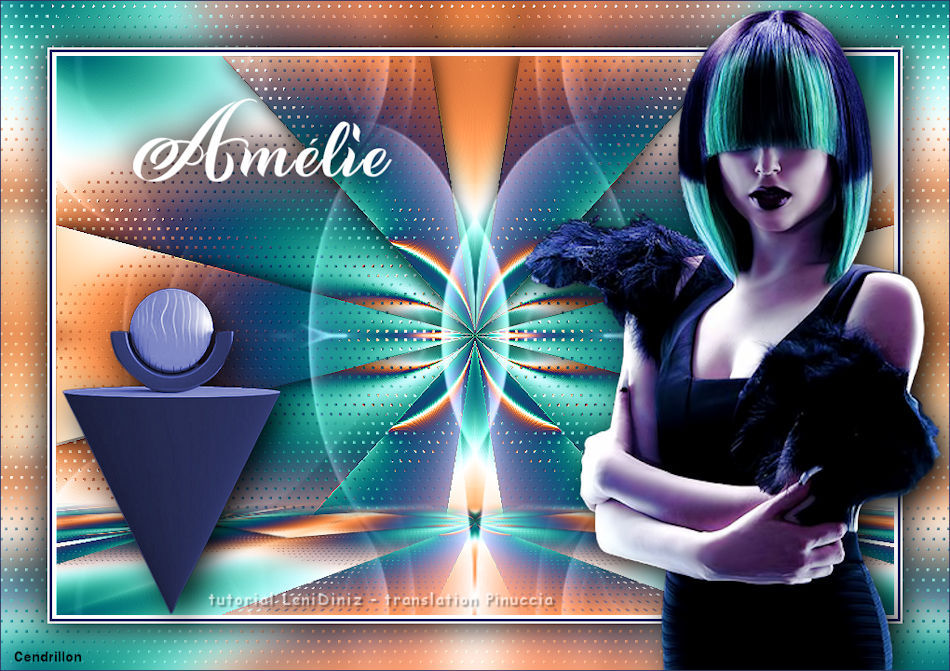
Cendrillon
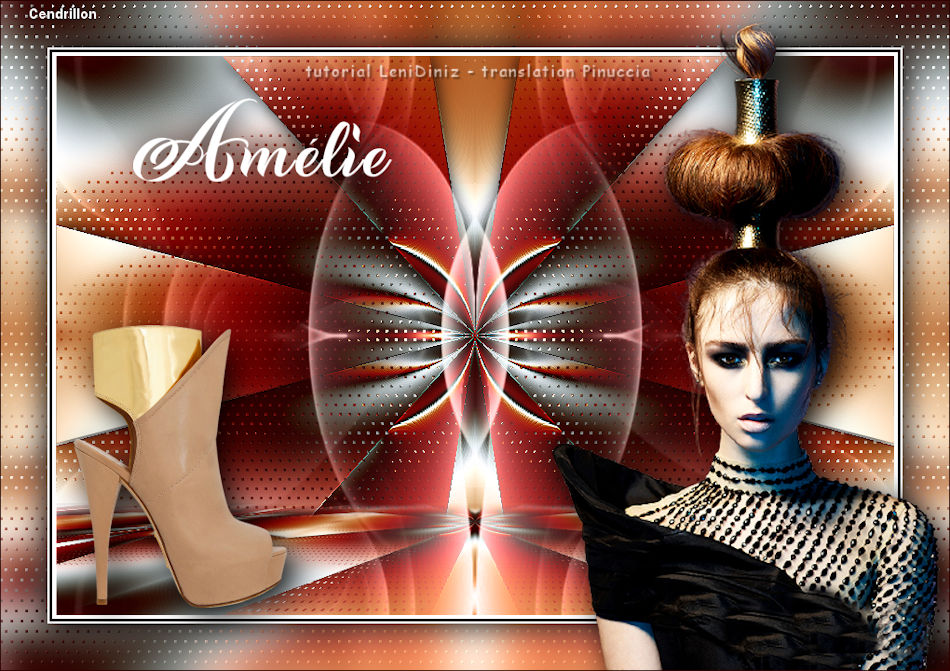
Cendrillon
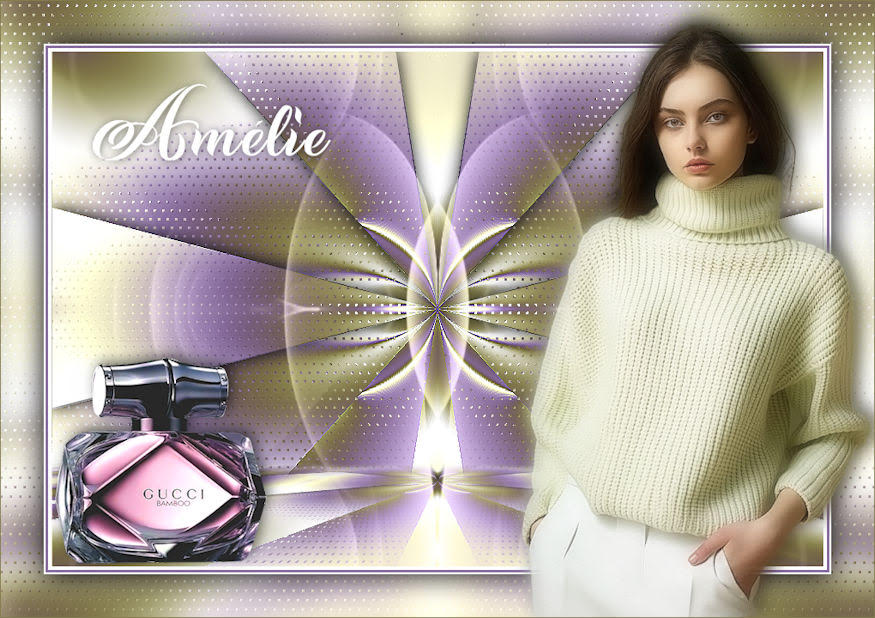
Di@ne
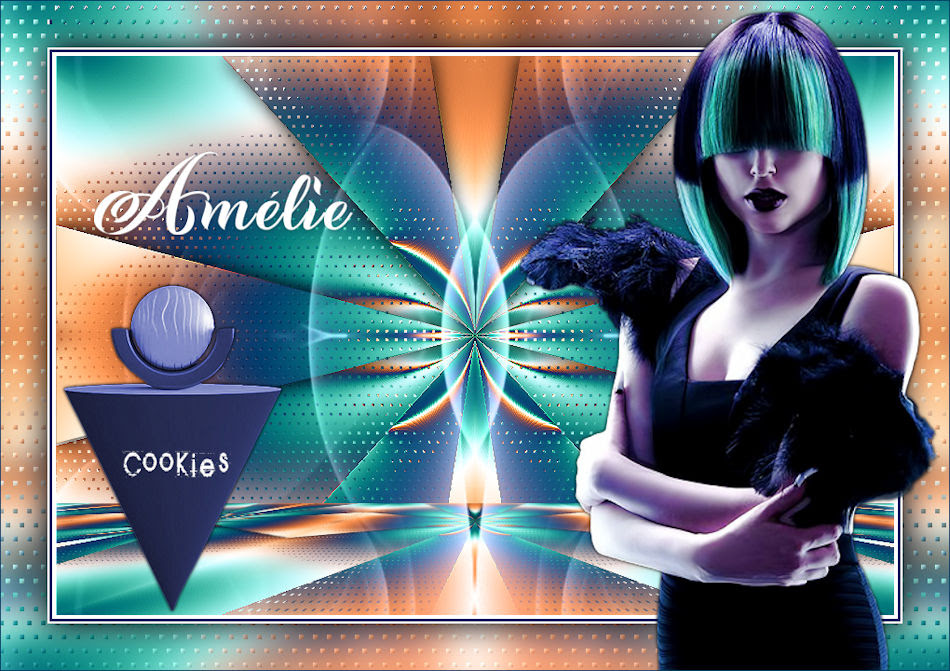
Cookies
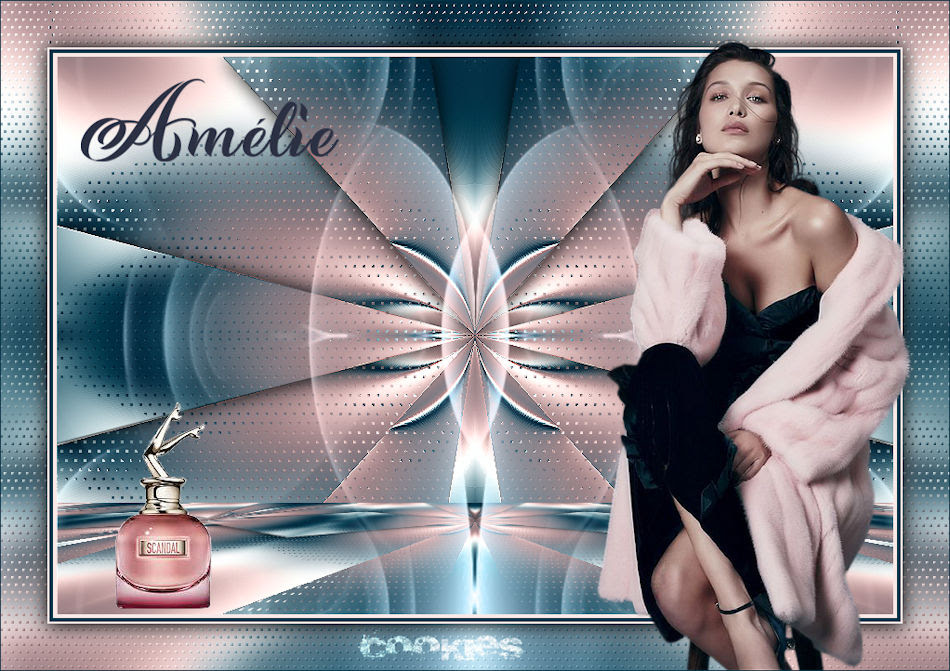
Cookies
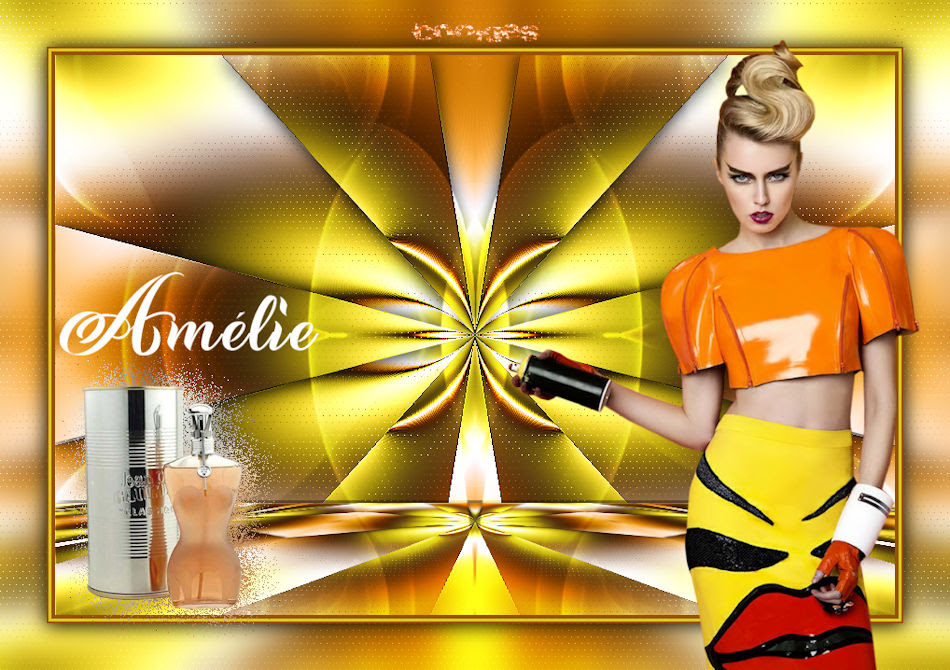
Cookies
Birte


If you have problems or doubts, or you find a not worked link, or only for tell me that you enjoyed this tutorial, write to me.
10 July 2023

|

