|
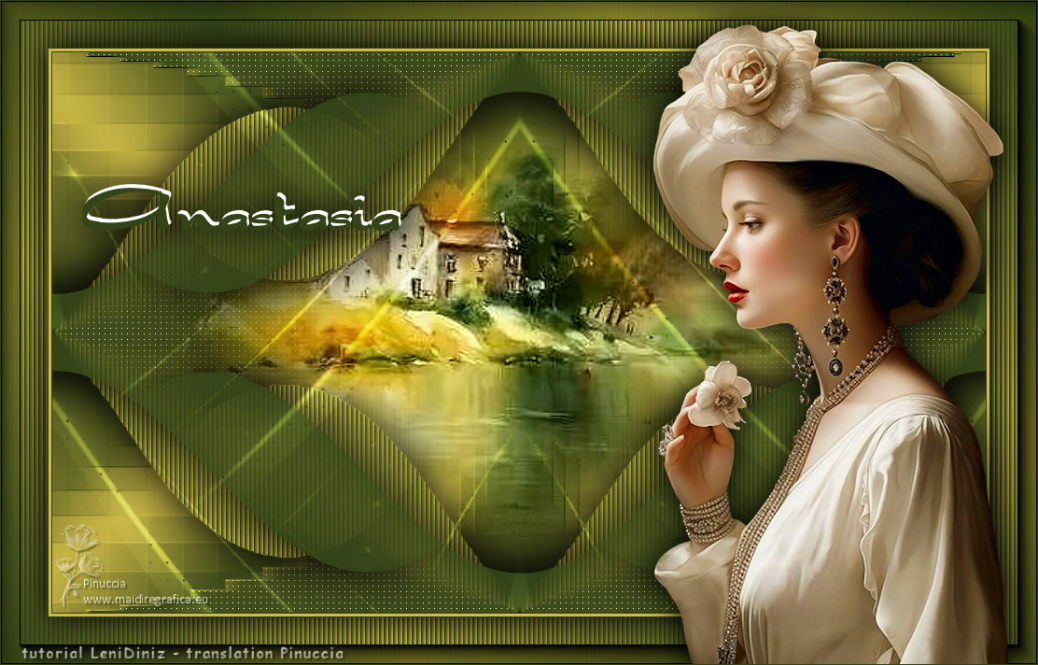
ANASTASIA


Thanks SIM PSP Group for your invitation to translate your tutorials into english

This tutorial was written with Psp18 and translated with PspX9, but it can also be made using other versions of PSP.
Since version PSP X4, Image>Mirror was replaced with Image>Flip Horizontal,
and Image>Flip with Image>Flip Vertical, there are some variables.
In versions X5 and X6, the functions have been improved by making available the Objects menu.
In the latest version X7 command Image>Mirror and Image>Flip returned, but with new differences.
See my schedule here
For this tutorial, you will need:

The material is by Leni Diniz.
(The links of the tubemakers here).

consult, if necessary, my filter section here
Filters Unlimited 2.0 here
Funhouse - Emission Mirror here
Carolaine and Sensibility - Cs_LDots here
AAA Frames - Foto Frame here
Filters Funhouse can be used alone or imported into Filters Unlimited.
(How do, you see here)
If a plugin supplied appears with this icon  it must necessarily be imported into Unlimited it must necessarily be imported into Unlimited

You can change Blend Modes according to your colors.
In the newest versions of PSP, you don't find the foreground/background gradient (Corel_06_029).
You can use the gradients of the older versions.
The Gradient of CorelX here

Copy the preset Emboss 3 in the Presets Folder.
1. Set your foreground color to dark color #344418,
and your background color to light color #d1bb48
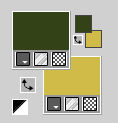
Set your foreground color to a Foreground/Background Gradient, style Linear.
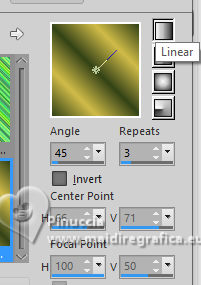
Open alpha_channel_anastasia_leni
Window>Duplicate or, on the keyboard, shift+D to make a copy.

Close the original.
The copy, that will be the basis of your work, is not empty,
but contains the selections saved to alpha channel.
Flood Fill  the transparent image with your Gradient. the transparent image with your Gradient.
2. Adjust>Blur>Gaussian Blur - radius 30.

3. Effects>Image Effects>Seamless Tiling, default settings.

4. Effets>Modules Externes>Funhouse - Emission Mirror.
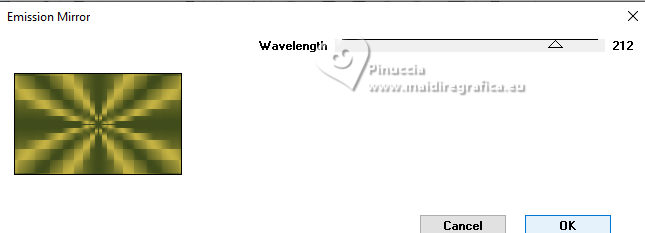
5. Effets>User Defined Filter - select the preset Emboss 3 and ok.

6. Selections>Load/Save Selection>Load Selection from Alpha Channel.
The selection leni #1 is immediately available. You just have to click Load.
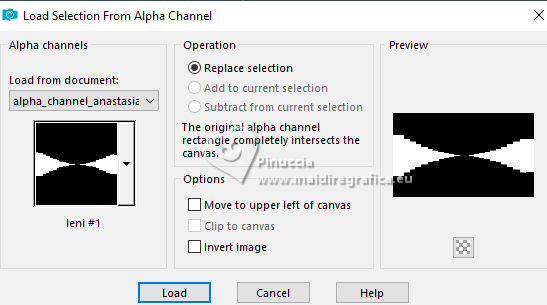
Selections>Promote Selection to Layer.
7. Effects>Plugins>Carolaine and Sensibility - CS-LDots.
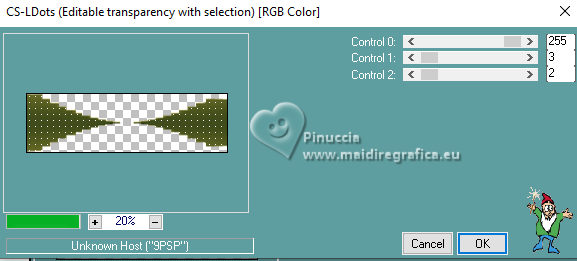
Selections>Select None.
Effects>Image Effects>Seamless Tiling, default settings.

8. Layers>New Raster Layer.
Selections>Load/Save Selection>Load Selection from Alpha Channel.
Open the selections menu and load the selection leni #2
Open the misted LeniDiniz-75misted-paisagem 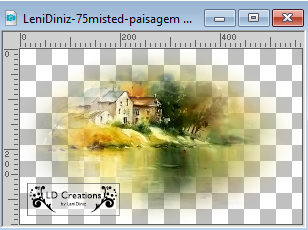
Edit>Copy.
Go back to your work and go to Edit>Paste into Selection.
Adjust>Sharpness>Sharpen.
Selections>Select None.
9. Layers>New Raster Layer.
Selections>Load/Save Selection>Load Selection from Alpha Channel.
Open the selections menu and load the selection leni #3
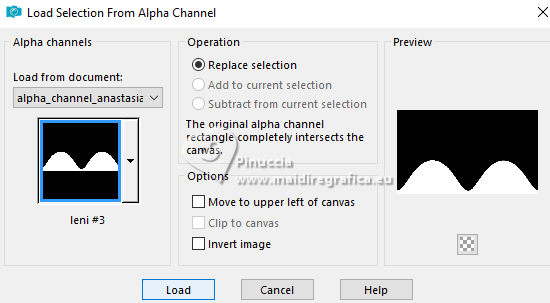
Flood Fill  the layer with your light background color #d1bb48. the layer with your light background color #d1bb48.
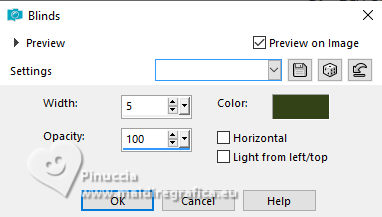
10. Effects>Texture Effects>Blinds - dark foreground color #344418.
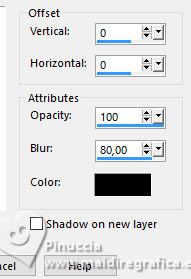
Effects>3D Effects>Drop Shadow, color #000000.
Selections>Select None.
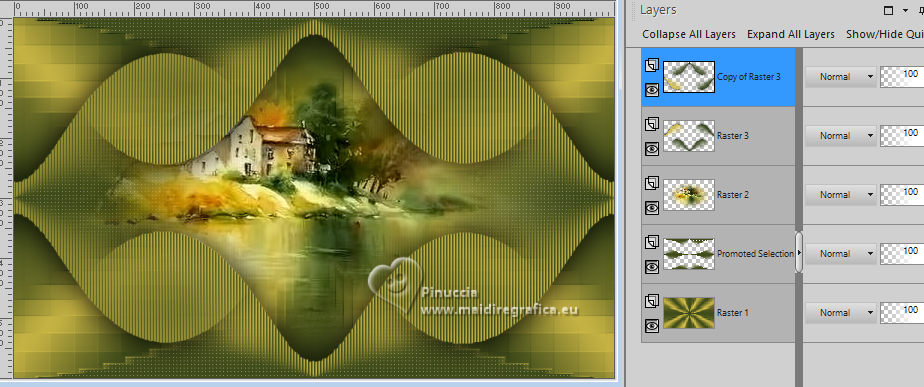
11. Effects>Image Effects>Seamless Tiling, default settings.

Layers>Duplicate.
Image>Mirror>Mirror Vertical.
We have this
12. Layers>New Raster Layer.
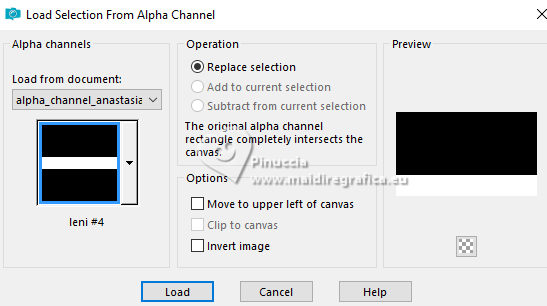
Selections>Load/Save Selection>Load Selection from Alpha Channel.
Open the selections menu and load the selection leni #4
Set your foreground color to Color.
Flood Fill  la selection with your dark foreground color #344418. la selection with your dark foreground color #344418.
Selections>Select None.
13. Effects>Distortion Effects>Wave.
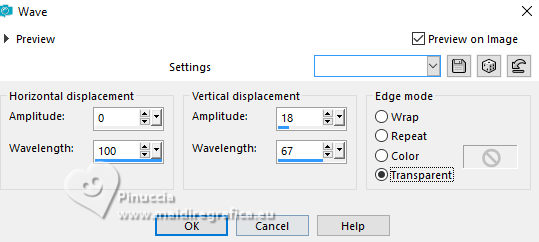
14. Effects>3D Effects>Drop Shadow, color #000000.

Effects>Image Effects>Seamless Tiling, default settings.

Layers>Duplicate.
Image>Mirror>Mirror Vertical.
15. Open decor_anastasia_leni 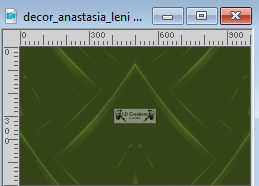
Edit>Copy.
Go back to your work and go to Edit>Paste as new layer.
16. Image>Add borders, 1 pixel, symmetric, dark foreground color #344418.
Image>Add borders, 3 pixels, symmetric, light background color #d1bb48.
Image>Add borders, 1 pixel, symmetric, dark foreground color #344418.
17. Selections>Select All.
Image>Add borders, 50 pixels, symmetric, whatever color.
26. Selections>Invert.
Set your foreground color to Gradient.
Flood Fill  the selection with your Gradient. the selection with your Gradient.
18. Effects>Texture Effects>Blinds - dark foreground color #344418 (same settings still in memory).

19. Selections>Invert.
Effects>3D Effects>Drop Shadow, color #000000.

Selections>Select None.
20. Effects>Plugins>AAA Frames - Foto Frame.
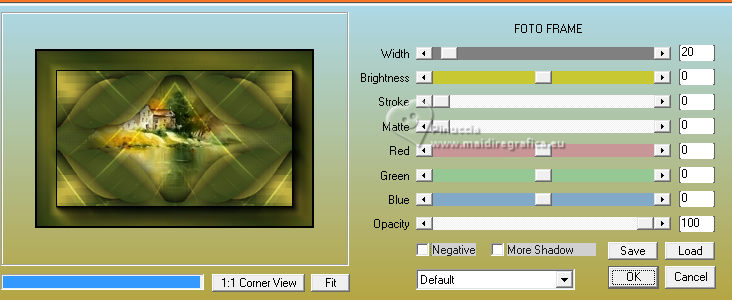
21. Open your main tube LeniDiniz-703mulher 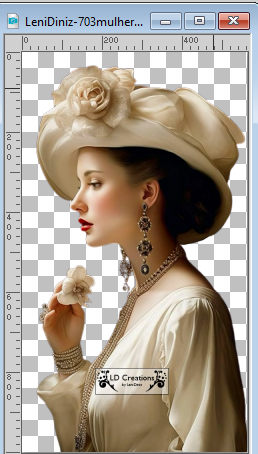
Edit>Copy.
Go back to your work and go to Edit>Paste as new layer.
Image>Resize, if necessary, for the supplied tube to 72%, resize all layers not checked.
Move  the tube to the right, or to your liking. the tube to the right, or to your liking.
Adjust>Sharpness>Sharpen.
Effects>3D Effects>Drop Shadow, at your choice.
22. Open título_anastasia_leni 
Edit>Copy.
Go back to your work and go to Edit>Paste as new layer.
Move  the test at the upper left or to your liking. the test at the upper left or to your liking.
Effects>3D Effects>Drop Shadow, at your choice.
For my example I used also the text título_anastasia_leni 
and I placed it  as below as below
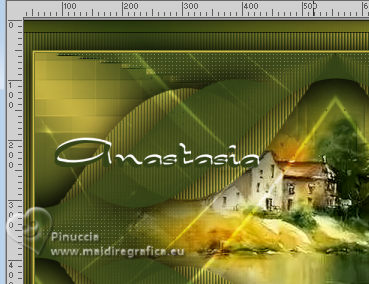
23. Image>Add borders, 1 pixel, symmetric, dark foreground color #344418.
24. Sign your work and save as jpg.
Image>Resize, 1038x665 pixels.
Save as jpg.
For the tubes of this version thanks Nicole
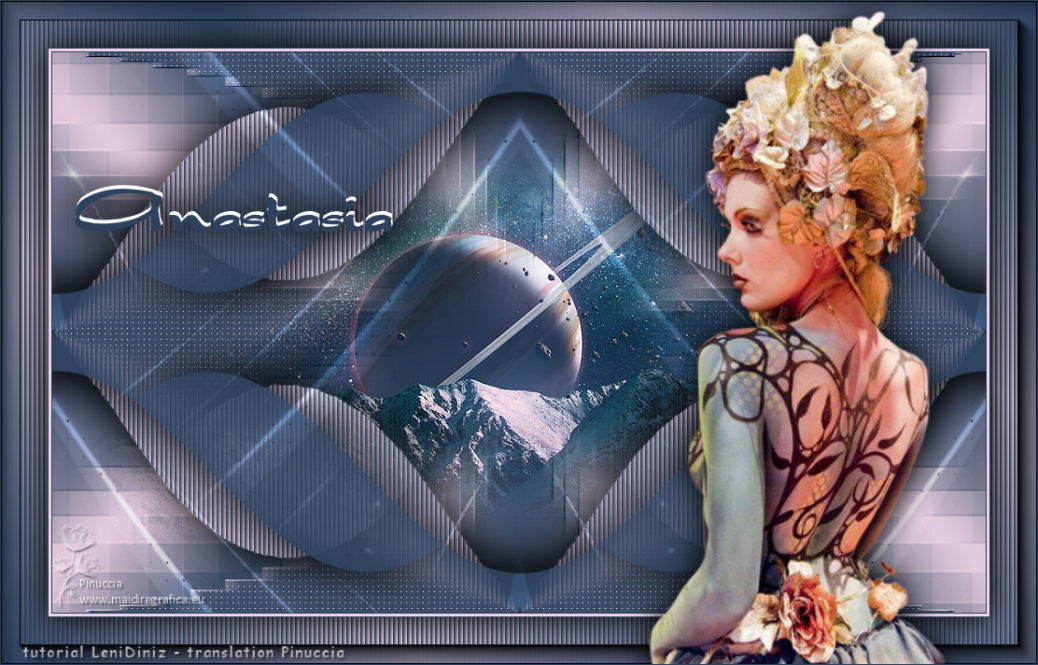

Your versions.Thanks

Castorke
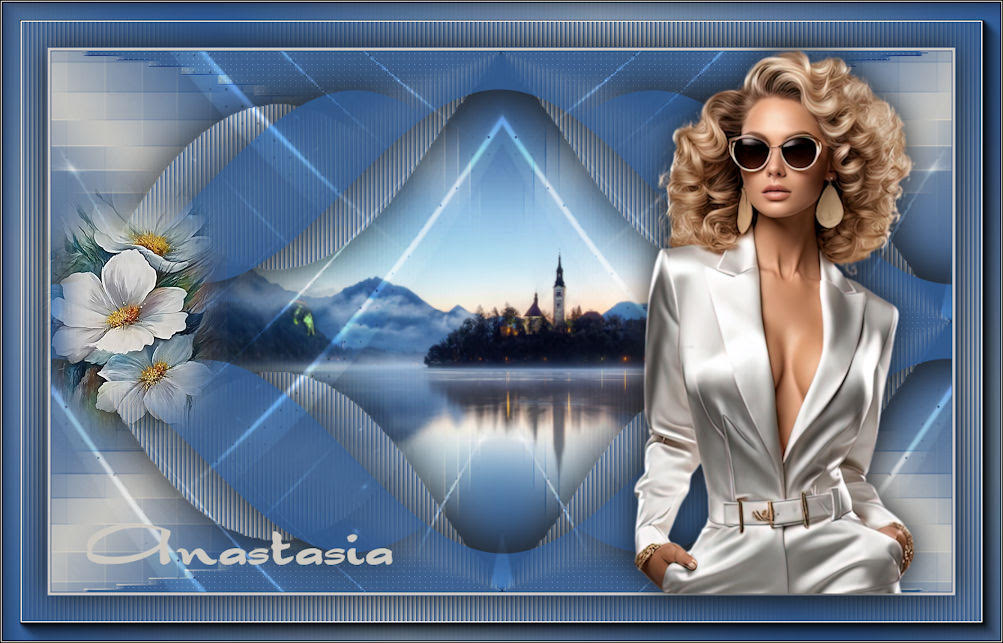
Lynnette
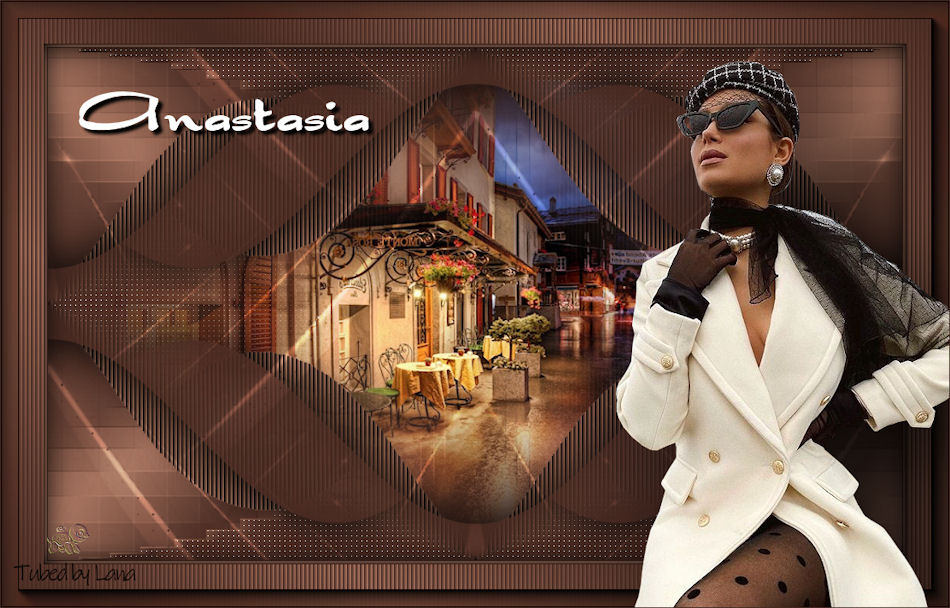
Pia
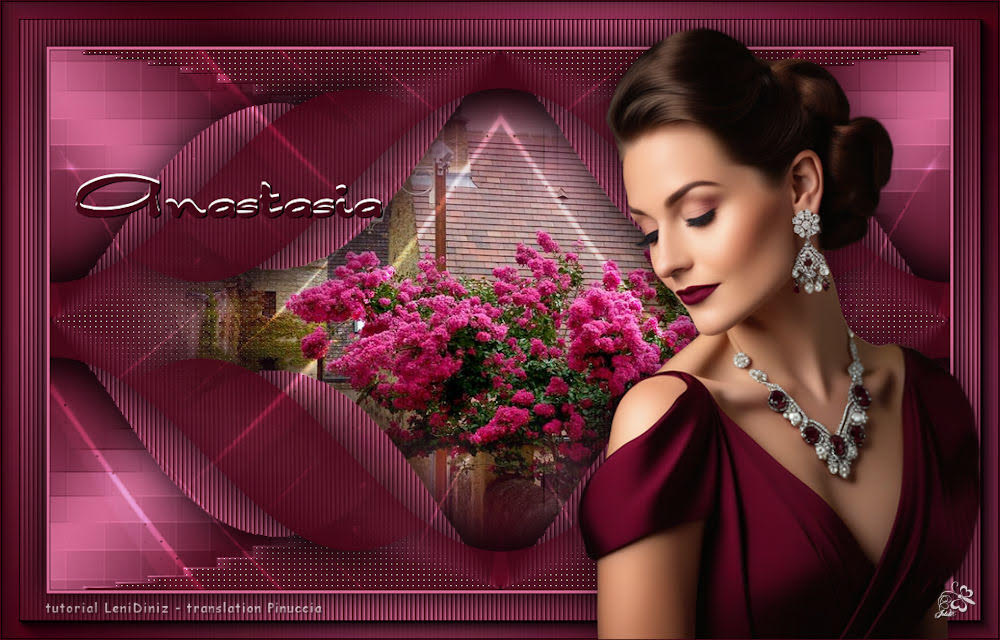
Jolcsi

Aliciar
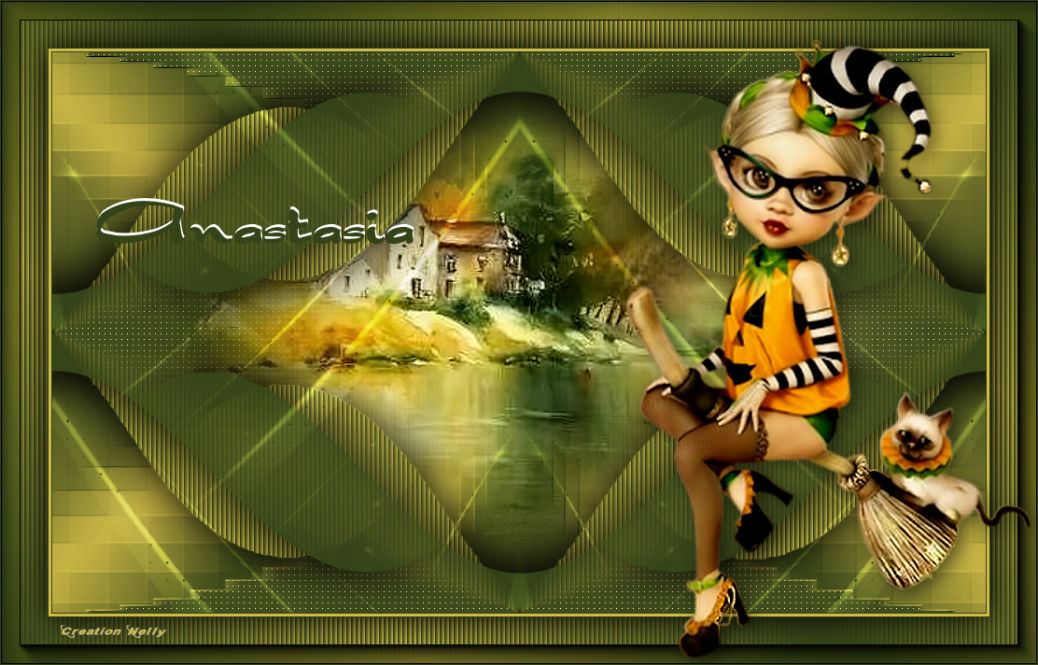
Nelly
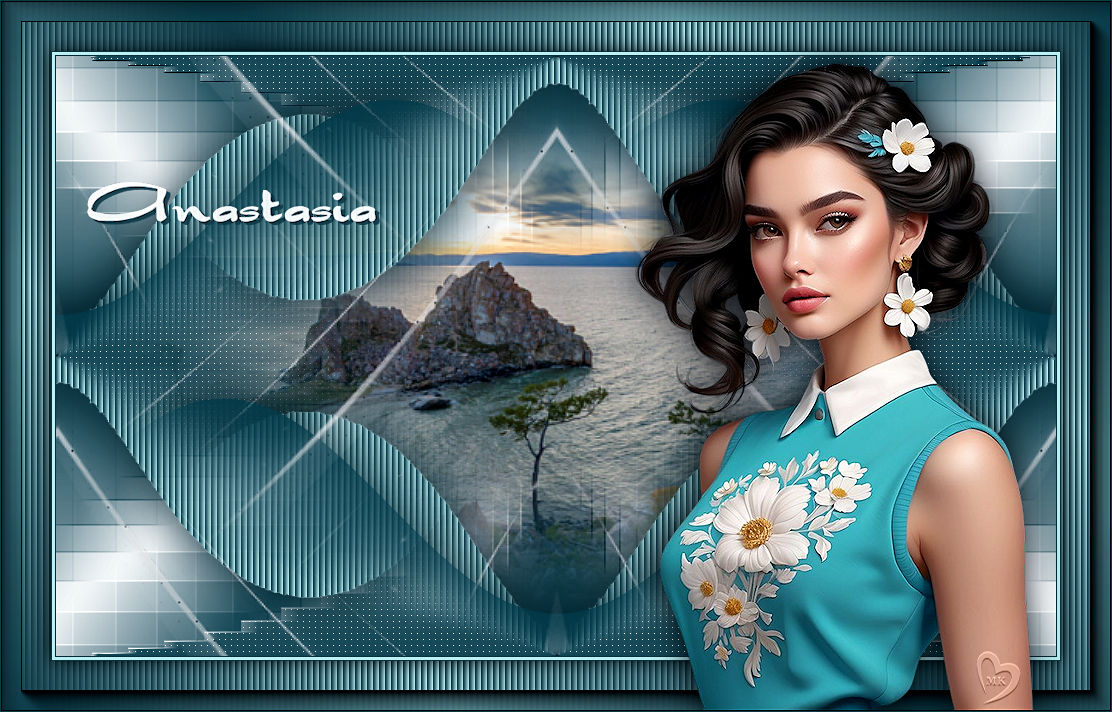
Kamelius
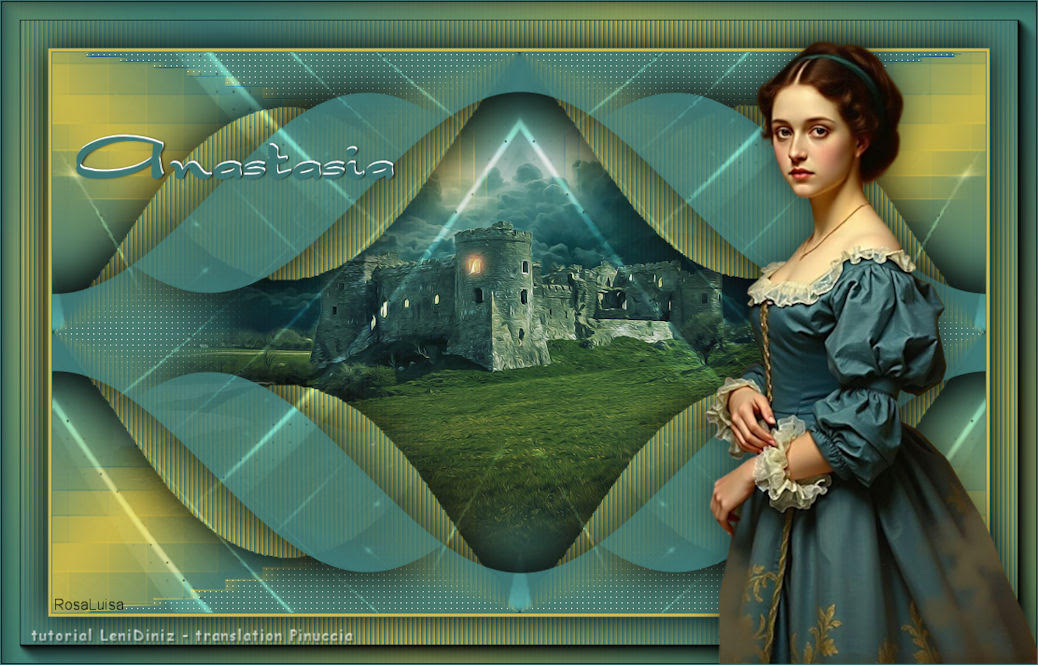
RosaLuisa
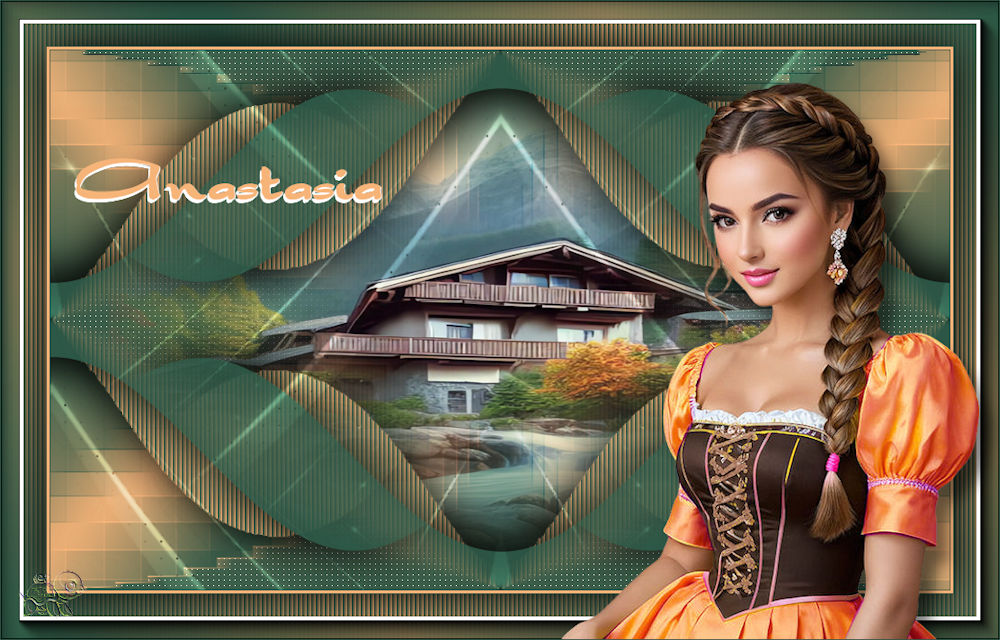
Pia


If you have problems or doubts, or you find a not worked link, or only for tell me that you enjoyed this tutorial, write to me.
28 October 2023

|

