|
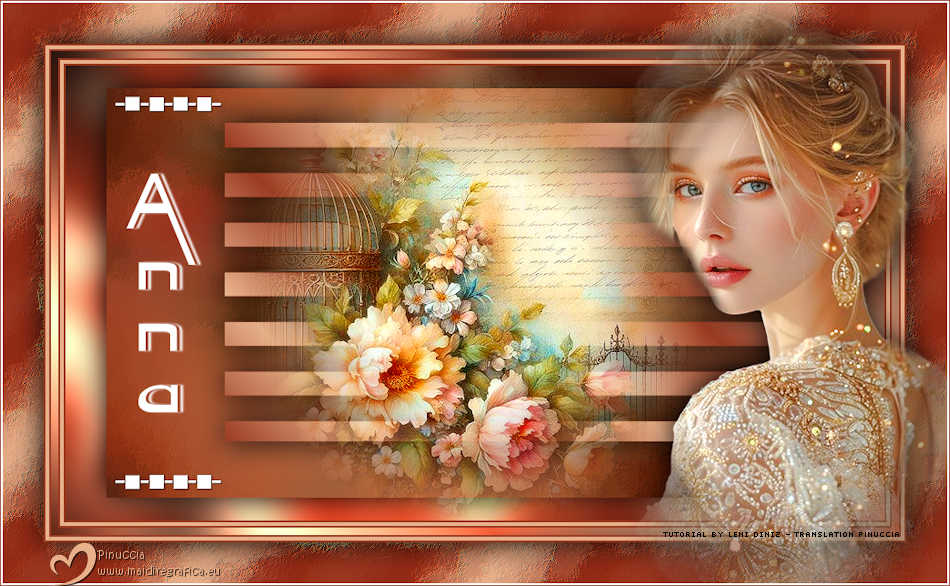
ANNA


Thanks SIM PSP Group for your invitation to translate your tutorials into english

This tutorial was written and translated with Psp2020, but it can also be made using other versions of PSP.
Since version PSP X4, Image>Mirror was replaced with Image>Flip Horizontal,
and Image>Flip with Image>Flip Vertical, there are some variables.
In versions X5 and X6, the functions have been improved by making available the Objects menu.
In the latest version X7 command Image>Mirror and Image>Flip returned, but with new differences.
See my schedule here

|
Special Note
PSP SIM and its Tutorial Authors ask the public:
- Please, we request that you maintain the originality of the tutorial,
refraining from adding or including unsolicited effects;
- The use of other images is permitted and encouraged,
but please don't modify the content of the original tutorial;
- Please acknowledge and attribute the valuable credits to those who write tutorials, make translations and create materials.
Carefully,
PSP SIM - Leni Diniz
|

For this tutorial, you will need:

Material by Leni Diniz
(The links of the tubemakers here).

consult, if necessary, my filter section here
Filters Unlimited 2.0 here
Mehdi - Wavy Lab 1.1. here
Mura's Seamless - Emboss at Alpha here
Carolaine and Sensibility - CS-HLines here
Graphics Plus - Cross Shadow here
Filters Mura's Seamless and Graphics Plus can be used alone or imported into Filters Unlimited.
(How do, you see here)
If a plugin supplied appears with this icon  it must necessarily be imported into Unlimited it must necessarily be imported into Unlimited

You can change Blend Modes according to your colors.

Colors
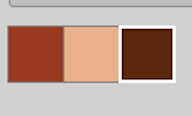
1. Set your foreground color to the dark color #9a3b23,
and your background color to the light color #e8b18c.
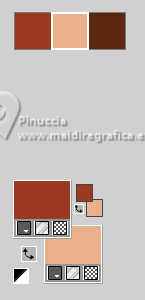
extra color: #5a290f.
1. Open a new transparent image 900 x 500 pixels.
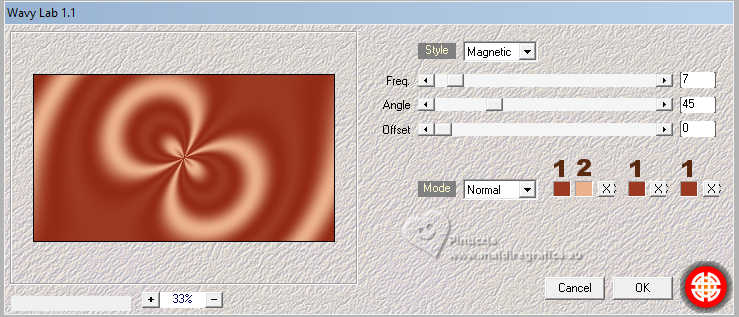
2. Effects>Plugins>Mehdi>Wavy Lab 1.1
colors: 1-2-1-1
3. Effects>Image Effects>Seamless Tiling, default settings.

4. Adjust>Blur>Gaussian Blur - radius 15

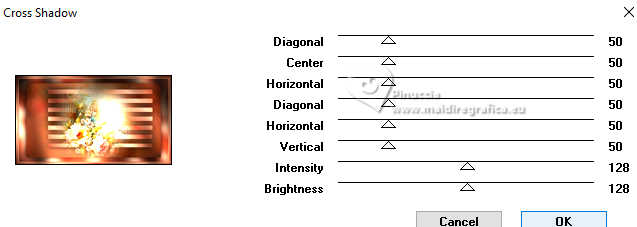
5. Effects>Plugins>Graphics Plus - Cross Shadow
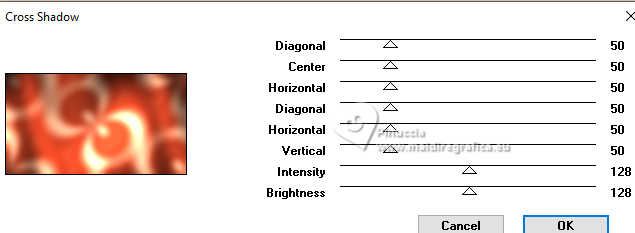
6. Layers>New Raster Layer.
Set your foreground color to a Foreground/Background Gradient, style Sunburst.
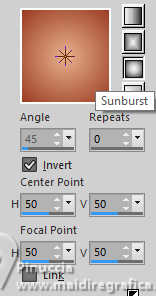
Flood Fill  the layer with your Gradient. the layer with your Gradient.
7. Layers>New Raster Layer.
Selections>Select All.
Open the misted LeniDiniz_34_misted-flores 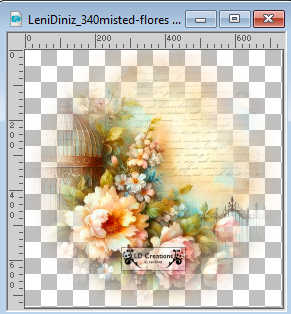
Edit>Copy.
Go back to your work and go to Edit>Paste into selection.
Selections>Select None.
8. Effects>Image Effects>Seamless Tiling, default settings.

Adjust>Blur>Gaussian Blur - radius 20

9. Layers>Properties>General>Blend Mode: Multiply - Opacity: 100
Layers>Merge>Merge Down.
10. Effects>Art Media Effects>Brush Strokes - extra color #5a290f.
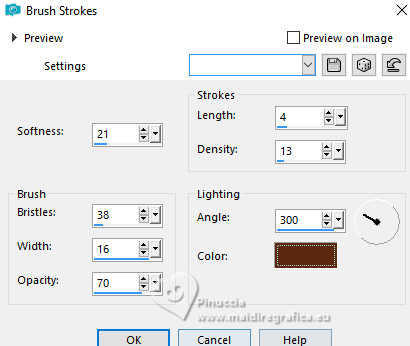
11. Effects>Plugins>Mura's Seamless at Alpha.
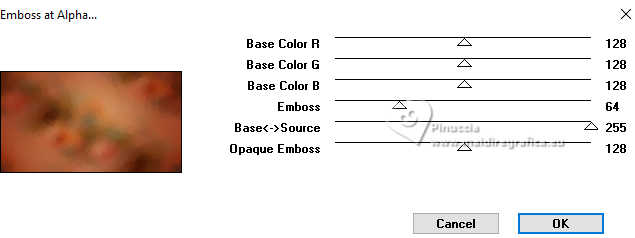
12. Image>Resize, to 90%, resize all layers not checked.
Effects>3D Effects>Drop Shadow, color #000000.

13. Layers>New Raster Layer.
Set your foreground color to Color.
Flood Fill  the layers with your dark foreground color. the layers with your dark foreground color.
Effects>Plugins>Carolaine and Sensibility - CS-Hlines

14. Activate your Magic Wand Tool  , tolerance and feather 0, Mode: Add(Shift) , tolerance and feather 0, Mode: Add(Shift)

Click in the lighter lines to select them
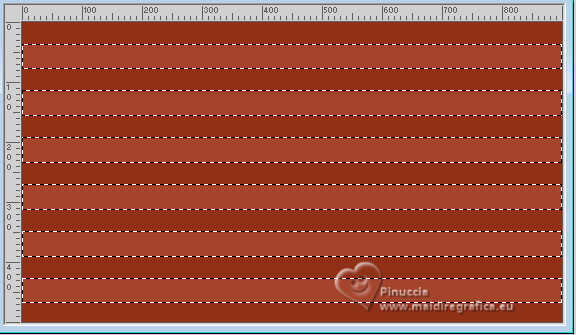
Press CANC on the keyboard 
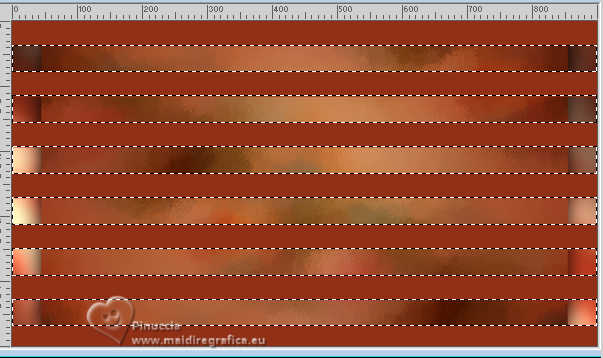
15. Selections>Invert.
Set your foreground color to a Foreground/Background Gradient, style Linear.

Flood Fill  the dark zones with your Gradient. the dark zones with your Gradient.
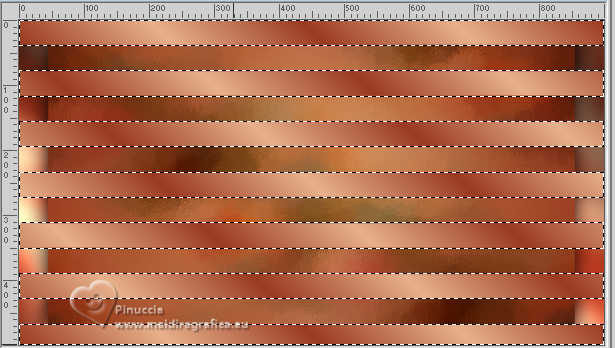
16. Selections>Select None.
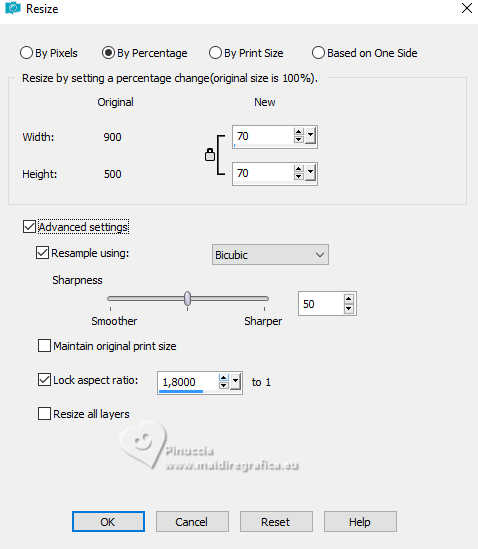
Image>Resize, to 70%, resize all layers not checked.
17. Pick Tool 
Position X: 175,00 - Position Y: 63,00.

18. Effects>3D Effects>Drop Shadow, color #000000.

19. Edit>Paste as new layer - the misted is still in memory.
Image>Resize, if necessary - for the supplied tube to 70%, resize all layers not checked.
Adjust>Sharpness>Sharpen.
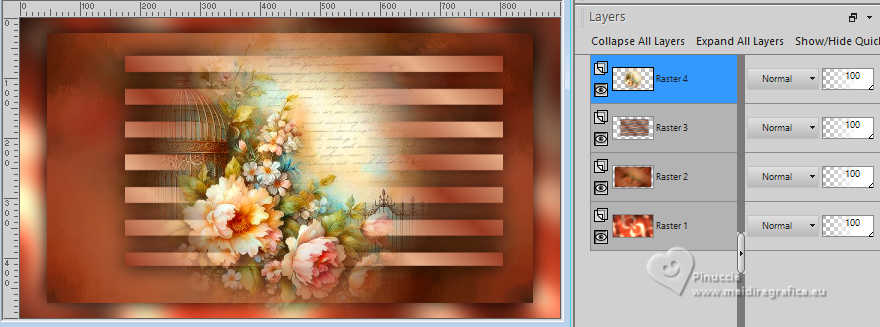
It is rightly in the center.
Your tag and the layers.
20. Image>Add Borders, 2 pixels, symmetric, dark foreground color #9a3b23.
Image>Add Borders, 4 pixels, symmetric, light background color #e8b18c.
Image>Add Borders, 2 pixels, symmetric, dark foreground color #9a3b23.
21. Selections>Select All.
Image>Add Borders, 8 pixels, symmetric, whatever color.
Selections>Invert.
Flood Fill  the selection with your Linear Gradient. the selection with your Linear Gradient.

22. Effects>Plugins>Graphics Plus - Cross Shadow
Selections>Select None.
23. Image>Add Borders, 2 pixels, symmetric, dark foreground color #9a3b23.
Image>Add Borders, 4 pixels, symmetric, light background color #e8b18c.
Image>Add Borders, 2 pixels, symmetric, dark foreground color #9a3b23.
24. Selections>Select All.
Image>Add Borders, 45 pixels, symmetric, whatever color.
Selections>Invert.
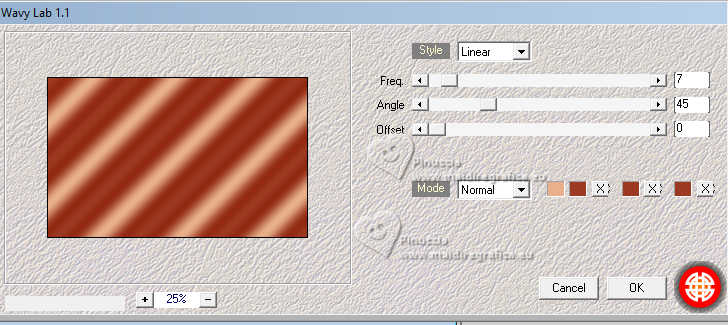
25. Effects>Plugins>Mehdi>Wavy Lab 1.1, same setting, but Style Linear.
Colors 2-1-1-1
26. Effects>Art Media Effects>Brush Strokes - extra color #5a290f.

27. Effects>Plugins>Mura's Seamless - Emboss at Alpha
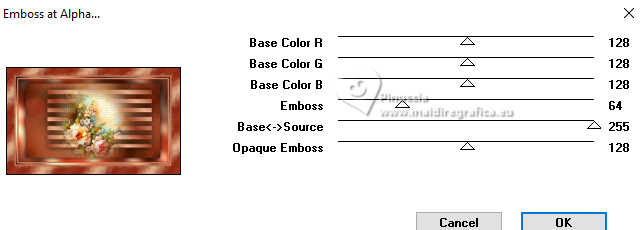
Selections>Invert.
Effects>3D Effects>Drop Shadow, color #000000.

Selections>Select None.
28. Open your main tube LeniDiniz-1423-2mulheres 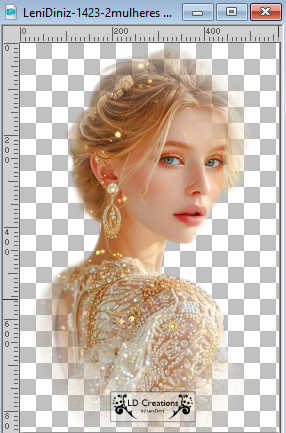
Edit>Copy.
Go back to your work and go to Edit>Paste as New Layer.
Image>Resize, if necessary, for the supplied tube to 78%, resize all layers not checked.
Adjust>Sharpness>Sharpen.
Image>Mirror>Mirror Horizontal.
Move  the tube to the right side. the tube to the right side.
Effects>3D Effects>Drop Shadow, at your choice.
29. Open título_leni_anna 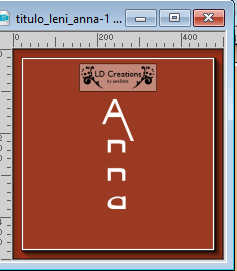
Edit>Copy.
Go back to your work and go to Edit>Paste as New Layer.
Pick Tool 
Position X: 136,00 - Position Y: 187,00.

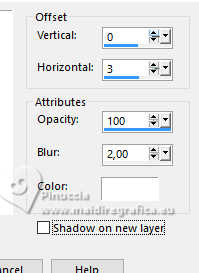
Effects>3D Effects>Drop Shadow, dark foreground color.
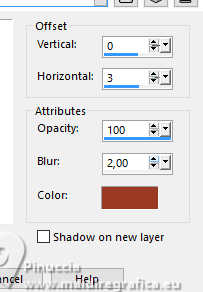
Effects>3D Effects>Drop Shadow, color white #ffffff.
30. Open decor_leni_anna 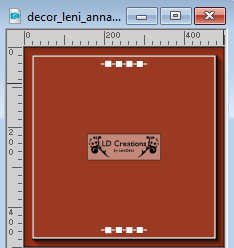
Edit>Copy.
Go back to your work and go to Edit>Paste as new layer.
Pick Tool 
Position X: 122.00 - Position Y: 100,00.

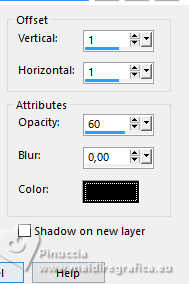
Effects>3D Effects>Drop Shadow, color #000000.
31. Image>Add Borders, 2 pixels, symmetric, color #ffffff.
Image>Add Borders, 1 pixel, symmetric, dark foreground color #9a3b23.
32. Sign your work and save as jpg.
For the misted thanks Yvonne; the woman's tube is mine.
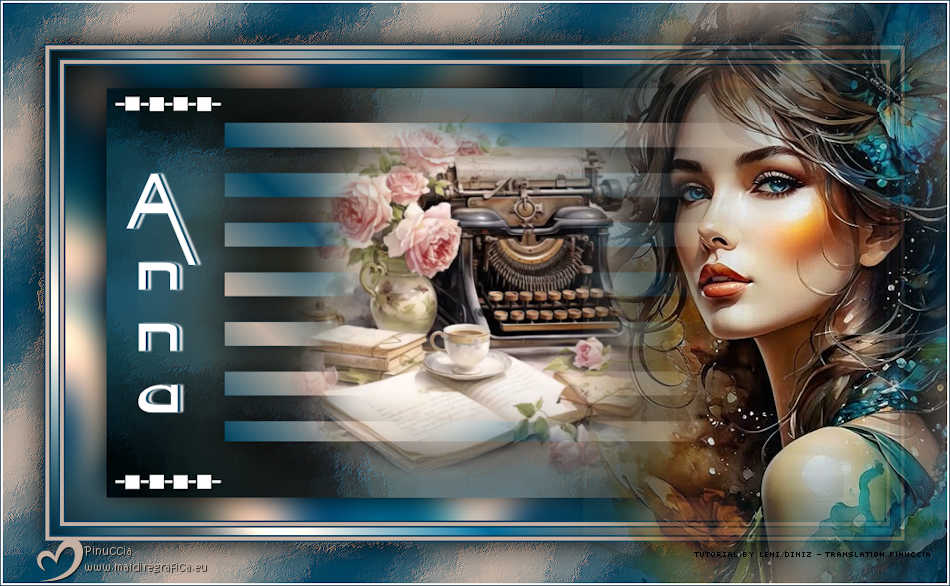

 Your versions.Thanks Your versions.Thanks
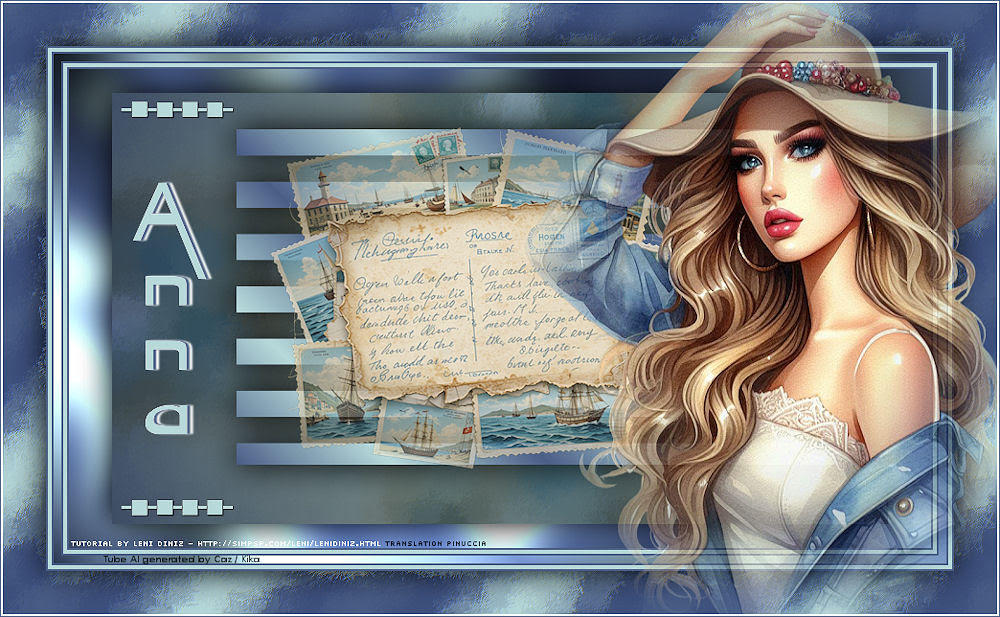
Kika

Jolcsi

Lynnette
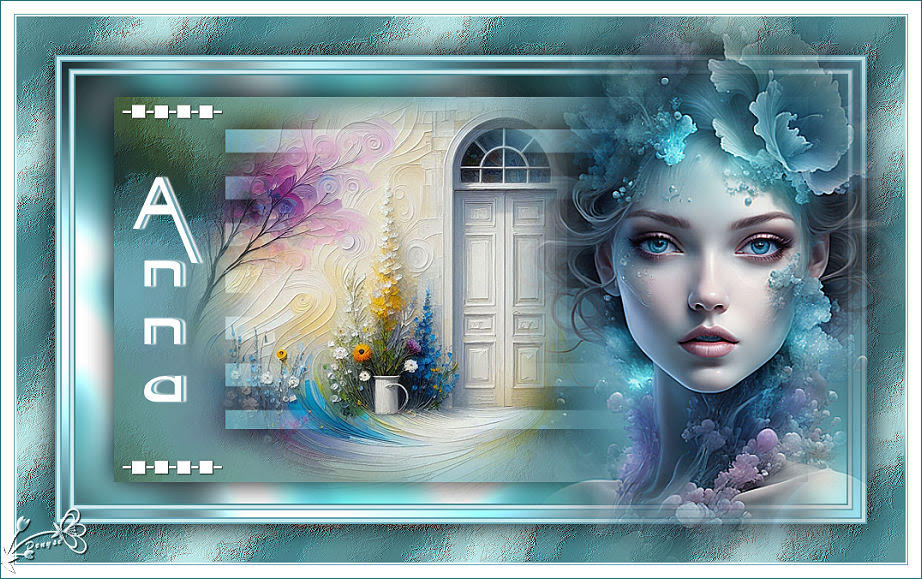
Denyse


If you have problems or doubts, or you find a not worked link, or only for tell me that you enjoyed this tutorial,
write to me.
18 August 2025

|

