|
FELIZ ANO NOVO


Thanks SIM PSP Group for your invitation to translate your tutorials into english

This tutorial was written and translated with Psp2020, but it can also be made using other versions of PSP.
Since version PSP X4, Image>Mirror was replaced with Image>Flip Horizontal,
and Image>Flip with Image>Flip Vertical, there are some variables.
In versions X5 and X6, the functions have been improved by making available the Objects menu.
In the latest version X7 command Image>Mirror and Image>Flip returned, but with new differences.
See my schedule here

|
Special Note
PSP SIM and its Tutorial Authors ask the public:
- Please, we request that we maintain the originality of the tutorial,
refraining from adding or including unsolicited effects;
- The use of other images is permitted and encouraged,
but please don't modify the content of the original tutorial;
- Please acknowledge and attribute the valuable credits to those who write tutorials, make translations and create materials.
Carefully,
PSP SIM - Leni Diniz
|

For this tutorial, you will need:

Material by Leni Diniz
(The links of the tubemakers here).

consult, if necessary, my filter section here
Filters Unlimited 2.0 here
Winnie006 - Win_52 here
Graphics Plus - Horizontal Mirror, Vertical Mirror
L&K's - L&K's Djin here
Filters Winnie and Graphics Plus can be used alone or imported into Filters Unlimited.
(How do, you see here)
If a plugin supplied appears with this icon  it must necessarily be imported into Unlimited it must necessarily be imported into Unlimited

You can change Blend Modes according to your colors.
In the newest versions of PSP, you don't find the foreground/background gradient (Corel_06_029).
You can use the gradients of the older versions.
The Gradient of CorelX here

1. Foreground color #9a5206,
Background color #f6d588.
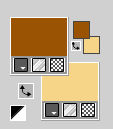
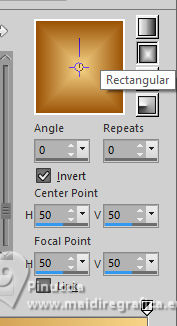
Set your foreground color to a Foreground/Background Gradient, style Rectangular.
Open alpha_channel_ano_novo_leni
This image, that will be the basis of your work, is not empty,
but contains the selections saved to alpha channel.
Flood Fill  the transparent image with your Gradient. the transparent image with your Gradient.
2. Layers>Duplicate.
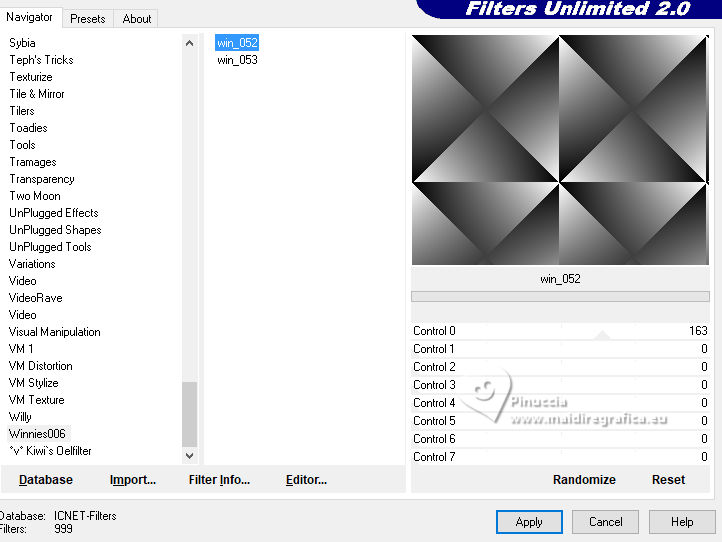
Effects>Plugins>Filters Unlimited 2.0 - Winnies006 - Win_52
3. Change the Blend Mode of this layer to Overlay.
4. Effects>Plugins>Graphics Plus - Horizontal Mirror
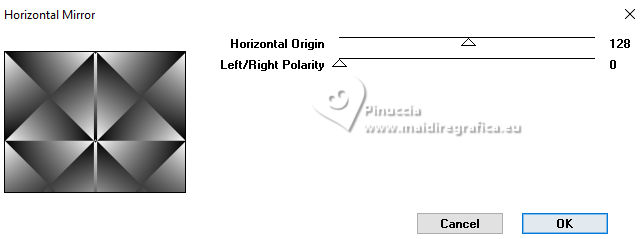
5. Effects>Plugins>Graphics Plus - Vertical Mirror
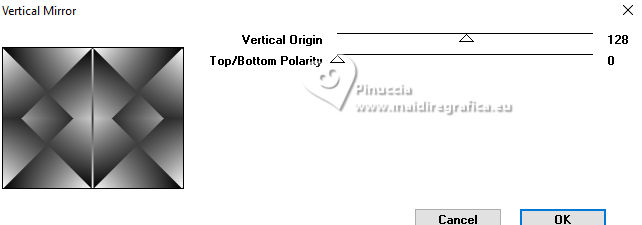
6. Effects>Edge Effects>Enhance.
Activate the layer Raster 1.
Effects>Plugins>L&K's - L&K's Djin.
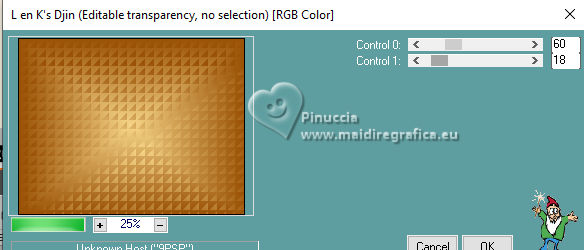
7. Effects>Edge Effects>Enhance More.
Activate your top layer, Copy of Raster 1.
Layers>Merge>Merge Down.
8. Selections>Load/Save Selections>Load Selection from Alpha Channel.
The selection leni #1 is immediately available. You just have to click Load.
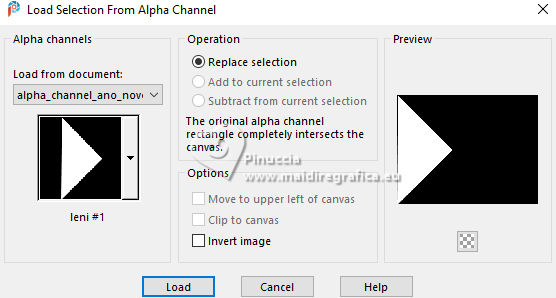
Selections>Promote Selection to layer.
Effects>3D Effects>Drop Shadow, color #000000.

Selections>Select None.
9. Layers>Duplicate.
Image>Mirror>Mirror Horizontal.
Layers>Merge>Merge Down.
10. Effects>Image Effects>Seamless Tiling - default settings.

11. Effects>Reflections Effects>Kaleidoscope.
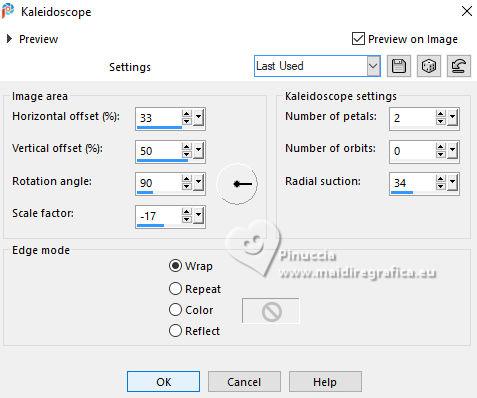
12. Open decor_ano_novo_leni 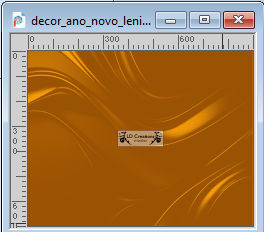
Edit>Copy.
Go back to your work and go to Edit>Paste as New Layer.
Keep the Blend Mode of this layer to Overlay.
13. Open your tube LeniDiniz-53natal 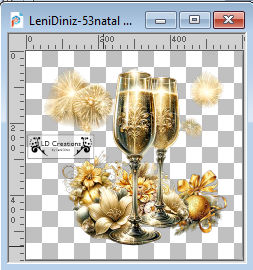
Edit>Copy.
Go back to your work and go to Edit>Paste as New Layer.
Resize, if necessary - for the supplied tube to 110%, resize all layers not checked.
14. Open título_ano_novo_leni-2 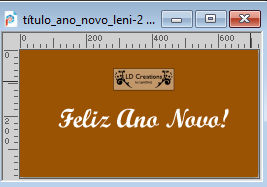
Edit>Copy.
Go back to your work and go to Edit>Paste as New Layer.
Pick Tool 
Position X: 193,00 - Position Y: 624,00.

15. Open título_ano_novo_leni-1 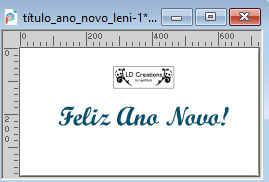
Edit>Copy.
Go back to your work and go to Edit>Paste as New Layer.
Pick Tool 
Position X: 190,00 - Position Y: 622,00.

16. Edit>Copy Special>Copy Merged
17. Image>Add Borders, 2 pixels, symmetric, foreground color #9a5206.
Image>Add Borders, 2 pixels, symmetric, background color #f6d588.
Image>Add Borders, 2 pixels, symmetric, foreground color #9a5206
Image>Add Borders, 8 pixels, symmetric, background color #f6d588
Image>Add Borders, 2 pixels, symmetric, foreground color #9a5206
18. Selections>Select All.
Image>Add Borders - 50 pixels, symmetric, whatever color.
Selections>Invert.
Edit>Paste into Selection.
19. Adjust>Blur>Gaussian Blur - radius 15.

20. Effects>Plugins>L&K's - L&K's Djin, same settings.

21. Effects>Edge effects>Enhance.
Selections>Invert.
22. Effects>3D Effects>Drop Shadow, color #000000

Selections>Select None.
23. Image>Add Bordes, 1 pixel, symmetric, foregorund #9a5206.
24. Sign your work and save as jpg.


 Your versions.Thanks Your versions.Thanks

Luce

Joelle

Mique


If you have problems or doubts, or you find a not worked link, or only for tell me that you enjoyed this tutorial,
write to me.
23 November 2024

|


