|
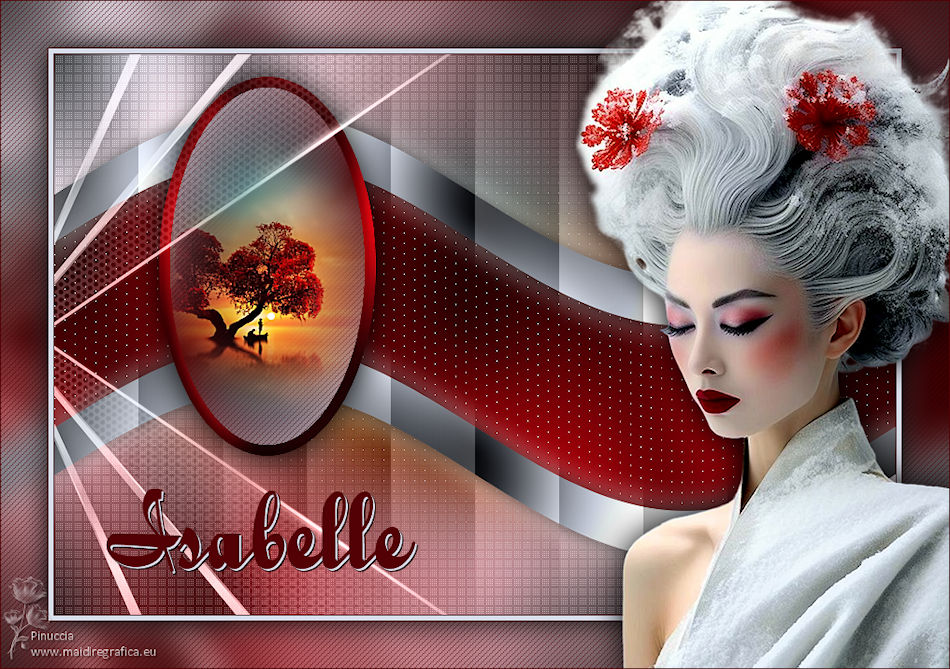
ISABELLE


Thanks SIM PSP Group for your invitation to translate your tutorials into english

This tutorial was written with Psp18 and translated with PspX9, but it can also be made using other versions of PSP.
Since version PSP X4, Image>Mirror was replaced with Image>Flip Horizontal,
and Image>Flip with Image>Flip Vertical, there are some variables.
In versions X5 and X6, the functions have been improved by making available the Objects menu.
In the latest version X7 command Image>Mirror and Image>Flip returned, but with new differences.
See my schedule here

For this tutorial, you will need:

The material is by Leni Diniz.
(The links of the tubemakers here).

consult, if necessary, my filter section here
Filters Unlimited 2.0 here
Penta.com - Dot and Cross here
Graphics Plus - Cross Shadow here
Filters Penta.com and Graphics Plus can be used alone or imported into Filters Unlimited.
(How do, you see here)
If a plugin supplied appears with this icon  it must necessarily be imported into Unlimited it must necessarily be imported into Unlimited

You can change Blend Modes according to your colors.
In the newest versions of PSP, you don't find the foreground/background gradient (Corel_06_029).
You can use the gradients of the older versions.
The Gradient of CorelX here

1. Choose two color to work.
Set your foreground color to light color #d8deea,
and your background color to dark color #530105
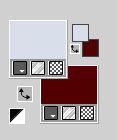
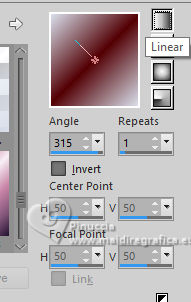
Set your foreground color to a Foreground/Background Gradient, style Linear.
Open Alpha_Channel_isabelle_leni.
Window>Duplicate or, on the keyboard, shift+D to make a copy.

Close the original.
The copy, that will be the basis of your work, is not empty,
but contains the selections saved to alpha channel.
Flood Fill  the transparent image with your Gradient. the transparent image with your Gradient.
2. Effects>Plugins>Graphics Plus - Cross Shadow, default settings.
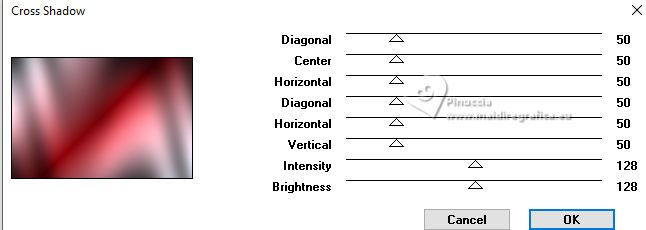
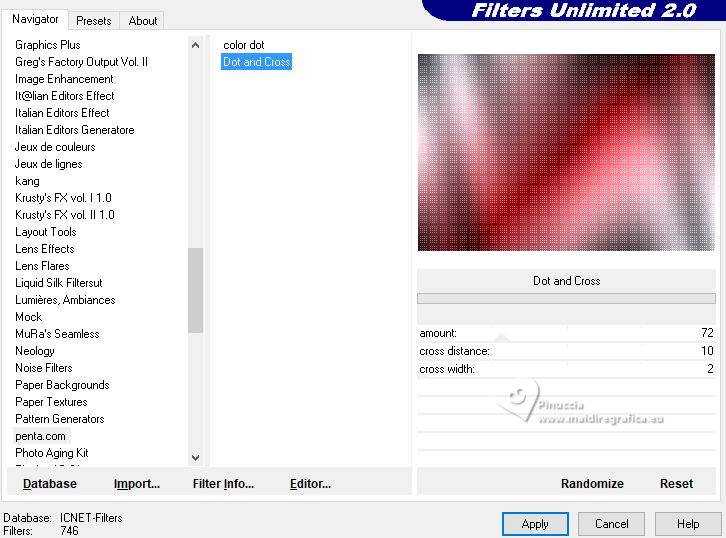
3. Effects>Plugins>Filters Unlimited 2.0 - Penta.com - Dot and Cross, default settings.
4. Layers>New Raster Layer.
Selections>Select All.
Open the misted LeniDiniz-29misted-paisagem 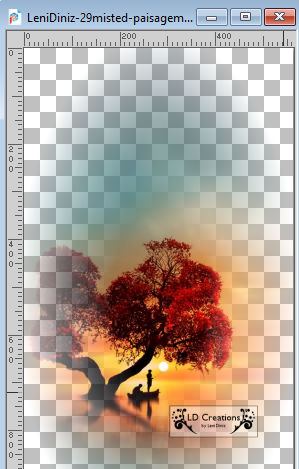
Edit>Copy.
Go back to your work and go to Edit>Paste into Selection.
Keep selected.
5. Adjust>Blur>Gaussian Blur - radius 30

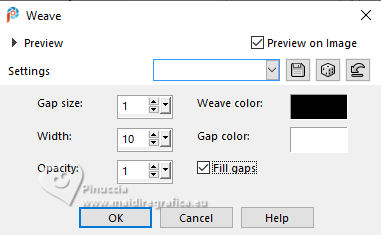
6. Effects>Texture Effects>Weave
weave color: #000000
gap color: #ffffff.
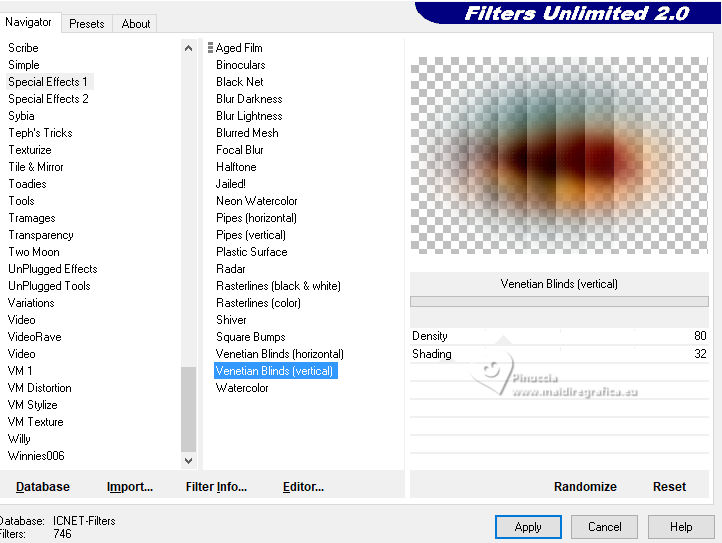
7. Effects>Plugins>Filters Unlimited 2.0 - Special Effects 1 - Venetian Blinds (vertical).
8. Selections>Select None.
Layers > New Raster Layer.
Selections>Load/Save Selection>Load Selection from Alpha Channel.
The selection leni #1 is immediately available. You just have to click Load.
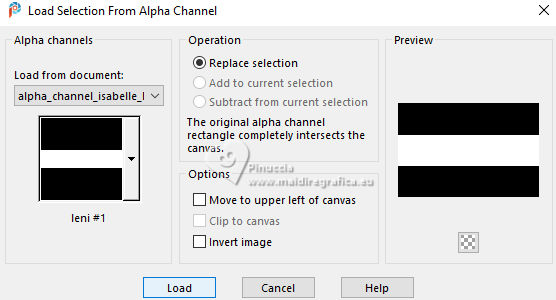
Flood Fill  the selection with your dark background color #530105. the selection with your dark background color #530105.
Keep selected.
9. Effects>Plugins>Graphics Plus - Cross Shadow, default settings.
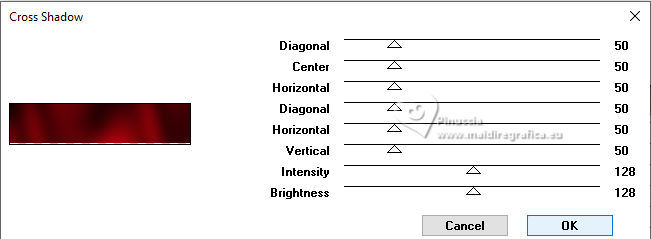
10. Effects>Texture Effects>Weave, same settings
weave color: #000000
gap color: #ffffff.

11. Effects>3D Effects>Drop shadow, color #000000.

Selections>Select None.
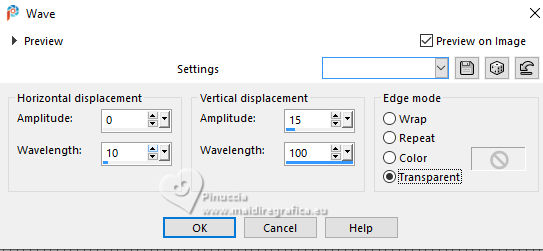
12. Effects>Distortion Effects>Wave.
13. Layers>New Raster Layer.
Selections>Load/Save Selection>Load Selection from Alpha Channel.
Open the selections menu and load the selection leni #2
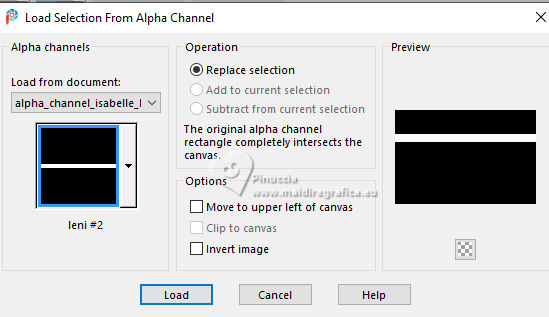
Set your foreground color to Color.
Flood Fill  the selection with your light foreground color #d8deea. the selection with your light foreground color #d8deea.
14. Effects>Plugins>Graphics Plus - Cross Shadow, default settings.
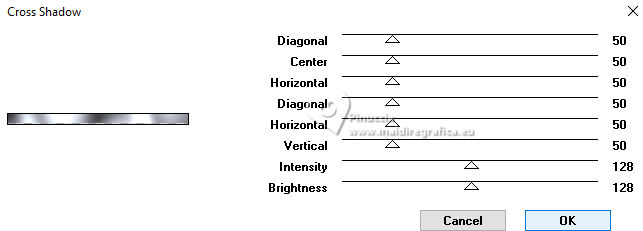
15. Effects>3D Effects>Drop shadow, color #000000.

Selections>Select None.
16. Effects>Distortion Effects>Wave, same settings.

17. Effects>Plugins>Filters Unlimited 2.0 - Special Effects 1 - Venetian blinds (Vertical), same settings.
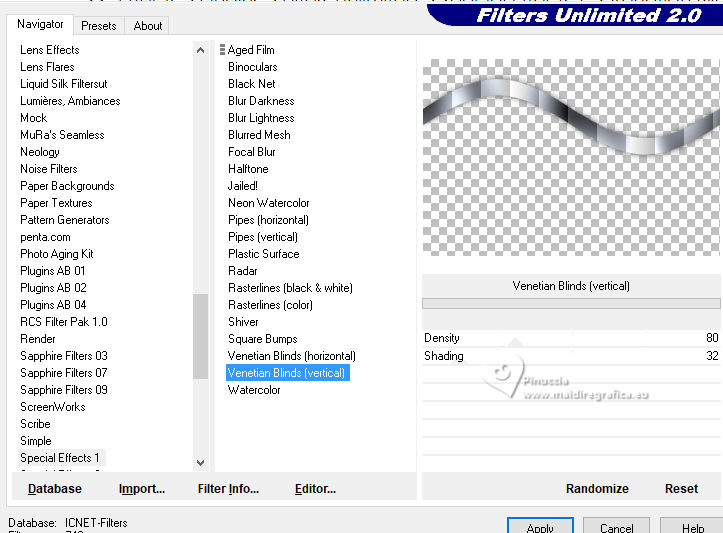
18. Layers>Duplicate.
Image>Mirror>Mirror Vertical (Image>Flip)
Image>Mirror>Mirror Horizontal (Image>Mirror).
Layers>Merge>Merge Down - 2 times.
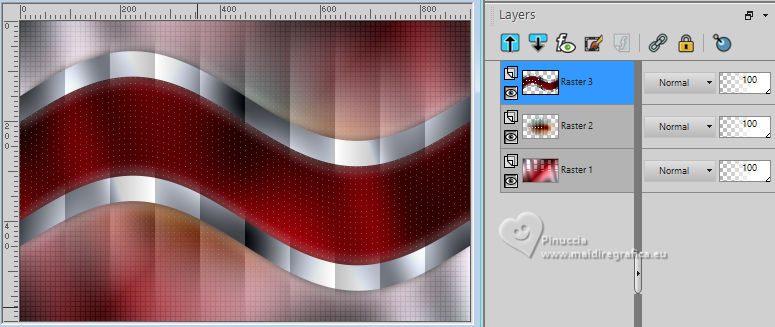
19. Layers>New Raster Layer.
Selections>Load/Save Selection>Load Selection from Alpha Channel.
Open the selections menu and load the selection leni #3
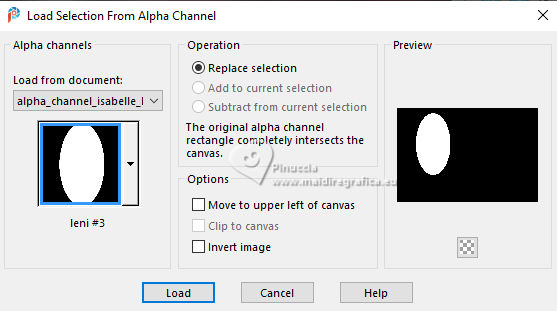
Set again your foreground color to Gradient
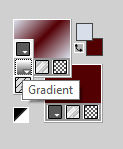
Flood Fill  the layer with your Gradient. the layer with your Gradient.
20. Effects>Texture Effects>Weave
weave color: background color #530105.
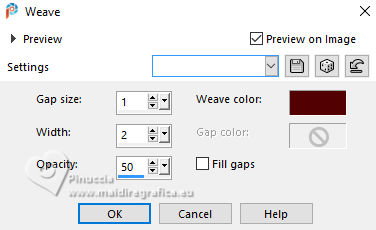
21. Layers>New Raster Layer.
Edit>Paste into Selection (your misted is still in memory).
Adjust>Sharpness>Sharpen More.
22. Layers>New Raster Layer.
Selections>Modify>Select Selection Border.

23. Flood Fill  the selection with your dark background color #530105. the selection with your dark background color #530105.
Effects>Plugins>Graphics Plus - Cross Shadow, default settings.
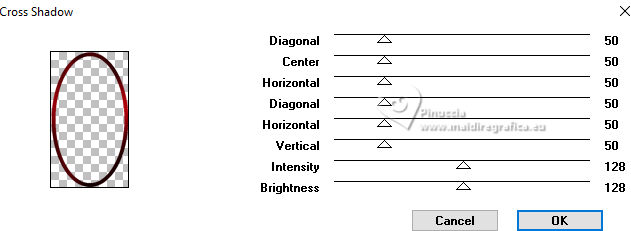
24. Effects>3D Effects>Inner Bevel.
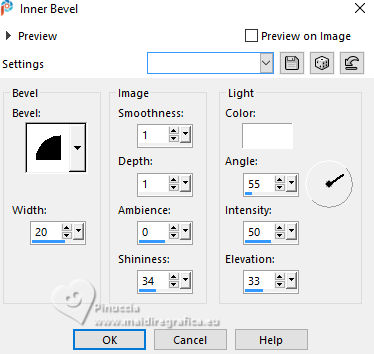
25. Selections>Select None.
Your tag and the layers
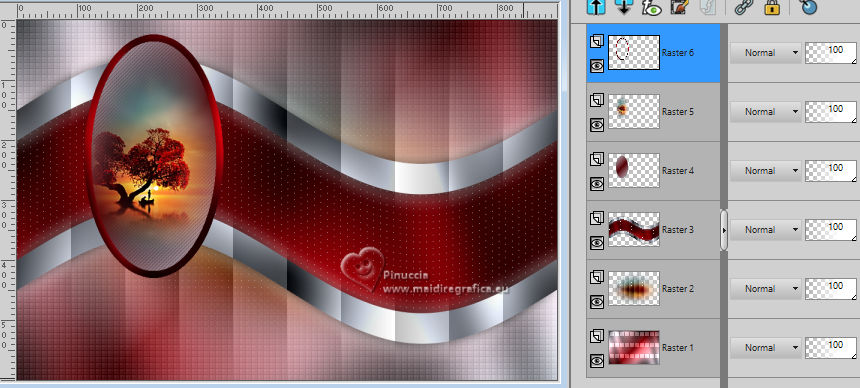
26. Layers>Merge>Merge Down - 2 times.
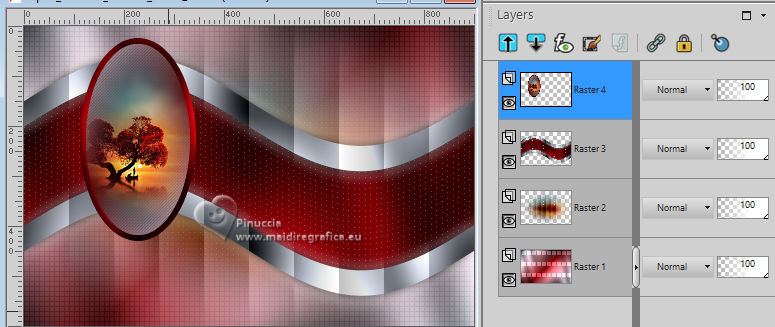
Effects>3D Effects>Drop Shadow, color #000000.

27. Open decor_isabelle_leni 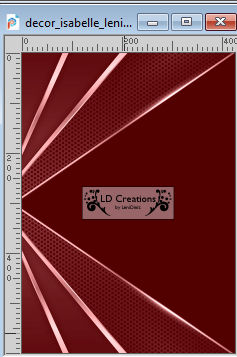
Edit>Copy.
Go back to your work and go to Edit>Paste as new layer.
Objects>Align>Left
or Pick Tool 

28. Edit>Copy Special>Copy Merged
29. Image>Add borders, 1 pixel, symmetric, dark color #530105.
Image>Add borders, 5 pixels, symmetric, light color #d8deea.
Image>Add borders, 1 pixel, symmetric, dark color #530105.
30. Selections>Select All.
Image>Add borders, 50 pixels, symmetric, whatever color.
Selections>Invert.
Edit>Paste into Selection
31. Adjust>Blur>Gaussian Blur - radius 15.

Effects>Texture Effects>Weave, same settings
weave color: background color #530105.

32. Selections>Invert.
Effects>3D Effects>Drop Shadow, color #000000.

Selections>Select None.
33. Open your main tube LeniDiniz-876mulheres 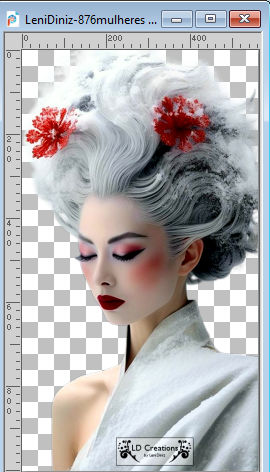
Edit>Copy.
Go back to your work and go to Edit>Paste as new layer.
Image>Resize, to 72%, resize all layers not checked.
Move  the tube to the right side. the tube to the right side.
Adjust>Sharpness>Sharpen.
Effects>3D Effects>Drop shadow, at your choice.
34. Open one or both the texts 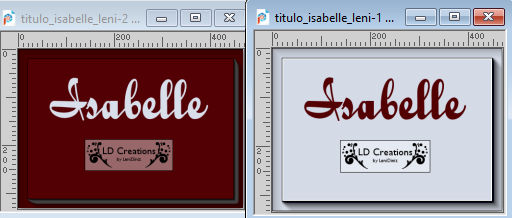
Edit>Copy.
Go back to your work and go to Edit>Paste as new layer.
Place  the text or both the texts to your liking. the text or both the texts to your liking.
For me:
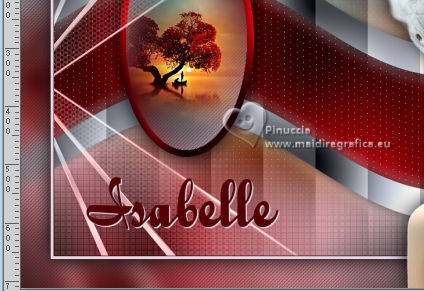
Effects>3D Effects>Drop Shadow, at your choice.
35. Image>Add borders, 1 pixel, symmetric, dark background color #530105.
36. Sign your work and save as jpg.
For the tubes of this version thanks Jewel
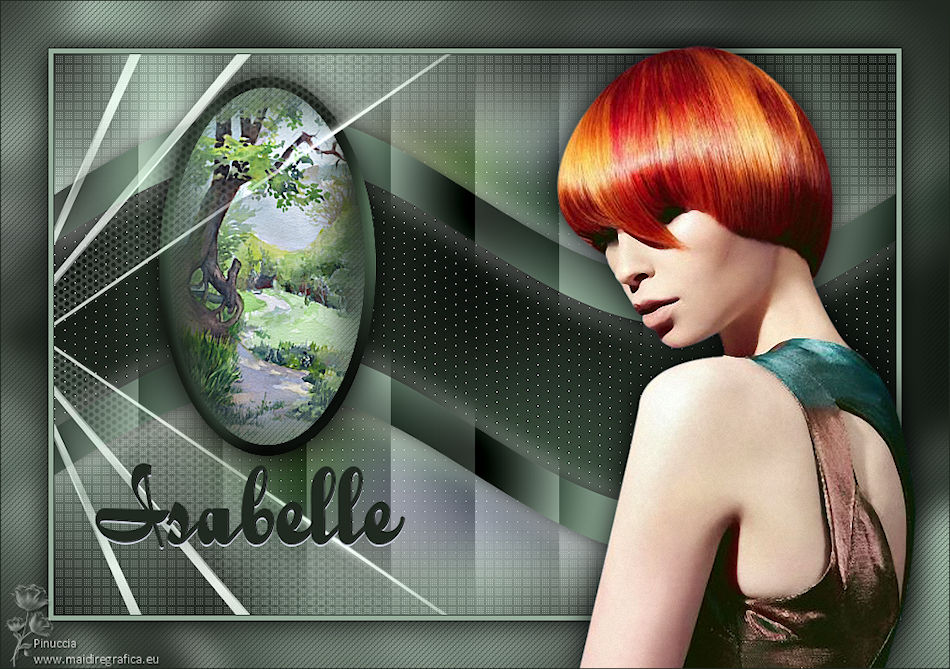

 Your versions.Thanks Your versions.Thanks
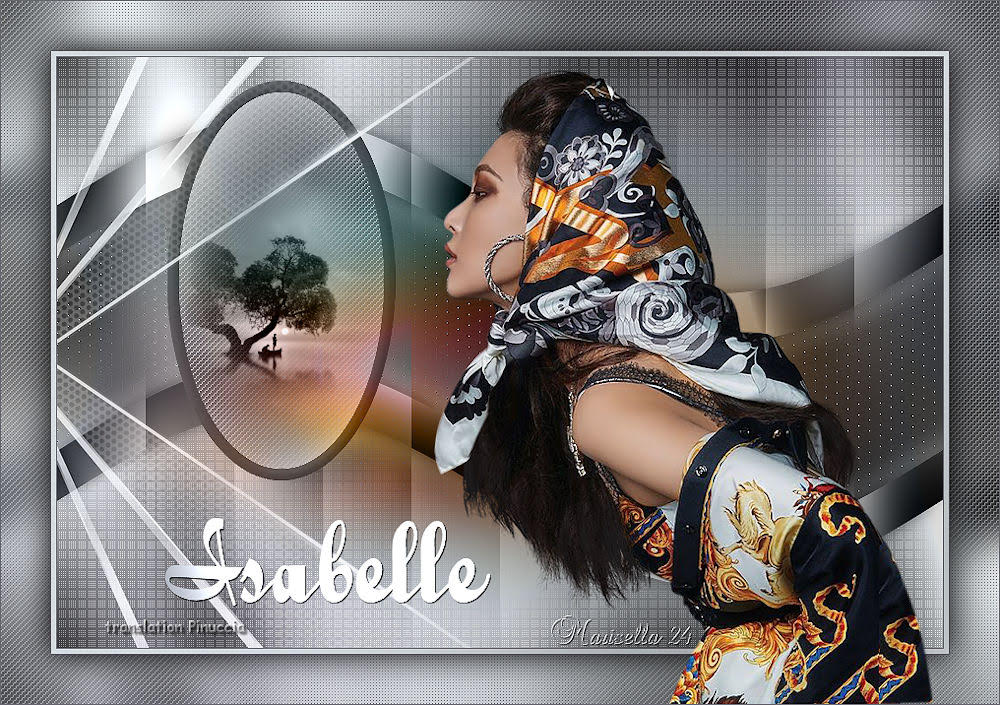
Marisella
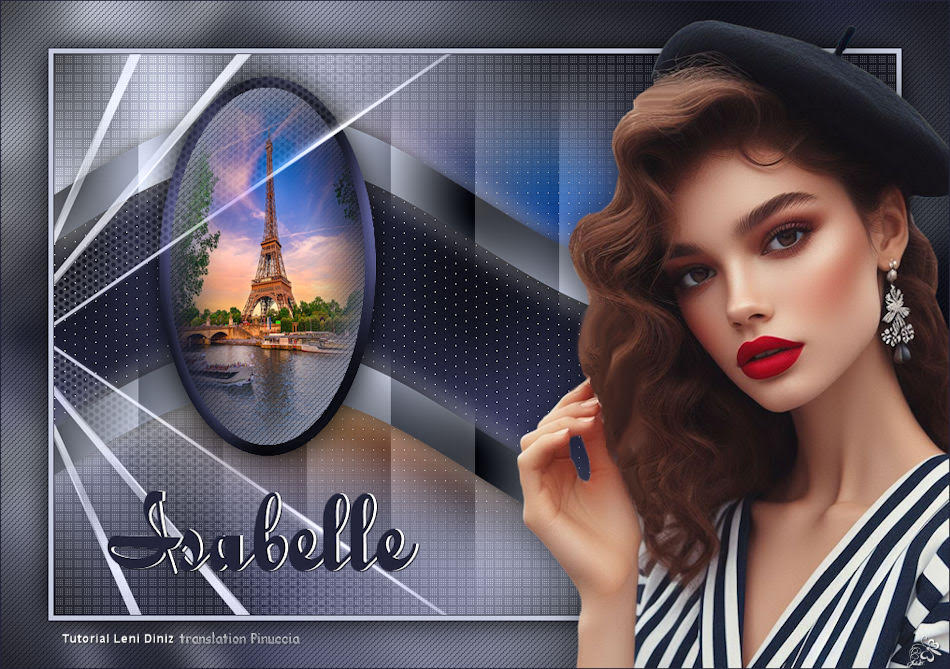
Jolcsi
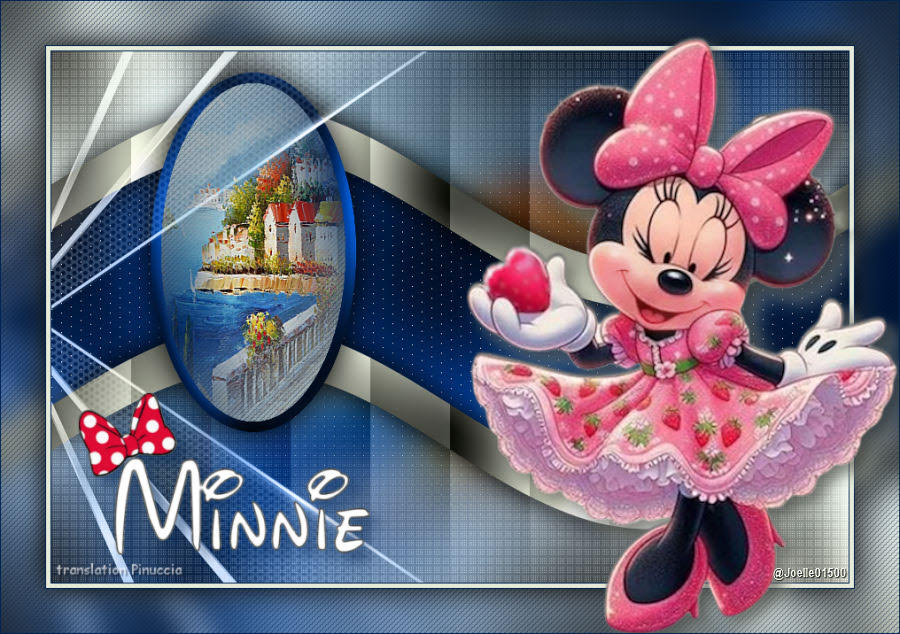
Joelle
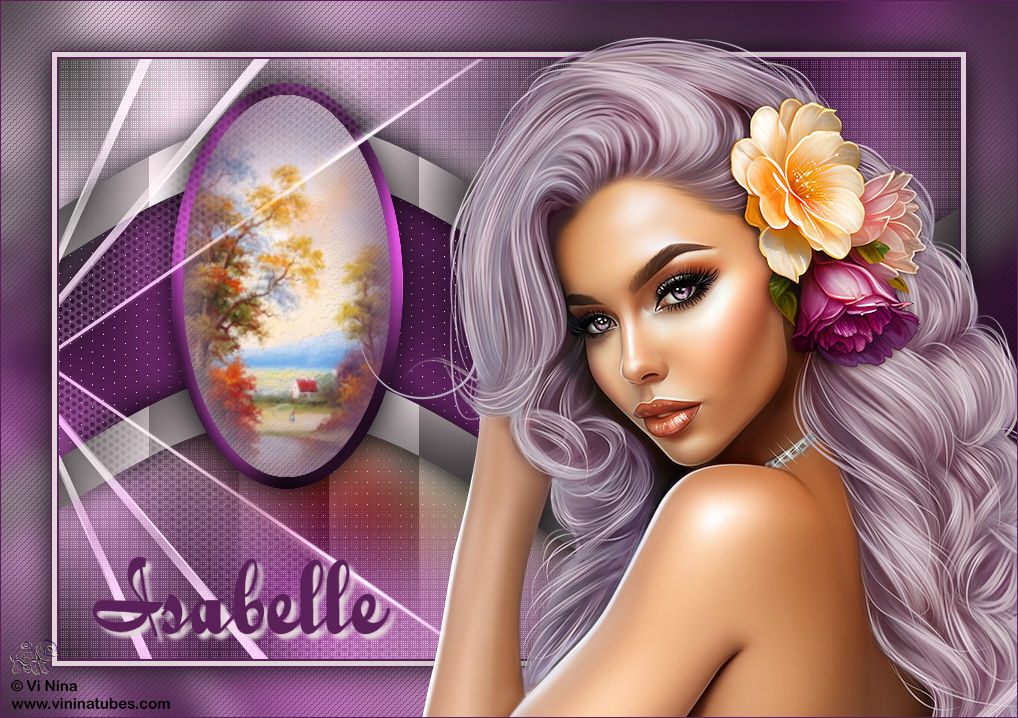
Pia
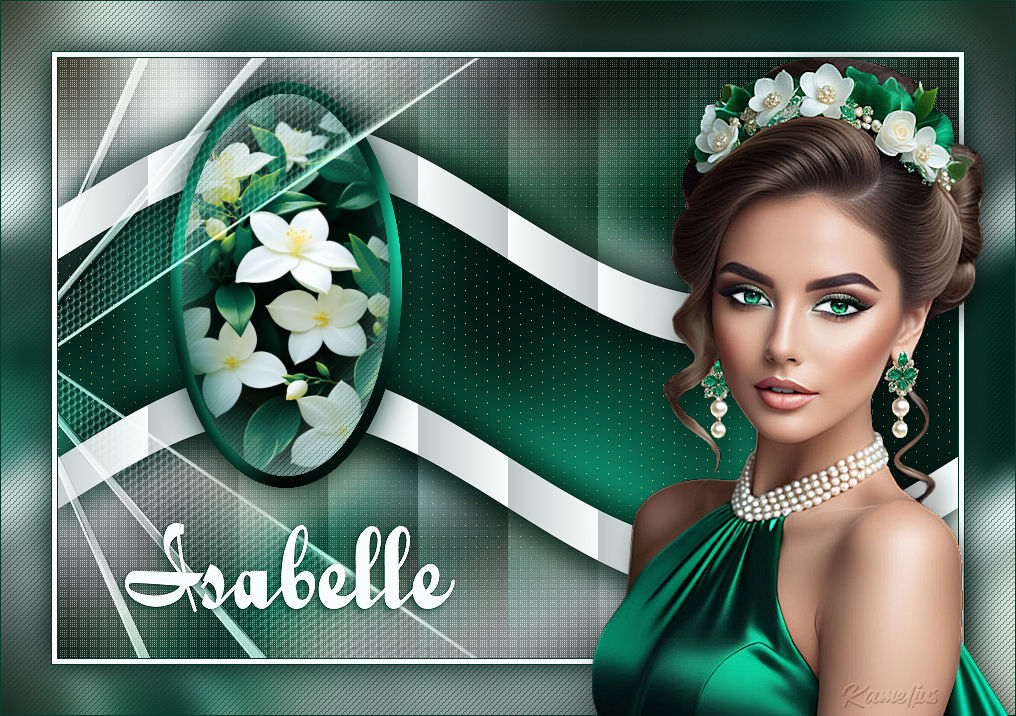
Kamelius
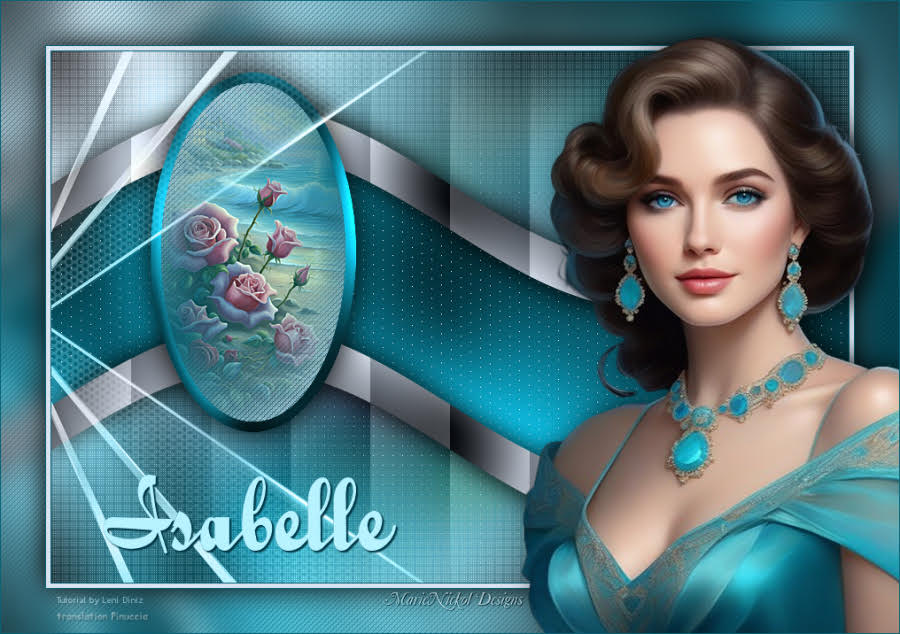
Marie Nickol
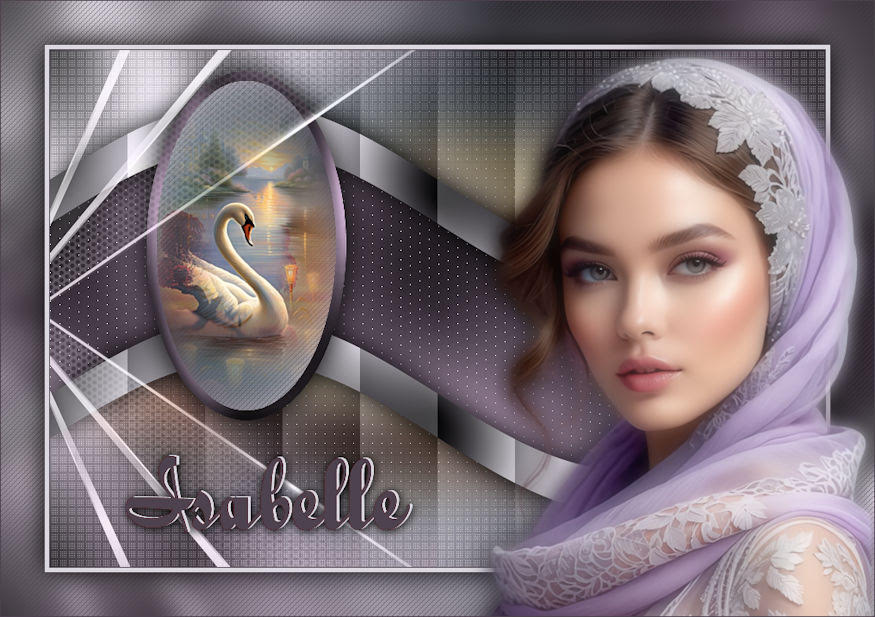
Di@ne


If you have problems or doubts, or you find a not worked link, or only for tell me that you enjoyed this tutorial, write to me.
5 February 2023

|

