|
TAG WISH YOU

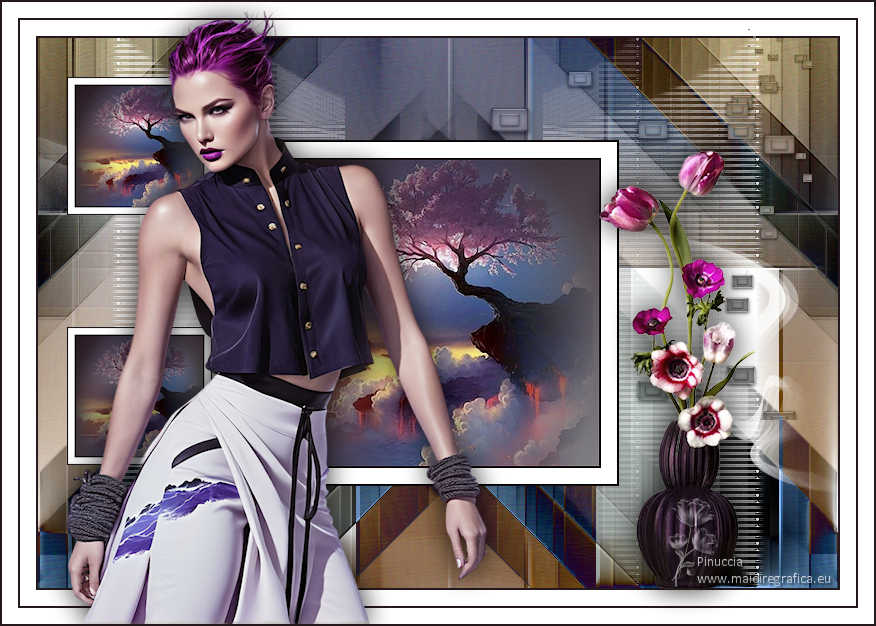
Thanks Lica Cida for your invitation to translate your tutorial

This tutorial was created with PSPX9 and translated with PSPX9 and PSP2020, but it can also be made using other versions of PSP.
Since version PSP X4, Image>Mirror was replaced with Image>Flip Horizontal,
and Image>Flip with Image>Flip Vertical, there are some variables.
In versions X5 and X6, the functions have been improved by making available the Objects menu.
In the latest version X7 command Image>Mirror and Image>Flip returned, but with new differences.
See my schedule here
 French translation here French translation here
 your versions here your versions here

For this tutorial, you will need:

For the tubes thanks Suizabella, René and PqnaAlice.
(you find here the links to the material authors' sites)

consult, if necessary, my filter section here
Filters Unlimited 2.0 here
Filter Factory Gallery B - Button Deluxe, Vibes here
Nik Software - Color Efex here
Plugin Galaxy - Instant Mirror here
VanDerLee - Unplugged-X here
Alien Skin Eye Candy 5 Impact - Motion Trail here
DSB Flux - Linear Transmission here
Filters Factory Gallery can be used alone or imported into Filters Unlimited.
(How do, you see here)
If a plugin supplied appears with this icon  it must necessarily be imported into Unlimited it must necessarily be imported into Unlimited

You can change Blend Modes according to your colors.
In the newest versions of PSP, you don't find the foreground/background gradient (Corel_06_029).
You can use the gradients of the older versions.
The Gradient of CorelX here

1. Choose 2 colors from your tubes.
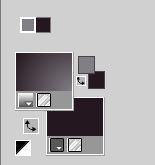
Set your foreground color to #817f84,
and your background color to #25181f.

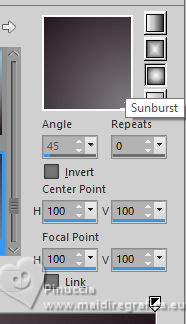
Set your foreground color to a Foreground/Background Gradient, style Sunburst.
2. Open a new transparent image 800 x 550 pixels.
Flood Fill  the transparent image with your Gradient. the transparent image with your Gradient.
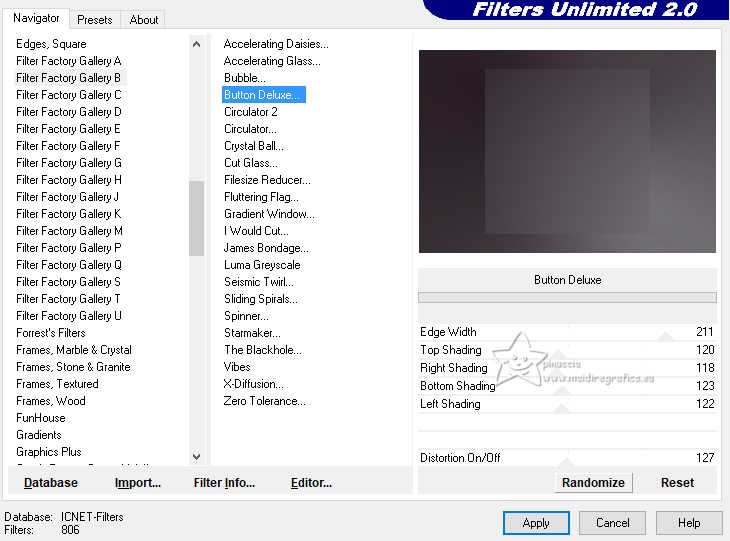
3. Effects>Plugins>Filters Unlimited 2.0 - Filter Factory Gallery B - Button Deluxe, default settings.
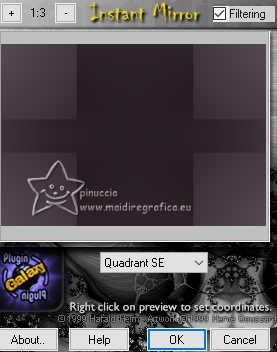
4. Effects>Plugins>Plugin Galaxy - Instant Mirror - Quadrant SE.
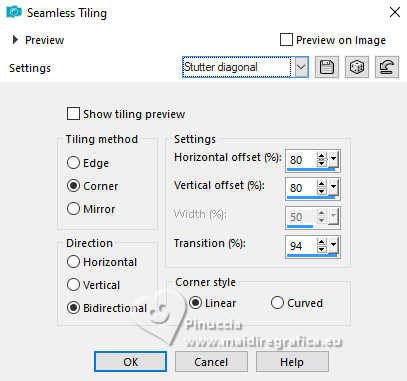
5. Effects>Image Effects>Seamless Tiling, Stutter diagonal.
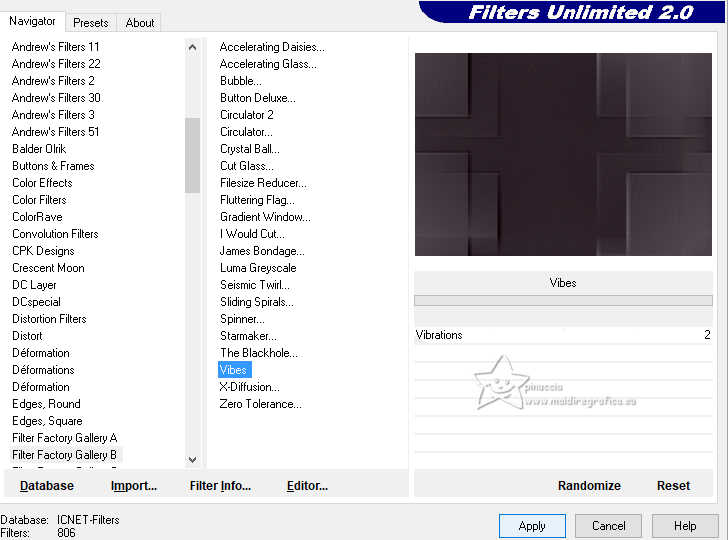
6. Effects>Plugins>Filters Unlimited 2.0 - Filter Factory Gallery B - Vibes, default settings.
Layers>Duplicate.
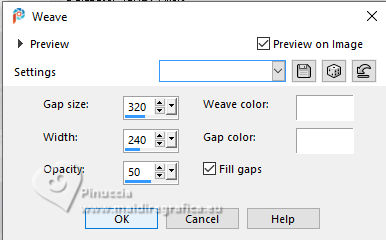
7. Effects>Texture Effects>Weave
both color: #ffffff.
8. Effects>Image Effects>Seamless Tiling - Side by Side

9. Repeat Effects>Image Effects>Seamless Tiling, Stutter diagonal.

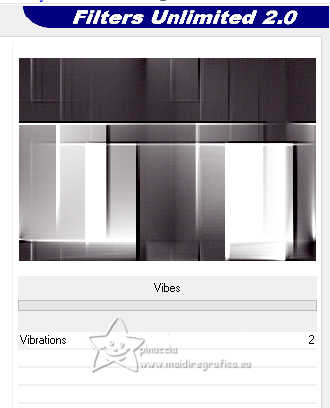
Effects>Plugins>Filters Unlimited 2.0 - Filter Factory Gallery B - Vibes, default settings.
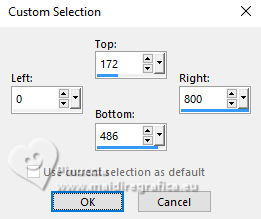
10. Selection Tool 
(no matter the type of selection, because with the custom selection your always get a rectangle)
clic on the Custom Selection 
and set the following settings.
Selections>Promote Selection to Layer.
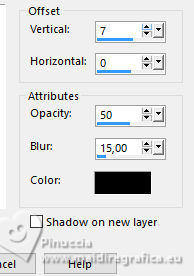
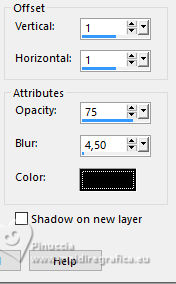
11. Effects>3D Effects>Drop Shadow, color #000000.
Selections>Select None.
12. Effects>Image Effects>Seamless Tiling, Stutter diagonal.

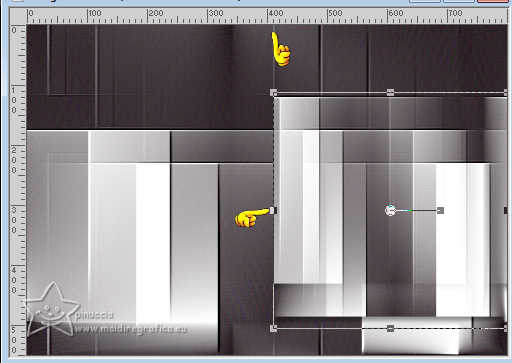
13. Activate your Pick Tool 
mode Scale 
pull the left central node to the right, until 410 pixels.
Image>Mirror>Mirror Vertical (Image>Flip).
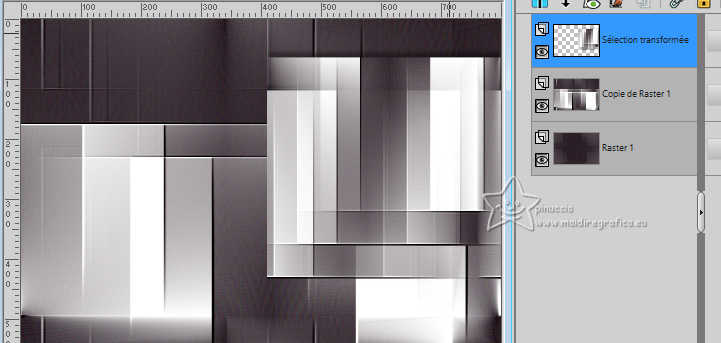
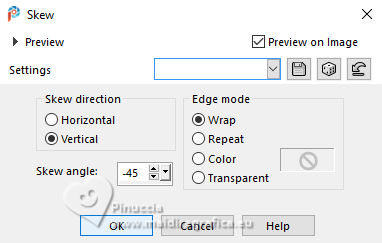
14. Effects>Geometric Effects>Skew.
15. Effects>Reflection Effects>Rotating Mirror, default settings.

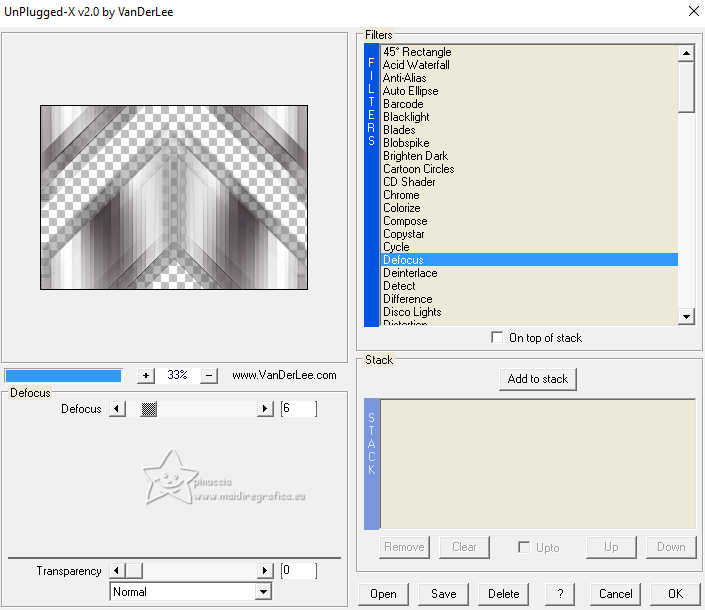
16. Effects>Plugins>VanDerLee - Unplugged-X - Defocus
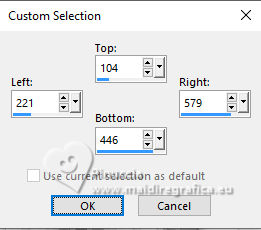
17. Custom Selection 
18. Layers>New Raster layer.
Set your foreground color to #ffffff.
Flood Fill  the layer with color #ffffff. the layer with color #ffffff.
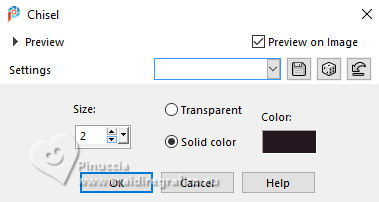
19. Effects>3D Effects>Chisel - background color.
20. Selections>Modify>Contract - 16 pixels.
Flood Fill  the selection with your background color. the selection with your background color.
21. Selections>Modify>Contract - 2 pixels.
Press CANC on the keyboard 
Set again your foreground color to the initial #817f84, and to the Sunburst Gradient.
Flood Fill  the selection with your Gradient. the selection with your Gradient.
22. Open the tube Renee-TUBES-Paysage10 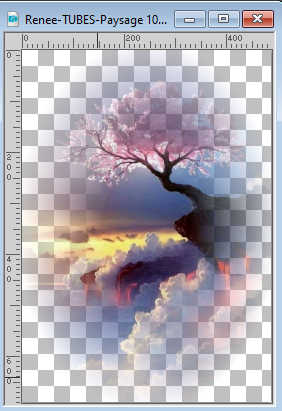
Edit>Copy.
Go back to your work and go to Edit>Paste as new layer.
Image>Resize, 2 times to 80%, resize all layers not checked.
Place  correctly the tube on the selection. correctly the tube on the selection.
Selections>Invert.
Press CANC on the keyboard.
Selections>Select None.
Layers>Merge>Merge Down.
Adjust>Sharpness>Sharpen.
Your tag and the layers.
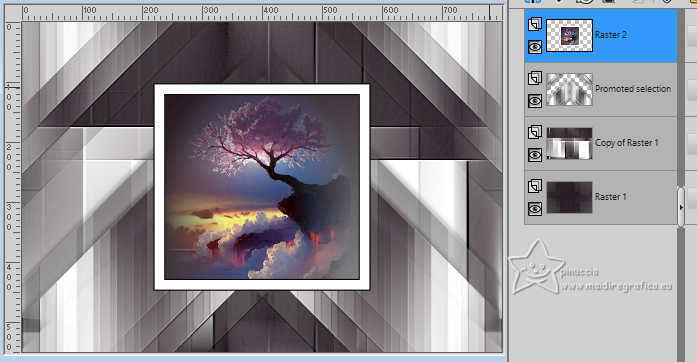
23. Layers>Duplicate.
Image>Resize, to 40%, resize all layers not checked.
Pick Tool 
set Position X: 29,00 and Position Y: 39,00

Layers>Duplicate.
Effects>Image Effects>Offset.
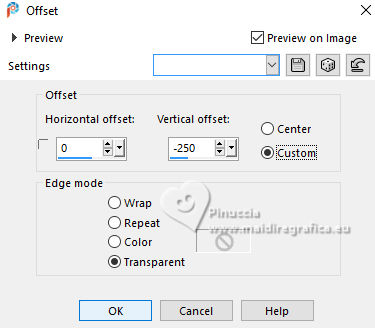
Layers>Merge>Merge Down.
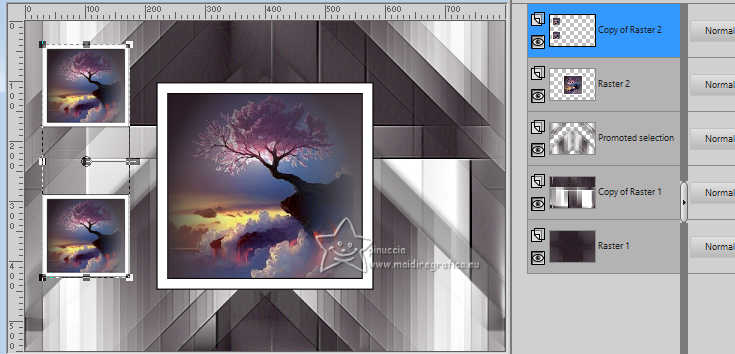
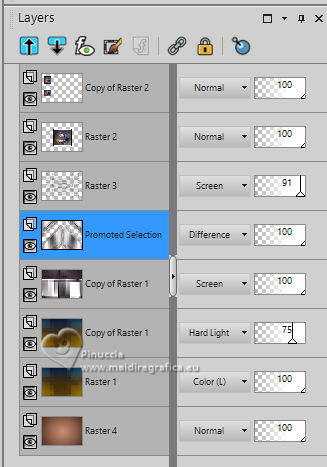
Change the Blend Mode of the layer Copy of Raster 1 to Screen
and the layer above to Difference.
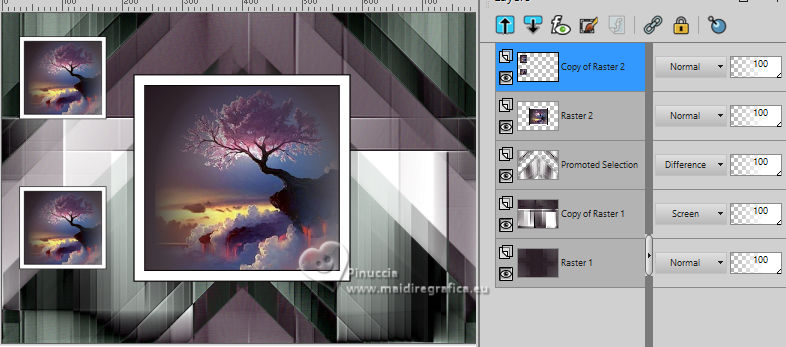
24. Stay on the top layer.
Layers>New Raster layer (Raster 3).
Set your foreground color to #ffffff and close your background color.
Activate your Pen Tool  line style Diamonds line style Diamonds

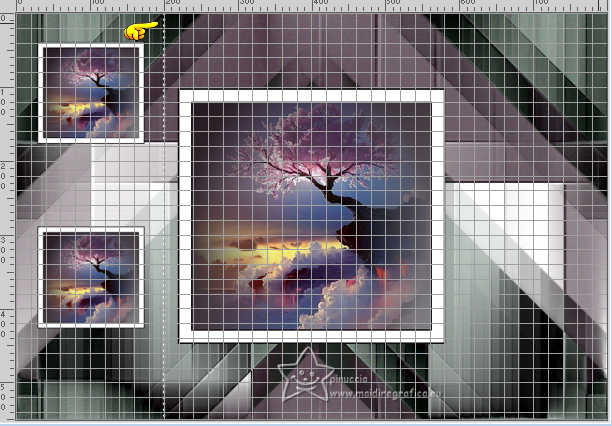
Click on View>Grid and you'll get this
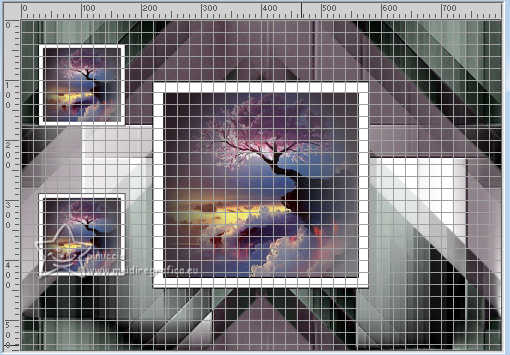
After click on Grid, Guide & Snap Properties...
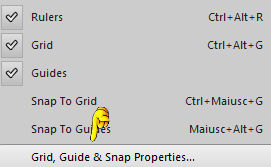
and click ok

Activate the already configured Pen Tool 
and make a line as below
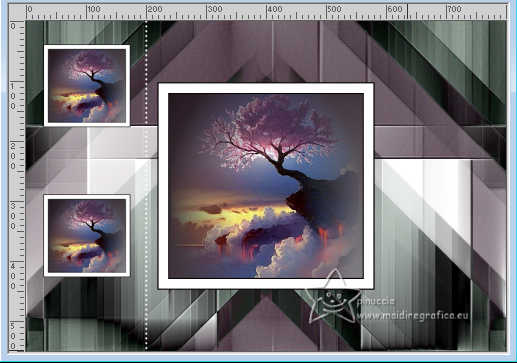
By doing this your line will be straight, deselect the Grid and it will be like this:
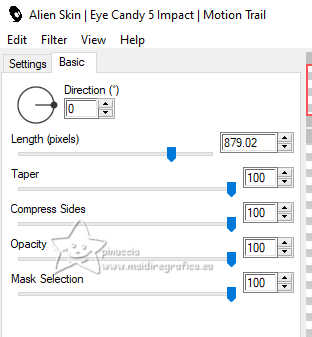
Effects>Plugins>Alien Skin Eye Candy 5 Impact - Motion Trail.
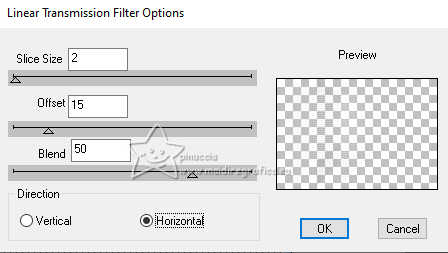
Effects>Plugins>DSB Flux - Linear Transmission.
Layers>Duplicate.
Image>Mirror>Mirror Horizontal (Image>Mirror).
Layers>Merge>Merge Down.
Effects>Edge Effects>Enhance More.
Effects>3D Effects>Drop Shadow, color #000000.
Layers>Arrange>Move Down - 2 times.
Activate your Selection Tool 
and select the top and the bottom parts of the effect
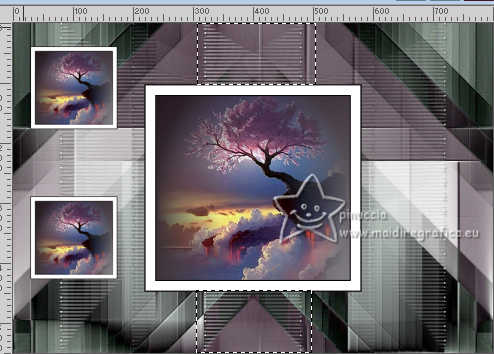
Press CANC on the keyboard.
Layers>Duplicate.
Layers>Merge>Merge Down.
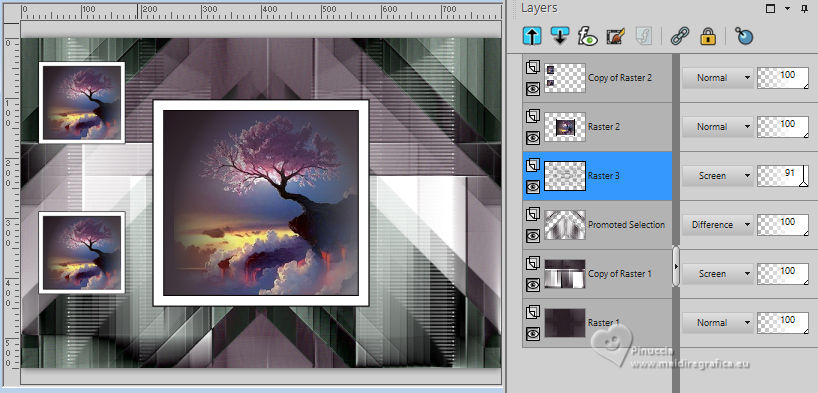
Change the Blend Mode of this layer to Screen and reduce the opacity to 91%.
25. Layers>New Raster layer (Raster 4).
Layers>Arrange>Send to Bottom.
Selections>Select All.
Open backlc 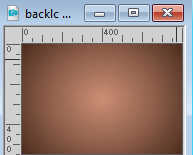
Edit>Copy.
Go back to your work and go to Edit>Paste into Selection.
Selections>Select None.
26. Activate the layer Raster 1.
Effects>Plugins>Nik Software - Color Efex Pro - Bi-Color Filters
To the right: Color Set: Cool/Warm 1.
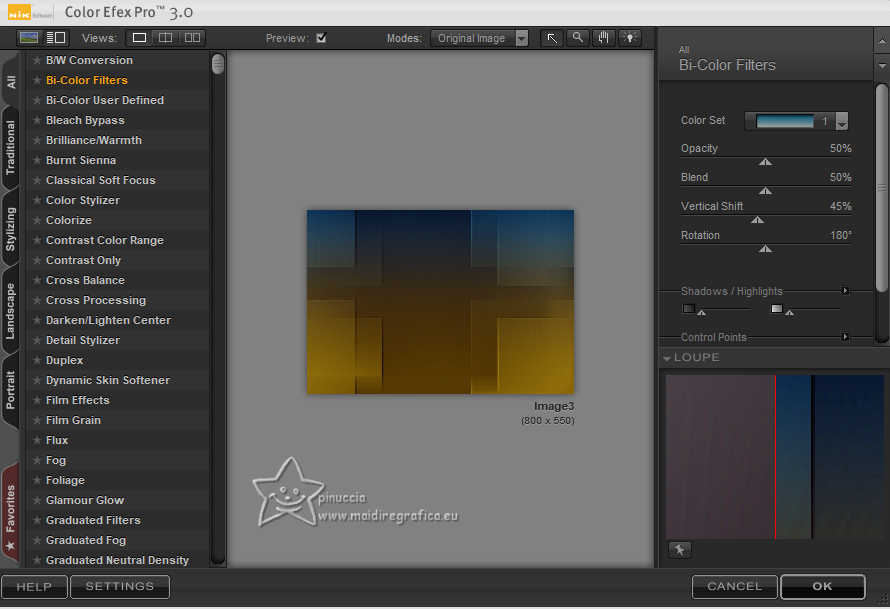
Change the Blend Mode of this layer to Color (legacy).
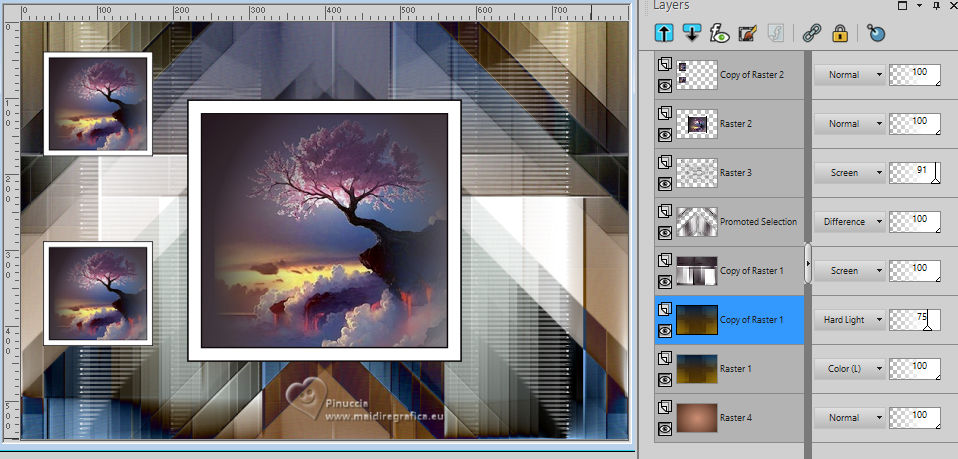
Layers>Duplicate.
Change the Blend Mode of this layer to Hard Light and reduce the opacity to 75%.
Your tag and the layers - adapt Blend Mode and opacity to your liking.
27. Activate the layer Promoted Selection.
Open designal brushes 3_12 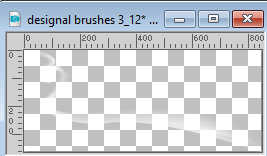
Edit>Copy.
Go back to your work and go to Edit>Paste as new layer.
Image>Mirror>Mirror Horizontal (Image>Mirror).
Image>Miroir>Miroir vertical (Image>Flip).
28. Image>Add borders, 2 pixels, symmetric, background color.
Image>Add borders, 16 pixels, symmetric, color #ffffff.
Image>Add borders, 2 pixels, symmetric, background color.
Image>Add borders, 16 pixels, symmetric, color #ffffff.
29. Open the tube SuizaBella_Ref_AG-004227 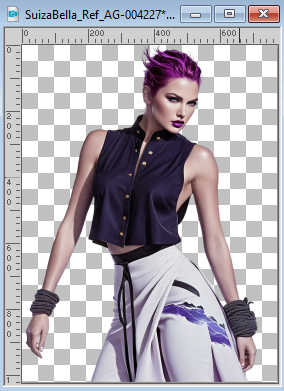
Erase the watermark and go to Edit>Copy.
Go back to your work and go to Edit>Paste as new layer.
Image>Mirror>Mirror Horizontal (Image>Mirror)
Resize and position to your liking.
Effects>3D Effects>Drop Shadow, at your choice.
30. Open 038FlorByPqnaAlice 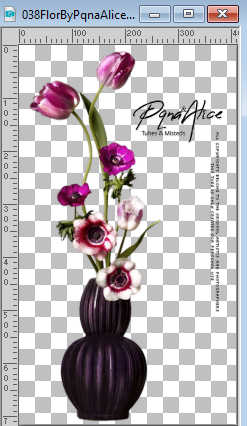
Erase the watermark and go to Edit>Copy.
Go back to your work and go to Edit>Paste as new layer.
Resize and position to your liking.
For me
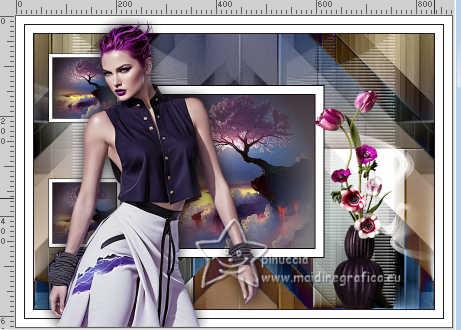
Effects>3D Effects>Drop shadow, at y our choice.
31. Open the tube 002DecorByPqnaAlice_trabalhado 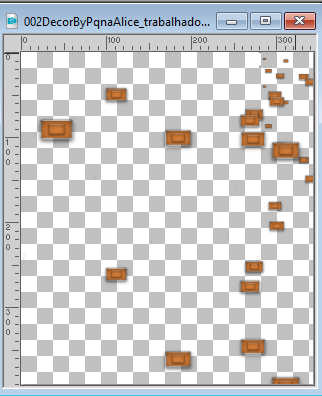
(in the material the tube original)
Edit>Copy.
Go back to your work and go to Edit>Paste as new layer.
Resize and position to your liking.
Change the Blend Mode of this layer to Luminance (legacy).
Layers>Arrange>Move Down.
Image>Add borders, 2 pixels, symmetric, background color.
Sign your work on a new layer.
Add the authors and translator's watermarks.
Layers>Merge>Merge All and save as jpg.
For the tubes of this version thanks Luz Cristina and PqnaAlice
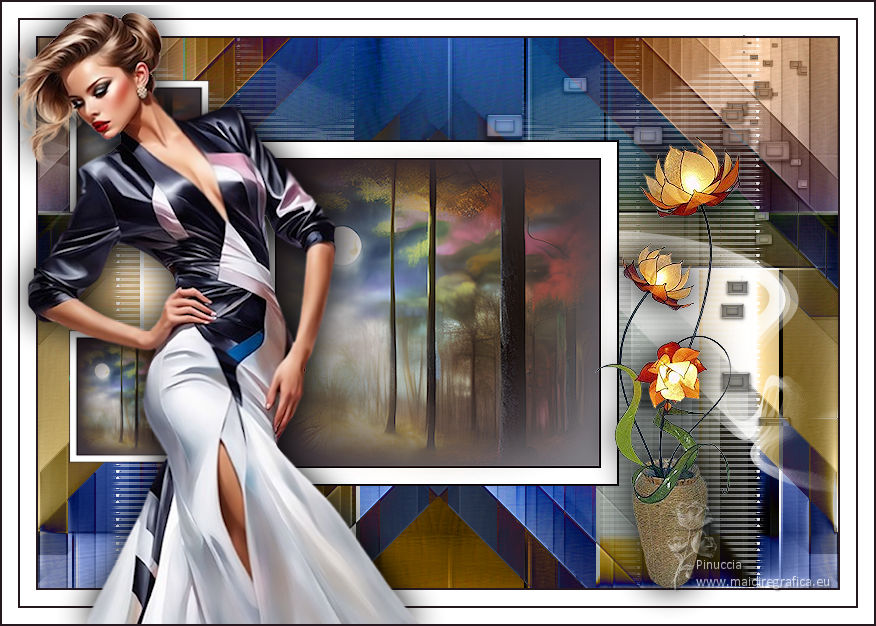
 Your versions here Your versions here

If you have problems or doubts, or you find a not worked link, or only for tell me that you enjoyed this tutorial, write to me.
16 April 2024

|


