|
TOP ADMIRAVEL
 TOP ADMIRABLE TOP ADMIRABLE
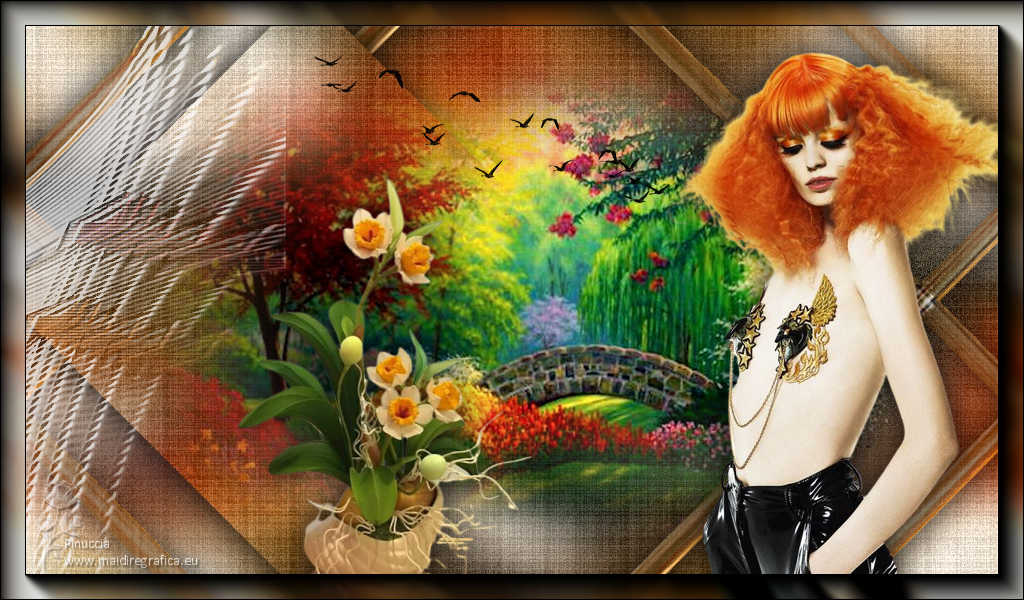
Thanks Lica Cida for your invitation to translate your tutorial

This tutorial was created with PSPX9 and translated with PSPX9 and PSP2020, but it can also be made using other versions of PSP.
Since version PSP X4, Image>Mirror was replaced with Image>Flip Horizontal,
and Image>Flip with Image>Flip Vertical, there are some variables.
In versions X5 and X6, the functions have been improved by making available the Objects menu.
In the latest version X7 command Image>Mirror and Image>Flip returned, but with new differences.
See my schedule here
 French translation here French translation here
 your versions here your versions here

For this tutorial, you will need:

For the tubes thanks NaiseM and Kamil
(you find here the links to the material authors' sites)

consult, if necessary, my filter section here
Filters Unlimited 2.0 here
Texturize - Raw Canvas (to import in Unlimited) here
VanDerLee - Unplugged 2 here
Simple - 4 Way Average here
Simple - Left Right Wrap (Bonus) here
AAA Frames - Foto Frame / AAA Filters - Custom here
Filters Simple can be used alone or imported into Filters Unlimited.
(How do, you see here)
If a plugin supplied appears with this icon  it must necessarily be imported into Unlimited it must necessarily be imported into Unlimited

You can change Blend Modes according to your colors.
In the newest versions of PSP, you don't find the foreground/background gradient (Corel_06_029).
You can use the gradients of the older versions.
The Gradient of CorelX here

Copy the presets in the Presets Folder.
1. Choose two colors from your tubes.
Set your foreground color to the dark color #191919,
and your background color to the light color #da8926.
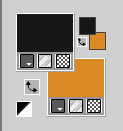
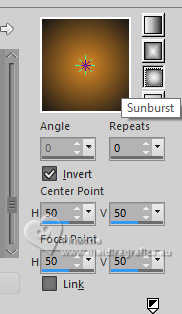
Set your foreground color to a Foreground/Background Gradient, style Sunburst.
2. Open a new transparent image 1024 x 600 pixels.
Flood Fill  the transparent image with your Gradient. the transparent image with your Gradient.
3. Selections>Select All.
Open the tube exclusivo-impressionante-naisem (used with the author's permission) 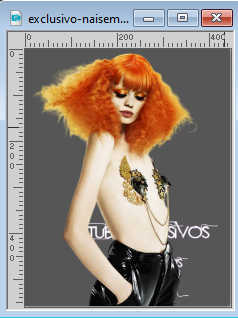
Edit>Copy.
Go back to your work and go to Edit>Paste into Selection.
Selections>Select None.
4. Effects>Image Effects>Seamless Tiling, default settings.

5. Adjust>Blur>Gaussian Blur - radius 26.
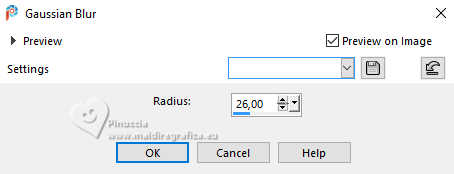
6. Effects>Plugins>Filters Unlimited 2.0 - Texturize - Raw Canvas, default settings.

7. Layers>Duplicate.
Effects>Geometric Effects>Perspective horizontal.
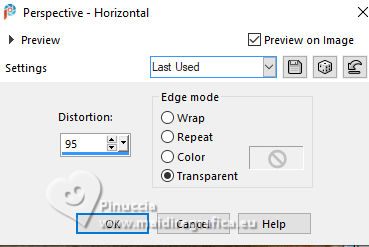
Image>Mirror>Mirror Horizontal.
Effects>Geometric Effects>Perspective horizontal, same settings.
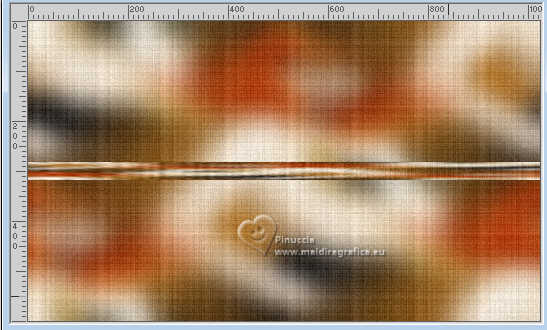
8. Effects>Image Effects>Offset.
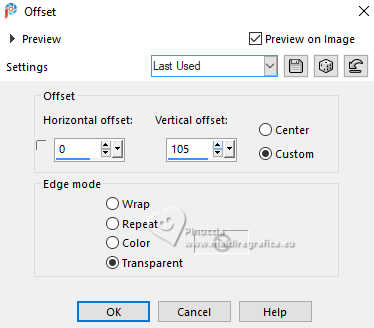
9. Effects>Geomeetric Effects>Skew.
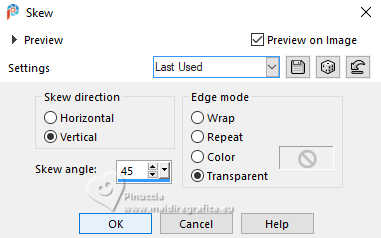
Layers>Duplicate.
Image>Mirror>Mirror horizontal.
Layers>Merge>Merge Down.
Layers>Merge>Merge Down.
10. Effects>Plugins>Simple - 4 Way Average
This effect works without window; result
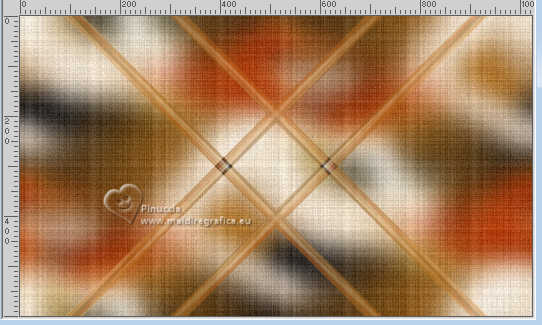
Effects>User Defined Filter - select the preset Emboss 3 and ok.

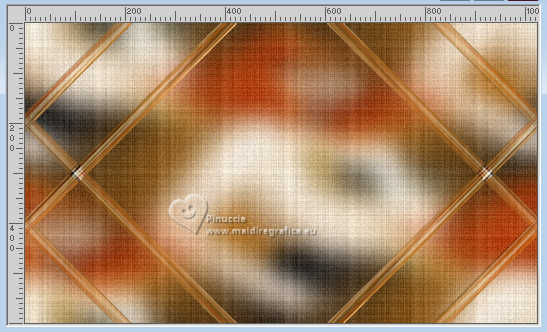
11. Effects>Plugins>Simple - Left Right Wrap.
Also this effect works without window
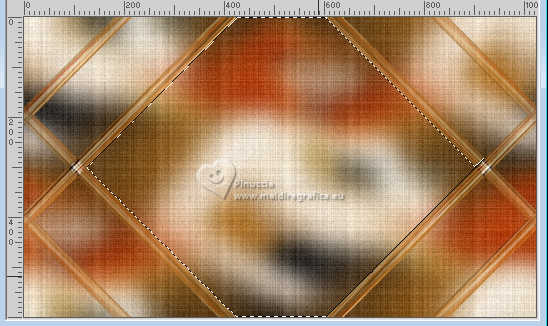
12. Activate your Magic Wand Tool  , default settings. , default settings.
Click in the center to select it.
13. Open the misted KamilTubes-454 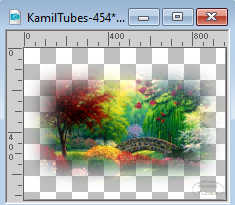
Erase the watermark and go to Edit>Copy.
Go back to your work and go to Edit>Paste as new layer.
Image>Resize, to 80%, resize all layers not checked.
Layers>Duplicate and close this layer.
Go back to the layer below of the original.
Selections>Invert.
Press CANC on the keyboard 
Selections>Invert.
Adjust>Sharpness>Sharpen More.
Selections>Select None.
14. Activate the layer below, Copy or Raster 1.
Activate again your Magic Wand Tool 
and click in the lateral frames to select them
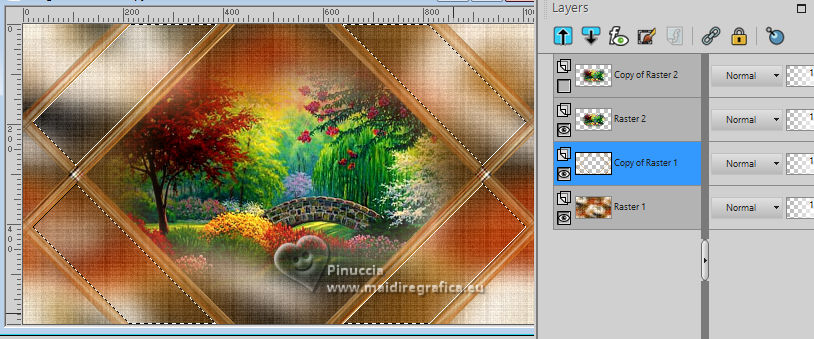
15. Selections>Modify>Feather - 12 pixels.
16. Layers>New Raster Layer.
Edit>Paste into Selection (the misted KamilTubes-454 is still in memory).
Adjust>Sharpness>Sharpen.
17. Effects>3D Effects>Inner Bevel - select the preset Bevel_Deep Beveled
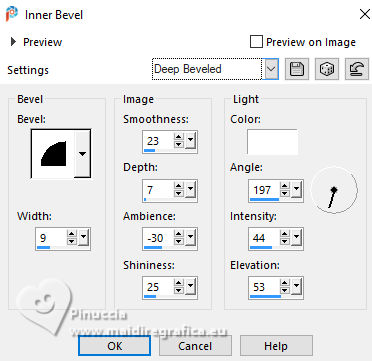
Selections>Select None.
18. Effects>Plugins>Filters Unlimited 2.0 - Texturize - Raw Canvas, default settings.
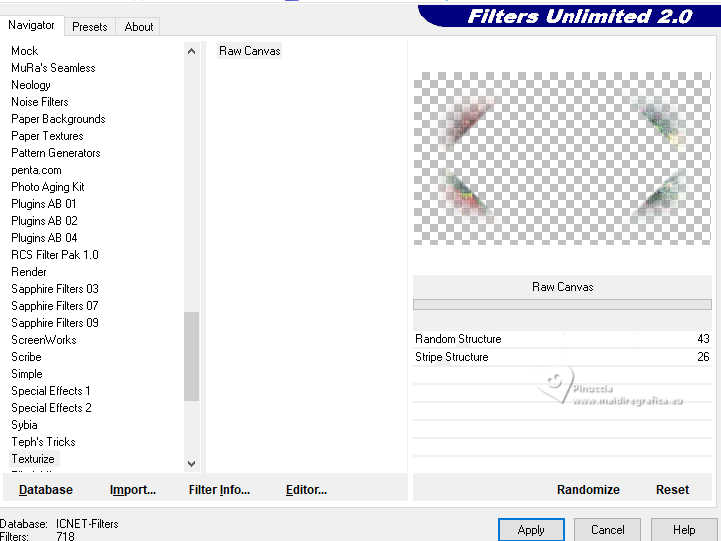
19. Effects>Texture Effects>Mosaic - Antique
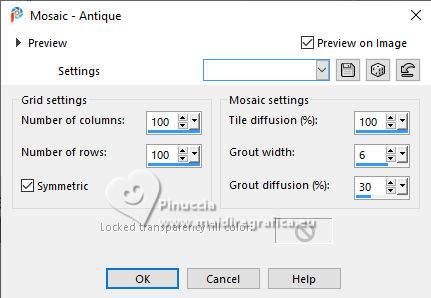
Change the Blend Mode of this layer to Multiply.
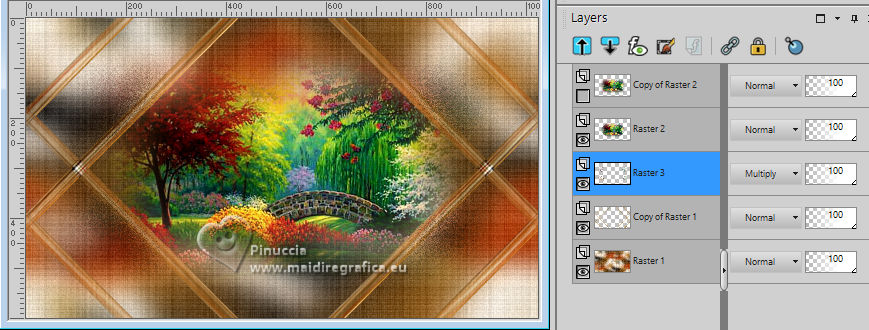
Layers>Merge>Merge Down.
Effects>3D Effects>Drop Shadow, couleur #000000.
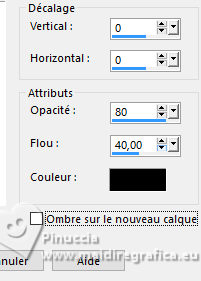
Edit>Repeat Drop Shadow.
20. On the same layer:
Effects>Plugins>VanDerLee - Unplugged-X
Color #ffffff
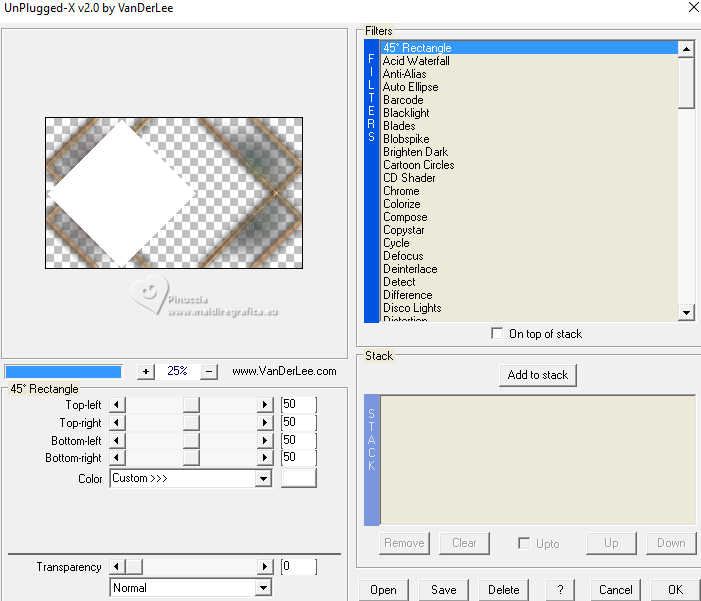
21. Activate your Magic Wand Tool  , default settings, , default settings,
and click in the rectangle to select it.
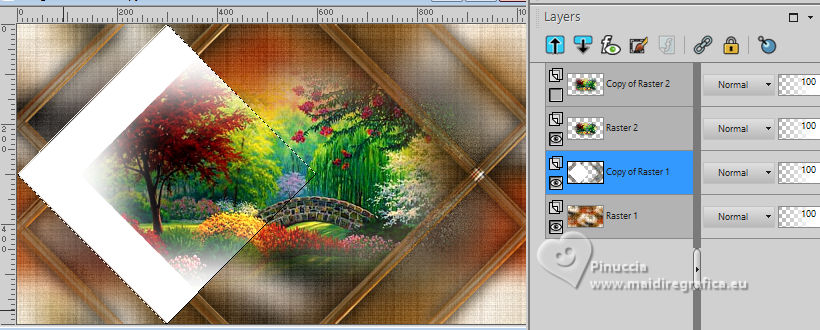
Press CANC on the keyboard (optional: choice of the translator).
Activate your bottom layer, Raster 1.
Selections>Promote Selection to Layer.
Layers>Arrange>Move Up.
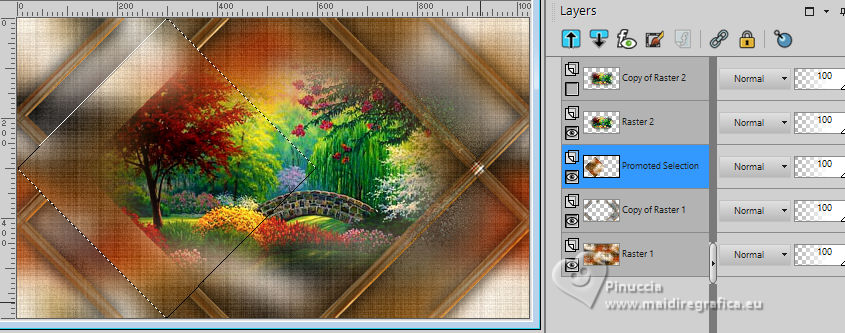
Effects>3D Effects>Drop Shadow, same settings.

Activate the layer Raster 2.
Press CANC on the keyboard.
Selections>Select None.
Open the layer above, Copy or Raster 2.
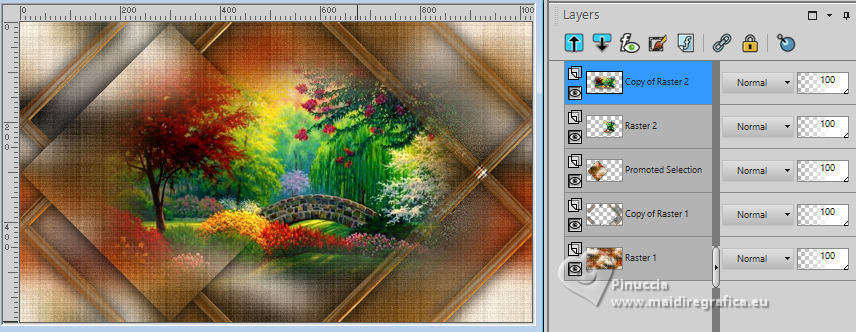
Layers>Merge>Merge visible.
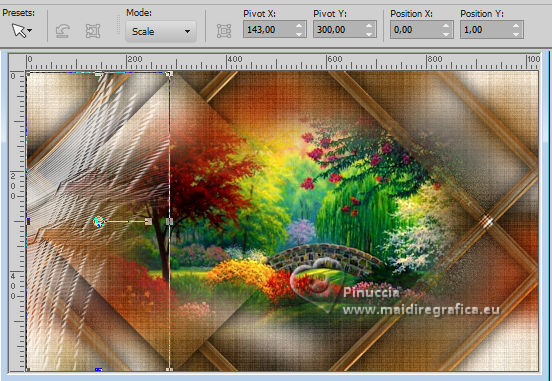
22. Open decolateral_lc 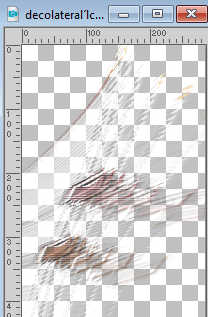
Edit>Copy.
Go back to your work and go to Edit>Paste as new layer.
Objcts>Align>Left
23. Open bird_brushes_II_by_lpdragonfly_5 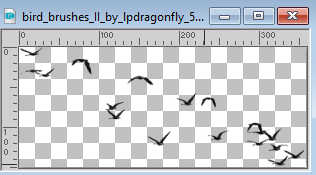
Edit>Copy.
Go back to your work and go to Edit>Paste as new layer.
Place  the tube to your liking. the tube to your liking.
24. Open the tube TUBE_NAISEM_FLORES_126 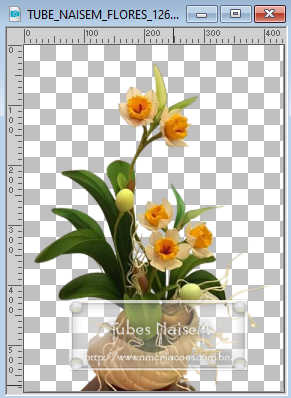
Edit>Copy.
Go back to your work and go to Edit>Paste as new layer.
Image>Resize, at your choice, for me to 75%, resize all layers not checked.
Move  the tube at your choice. the tube at your choice.
Effects>3D Effects>Drop Shadow, at your choice.
25. Activate again the woman's tube exclusivo-naisem and go to Edit>Copy.
Go back to your work and go to Edit>Paste as new layer.
Move  the tube to the right, or to your liking the tube to the right, or to your liking
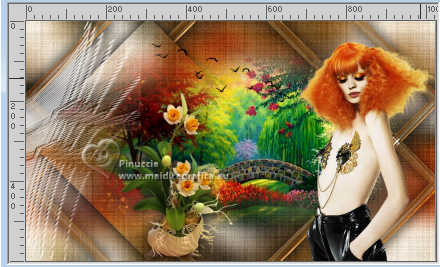
Effects>3D Effects>Drop Shadow, at your choice.
26. Layers>Merge>Merge visible.
27. Effects>Plugins>AAA Frames - Foto Frame.

Repeat Foto Frame another time.
Sign your work on a new layer.
Add the author and the translator watermarks.
Layers>Merge>Merge All and save as jpg.
For the tubes of this version thanks Karine and Jewel
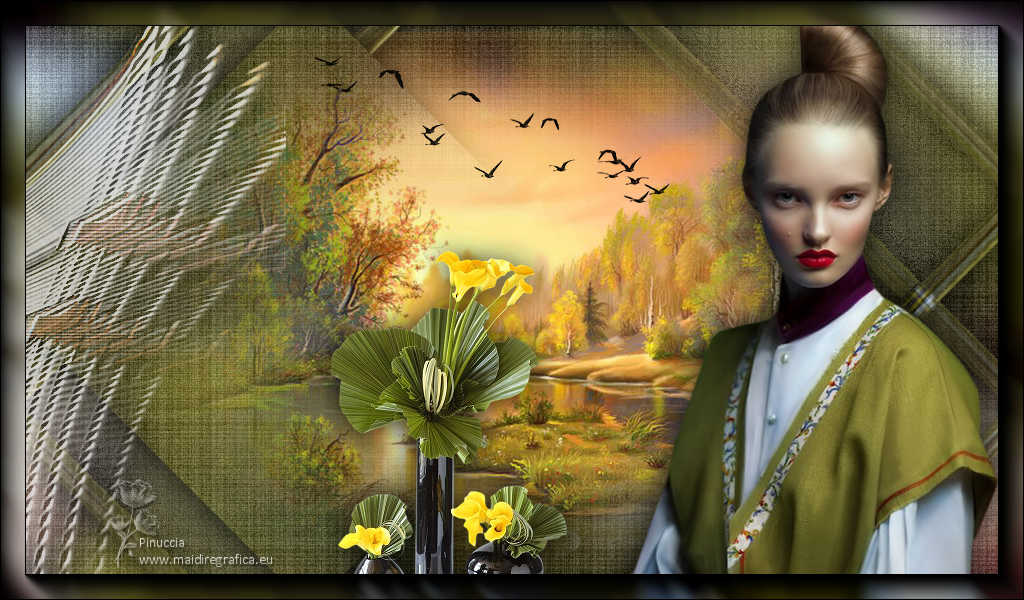
 Your versions here Your versions here

If you have problems or doubts, or you find a not worked link, or only for tell me that you enjoyed this tutorial, write to me.
24 January 2024

|
 TOP ADMIRABLE
 TOP ADMIRABLE