|
TOP AXION

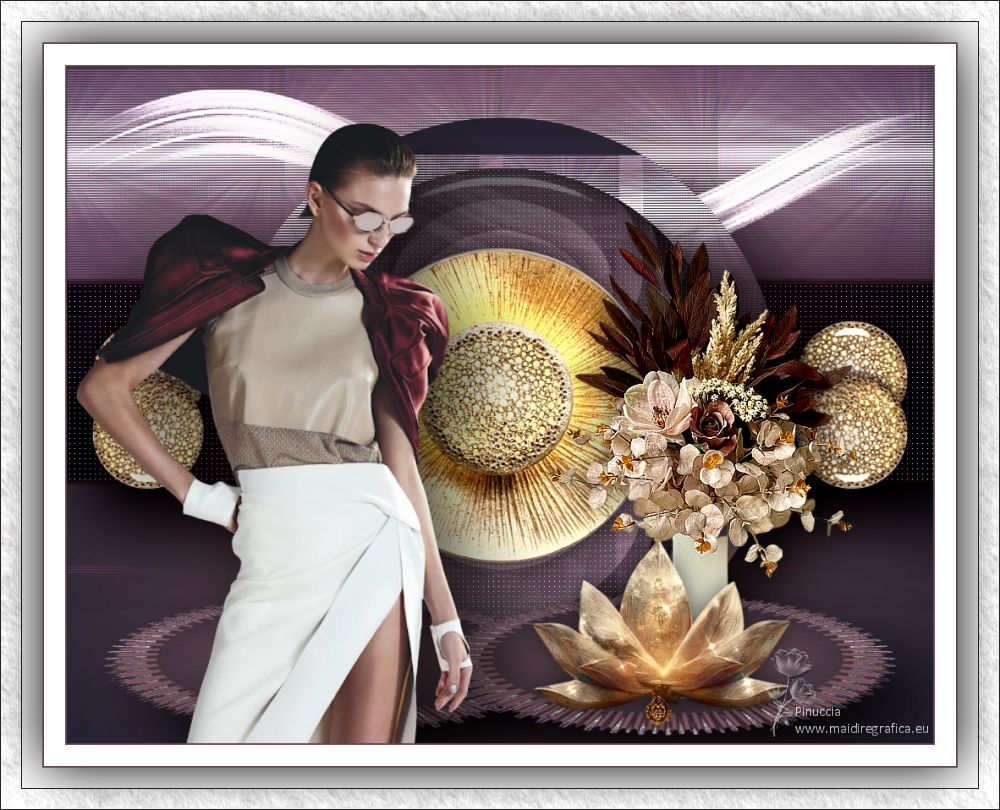
Thanks Lica Cida for your invitation to translate your tutorial

This tutorial was created with PSPX9 and translated with PSPX2 and PSPX3 and PSPX7, but it can also be made using other versions of PSP.
Since version PSP X4, Image>Mirror was replaced with Image>Flip Horizontal,
and Image>Flip with Image>Flip Vertical, there are some variables.
In versions X5 and X6, the functions have been improved by making available the Objects menu.
In the latest version X7 command Image>Mirror and Image>Flip returned, but with new differences.
See my schedule here
 French translation here French translation here
 your versions here your versions here

For this tutorial, you will need:

For the tubes thanks PqnaAlice and Callitube
(you find here the links to the material authors' sites)

consult, if necessary, my filter section here
Filters Unlimited 2.0 here
Axion - Lens Flare here
Andromeda - Perspective here
Filter Factory Gallery Q - Gravity Blossom here
Carolaine & Sensibility - CS-LDots here
Alien Skin Eye Candy 5 Impact, Perspective Shadow, Glass here
Nik Software - Color Efex here
AAA Frames - Texture Frame here
Filters Factory Gallery can be used alone or imported into Filters Unlimited.
(How do, you see here)
If a plugin supplied appears with this icon  it must necessarily be imported into Unlimited it must necessarily be imported into Unlimited

You can change Blend Modes according to your colors.
In the newest versions of PSP, you don't find the foreground/background gradient (Corel_06_029).
You can use the gradients of the older versions.
The Gradient of CorelX here

1. Set your foreground color to #1d1b26,
and your background color to #654549.

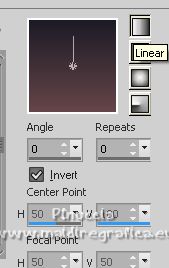
Set your foreground color to a Foreground/Background Gradient, style Linear.
2. Open alphachanel_axion
Window>Duplicate or, on the keyboard, shift+D to make a copy.

Close the original.
The copy, that will be the basis of your work, is not empty,
but contains the selections saved to alpha channel.
3. Selections>Load/Save Selection>Load Selection from Alpha Channel.
The selection #1 is immediately available. You just have to click Load.

Flood Fill  the selection with your gradient. the selection with your gradient.
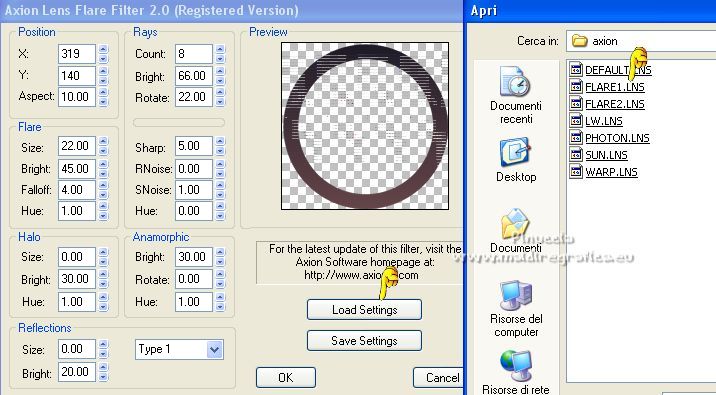
3. Effects>Plugins>Axion - Lens Flare.
I clicked on Load Settings and selected Flare1
Result

Selections>Select None.
4. Activate your Magic Wand Tool  , tolerance and feather 0, , tolerance and feather 0,
and click in the circle to select it.

Layers>New Raster Layer.
Layers>Arrange>Move Down.
5. Change the settings of your gradient, style Sunburst.
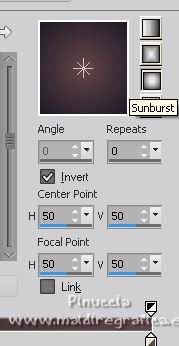
Reduce the opacity of your Flood fill Tool to 50%.
Flood Fill  the selection with your Gradient. the selection with your Gradient.
6. Effects>Plugins>Carolaine and Sensibility - CS-LDots.
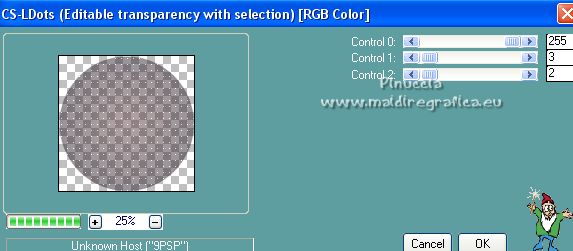
set again the opacity of your Flood Fill Tool to 100.
Keep selected,
and minimize your work for a moment.
7. We go to made the background for the circle.
Open a new transparent image 1024 x 800 pixels.
Flood Fill  the transparent image with your Sunburst Gradient. the transparent image with your Sunburst Gradient.
8. Effects>Plugins>Axion - Lens Flare, same settings.

9. Image>Resize, to 80%, resize all layers not checked.
Image>Free Rotate - 90 degrees to left.
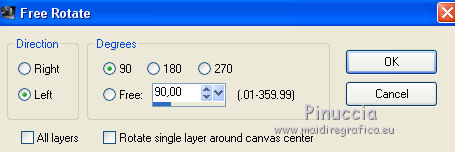
10. Effects>Plugins>Filters Unlimited 2.0 - Filter Factory Gallery Q - Gravity Blossom..

My result

11. Effects>Reflection Effects>Rotating Mirror, default settings.

My result
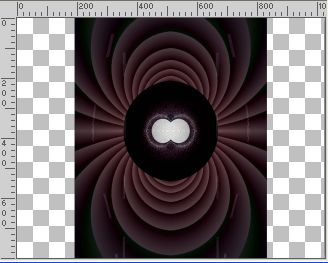
At this point the author shows his results with the tutorial colors,
and with the colors of another version
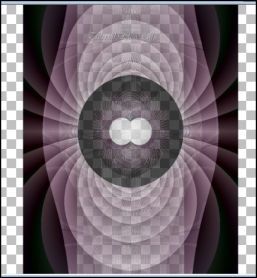 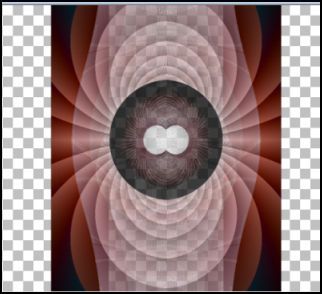
If your result is not like the author's, like it was form me,
use the supplied image.
Continue from step 12.
12. Activate the work you minimized at step 6.
Layers>New Raster Layer.
Layers>Arrange>Move Down.
Open the image Efeito_FFG_Q_Gravity Blossom... lc pspimage 
Edit>Copy.
Go back to your work and go to Edit>Paste as new layer.

13. Effects>3D Effects>Chisel - background color.
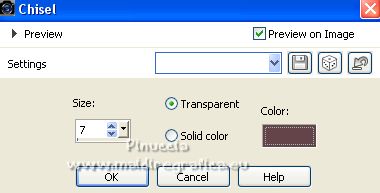
Selections>Select None.
14. Effects>Plugins>Alien Skin Eye Candy 5 Impact - Glass.
Select the preset Clear or other, to your liking.
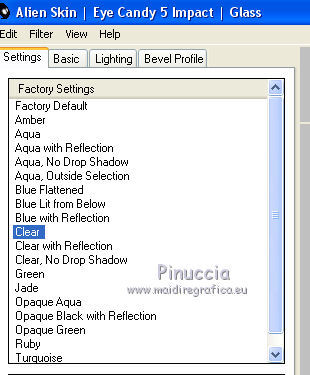
Close the layer Raster 1.

Layers>Merge>Merge visible.
15. Open again and activate the layer Raster 1.

Layers>Duplicate.
16. Activate your Magic Wand Tool  , tolerance and feather 0, , tolerance and feather 0,
and click in the circle to select it.
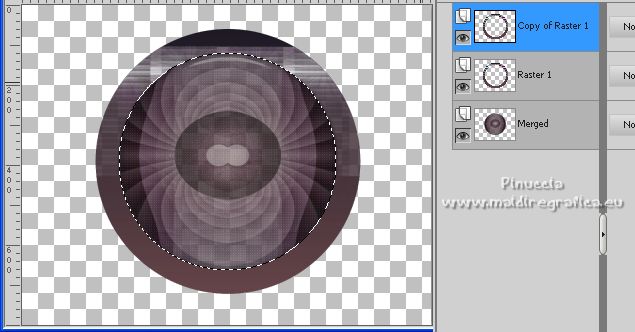
Flood Fill  the selection with your Sunburst Gradient. the selection with your Sunburst Gradient.
Selections>Select None.

17. Effects>Distortion Effects>Spiky Halo.
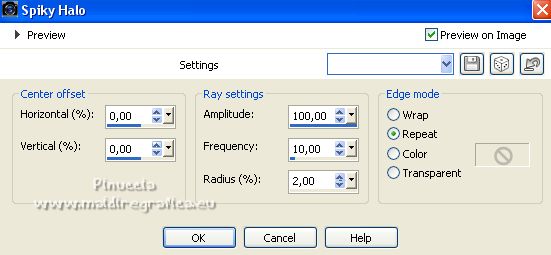
18. Effects>Plugins>Andromeda - Perspective
Click on Presets
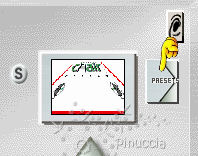
set the settings and click on the sign at the bottom right to apply
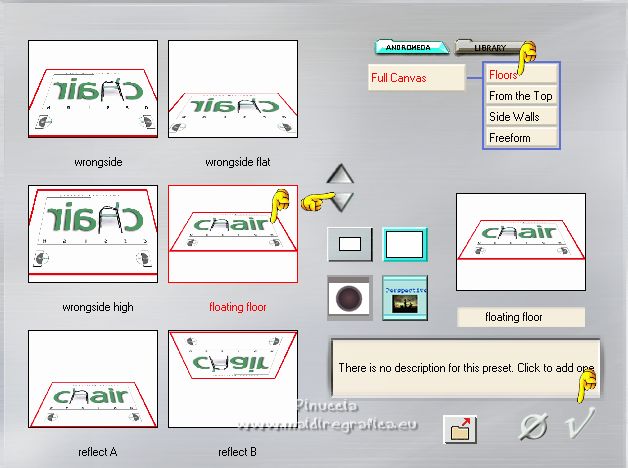
Again click on the sign at the bottom right to close.
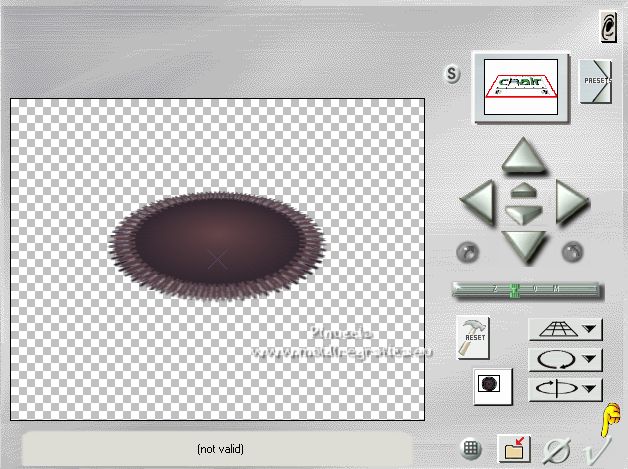
19. Effects>Image Effects>Offset.
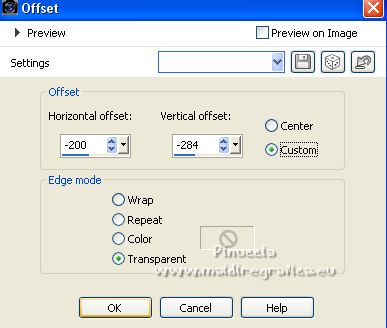
K key to activate your Pick Tool 
pull the top central node down, as below
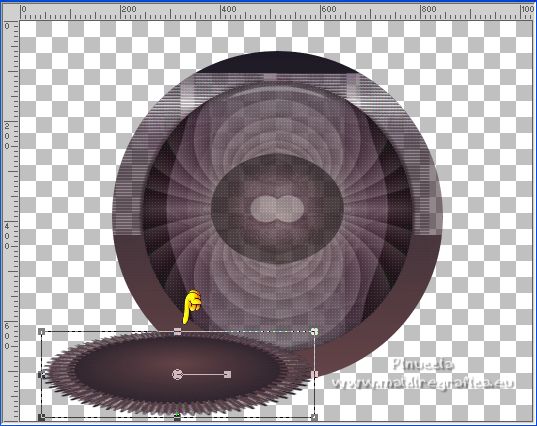
Layers>Duplicate.
Image>Mirror.
Layers>Merge>Merge Down.
20. Layers>New Raster Layer.
Layers>Arrange>Send to Bottom.
Selections>Load/Save Selection>Load Selection from Alpha Channel.
Open the selections menu and load the selection #2.

Flood Fill  the selection with your Sunburst Gradient. the selection with your Sunburst Gradient.
21. Effects>Plugins>Carolaine &Sensibility - CS-LDots.
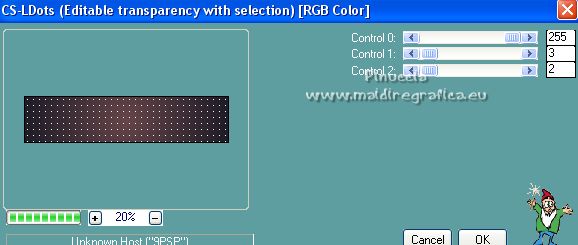
22. Effects>3D Effects>Chisel, same settings.

Selections>Select None.
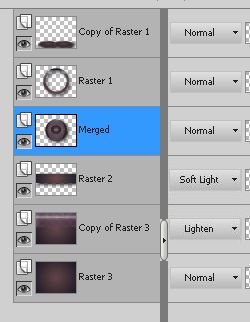
Change the Blend Mode of this layer to Soft Light.
23. Layers>New Raster Layer.
Layers>Arrange>Send to Bottom.
Flood Fill  the layers with your Sunburst Gradient. the layers with your Sunburst Gradient.
Layers>Duplicate.
24. Effects>Plugins>Axion - Lens Flare, same settings.

Change the Blend Mode of this layer to Lighten.
Your tag and the layer - Blend Modes and opacity to your liking.
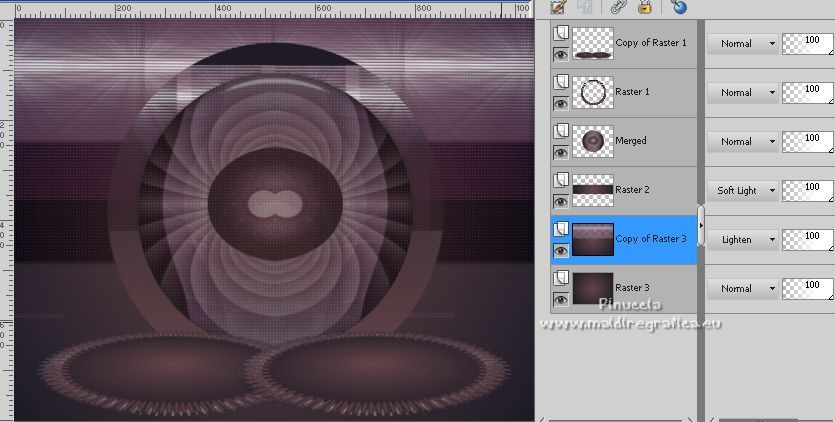
25. Effects>Plugins>Alien Skin Eye Candy 5 Impact - Perspective Shadow, to your liking.
Repeat this Effects on the other 4 top layers, Raster 2, Merged, Raster 1, Copy of Raster 1.
26. Activate the layer Merged.
Open Callitubes-246decor 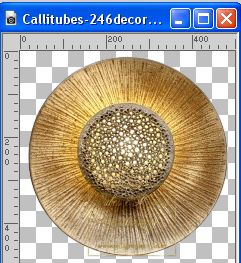
Edit>Copy.
Go back to your work and go to Edit>Paste as new layer.
Image>Resize, to 80%, resize all layers not checked.
The tube is at its place.
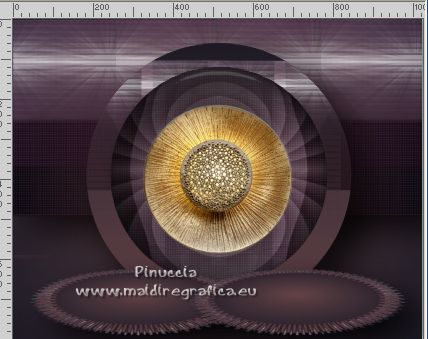
Effects>3D Effects>Drop Shadow, at your choice.
27. Open decoaxion2_lc 
Edit>Copy.
Go back to your work and go to Edit>Paste as new layer.
The tube is well placed.
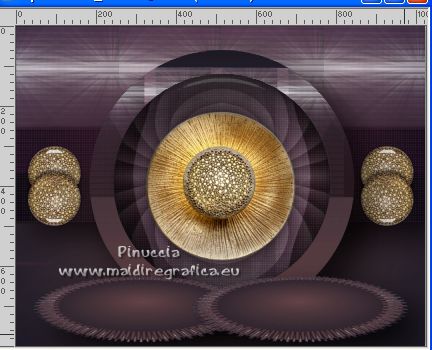
Effects>3D Effects>Drop Shadow, at your choice.
28. Open decoraxion_lc 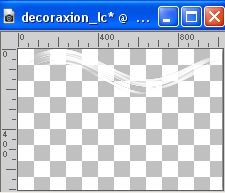
Edit>Copy.
Go back to your work and go to Edit>Paste as new layer.
Pick Tool to activate your Pick Tool 
and set Position X: -22,00 and Position Y: 27,00.

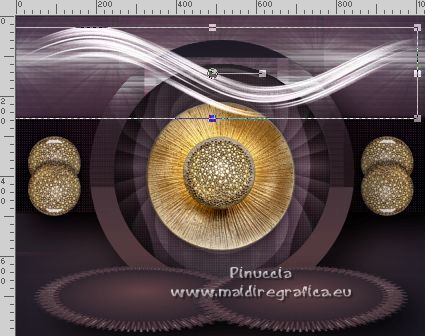
M key to deselect the Tool.
Move this layer under the layer Raster 2.

Activate the layer above Raster 2.
Layers>Duplicate.
29. Layers>Merge>Merge visible.
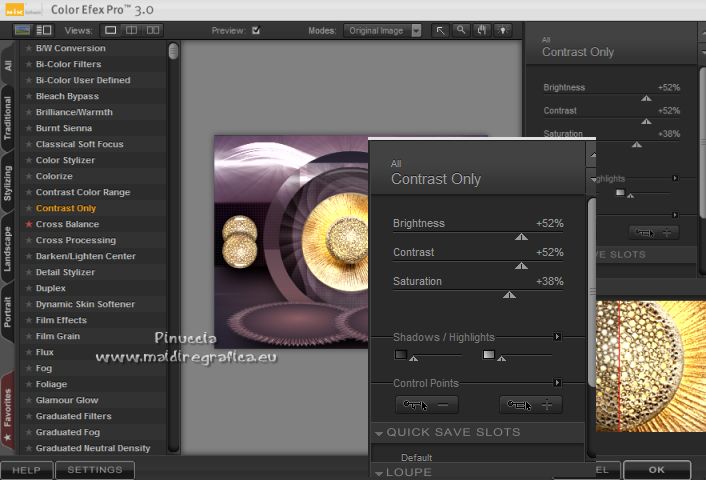
30. Optional: Effects>Plugins>Nik Software - Color Efex - Contrast Only or to your liking.
31. Open the tube 889MulherByPqnaAlice 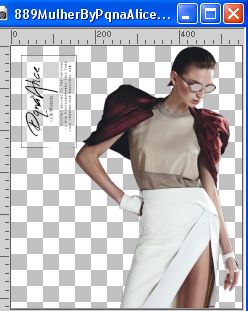
Erase the watermark and go to Edit>Copy.
Go back to your work and go to Edit>Paste as new layer.
Image>Resize, to 120%, resize all layers not checked.
Move  the tube to the left. the tube to the left.
Effects>3D Effects>Drop Shadow, at your choice.
32. Open the tube Callitubes-277flores 
Edit>Copy.
Go back to your work and go to Edit>Paste as new layer.
Move  the tube to the right the tube to the right
Effects>3D Effects>Drop Shadow, at your choice.
33. Open the tube Callitubes-360decor 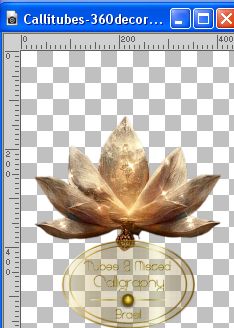
Edit>Copy.
Go back to your work and go to Edit>Paste as new layer.
Image>Resize, to 80%, resize all layers not checked.
Move  the tube at the bottom right. the tube at the bottom right.
Effects>3D Effects>Drop Shadow, at your choice.
34. Image>Add borders, 2 pixels, symmetric, background color.
Image>Add borders, 25 pixels, symmetric, color #ffffff.
Image>Add borders, 2 pixels, symmetric, background color.
Selections>Select All.
Image>Add borders, 50 pixels, symmetric, color #ffffff.
Effects>3D Effects>Drop Shadow, color #000000.
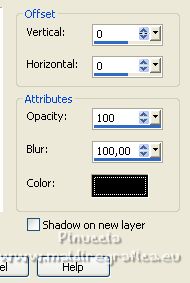
Selections>Select None.
35. Effects>Plugins>AAA Frames - Texture Frame.
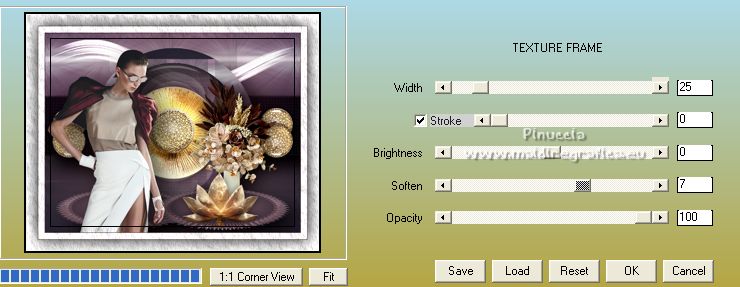
36. Sign your work on a new layer.
Add, if you want, the author and translator's watermarks.
Save as jpg.
For the tubes of this version thanks Nena Silva
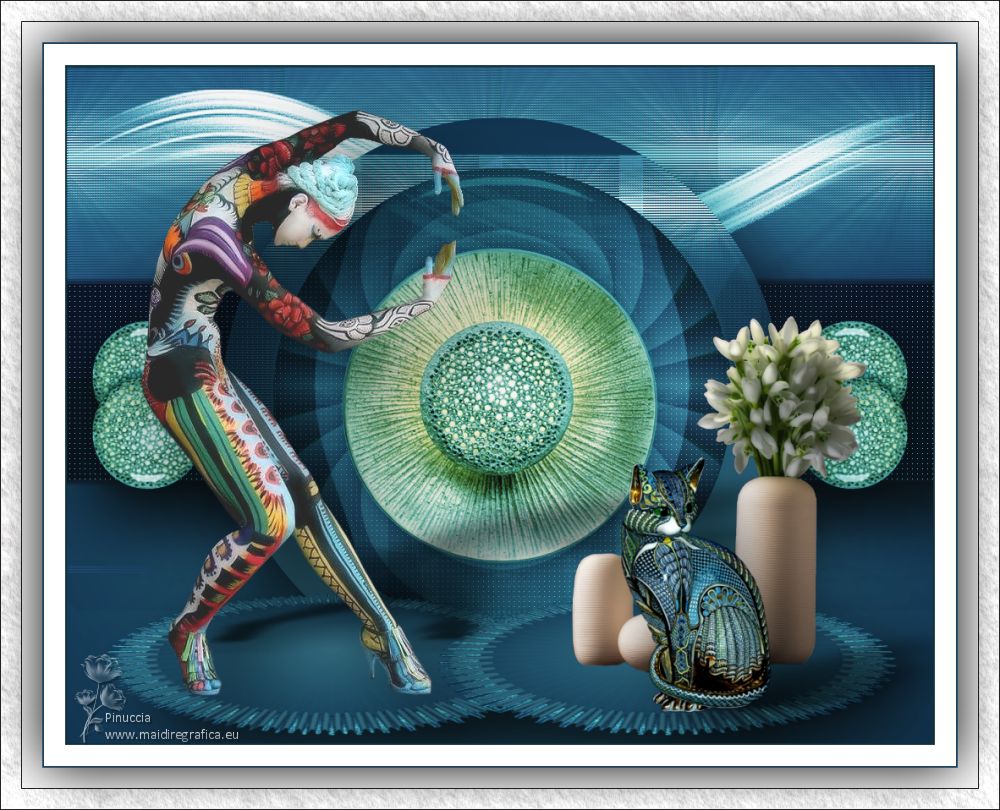
 Your versions here Your versions here

If you have problems or doubts, or you find a not worked link, or only for tell me that you enjoyed this tutorial, write to me.
3 February 2023

|


