|
TOP BEAUTY

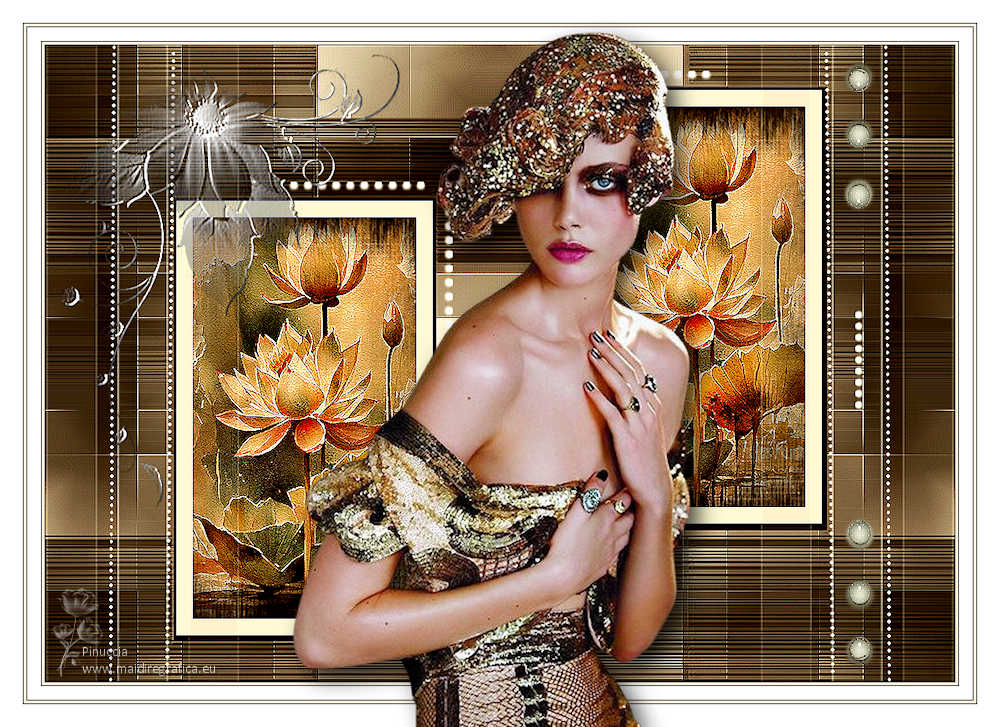
Thanks Lica Cida for your invitation to translate your tutorial

This tutorial was created with PSPX9 and translated with PSPX9 and PSP2020, but it can also be made using other versions of PSP.
Since version PSP X4, Image>Mirror was replaced with Image>Flip Horizontal,
and Image>Flip with Image>Flip Vertical, there are some variables.
In versions X5 and X6, the functions have been improved by making available the Objects menu.
In the latest version X7 command Image>Mirror and Image>Flip returned, but with new differences.
See my schedule here
 French translation here French translation here
 your versions here your versions here

For this tutorial, you will need:

For the tubes thanks PqnaAlice, Callitubes and for the masks Narah, Tine.
(you find here the links to the material authors' sites)

consult, if necessary, my filter section here
Filters Unlimited 2.0 here
&<Bkg Designer sf10II> - DIS Refractor 1 (to import Unlimited) here
Mehdi - Sorting Tiles here
Simple - 4 Way Average here
Mura's Seamless - Emboss at Alpha here
L&K's - L&K's Mayra here
AAA Filters - Custom here
Toadies - What are you here
Filters Simple, Toadies and Mura's Seamless can be used alone or imported into Filters Unlimited.
(How do, you see here)
If a plugin supplied appears with this icon  it must necessarily be imported into Unlimited it must necessarily be imported into Unlimited

You can change Blend Modes according to your colors.
In the newest versions of PSP, you don't find the foreground/background gradient (Corel_06_029).
You can use the gradients of the older versions.
The Gradient of CorelX here

Copy the preset Emboss 3 in the Presets Folder.
Open the masks in PSP and minimize them with the rest of the material.
1. Choose 2 colors from your tubes.
Set your foreground color to #160704,
and your background color to #f5eedf.
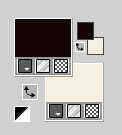
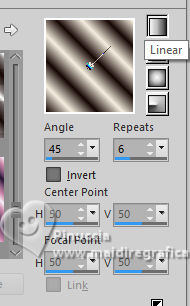
Set your foreground color to a Foreground/Background Gradient, style Linear.
2. Open Alpha_Beauty_by lica
Cette image, that will be the basis of your work, is not empty,
but contains the selections saved to alpha channel.
Flood Fill  the transparent image with your gradient. the transparent image with your gradient.
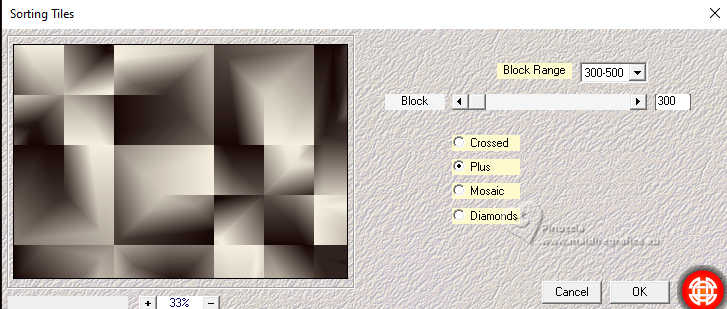
3. Effects>Plugins>Mehdi - Sorting Tiles.
4. Effects>Plugins>Simple - 4 Way Average
This Effect works without window; result
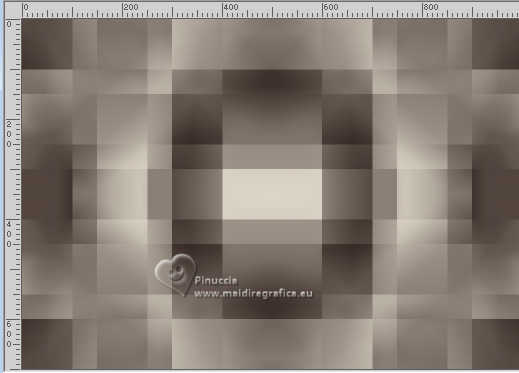
Effects>Edge Effects>Enhance More.
5. Effects>Plugins>Filters Unlimited 2.0 - &<Bkg Designer sf10II> - DIS Refractor 1
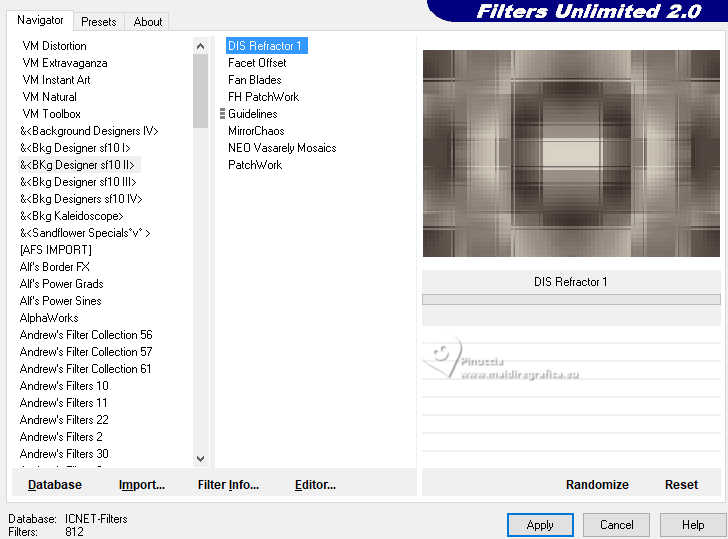
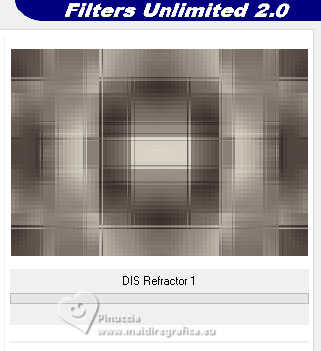
Repeat this Effect another time.
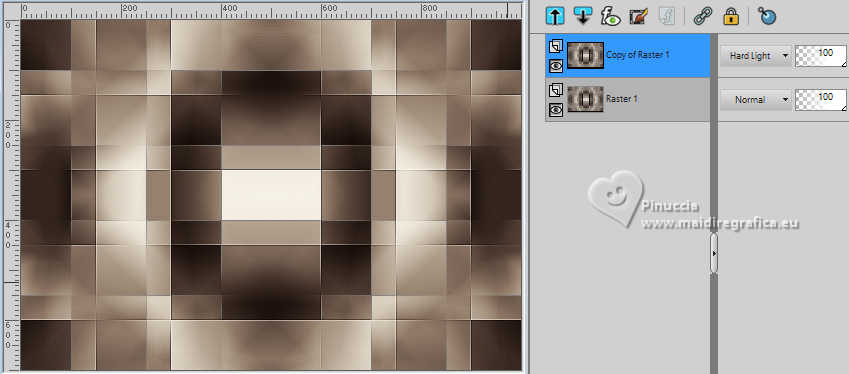
Layers>Duplicate.
Change the Blend Mode of this layer to Hard Light.
6. Set your foreground color to Color.
Layers>New Raster Layer.
Flood Fill  the layer with your foreground color #160704. the layer with your foreground color #160704.
7. Layers>New Mask layer>From image
Open the menu under the source window and you'll see all the files open.
Select the mask NarahsMasks_1755
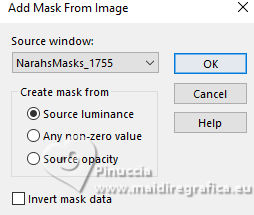
Effects>Edge Effects>Enhance.
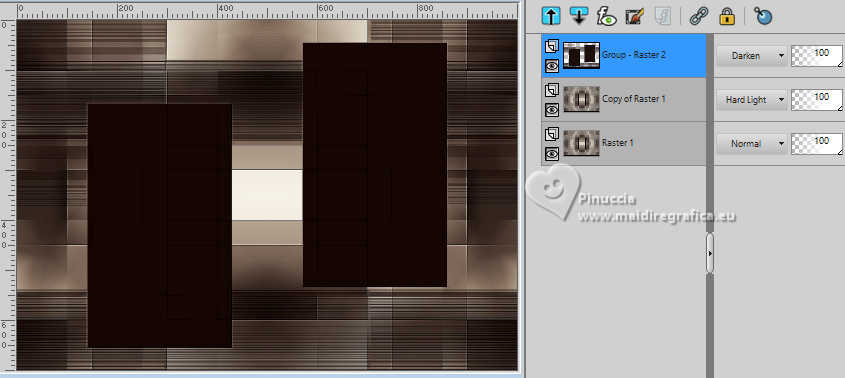
Layers>Merge>Merge Group.
8. Effects>Plugins>Mura's Seamless - Emboss at Alpha, default settings.
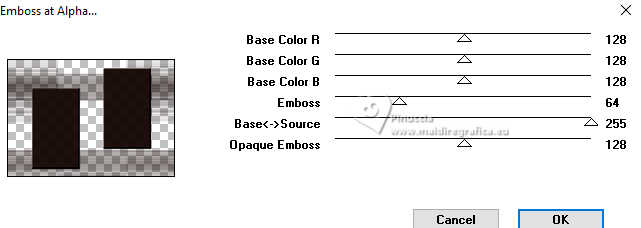
Change the Blend Mode of this layer to Darken.
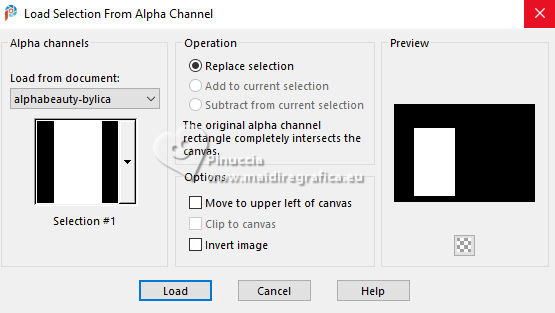
9. Selections>Load/Save Selection>Load Selection from Alpha Channel.
The selection selection #1 is immediately available. You just have to click Load.
10. Selections>Modify>Contract - 3 pixels.
Layers>New Raster Layer.
Flood Fill  with your light background color #f5eedf. with your light background color #f5eedf.
Selections>Modify>Contract - 18 pixels.
Press CANC on the keyboard 
Keep selected.
11. Open the tube Callitubes-801flores 
Edit>Copy.
Go back to your work and go to Edit>Paste as new layer.
Image>Resize, 2 times to 80%, resize all layers not checked.
Place  correctly the tube on the selection. correctly the tube on the selection.
Selections>Invert.
Press CANC on the keyboard.
Selections>Select None.
Layers>Merge>Merge Down.
Adjust>Sharpness>Sharpen.
12. Activate the layer above, Group-Raster 2.
Selections>Load/Save Selection>Load Selection from Alpha Channel.
Open the selections menu and load the selection selection #2.
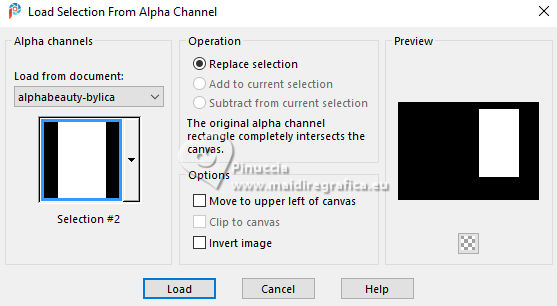
13. Repeat the steps of selection #1:
Selections>Modify>Contract - 3 pixels.
Layers>New Raster Layer - Raster 3.
Flood Fill  the layer with your light background color #f5eedf. the layer with your light background color #f5eedf.
Selections>Modify>Contract - 18 pixels.
Press CANC on the keyboard.
14. Edit>Paste as new layer (the tube Callitubes-801flores is still in memory).
Image>Resize, 2 times to 80%, resize all layers not checked.
Place  correctly the tube on the selection. correctly the tube on the selection.
Selections>Invert.
Press CANC on the keyboard.
Selections>Select None.
Layers>Merge>Merge Down.
Adjust>Sharpness>Sharpen.
15. Activate your top layer.

Layers>Merge>Merge Down.
16. Selections>Load/Save Selection>Load Selection from Alpha Channel.
Open the selections menu and load the selection selection #3.
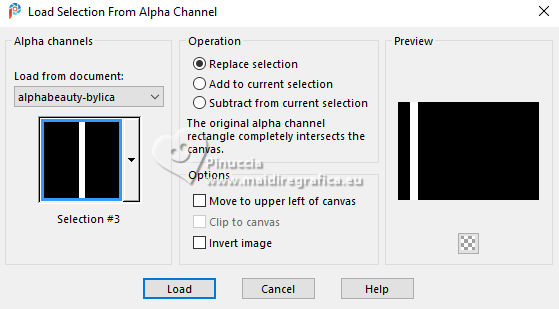
17. Selections>Modify>Select Selection Borders.
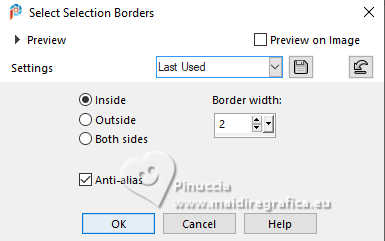
Layers>New Raster Layer.
Flood Fill  the layer with your light background color #f5eedf. the layer with your light background color #f5eedf.
Selections>Select None.
18. Activate your Magic Wand Tool 
and click in the rectangle to select it.
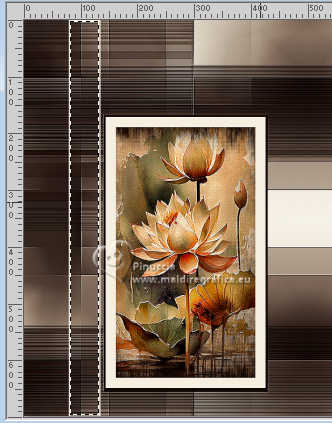
19. Reduce the opacity of your Flood Fill Tool to 50%.
Flood Fill  the selection with your foreground color #160704. the selection with your foreground color #160704.
Set again the opacity of your Flood Fill Tool to 100.
20. Effects>Plugins>L&K's - L&K's Mayra, default settings.
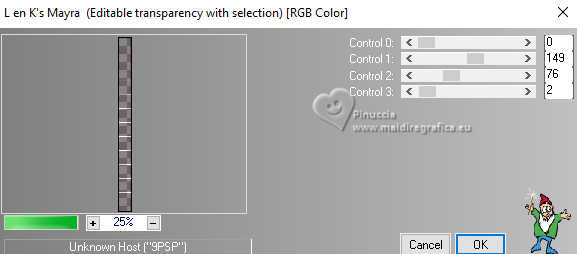
Selections>Select None.
Effects>Edge Effects>Enhance.
21. Effects>Plugins>Toadies - What are you, default settings.
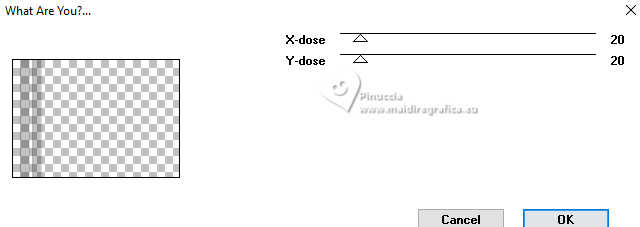
Repeat the Effect another time.
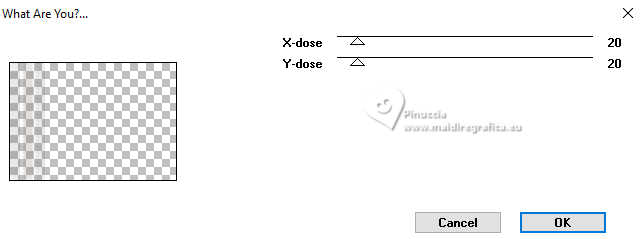
Layers>Duplicate.
Image>Mirror>Mirror Horizontal.
Layers>Merge>Merge Down.
22. Open decoriscos_lc 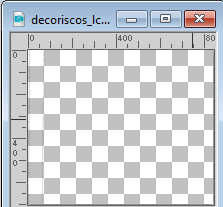
Edit>Copy.
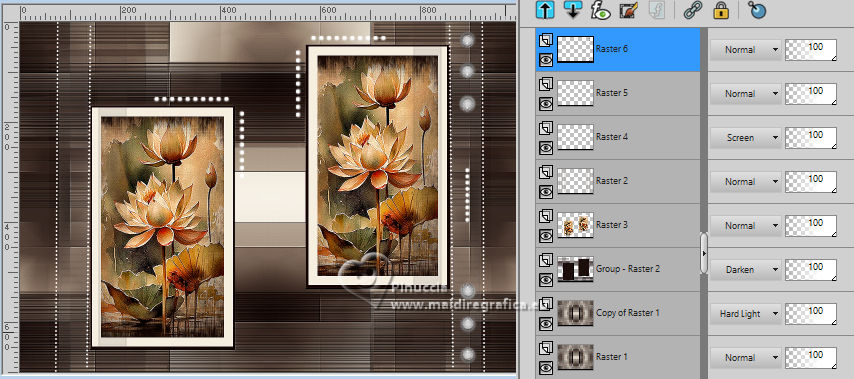
Go back to your work and go to Edit>Paste as new layer - Raster 4
Activate your Pick Tool (K) 
set Position X: 69,00 and keep Position Y: -1,00.

Layers>Duplicate.
Image>Mirror>Mirror Horizontal.
Layers>Merge>Merge Down.
Keep the Blend Mode of this layer to Screen.
23. Open pontilhado laterais_lc 
Edit>Copy.
Go back to your work and go to Edit>Paste as new layer, Raster 5.
Move  the tube as below the tube as below
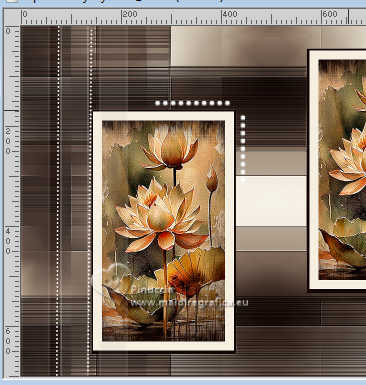
Layers>Duplicate.
Image>Mirror>Mirror Horizontal.
Place  correctly the tube. correctly the tube.
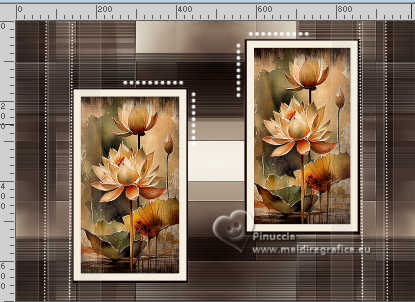
Layers>Merge>Merge Down.
24. Open decofinal_lc 
Edit>Copy.
Go back to your work and go to Edit>Paste as new layer, Raster 6.
Move  the tube to the right, as below the tube to the right, as below
25. Image>Add borders, 1 pixel, symmetric, foreground color #160704.
26. Effects>Plugins>AAA Filters - Custom - cliquer Landscape and ok.
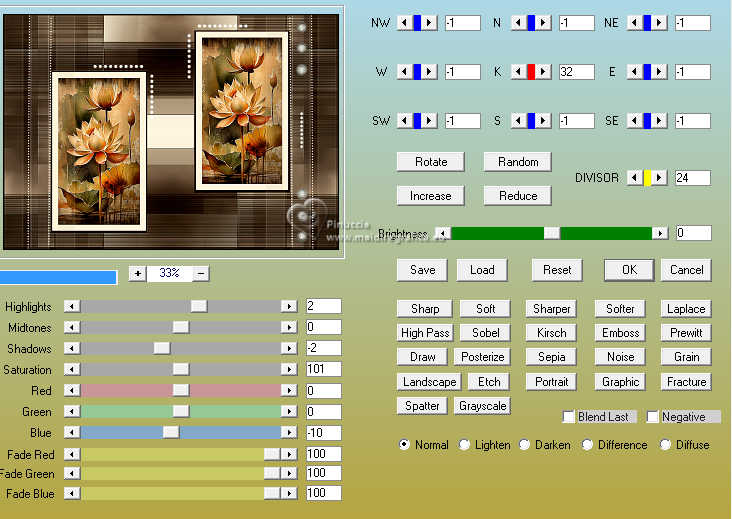
Optional: Repeat this Effect another time.
27. Open creation.tine_masque238 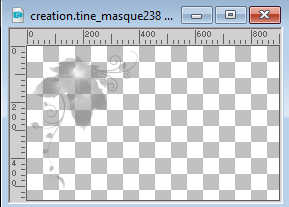
Edit>Copy.
Go back to your work and go to Edit>Paste as new layer.
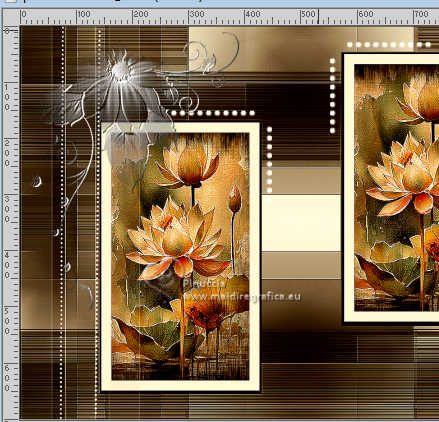
Effects>User Defined Filter - select the preset Emboss 3 and ok.

Edit>Repeat User Defined Filter.
Move  the mask as below. the mask as below.
28. Image>Add borders, 3 pixels, symmetric, background color #f5eedf.
Image>Add borders, 1 pixel, symmetric, foreground color #160704.
Image>Add borders, 15 pixels, symmetric, couleur #ffffff.
Image>Add borders, 1 pixel, symmetric, foreground color #160704.
Image>Add borders, 3 pixels, symmetric, background color #f5eedf.
Image>Add borders, 1 pixel, symmetric, foreground color #160704.
Image>Add borders, 25 pixels, symmetric, color #ffffff.
29. Open dec975MulherbyPqnaAlice 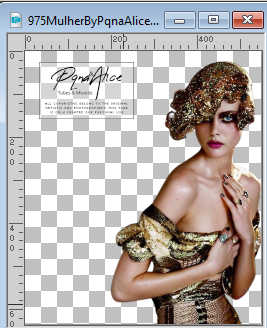
Erase the watermark and go to Edit>Copy.
Go back to your work and go to Edit>Paste as new layer.
Image>Resize, at your choice, for me 125%, resize all layers not checked.
Adjust>One Step Photo Fix.
Place  correctly the tube. correctly the tube.
Effects>3D Effects>Drop Shadow, at your choice.
30. Sign your work on a new layer.
Add the authors and translator's watermarks.
Layers>Merge>Merge All and save as jpg.
For the tubes of this version thanks Luz Cristina and Mentali
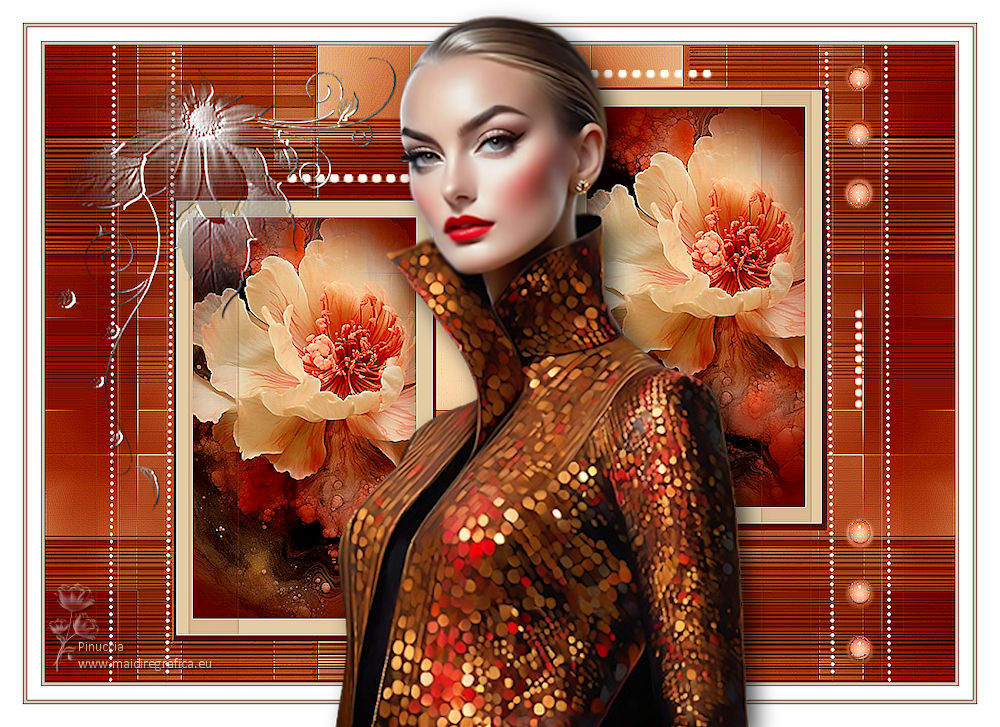
 Your versions here Your versions here

If you have problems or doubts, or you find a not worked link, or only for tell me that you enjoyed this tutorial, write to me.
1 May 2024

|


