|
TOP FEMME URBAINE

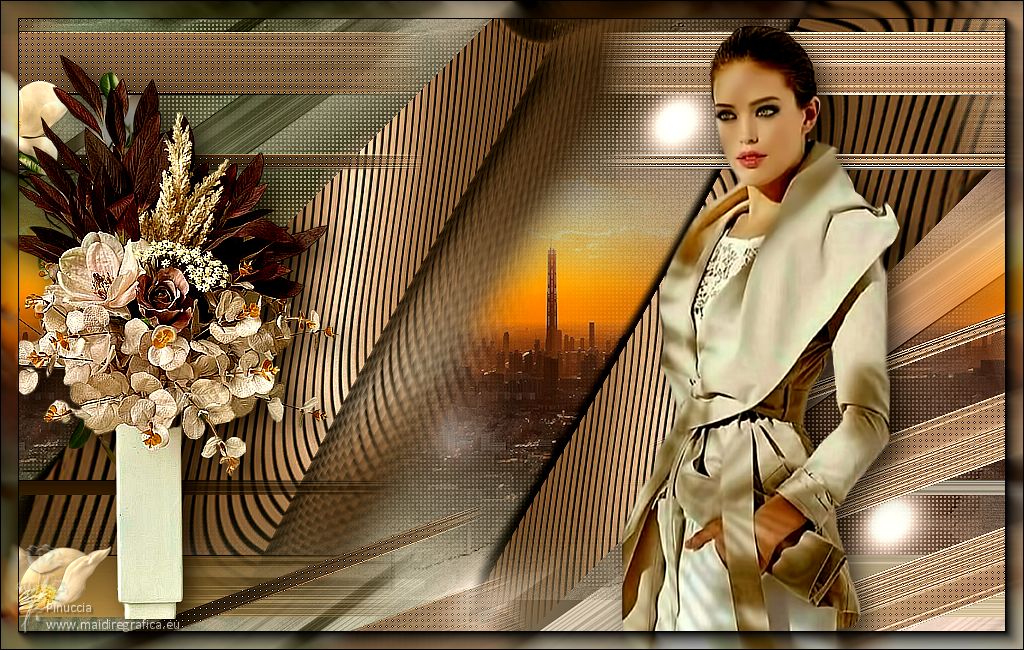
Thanks Lica Cida for your invitation to translate your tutorial

This tutorial was created with PSPX9 and translated with PSPX2 and PSPX3 and PSPX7, but it can also be made using other versions of PSP.
Since version PSP X4, Image>Mirror was replaced with Image>Flip Horizontal,
and Image>Flip with Image>Flip Vertical, there are some variables.
In versions X5 and X6, the functions have been improved by making available the Objects menu.
In the latest version X7 command Image>Mirror and Image>Flip returned, but with new differences.
See my schedule here
 French translation here French translation here
 your versions here your versions here

For this tutorial, you will need:

For the tubes thanks Pqna Alice and Callitubes.
The rest of the material is by Lica Cida.
(you find here the links to the material authors' sites)

consult, if necessary, my filter section here
Filters Unlimited 2.0 here
Mura's Seamless - Emboss at Alpha here
Carolaine and Sensibility - CS-LDots here
VM Stylize - Motion Trail Wild here
Nik Software - Color Efex Pro here
Filters Mura's Seamless and VM Stylize can be used alone or imported into Filters Unlimited.
(How do, you see here)
If a plugin supplied appears with this icon  it must necessarily be imported into Unlimited it must necessarily be imported into Unlimited

You can change Blend Modes according to your colors.
In the newest versions of PSP, you don't find the foreground/background gradient (Corel_06_029).
You can use the gradients of the older versions.
The Gradient of CorelX here

Copy the selection in the Selections Folder.
Open the masks in PSP and minimize them with the rest of the material.
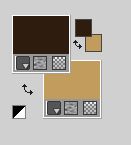
1. Set your foreground color to #2e1e10,
and your background color to #c19c5d.
2. Open a new transparent image 1024 x 600 pixels.
Flood Fill  the transparent image with your foreground color #2e1e10. the transparent image with your foreground color #2e1e10.
3. Set your foreground color to a Foreground/Background Gradient, style Radial.
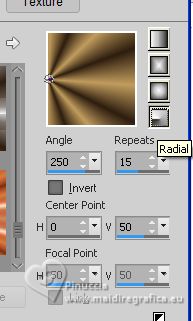
Layers>New Raster Layer.
Flood Fill  the layer with your gradient. the layer with your gradient.
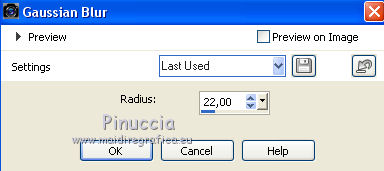
Adjust>Blur>Gaussian Blur - radius 22.
4. Adjust>Add/Remove Noise>Add Noise.
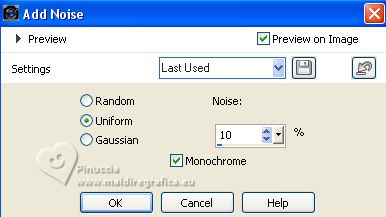
Layers>Duplicate.
Close the original layer (Raster 2).
Let's work on the copy.
5. Layers>New Mask layer>From image
Open the menu under the source window and you'll see all the files open.
Select the mask !b.
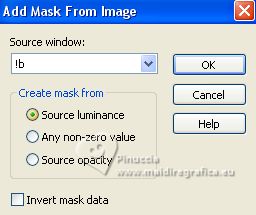
Effects>Edge Effects>Enhance.
Layers>Merge>Merge Group.
Effects>Plugins>Mura's Seamless - Emboss at Alpha, par défaut.
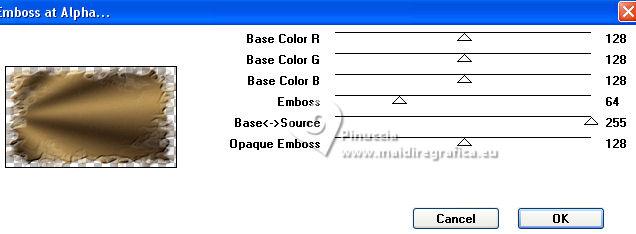
6. Image>Canvas Size - 1024 x 650 pixels.
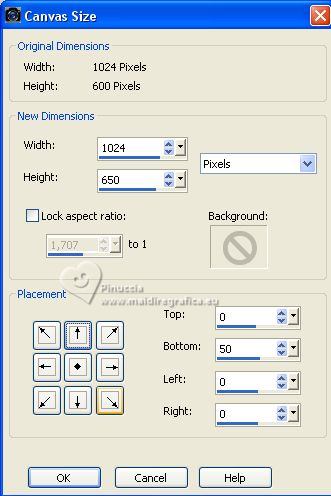
Effects>3D Effects>Drop Shadow, background color #c19c5d.
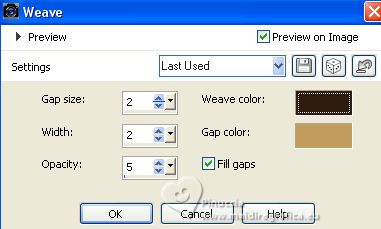
7. Effects>Texture Effects>Weave
weave color: foreground color
gap color: background color
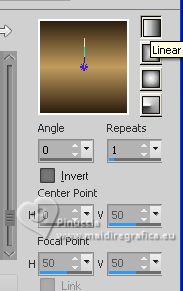
8. Change the settings of your Gradient, style Linear.
9. Layers>New Raster Layer.
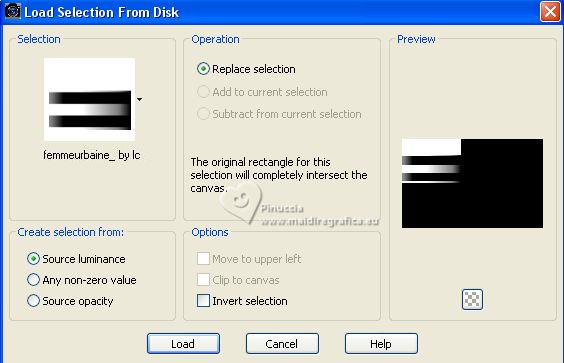
Selections>Load/Save Selection>Load Selection from Disk.
Look for and load the selection femmeurbaine_ by lc
Flood Fill  the selection with your Linear Gradient. the selection with your Linear Gradient.
Selections>Select None.
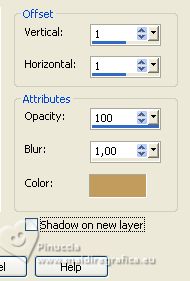
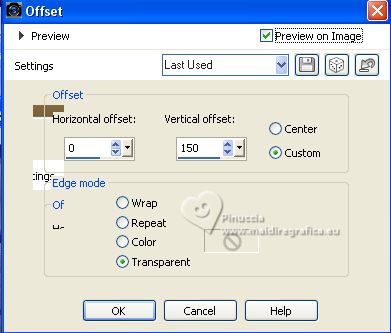
10. Effects>Image Effects>Offset.
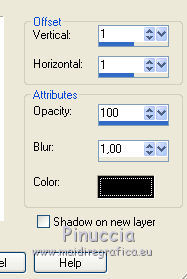
Effects>3D Effects>Drop Shadow, color #000000.
Layers>Duplicate.
Image>Mirror.
Layers>Merge>Merge Down.
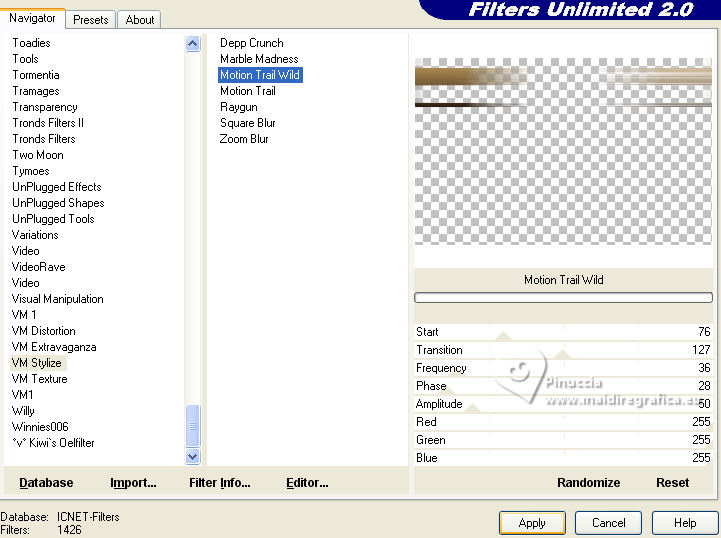
11. Effects>Plugins>Filters Unlimited 2.0 - VM Stylize - Motion Trail Wild, default settings.
Layers>Duplicate.
Image>Flip.
12. Activate the layer below, Raster 3.
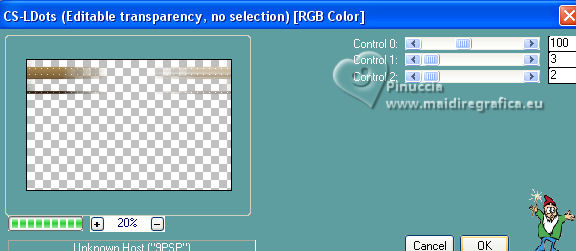
Effects>Plugins>Carolaine & Sensibility - CS-LDots.
Effects>Edge Effects>Enhance.
13. Go back to your top layer, Copy of Raster 3.
Layers>Duplicate.
Effects>Geometric Effects>Skew.
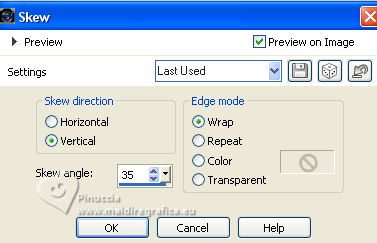
Effects>3D Effects>Drop Shadow, same settings.

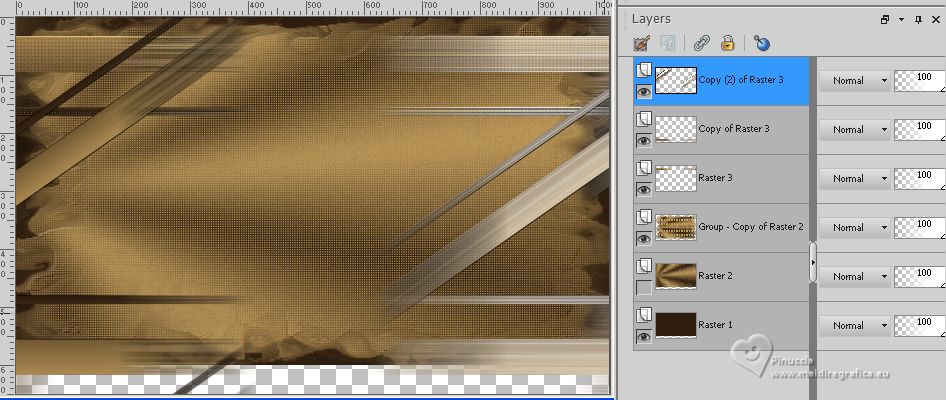
You should have this
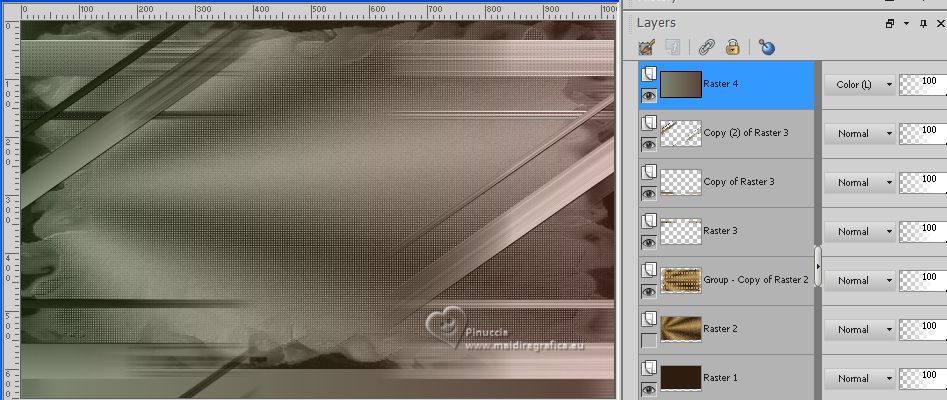
14. Stay on the top layer.
Layers>New Raster Layer.
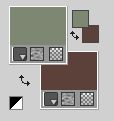
Choose two contrasting colors for your background:
for me foreground color #7e8772,
and background color #5b423a
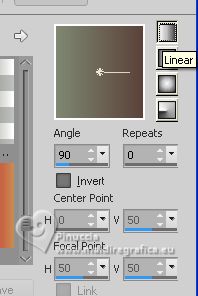
Set your Foreground color to a Foreground/Background Gradient, style Linear.
Flood Fill  the layer with your Gradient. the layer with your Gradient.
Change the Blend Mode to Color (L), or according to your colors.
15. Open and activate the layer Raster 2.
Layers>Duplicate.
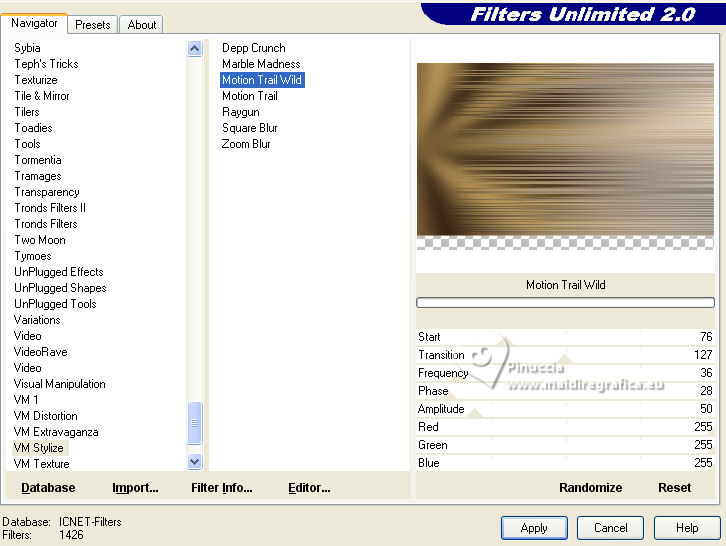
Effects>Plugins>VM Stylize - Motion Trail Wild, default settings.
16. Effects>Geometric Effects>Skew, same settings.

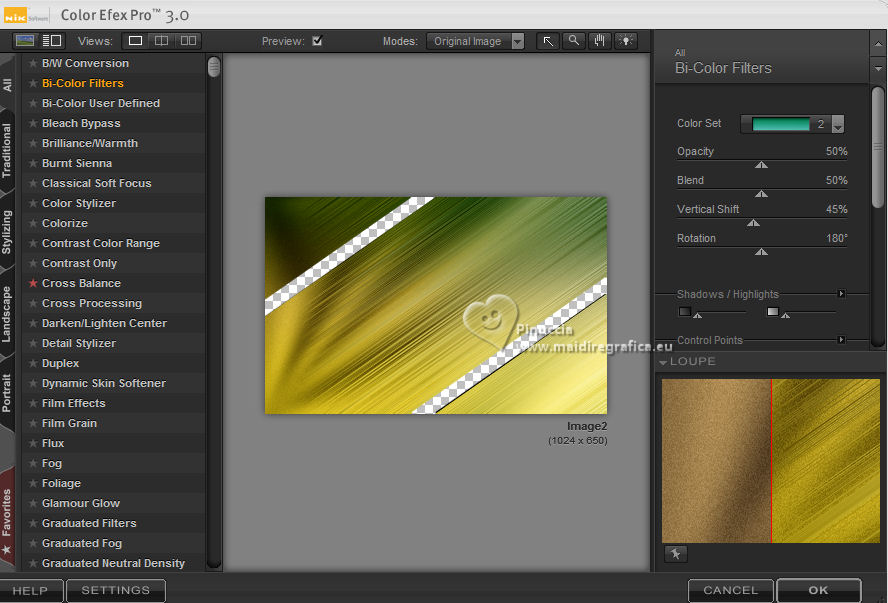
17. Effects>Plugins>Nik Software - Color Efex Pro
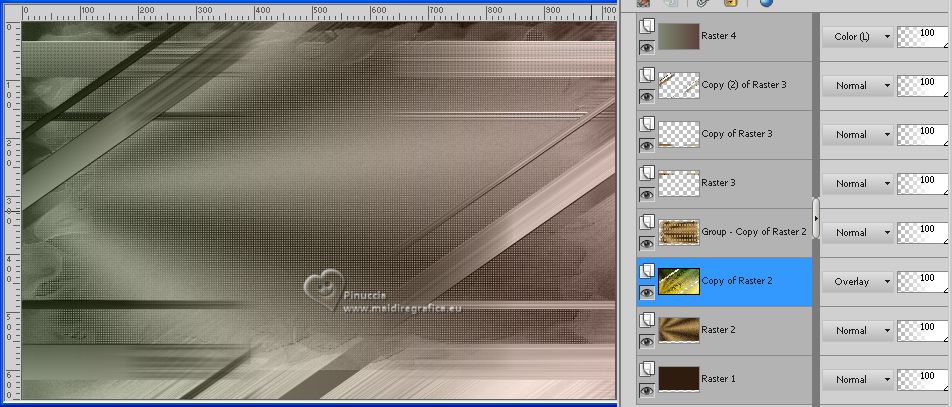
Bi-Color Filters - to right: Color set Moss_2, default settings.
Change the Blend Mode of this layer to Overlay.
18. Activate your top layer.
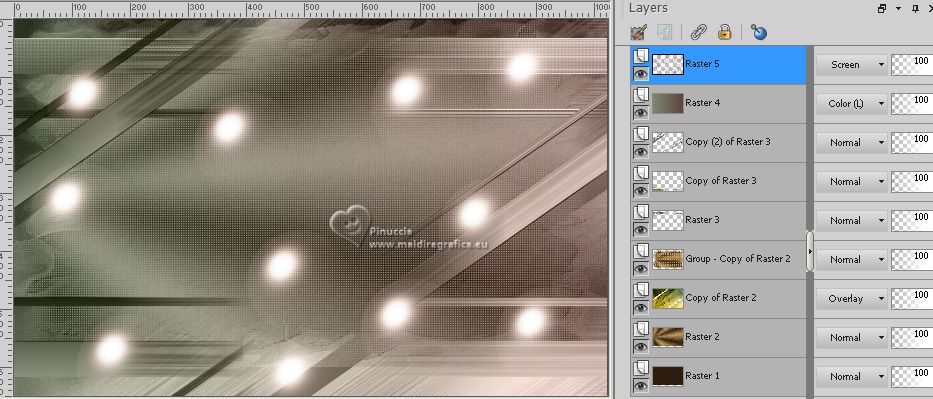
Layers>New Raster Layer.
Effects>Artistic Effects>Balls and Bubbles
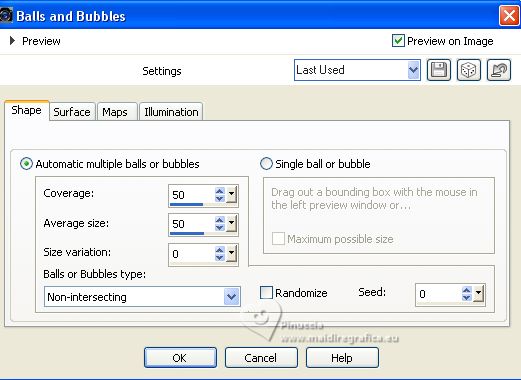
Change the Blend Mode of this layer to Screen.
19. Open the tube 121PaisagemByPqnaAlice 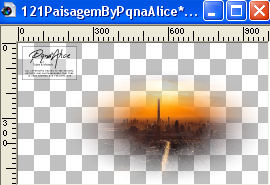
Erase the watermark and go to Edit>Copy.
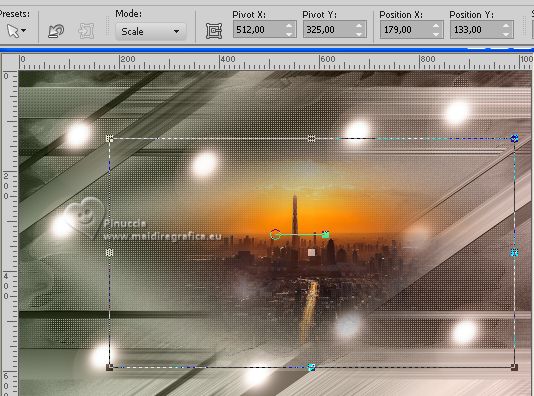
Go back to your work and go to Edit>Paste as new layer.
Place  correctly the tube correctly the tube
20. Effects>Image Effects>Seamless Tiling, Side by side.

21. Open decocentral-lc 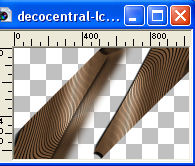
Edit>Copy.
Go back to your work and go to Edit>Paste as new layer.
Layers>New Mask layer>From image
Open the menu under the source window
and select the mask !!!mask.ket-fadesuave.
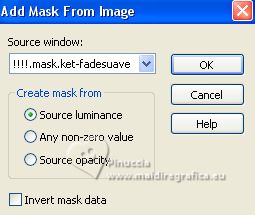
Layers>Merge>Merge Group.
This to soften the lower effets
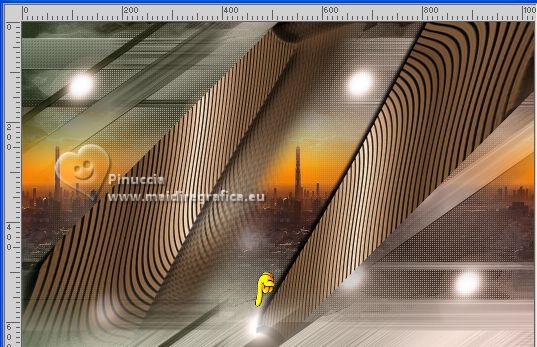
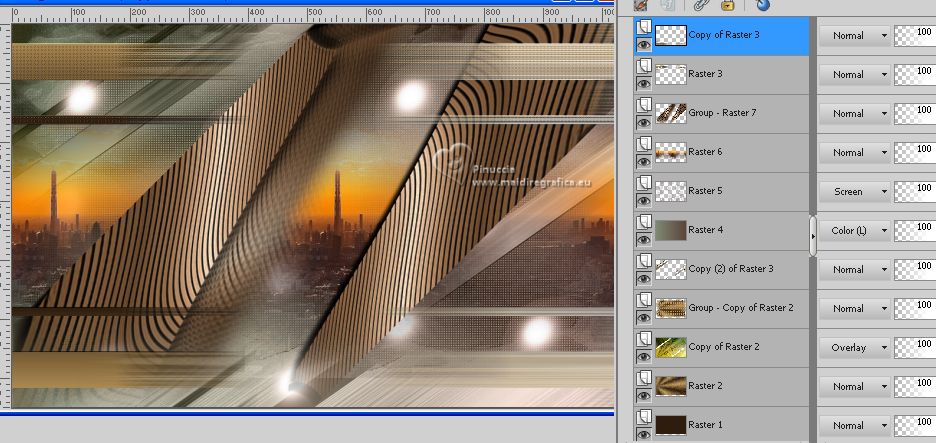
Activate the layer Raster 3.
Layers>Arrange>Bring To Top.
Activate the layer Copy of Raster 3.
Layers>Arrange>Bring to Top.
22. Open decofinal-lc 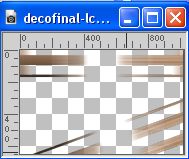
Edit>Copy.
Go back to your work and go to Edit>Paste as new layer.
23. Open Callitubes-314flores 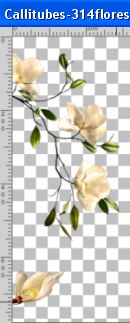
Edit>Copy.
Go back to your work and go to Edit>Paste as new layer.
Image>Resize, to 80%, resize all layers not checked.
Move  the tube to the left, or to your liking. the tube to the left, or to your liking.
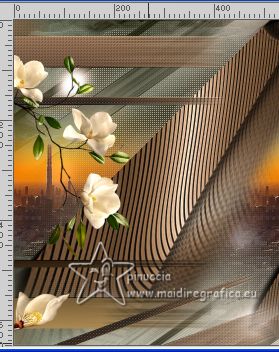
24. Open Callitubes-277flores 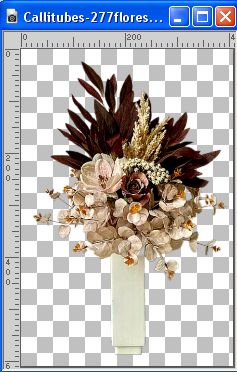
Edit>Copy.
Go back to your work and go to Edit>Paste as new layer.
Move  the tube to your liking. the tube to your liking.
Effects>3D Effects>Drop Shadow, at your choice.
25. Open Callitubes-3154mulheres 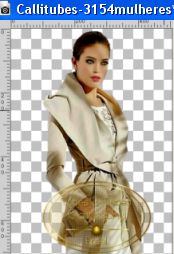
Edit>Copy.
Go back to your work and go to Edit>Paste as new layer.
Image>Resize, to 90%, resize all layers not checked.
Image>Mirror.
Move  the tube to the right, or to your liking. the tube to the right, or to your liking.
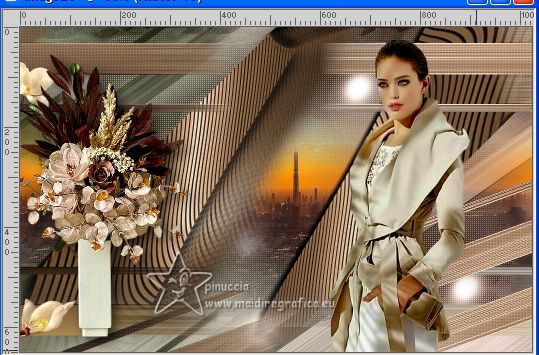
Effects>3D Effects>Drop Shadow, at your choice.
26. Layers>Merge>Merge visible.
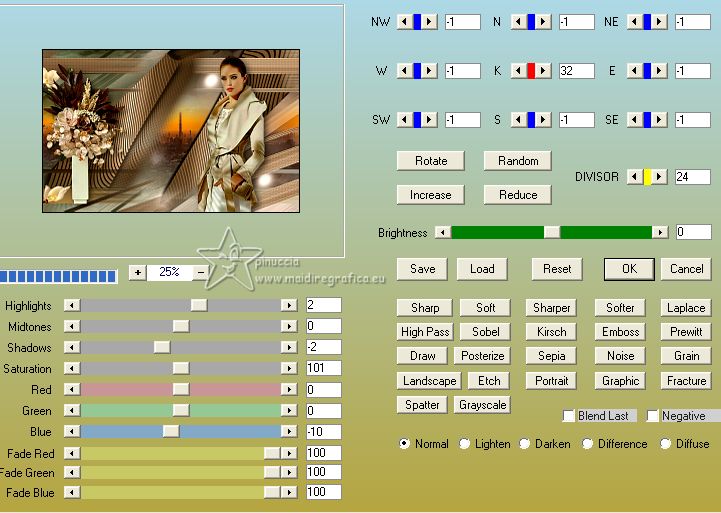
27. Effects>Plugins>AAA Filters - Custom - click on Landscape and ok.
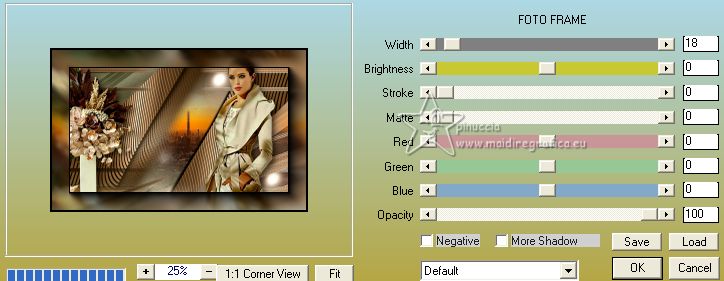
28. Effects>Plugins>AAA Frames - Foto Frame.
29. Add, if you want, the author's watermark; in this case, please don't forget the translator's watermark.
Sign your work on a new layer.
Layers>Merge>Merge All and save as jpg.
For the tubes of this version thanks PqnaAlice
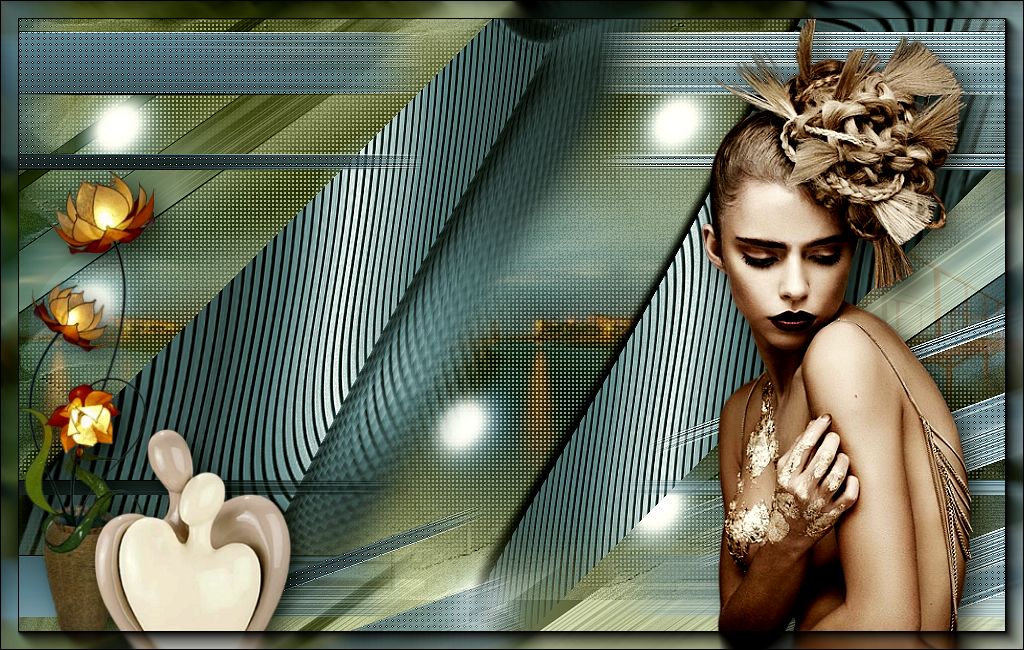
 Your versions here Your versions here

If you have problems or doubts, or you find a not worked link, or only for tell me that you enjoyed this tutorial, write to me.
1 Août 2023

|


