|
TOP KIKA


Thanks Lica Cida for your invitation to translate your tutorial

This tutorial was created with PSPX9 and translated with PSPX2 and PSPX3 and PSPX7, but it can also be made using other versions of PSP.
Since version PSP X4, Image>Mirror was replaced with Image>Flip Horizontal,
and Image>Flip with Image>Flip Vertical, there are some variables.
In versions X5 and X6, the functions have been improved by making available the Objects menu.
In the latest version X7 command Image>Mirror and Image>Flip returned, but with new differences.
See my schedule here
 French translation here French translation here
 your versions here your versions here

For this tutorial, you will need:

Thanks: for the tubes Merci (Callitubes-2456mulheres) and Naise M (NAISEM_FLORES_121).
The rest of the material is by Lica Cida.
(you find here the links to the material authors' sites)

consult, if necessary, my filter section here
Filters Unlimited 2.0 ici
&<Bkg Designer sf10I> - Cruncher (à importer dans Unlimited) ici
Mehdi - Weaver ici
Graphics Plus - Button Beveler III ici
Mura's Seamless - Shift at Random ici
Carolaine and Sensibility - CS-LDots ici
Toadies - Weaver ici
Filters Graphics Plus, Toadies and Mura's Seamless can be used alone or imported into Filters Unlimited.
(How do, you see here)
If a plugin supplied appears with this icon  it must necessarily be imported into Unlimited it must necessarily be imported into Unlimited

You can change Blend Modes according to your colors.
In the newest versions of PSP, you don't find the foreground/background gradient (Corel_06_029).
You can use the gradients of the older versions.
The Gradient of CorelX here

1. Set your foreground color to #320200,
and your background color #e1c06f.
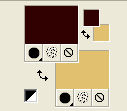
Set your foreground color to a Foreground/Background Gradient, style Linear.

2. Open the image imagem-anexada_lc
This image will be the basis of your work.
Activate the layer Raster 1.
Effects>Plugins>Mehdi - Weaver.
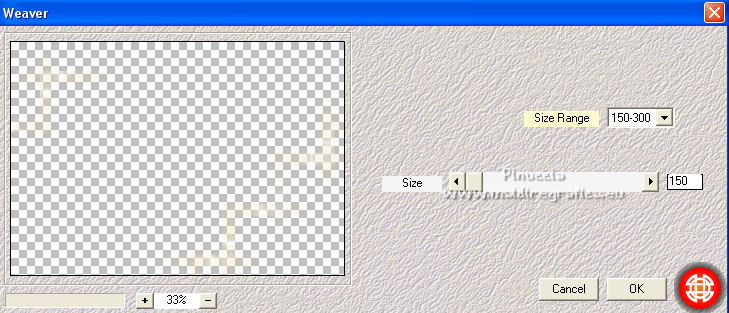
Effects>Edge Effects>Enhance.
Activate the layer Copy of Raster 1.
Effects>Plugins>Mehdi - Weaver.
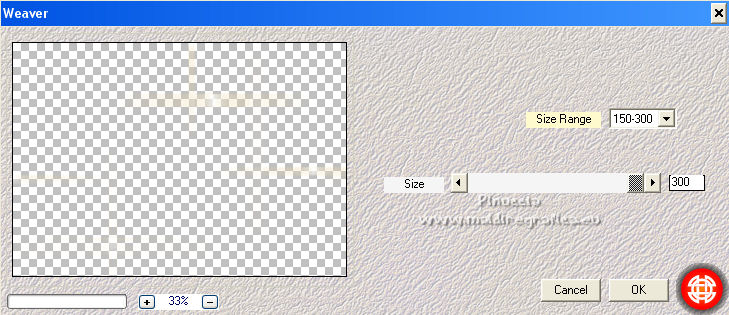
Effects>Edge Effects>Enhance.
3. Layers>New Raster Layer.
Layers>Arrange>Send to Bottom.
Flood Fill  the layer with your Gradient. the layer with your Gradient.
4. Open the tube deco_mp and go to Edit>Copy.
Go back to your work and go to Edit>Paste as new layer.
Change the Blend Mode of this layer to Multiply (or according to your colors).
Effects>3D Effects>Drop Shadow, at your choice.
5. Effects>Plugins>Mura's Seamless - Shift at Random.
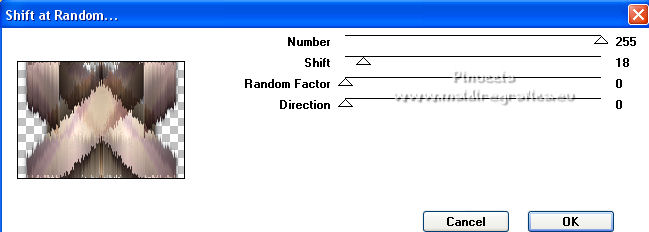
6. Edit>Copy Special>Copy Merged
Image>Add borders, 10 pixels, symmetric, light color.
Image>Add borders, 40 pixels, symmetric, color #ffffff.
Image>Add borders, 15 pixels, symmetric, dark color.
7. Activate your Magic Wand Tool  , tolerance and feather 0, , tolerance and feather 0,
and click in the white border to select it.
8. Edit>Paste into Selection.
Selections>Promote Selection to Layer.
Selections>Select None.
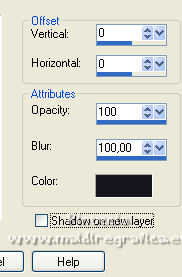
9. Effects>3D Effects>Drop shadow, dark color.
10. Open deco_mpadaptado_lc and go to Edit>Copy.
Go back to your work and go to Edit>Paste as new layer.
Change the Blend Mode of this layer to Overlay.
11. Activate your Background layers.
Layers>Promote Background Layer (Raster 2).
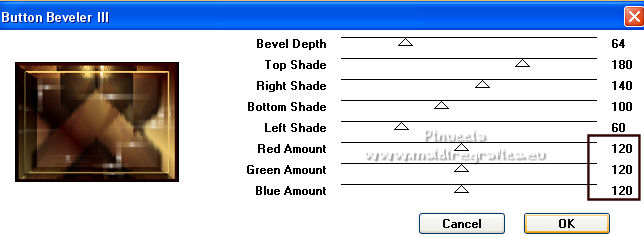
12. Effects>Plugins>Graphics Plus - Button Beveler III.
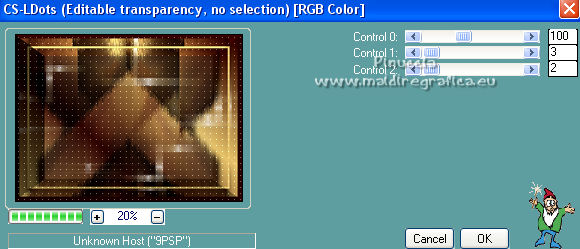
13. Effects>Plugins>Carolaine and Sensibility - CS-LDots.
14. Effects>Reflections Effects>Rotating Mirror.

15. Layers>New Raster Layer.
Layers>Arrange>Bring to Top.
Selection Tool 
(no matter the type of selection, because with the custom selection your always get a rectangle)
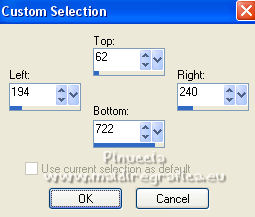
clic on the Custom Selection 
and set the following settings.
Set your foreground color to white #ffffff.
Flood Fill  the selection with color white #ffffff. the selection with color white #ffffff.
Selections>Select None.
16. Effects>Plugins>Filters Unlimited 2.0 - &<Bkg Designer sf10I> - Cruncher.
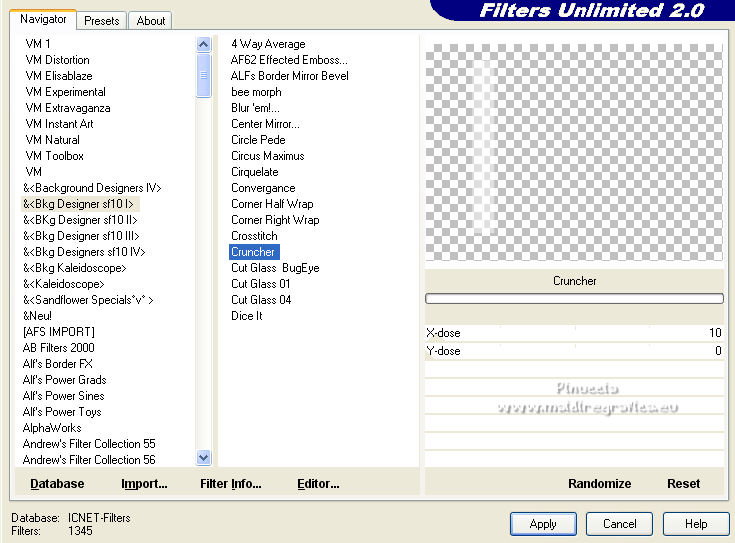
17. Effects>Plugins>Toadies - Weaver, default settings.
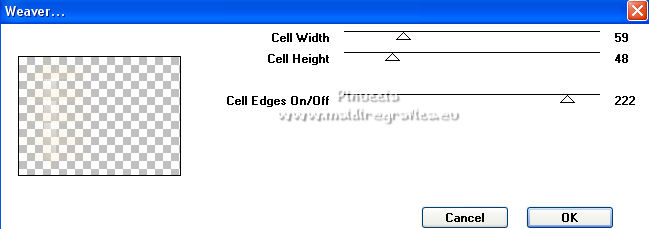
18. Effects>Plugins>Carolaine and Sensibility - CS-LDots.
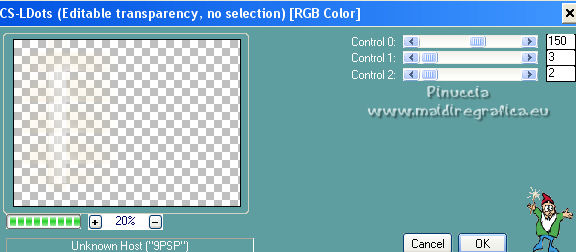
Effects>Edge Effects>Enhance.
Change the Blend Mode to Hard Light and reduce the opacity to 71%.
19. Effects>Reflection Effects>Rotating Mirror.

20. Open decoacabamento_lc and go to Edit>Copy.
Go back to your work and go to Edit>Paste as new layer.
Effects>Edge Effects>Enhance.
La tag and the layers - adapt Blend Mode and opacity to your liking.
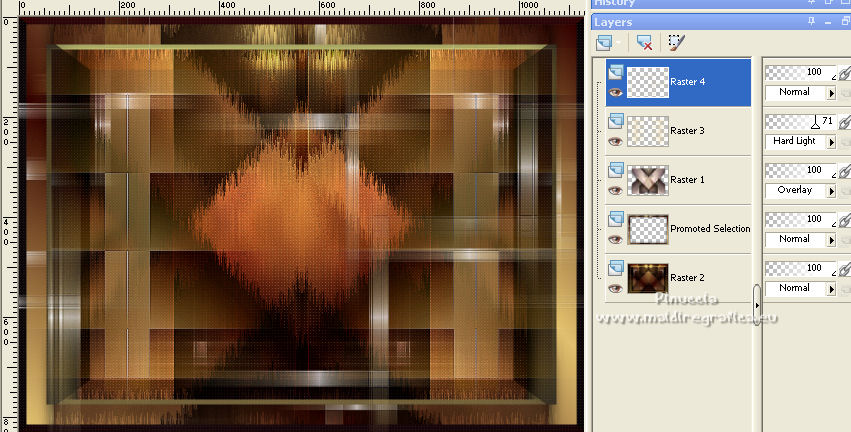
21. Edit>Copy Special>Copy Merged
For the border, set again your foreground color to #320200.

Image>Add borders, 1 pixel, symmetric, dark color
Image>Add borders, 4 pixels, symmetric, light color
Image>Add borders, 1 pixel, symmetric, dark color.
Image>Ajouter des bordure, 40 pixels, symmetric, color #ffffff.
Activate your Magic Wand Tool  , tolerance and feather 0, , tolerance and feather 0,
and click on the white border to select it.
Selections>Promote Selection to Layer.
Edit>Paste into Selection
Change the Blend Mode of this layer to Multiply.
Effects>Edge Effects>Enhance.
Selections>Select None.
Image>Add borders, 1 pixel, symmetric, dark color
Image>Add borders, 4 pixels, symmetric, light color
Image>Add borders, 1 pixel, symmetric, dark color.
Image>Ajouter des bordure, 20 pixels, symmetric, light color.
22. Open Titulobylicacida and go to Edit>Copy.
Go back to your work and go to Edit>Paste as new layer.
Change the Blend Mode to Luminance (legacy).
Adjust>One Step Photo Fix.
Move  the text at the upper left. the text at the upper left.
Effects>3D Effects>Drop Shadow, at your choice.
23. Open Callitubes-2456mulheres and go to Edit>Copy.
Go back to your work and go to Edit>Paste as new layer.
Resize and place to your liking.
Effects>3D Effects>Drop Shadow, at your choice.
24. Open TUBE_NAISEM_FLORES_121 and go to Edit>Copy.
Go back to your work and go to Edit>Paste as new layer.
Resize and move to your liking.
Effects>3D Effects>Drop Shadow, at your choice.
25. Sign your work on a new layer.
Add, if you want, the author's and translator's watermarks.
Image>Resize, 1000 pixels width, resize all layers checked.
Layers>Merge>Merge All and save as jpg.
For the tubes of this version thanks Azalée.
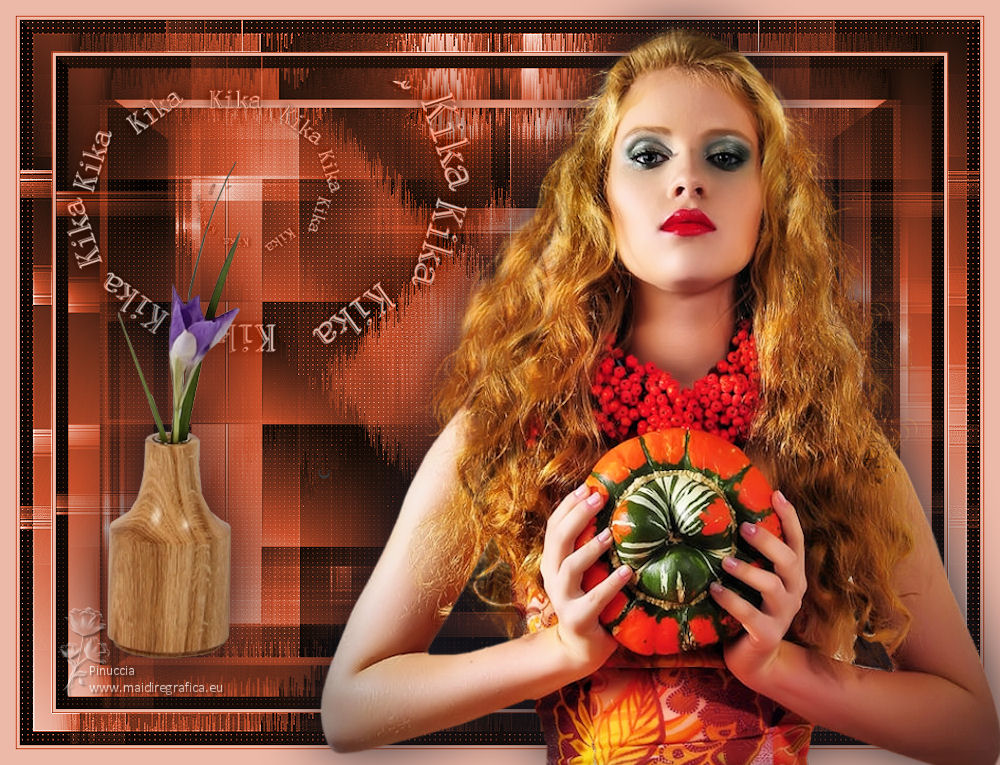
 Your versions here Your versions here

If you have problems or doubts, or you find a not worked link, or only for tell me that you enjoyed this tutorial, write to me.
22 October 2022

|


