|
TOP LYNNETTE

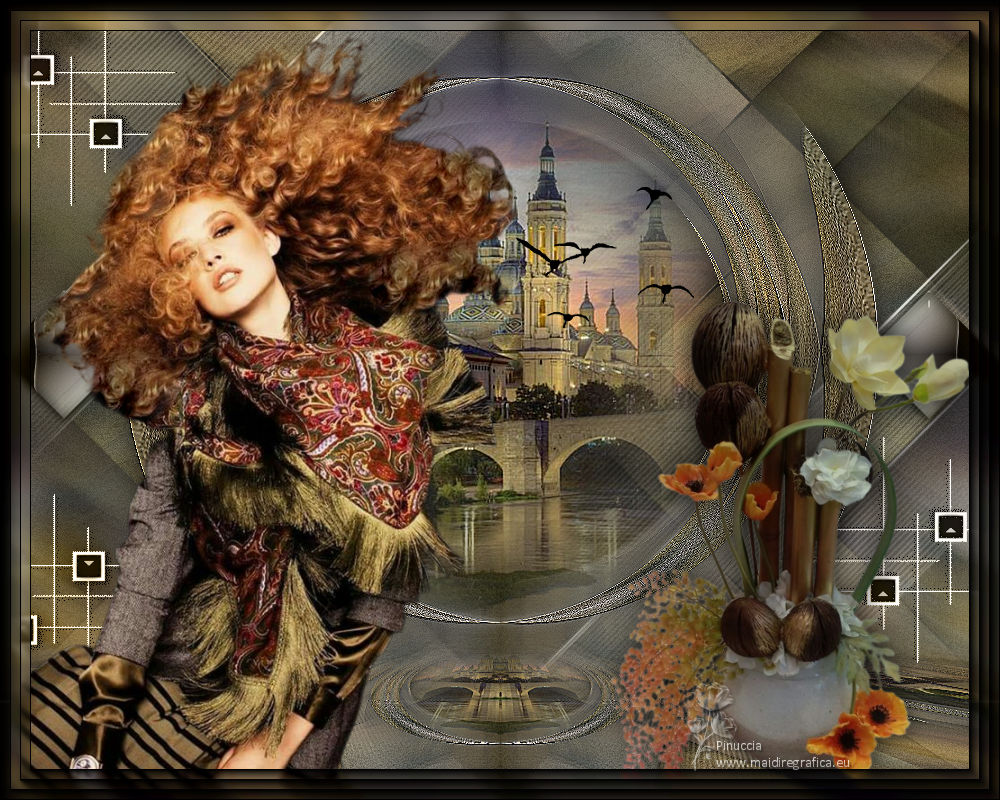
Thanks Lica Cida for your invitation to translate your tutorial

This tutorial was created with PSPX9 and translated with PSPX2 and PSPX3 and PSPX7, but it can also be made using other versions of PSP.
Since version PSP X4, Image>Mirror was replaced with Image>Flip Horizontal,
and Image>Flip with Image>Flip Vertical, there are some variables.
In versions X5 and X6, the functions have been improved by making available the Objects menu.
In the latest version X7 command Image>Mirror and Image>Flip returned, but with new differences.
See my schedule here
 French translation here French translation here
 your versions here your versions here

For this tutorial, you will need:

For the tubes thanks Callitubes.
The rest of the material is by Lica Cida.
(you find here the links to the material authors' sites)

consult, if necessary, my filter section here
Filters Unlimited 2.0 here
VM Instant Art - Tripolis here
Mehdi - Edges FX here
Graphics Plus - Vertical Mirror here
Mura's Meister - Pole Transform here
Mura's Meister - Perspective Tiling here
AAA Frames - Foto Frame here
Filters VM Instant Art and Graphics Plus can be used alone or imported into Filters Unlimited.
(How do, you see here)
If a plugin supplied appears with this icon  it must necessarily be imported into Unlimited it must necessarily be imported into Unlimited

You can change Blend Modes according to your colors.

Placer le preset AirBrush-3D_mp dans le dossier Paramètres par défaut.
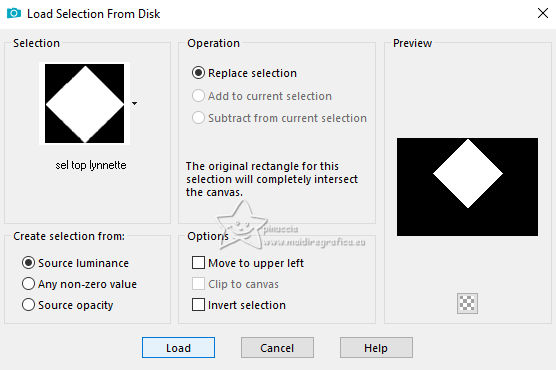
If you have problems at step 9, copy the selection sel top lynnette dans le dossier Sélections.
1. Open your background image backgroundby-lc 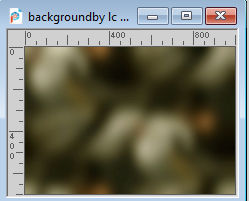
(or an image at your choise, colored).
This image will be the basis of your work.
2. Layers>New Raster Layer.
Selections>Select All.
Open misted_NMCriacoes_118 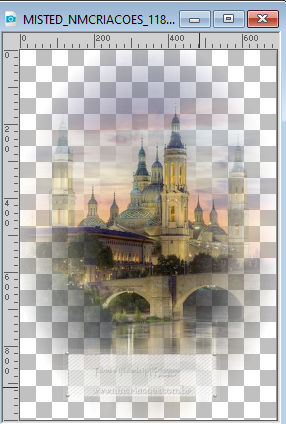
Edit>Copy.
Go back to your work and go to Edit>Paste into Selection.
Selections>Select None.
3. Effects>Image Effects>Seamless Tiling.

4. Adjust>Blur>Motion Blur.
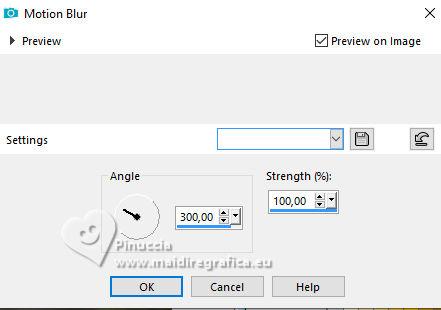
Edit>Repeat Motion Blur.
Layers>Merge>Merge Down.
5. Adjust>Add/Remove Noise>Add Noise.
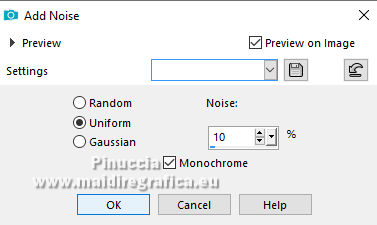
6. Layers>Duplicate.
Close the original layer and work on the copy layer.
7. Effects>Plugins>VM Instant Art - Tripolis, default settings.
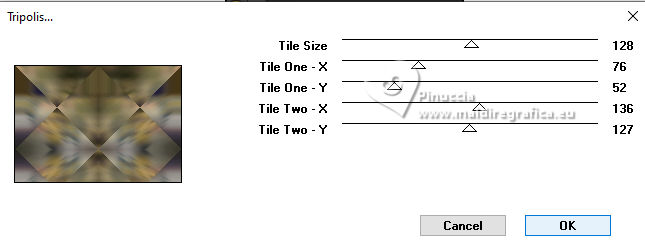
8. Effects>Plugins>Mehdi - Edges FX
color #000000
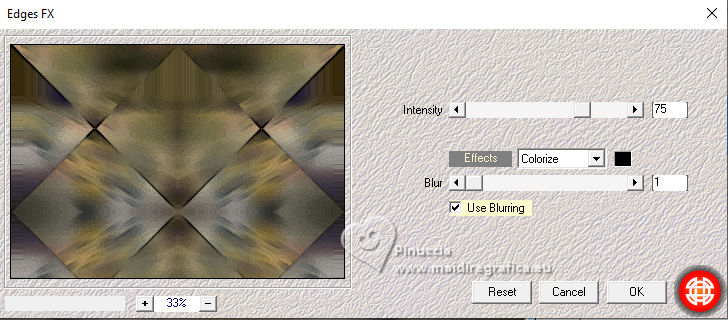
Adjust>Sharpness>Sharpen.
9. Activate your Freehand Selection Tool 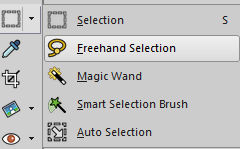
point to point

Select the figure as below
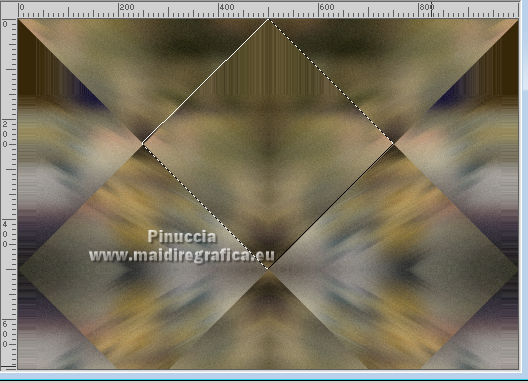
if you have problems:
Load/Save Selection>Load Selection from Disk.
Look for and load the selection sel top lynnette
Press CANC on the keyboard 
Selections>Select None.
Open again the background layer.
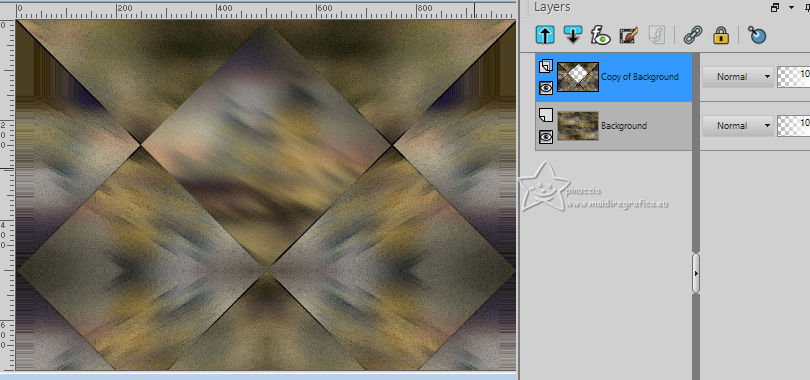
10. Stay on the top layer, Copy of Background.
Effects>Plugins>Graphics Plus - Vertical Mirror, default settings.
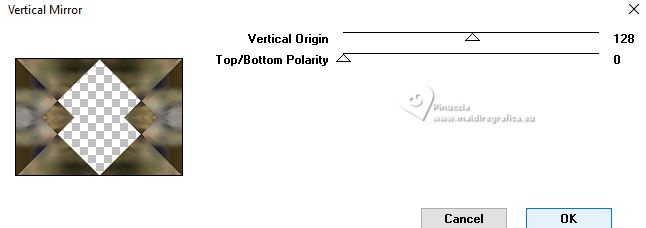
11. Effects>Image Effects>Seamless Tiling, same settings.

12. Effects>3D Effects>Drop Shadow, color #000000.

13. Layers>Duplicate.
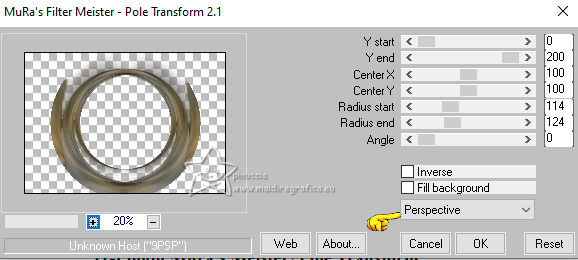
Effects>Plugins>Mura's Meister - Pole Transform.
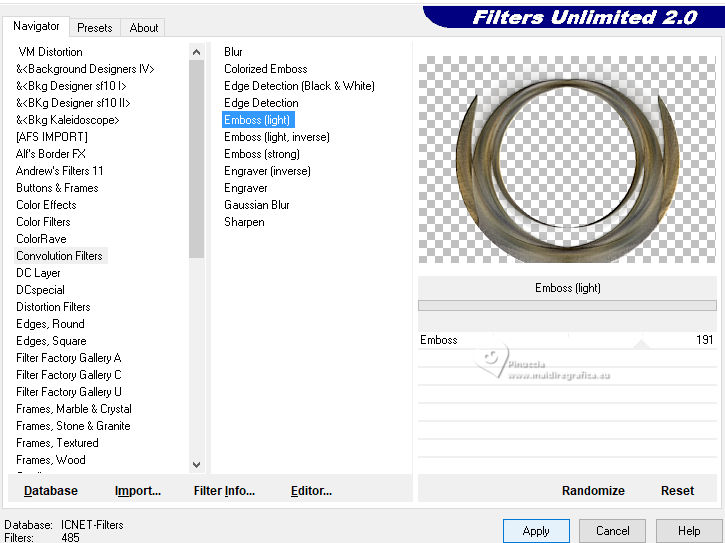
14. Effects>Plugins>Filters Unlimited 2.0 - Convolution Filter - Emboss Light, default settings.
15. Effects>3D Effects>Drop Shadow, same settings.

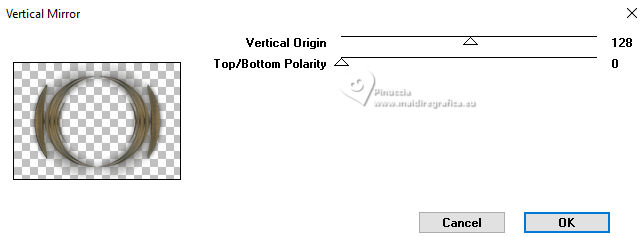
16. Effects>Plugins>Graphics Plus - Vertical Mirror, default settings.
17. Activate your Airbrush Tool 
Set your foreground color to #ffffff and close your background color.
Look for and select the preset Airbrush 3D
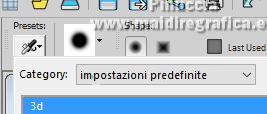

note: the preset was created with theX9 version;
with the other versions (see my french translation) the accessory settings can be different
Activate the layer below.
Apply the brush from bottom up
(close the layer above to see better)
If you want to follow my example: I added a new layer
(to make, later, some changes, if necessary)
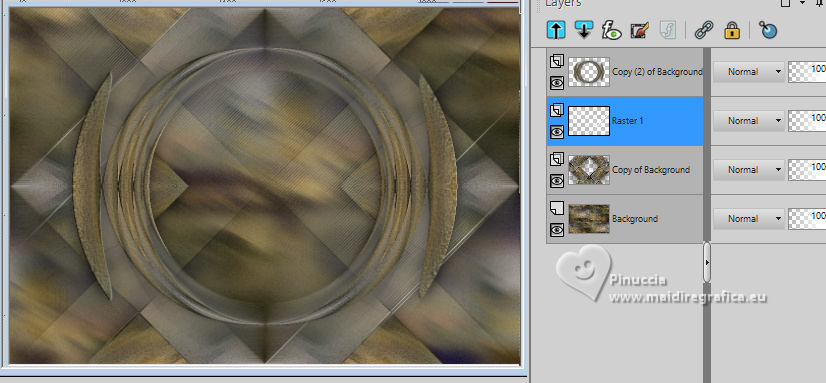
Effects>Edge Effects>Enhance.
18. Stay on this layer.
Activate again the misted misted_NMCriacoes_118 and go to Edit>Copy.
Go back to your work and go to Edit>Paste as new layer.
Image>Resize, 2 times to 80%, resize all layers not checked.
Adjust>Sharpness>Sharpen More.
Activate your top layer.
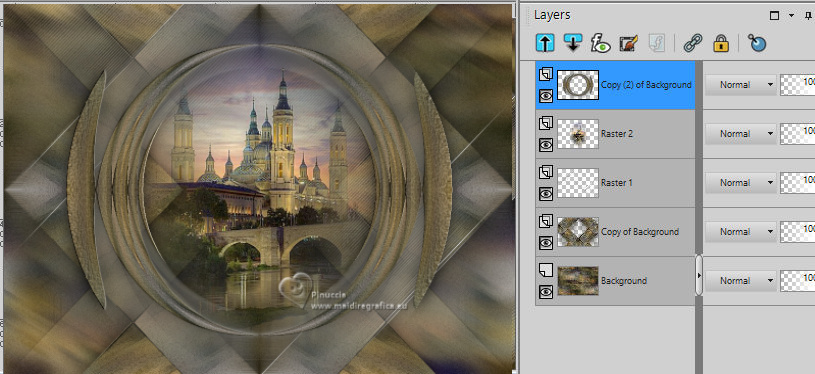
19. Edit>Copy Special>Copy Merged.
Edit>Paste as new layer.
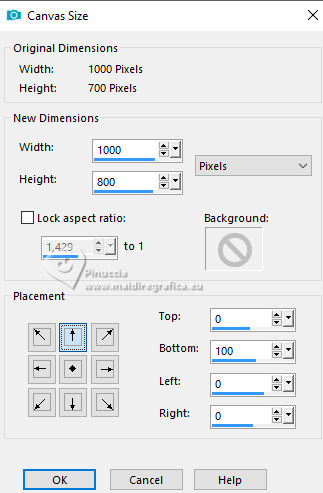
20. Image>Canvas Size - 1000 x 800 pixels.
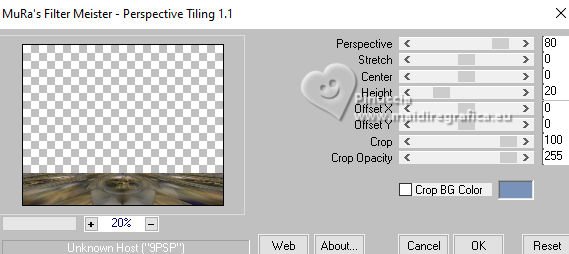
21. Effects>Plugins>Mura's Meister - Perspective Tiling.
22. Effects>Reflection Effects>Rotating Mirror, default settings.

23. Activate your Magic Wand Tool  , tolerance 0 and feather 60, , tolerance 0 and feather 60,
and click in the transparent part to select it.
Press 4/6 times CANC on the keyboard

Selections>Select None.
don't forget to set again the feather to 0
Adjust>Sharpness>Sharpen More.
24. Open decortriangulolc 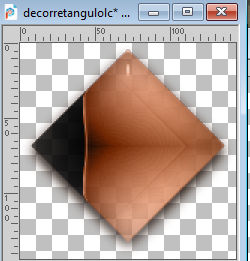
Edit>Copy.
Go back to your work and go to Edit>Paste as new layer.
Move  the tube to the left. the tube to the left.
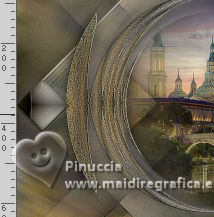
25. Effects>Reflection Effects>Rotating Mirror.

26. Open decorarquivonet 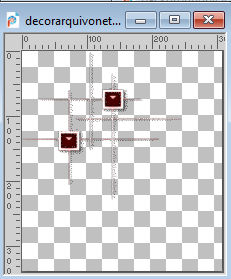
Edit>Copy.
Go back to your work and go to Edit>Paste as new layer.
Duplicate and place  to your liking to your liking
note: keep the tubes slightly away from the edge,
because later they will be cut by the Foto Frame Filter.
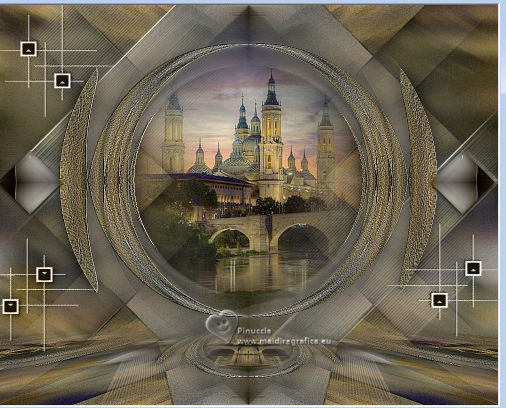
27. Open avesarquivo net 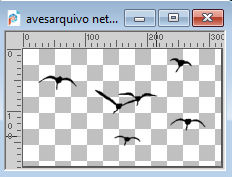
Edit>Copy.
Go back to your work and go to Edit>Paste as new layer.
Place  the tube as below. the tube as below.
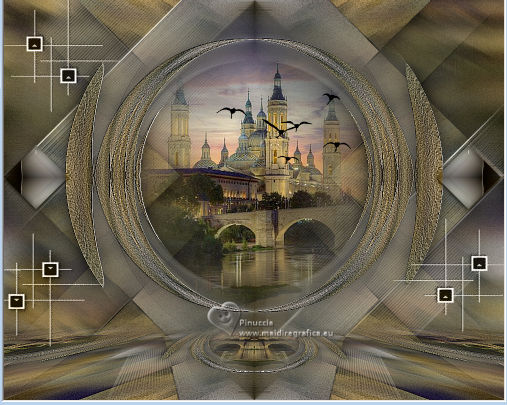
28. Open the tube Mulheres_1973 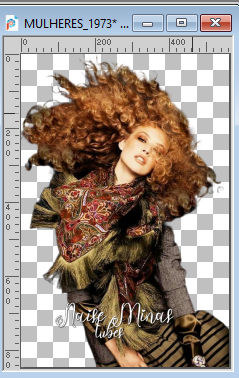
Edit>Copy.
Go back to your work and go to Edit>Paste as new layer.
Image>Mirror.
Move  the tube to the left. the tube to the left.
29. Open Tube_Naisem_Flores_122 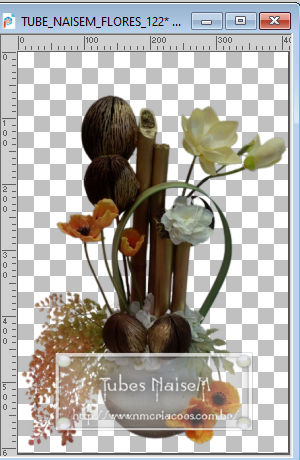
Edit>Copy.
Go back to your work and go to Edit>Paste as new layer.
Move  the tube to the right. the tube to the right.
Effects>3D Effects>Drop Shadow, at your choice.
30. Layers>Merge>Merge visible.
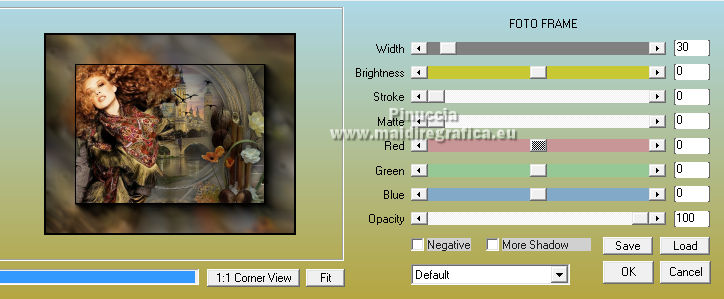
31. Effects>Plugins>AAA Frames - Foto Frame.
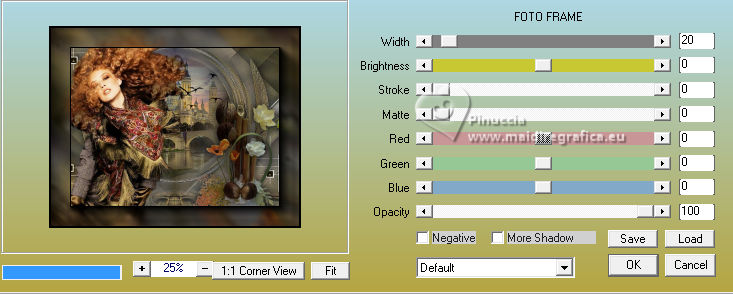
32. Effects>Plugins>AAA Frames - Foto Frame, width 20.
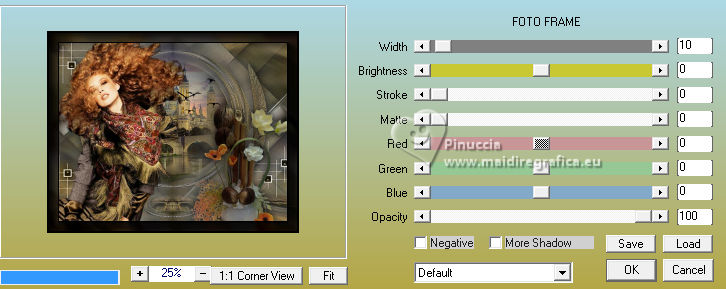
33. Effects>Plugins>AAA Frames - Foto Frame, width 10.
34. Layers>Merge>Merge All.
35. Sign your work on a new layer.
Add the author and translator's watermarks.
Layers>Merge>Merge All and save as jpg.
For the tubes of this version thank Jeanne and Nikita
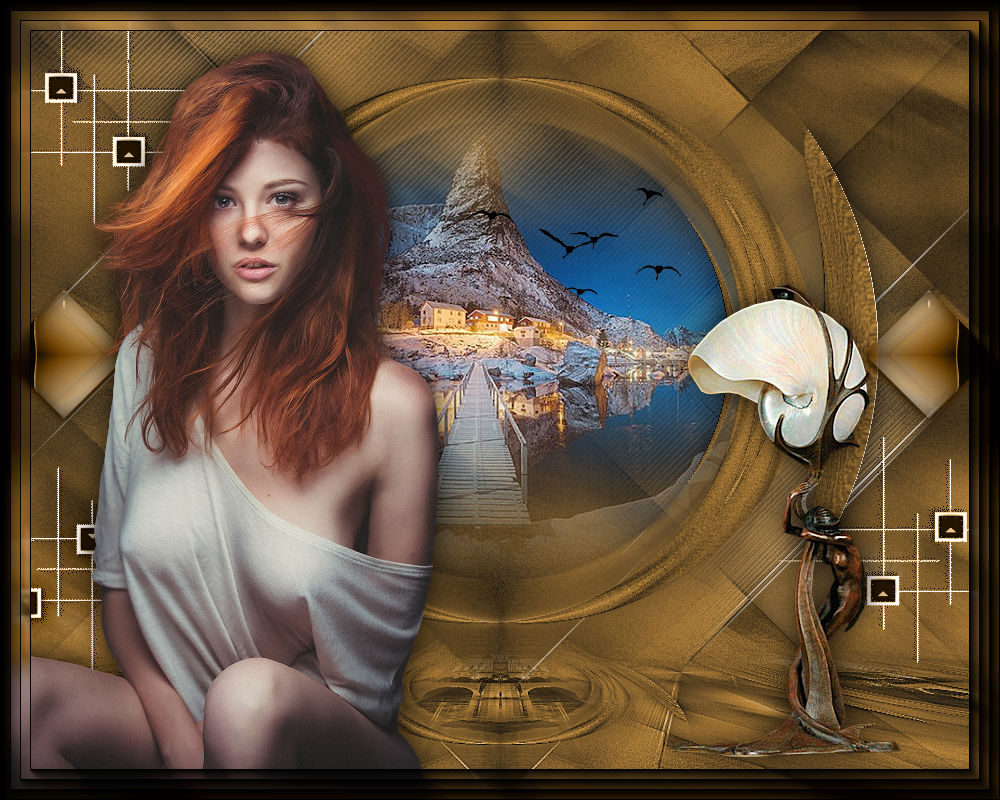
 Your versions here Your versions here

If you have problems or doubts, or you find a not worked link, or only for tell me that you enjoyed this tutorial, write to me.
12 September 2023

|


