|
TOP MARIA JOSÉ

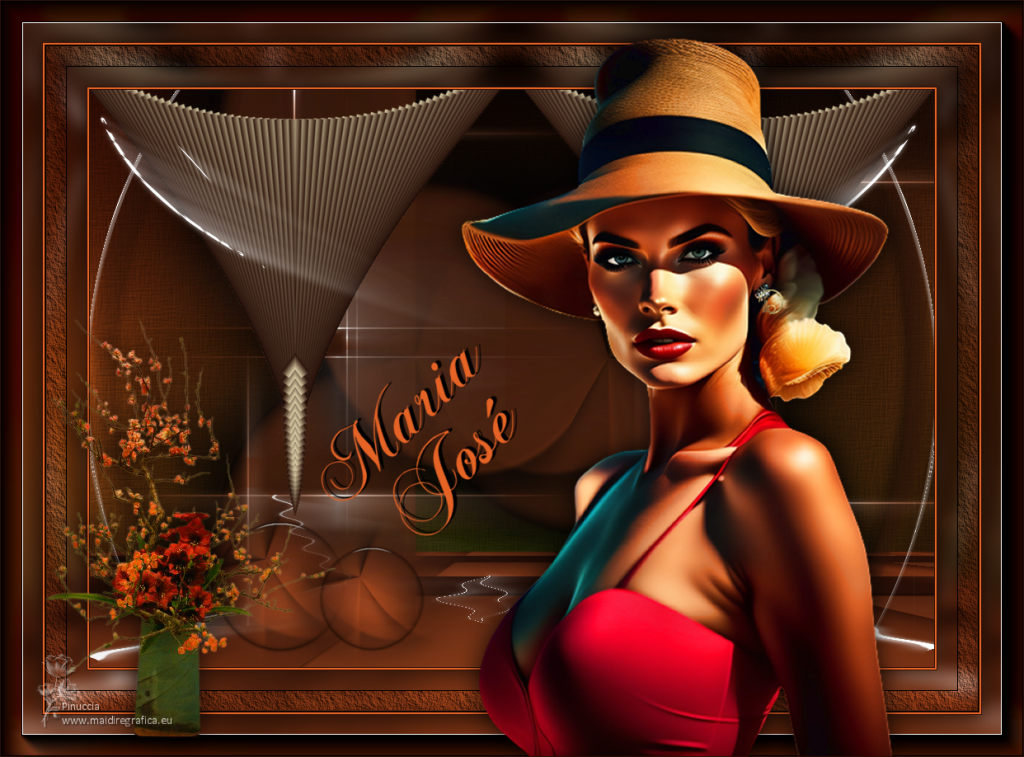
Thanks Lica Cida for your invitation to translate your tutorial

This tutorial was created with PSPX9 and translated with PSPX2 and PSPX3 and PSPX7, but it can also be made using other versions of PSP.
Since version PSP X4, Image>Mirror was replaced with Image>Flip Horizontal,
and Image>Flip with Image>Flip Vertical, there are some variables.
In versions X5 and X6, the functions have been improved by making available the Objects menu.
In the latest version X7 command Image>Mirror and Image>Flip returned, but with new differences.
See my schedule here
 French translation here French translation here
 your versions here your versions here

For this tutorial, you will need:

For the tubes thanks Callitubes.
The rest of the material is by Lica Cida.
(you find here the links to the material authors' sites)

consult, if necessary, my filter section here
Filters Unlimited 2.0 here
Filter Factory Galler B - Button Deluxe here
Mehdi - Weaver here
Mura's Meister - Pole Transform here
Mura's Meister - Perspective Tiling here
Alien Skin Eye Candy 5 Impact - Motion Trail here
AAA Frames - Texture Frame, Foto Frame here
Filters Factory Gallery can be used alone or imported into Filters Unlimited.
(How do, you see here)
If a plugin supplied appears with this icon  it must necessarily be imported into Unlimited it must necessarily be imported into Unlimited

You can change Blend Modes according to your colors.
In the newest versions of PSP, you don't find the foreground/background gradient (Corel_06_029).
You can use the gradients of the older versions.
The Gradient of CorelX here

The texture Corel_15_013 or Canvas Coarse is standard in PSP.
If you don't find it in your Psp, copy the supplied texture in the Textures Fonder.
Copy the preset Light abstract in the presets Folder.
Open the mask in PSP and minimize it with the rest of the material.
1. Choose two colors from your tubes.
Set your foreground color to dark color #2b1008,
and your background color to light color #e66326.
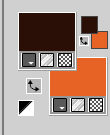
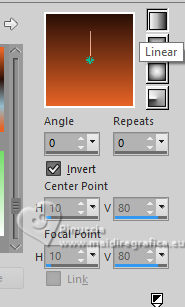
Set your foreground color to a Foreground/Background Gradient, style Linear.
2. Open the image anexada bylc 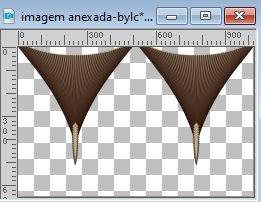
This image will be the basis of your work.
Layers>New Raster Layer.
Flood Fill  the layer with your Gradient. the layer with your Gradient.
3. Effects>Plugins>Filter Factory Gallery B - Button Deluxe.
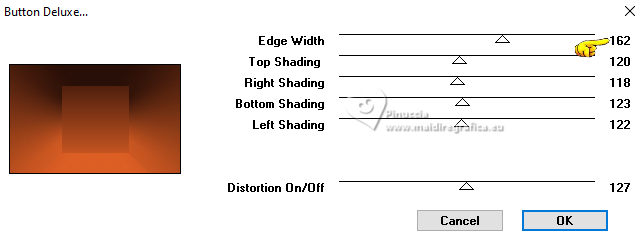
4. Activate your Selection Tool  , rectangle , rectangle
and select the rectangle created by the filter.
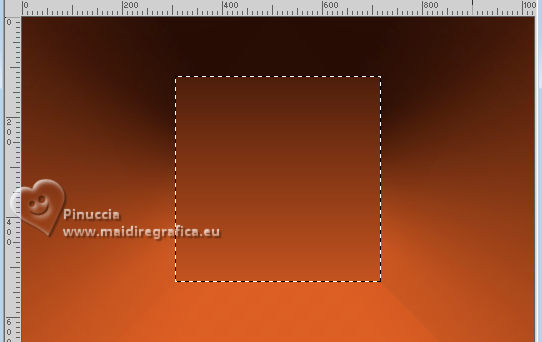
5. Effects>3D Effects>Inner Bevel.
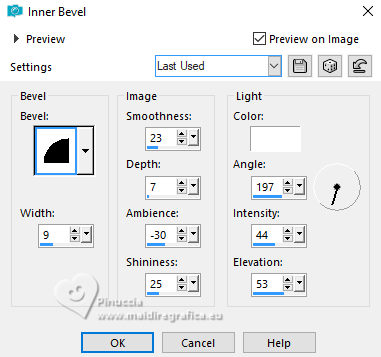
Selections>Promote Selection to Layer.
Selections>Select None.
6. Effects>Image Effects>Seamless Tiling, Side by side.


7. Effects>Plugins>Mura's Meister - Pole Transform.
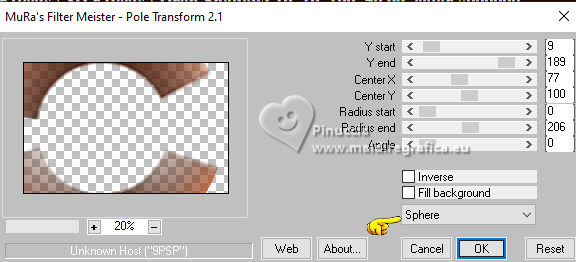
Effects>3D Effects>Drop Shadow, color #000000.

Repeat Drop Shadow, vertical and horizontal -10.
8. Repeat Effects>3D Effects>Inner Bevel, same settings.

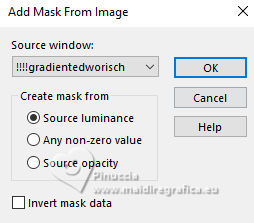
9. Layers>New Mask layer>From image
Open the menu under the source window and you'll see all the files open.
Select the mask !!!!gradienteworisch.
Effects>Edge Effects>Enhance.
Layers>Merge>Merge Group.
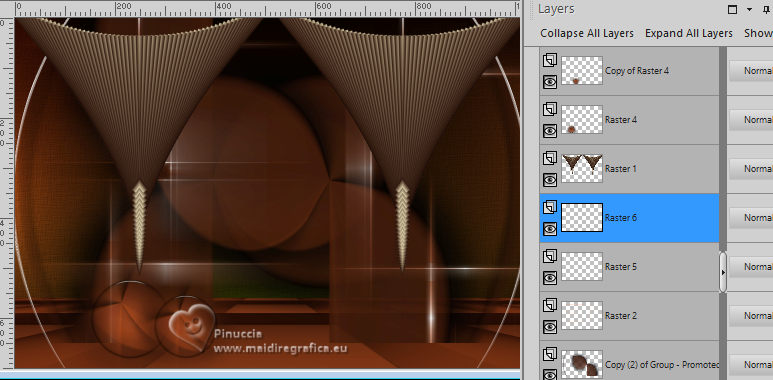
10. Activate the layere Raster 2.
Repeat Layers>New Mask layer>From image
Open the menu under the source window
and select the mask !!!!gradienteworisch.

Effects>Edge Effects>Enhance.
Layers>Merge>Merge Group.
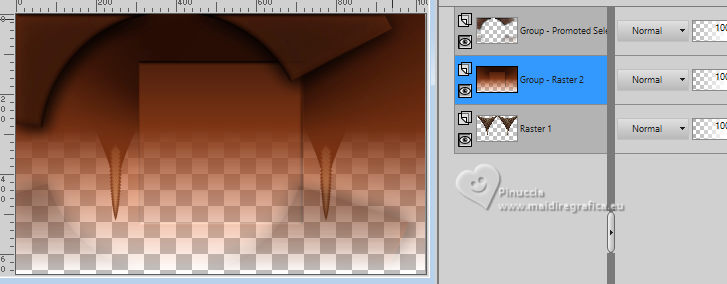
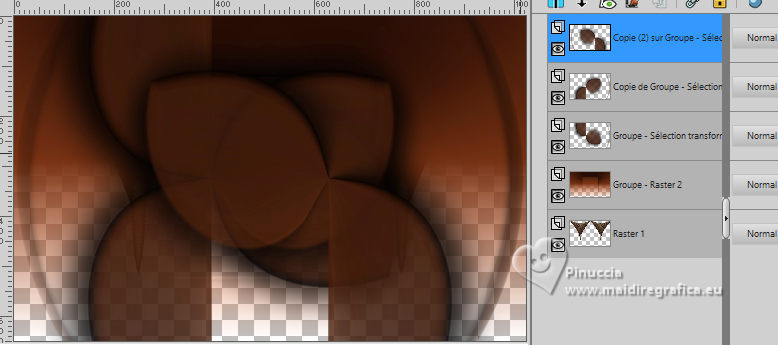
11. Activate your top layer, Group-Promoted Selection.
Effects>Plugins>Mura's Meister - Pole Transform, same settings.
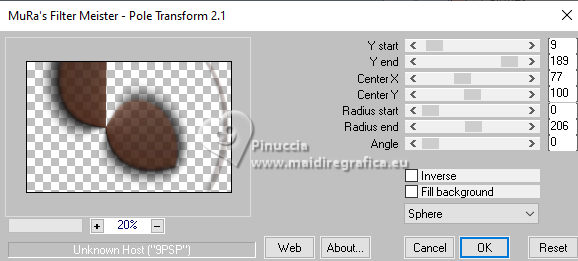
Layers>Duplicate.
Image>Flip.
Layers>Duplicate.
Image>Mirror.
12. Stay on the top layer.
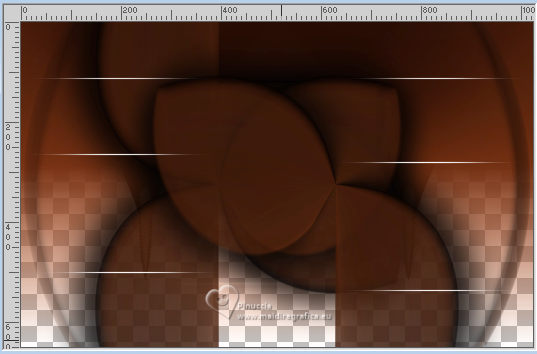
Layers>New Raster Layer.
Set your foreground color to white #ffffff.
Activate your Airbrush Tool  with these settings with these settings

Apply the brush 3 times on every side, about as below
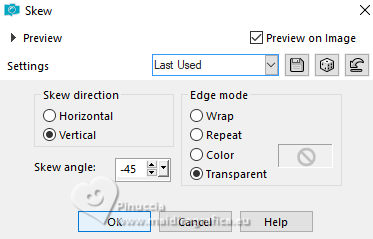
13. Effects>Geometric Effects>Skew.
Layers>Duplicate.
Image>Mirror.
Layers>Merge>Merge Down.
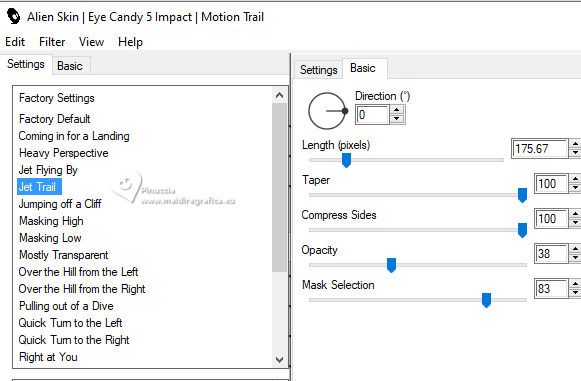
14. Effects>Plugins>Alien Skin Eye Candy 5 Impact - Motion Trail.
Select the preset Jet Trail and ok
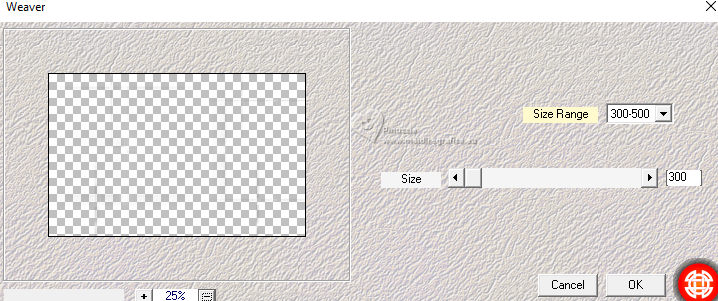
15. Effects>Plugins>Mehdi - Weaver.
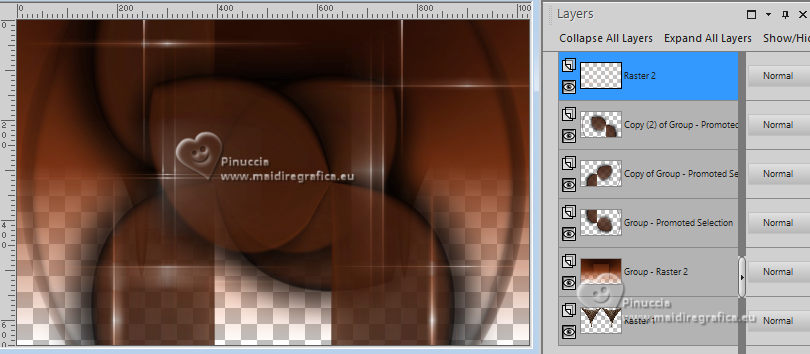
Layers>Duplicate.
Layers>Merge>Merge Down.
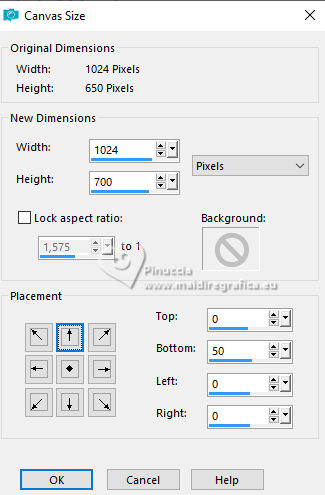
16. Image>Canvas Size - 1024 x 700 pixels.
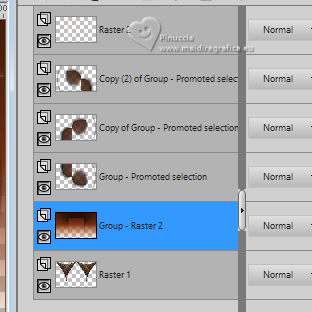
17. Activate the layer Group-Raster 2.
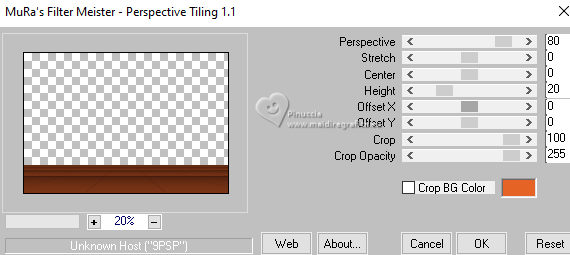
Effects>Plugins>Mura's Meister - Perspective Tiling.
18. Effects>Reflection Effects>Rotating Mirror, default settings.

19. Layers>New Raster Layer.
Layers>Arrange>Send to Bottom.
Set again your foreground to the initial color (#2b1008) and gradient.
 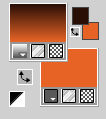
Flood Fill  the layer with your Gradient. the layer with your Gradient.
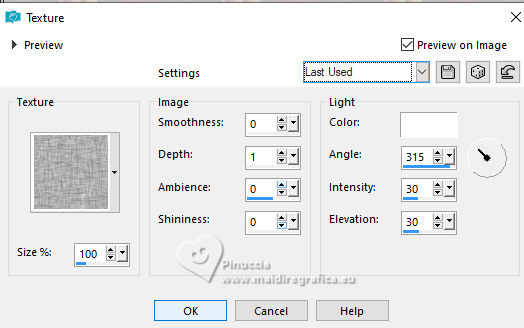
20. Effects>Texture Effects>Texture - select the texture Corel_15_013 or Canvas Coarse.
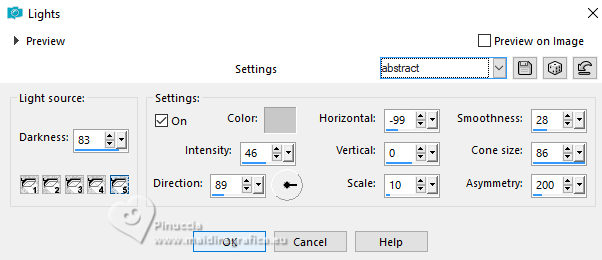
21. Effects>Illumination Effects>Lights.
Select the preset abstract et ok.
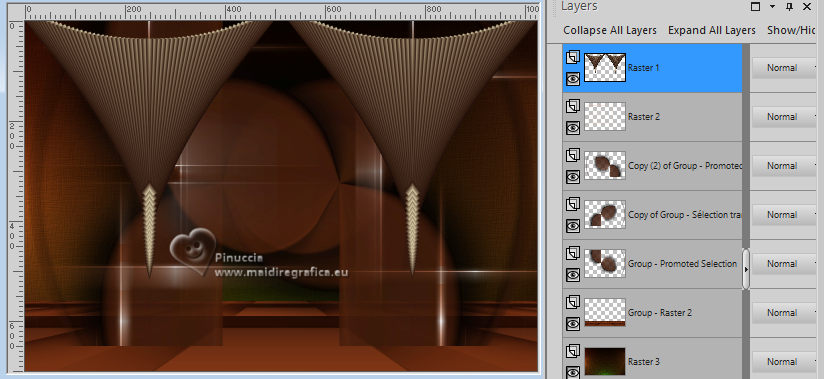
22. Activate the layer Raster 1.
Layers>Arrange>Bring to Top.
23. Open circulo acabamento-bylc 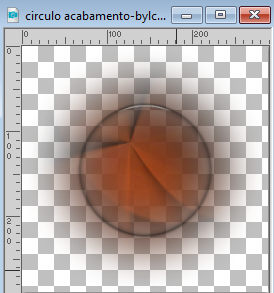
Edit>Copy.
Go back to your work and go to Edit>Paste as new layer.
Move  the tube to your liking. the tube to your liking.
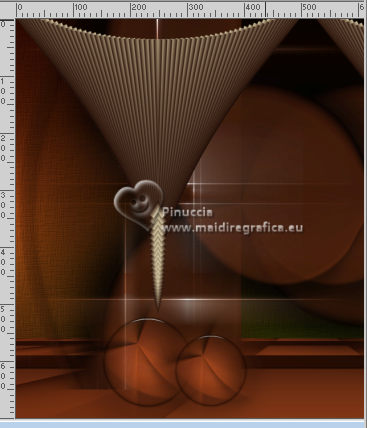
For me at the bottom left and after:
Layers>Duplicate.
Image>Resize, to 80%, resize all layers not checked.
24. Open circledeco-bylc 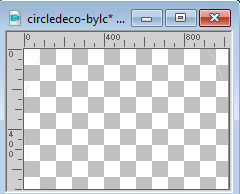
Edit>Copy.
Go back to your work and go to Edit>Paste as new layer.
Move this layer under the layer Raster 1.
25. Open decochão-bylc 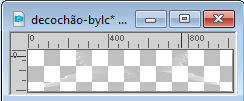
Edit>Copy.
Go back to your work and go to Edit>Paste as new layer.
Objects>Align>Bottom.
26. Activate your top layer.
Open decotopo-bylc 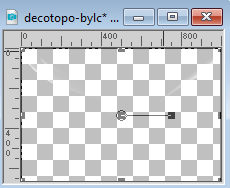
Edit>Copy.
Go back to your work and go to Edit>Paste as new layer.
It is in its place.
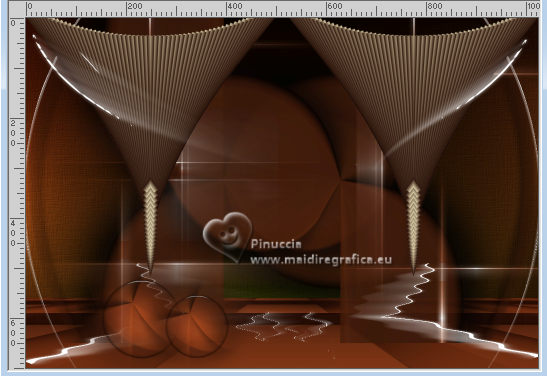
27. Image>Add borders, 1 pixel, symmetric, dark color.
Image>Add borders, 2 pixels, symmetric, light color.
Image>Add borders, 1 pixel, symmetric, dark color
Edit>Copy
Selections>Select All.
Image>Add borders, 50 pixels, symmetric, color #ffffff.
Selections>Invert.
Edit>Paste into Selection
28. Adjust>Blur>Gaussian Blur - radius 10.

29. Effects>Plugins>AAA Frames - Texture Frame.
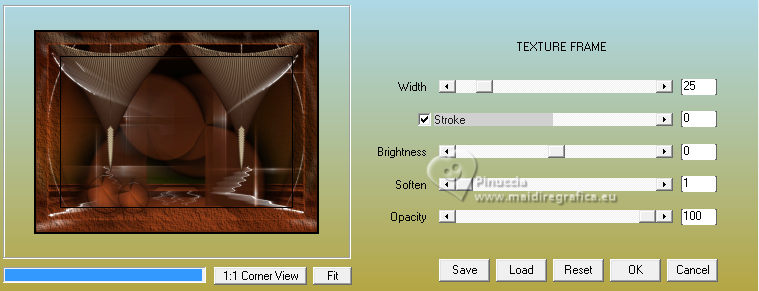
Repeat this Effect another time.
Selections>Invert.
Effects>3D Effects>Drop Shadow, color #000000.
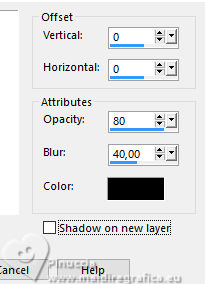
Selections>Select None.
30. Image>Add borders, 1 pixel, symmetric, dark color.
Image>Add borders, 2 pixels, symmetric, light color.
Image>Add borders, 1 pixel, symmetric, dark color
Edit>Copy
Selections>Select All.
Image>Add borders, 50 pixels, symmetric, color #ffffff.
Selections>Invert.
Edit>Paste into Selection
Adjust>Blur>Gaussian Blur - radius 10.

29. Effects>Plugins>AAA Frames - Texture Frame.
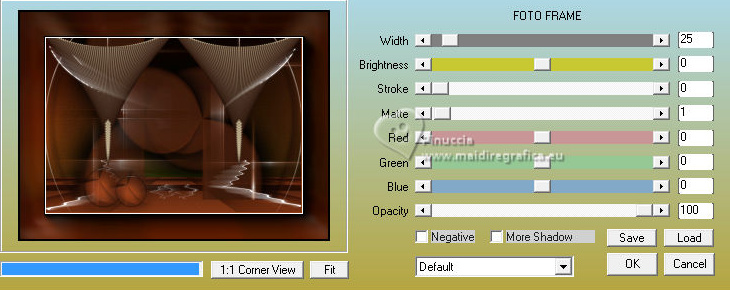
Repeat this Effect another time.
Selections>Invert.
Effects>3D Effects>Drop Shadow, same settings.

Selections>Select None.
30. Open Callitubes-3235mulheres 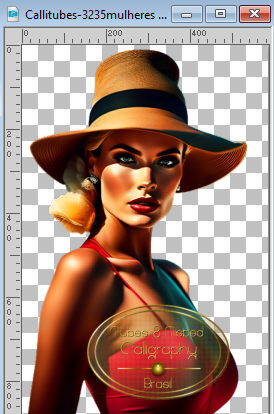
Edit>Copy.
Go back to your work and go to Edit>Paste as new layer.
Image>Mirror.
Move  the tube to the right side, or to your liking. the tube to the right side, or to your liking.
Effects>3D Effects>Drop Shadow, at your choice.
31. Open Callitubes-162flores 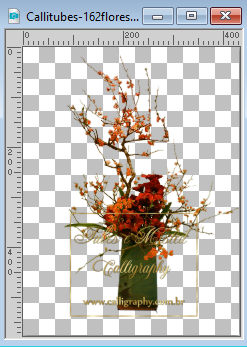
Edit>Copy.
Go back to your work and go to Edit>Paste as new layer.
Move  the tube at the bottom left, or to your liking. the tube at the bottom left, or to your liking.
32. Open the text titulobylc 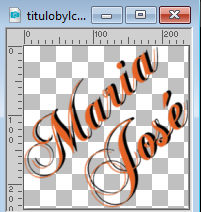 (or write your text) (or write your text)
Edit>Copy.
Go back to your work and go to Edit>Paste as new layer.
Place  the text to your liking. the text to your liking.
33. Image>Resize, 1024 pixels width, resize all layers checked.
34. Sign your work on a new layer.
Add the author and translator's watermarks.
Save as jpg.
For the tubes of this version thanks Beatriz and NaiseM
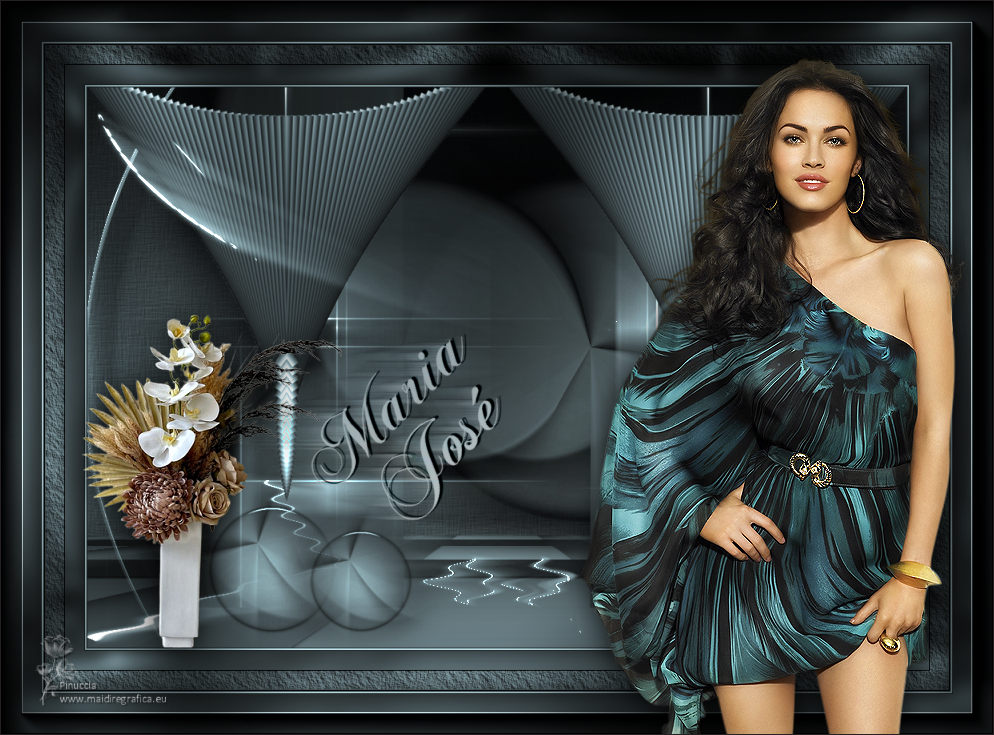
 Your versions here Your versions here

If you have problems or doubts, or you find a not worked link, or only for tell me that you enjoyed this tutorial, write to me.
10 October 2023

|


