|
TOP MASCARADE

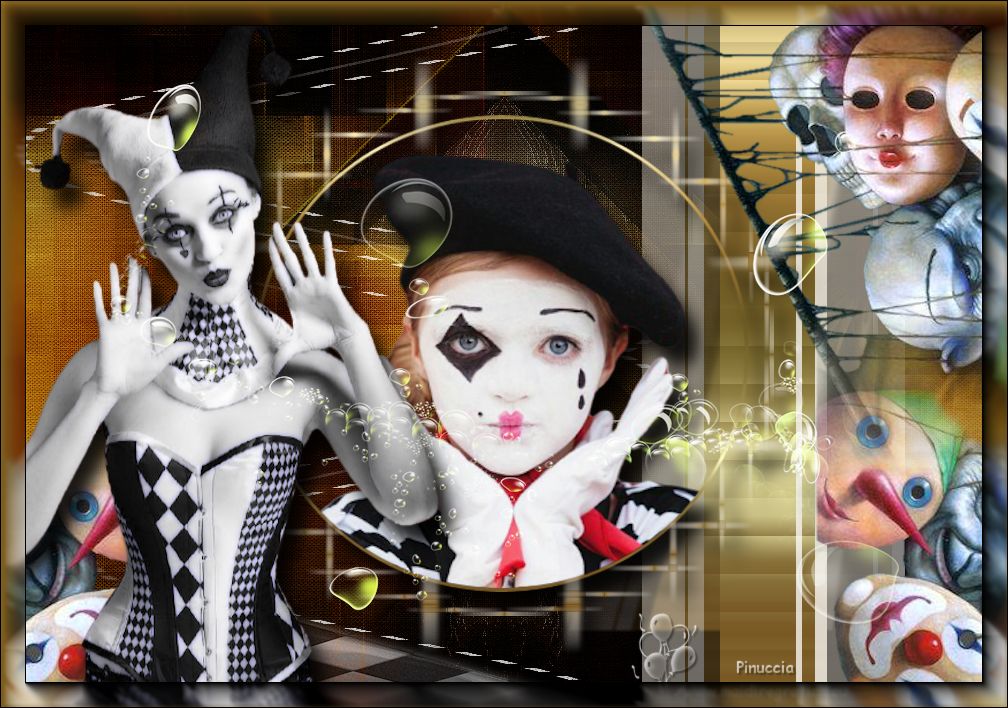
Thanks Lica Cida for your invitation to translate your tutorial

This tutorial was created with PSPX9 and translated with PSPX2 and PSPX3 and PSPX7, but it can also be made using other versions of PSP.
Since version PSP X4, Image>Mirror was replaced with Image>Flip Horizontal,
and Image>Flip with Image>Flip Vertical, there are some variables.
In versions X5 and X6, the functions have been improved by making available the Objects menu.
In the latest version X7 command Image>Mirror and Image>Flip returned, but with new differences.
See my schedule here
 French translation here French translation here
 your versions here your versions here

For this tutorial, you will need:

For the tubes thanks Renée and Callitube
(you find here the links to the material authors' sites)

consult, if necessary, my filter section here
Filters Unlimited 2.0 here
&<Bkg Designer sf10I> - Bee Morph (à importer dans Unlimited) here
&<Bkg Designer sf10II> - DIS Refractor 2 (à importer dans Unlimited) here
Mehdi - Sorting Tiles, Weaver here
Simple - Blintz here
AP [Innovations] - Lines SilverLining here
Toadies - What are you here
Alien Skin Eye Candy 5 Impact, Perspective Shadow here
AAA Frames - Foto Frame here
Filters Simple and Toadies can be used alone or imported into Filters Unlimited.
(How do, you see here)
If a plugin supplied appears with this icon  it must necessarily be imported into Unlimited it must necessarily be imported into Unlimited

You can change Blend Modes according to your colors.

The Gradient Metal Brass or Corel_06_17 is standard in PSP.
If you don't find it in your PSP, copy the supplied gradient in the Gradients Folder.
Copy the preset Emboss 3 in the Presets Folder.
1. Open the image grafico_bylc 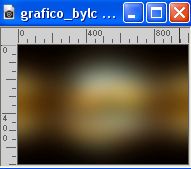
This image will be the basis of your work.
Layers>Promote Background Layer.
2. Effects>Plugins>Filters Unlimited 2.0 - Paper Textures - Canvas Fine, default settings.
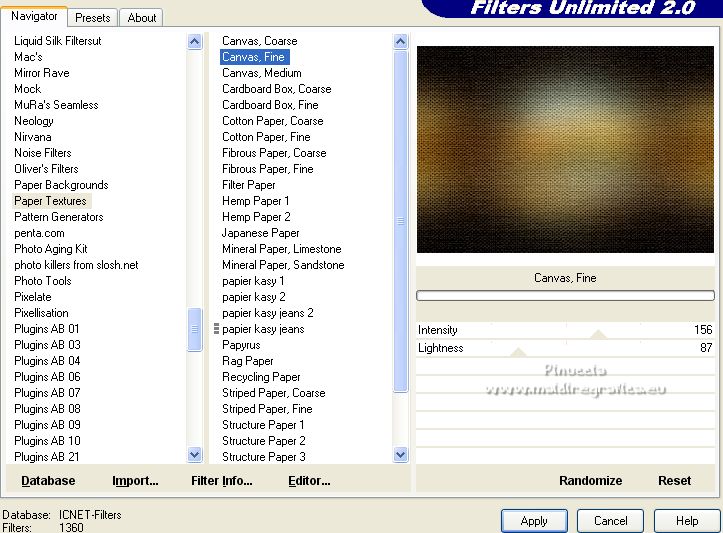
3. Set your foreground color with a color that matches the initial image: #f7b73b.
Layers>New Raster Layer.
Flood Fill  the layer with your foreground color #f7b73b. the layer with your foreground color #f7b73b.
4. Effects>Plugins>Filters Unlimited 2.0 - &<Bkg Designer sf10I> - Bee Morph, default settings.
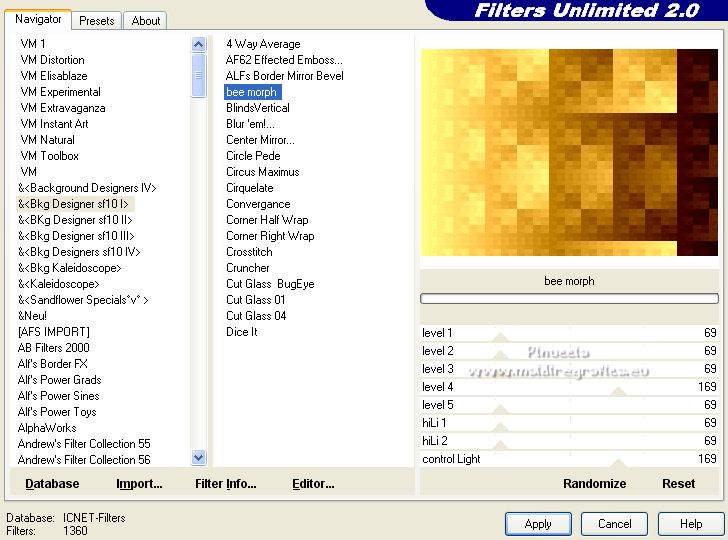
Adjust>Sharpness>Sharpen.
5. Effects>Plugins>Mehdi - Sorting Tiles.
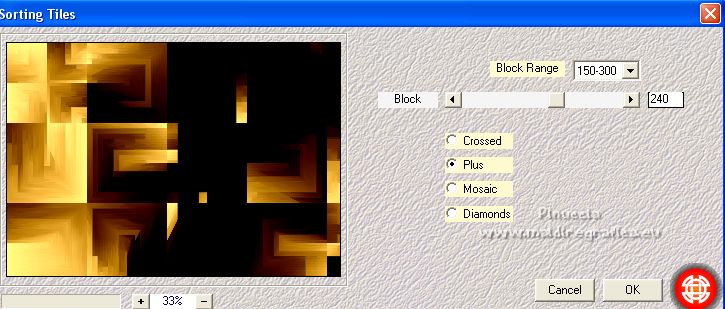
6. Effects>Plugins>Mehdi - Weaver.
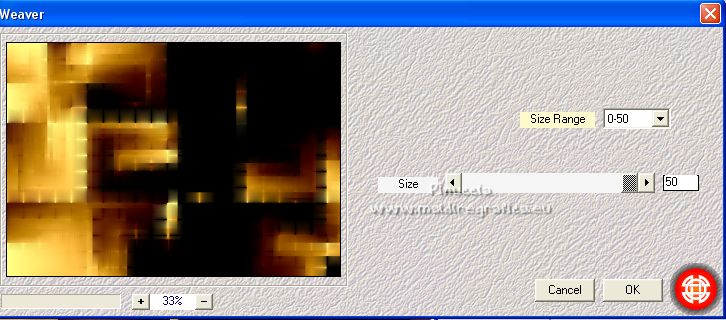
Adjust>Sharpness>Sharpen.
Change the Blend Mode of this layer to Soft Light.
7. Effects>Plugins>Simple - Blintz.
Effects>User Defined Filter - select the preset Emboss 3 and ok.

8. Open deco1_lc 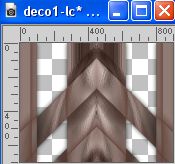
Edit>Copy.
Go back to your work and go to Edit>Paste as new layer.
9. Effects>Plugins>AP [Innovations] - Lines SilverLining.

10. Adjust>Hue and Saturation>Vibrancy.
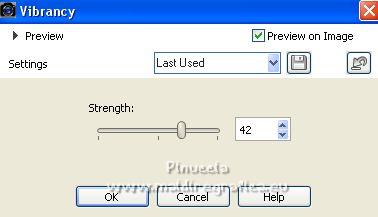
This effect can be found in PSP from version PSPX3.
With previous versions you can skip the step,
or choose between the effects in the "Adjust" menu, depending on the colors of your image
Layers>Arrange>Move Down.
Change the Blend Mode of this layer to Hard Light and reduce the opacity to 55%.
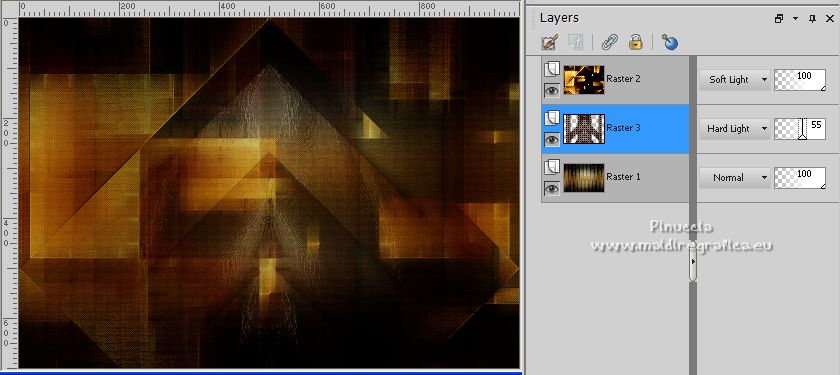
11. Activate the top layer, Raster 2.
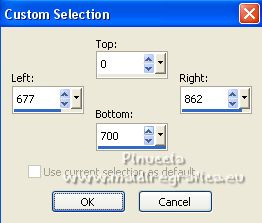
Selection Tool 
(no matter the type of selection, because with the custom selection your always get a rectangle)
clic on the Custom Selection 
and set the following settings.
12. Layers>New Raster Layer.
Set your foreground color to Gradient and select the gradient Metal Brass, or corel_06_017, style Linear.
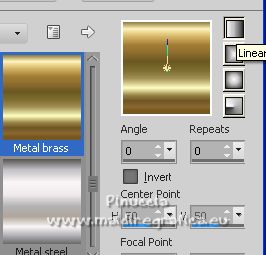
Flood Fill  the selection with your Gradient. the selection with your Gradient.
Selections>Select None.
13. For the next plugin, you have to place the white color in the background #ffffff,
because the background color gives the color to the result
Effects>Plugins>Toadies - What are you, default settings.
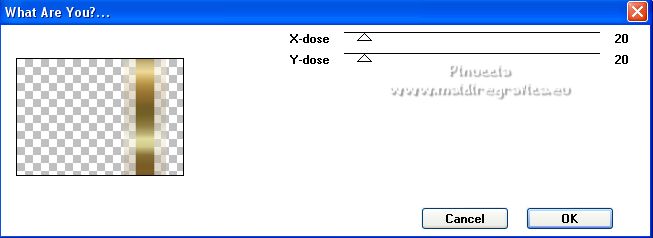
for your knowledge, here is the result with another background color
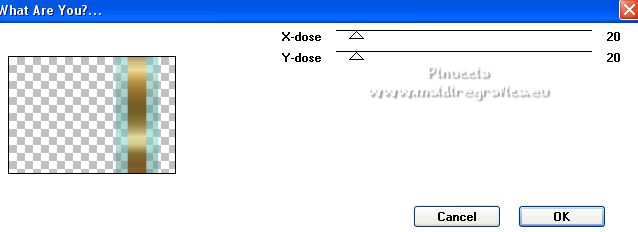
14. Effects>Plugins>Filters Unlimited 2.0 - &<Bkg Designer sf10II> - DIS Refractor 2, default settings.
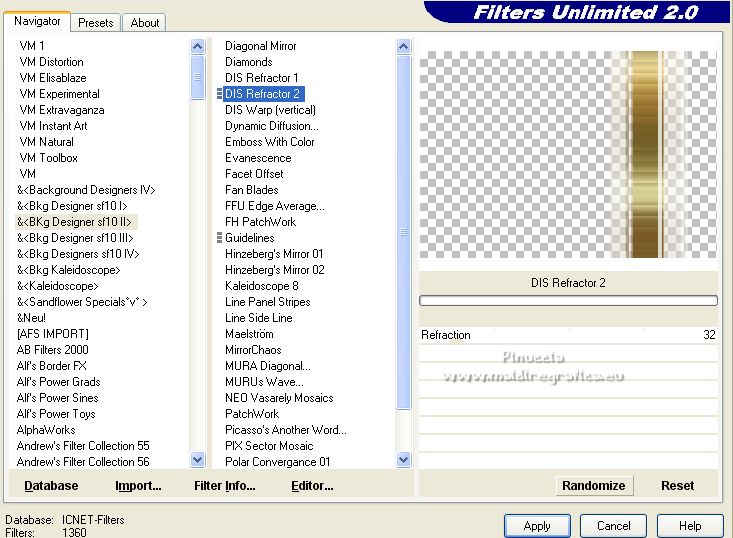
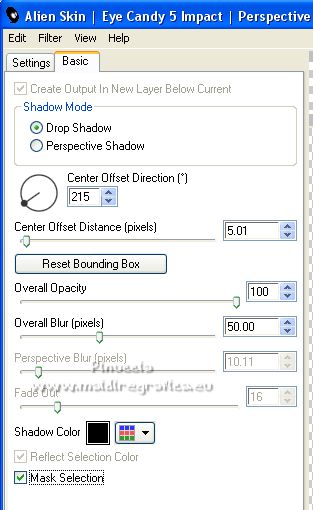
15. Effects>Plugins>Alien Skin Eye Candy 5 Impact - Perspective Shadow.
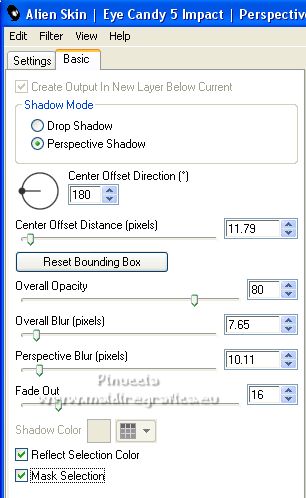
16. Repeat Effects>Plugins>Alien Skin Eye Candy 5 Impact - Perspective Shadow, with these settings.
17. Open elemento-2lc 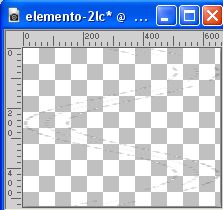
Edit>Copy.
Go back to your work and go to Edit>Paste as new layer.
Move  the element at the upper left. the element at the upper left.
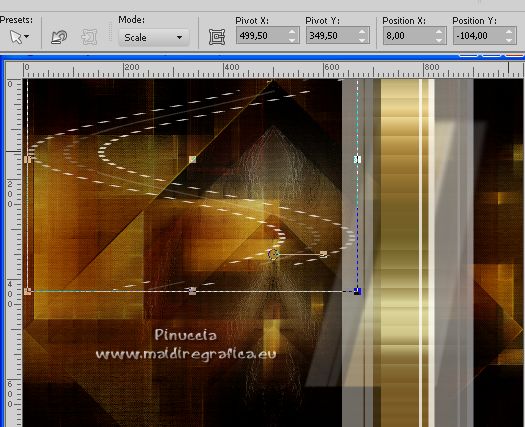
Layers>Duplicate.
Image>Flip.
Layers>Merge>Merge Down.
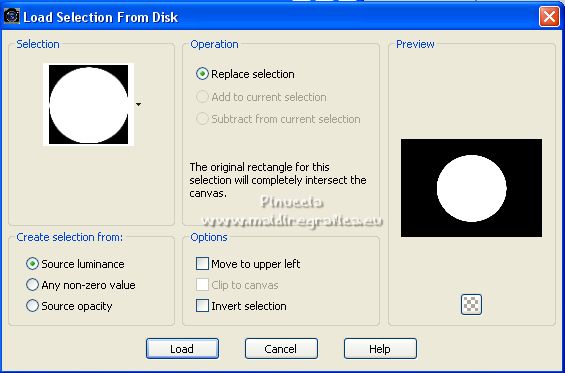
18. Selections>Load/Save Selection>Load Selection from Disk.
Look for and load the selection sel_circulo_lc.PspSelection
19. Layers>New Raster Layer.
Flood Fill  the layer with the gradient Metal Brass. the layer with the gradient Metal Brass.
20. Selections>Modify>Contract - 4 pixels.
Press CANC on the keyboard 
Keep selected.
21. Open the tube Renee_TUBES_Fev.45 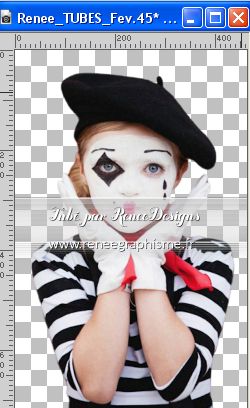
Edit>Copy.
Go back to your work and go to Edit>Paste as new layer.
Without resizing, place  the tube on the selection. the tube on the selection.
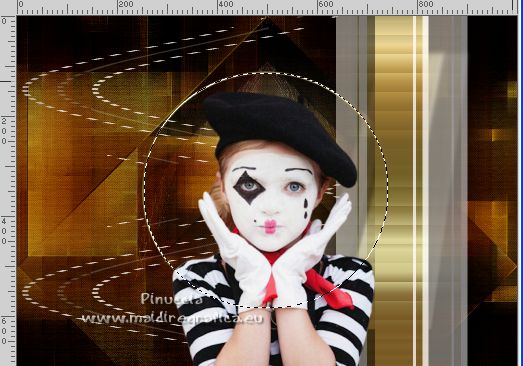
Selections>Invert.
Press CANC on the keyboard.
Selections>Select None.
22. Activate the layer below of the circle.
Layers>Duplicate.
Image>Resize, to 110%, resize all layers not checked.
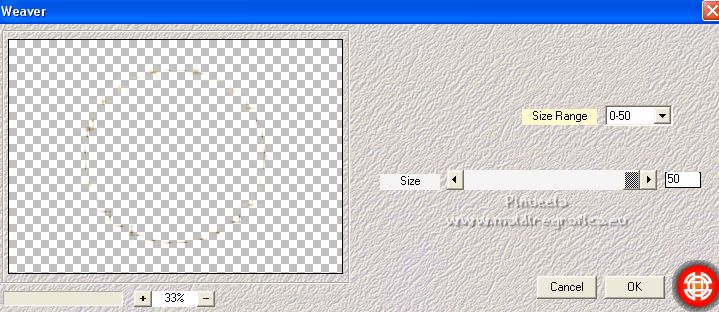
Effects>Plugins>Mehdi - Weaver, same settings.
Layers>Duplicate.
Layers>Merge>Merge Down.
23. Activate again the top layer.
Layers>Merge>Merge Down - 2 times.
Effets>Modules Externs>Alien Skin Eye Candy 5 Impact - Perspective Shadow, at your choice.
Your tag and the layers
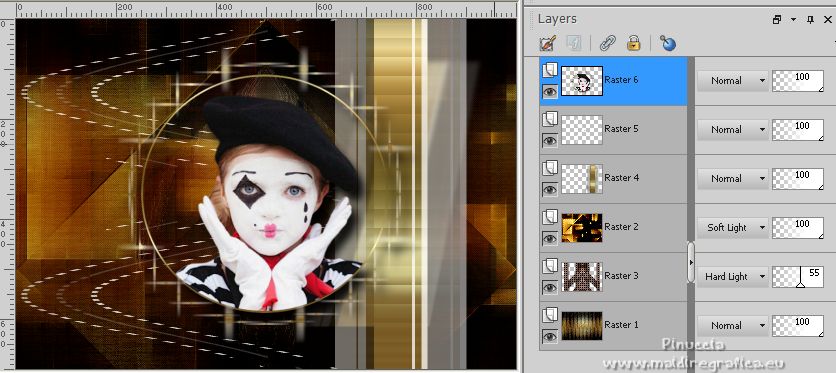
24. Open the tube Renee-TUBES-Carnaval2023-2 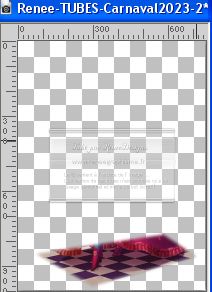
Activate the layer sol and go to Edit>Copy.
Go back to your work and go to Edit>Paste as new layer.
Image>Flip.
25. K key to activate your Pick Tool 
and set Position X: -48,00 and Position Y: 582,00.

M key to deselect the Tool.
Change the Blend Mode of this layer to Luminance (legacy).
26. Open the tube Callitubes-10carnaval 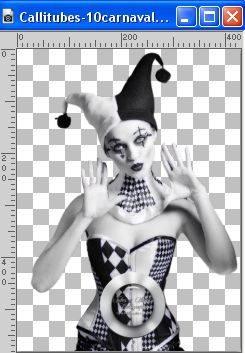
Edit>Copy.
Go back to your work and go to Edit>Paste as new layer.
Image>Resize, to your liking, for me 115%, resize all layers not checked.
Move  le tube to your liking on the "floor". le tube to your liking on the "floor".
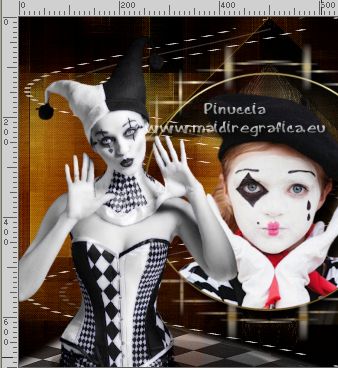
Effects>3D Effets 3D>Drop Shadow, at your choice.
27. Open the tube Renee_tube_Carnaval2017 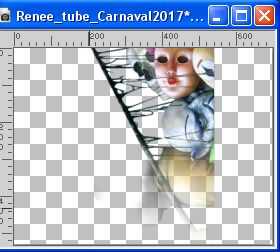
Move  the tube to your liking. the tube to your liking.
Use the mask gradiente worisch (in the material) to soften some effects.
Effects>3D Effects>Drop shadow, at your choice.
For my example:
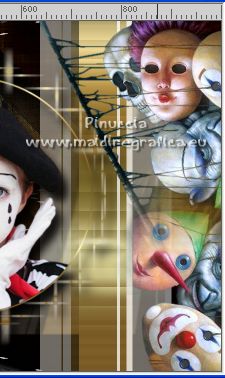
Copy/paste as new layer the layer "raster 4" 
Move  the tube at the upper right. the tube at the upper right.
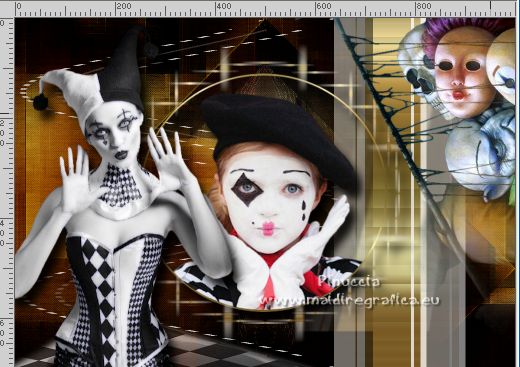
Copy/paste as new layer the layer group-raster 5 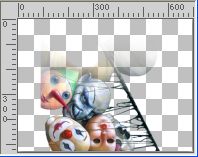
Move  the tube at the bottom right. the tube at the bottom right.
Copy/paste as new layer the second layer group-raster 5 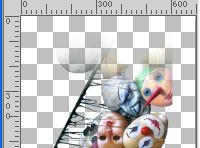
Move  the tube at the bottom left. the tube at the bottom left.
Move this layer under the layer of the tube
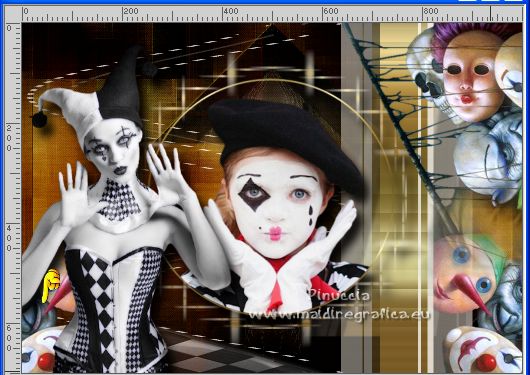
28. Open the tube elemento-1 
Edit>Copy.
Go back to your work and go to Edit>Paste as new layer.
Change the Blend Mode of this layer to Screen.
29. Image>Add borders, 1 pixel, symmetric, color #000000.
Image>Add borders, 1 pixel, symmetric, foreground color #f7b73b.
Image>Add borders, 1 pixel, symmetric, color #000000.
Image>Add borders, 1 pixel, symmetric, foreground color #f7b73b.
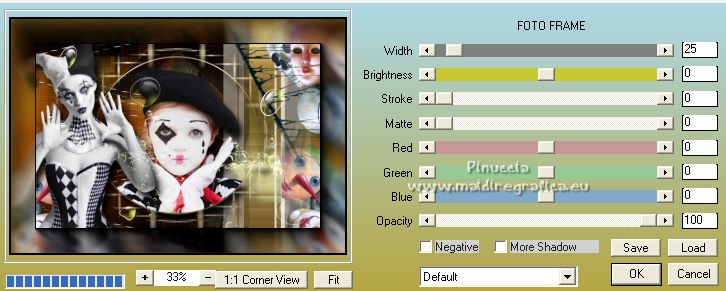
30. Effects>Plugins>AAA Frames - Foto Frame.
31. Sign your work on a new layer.
Add, if you want, the author and translator's watermarks.
Save as jpg.
For the tubes of this version thanks Renée
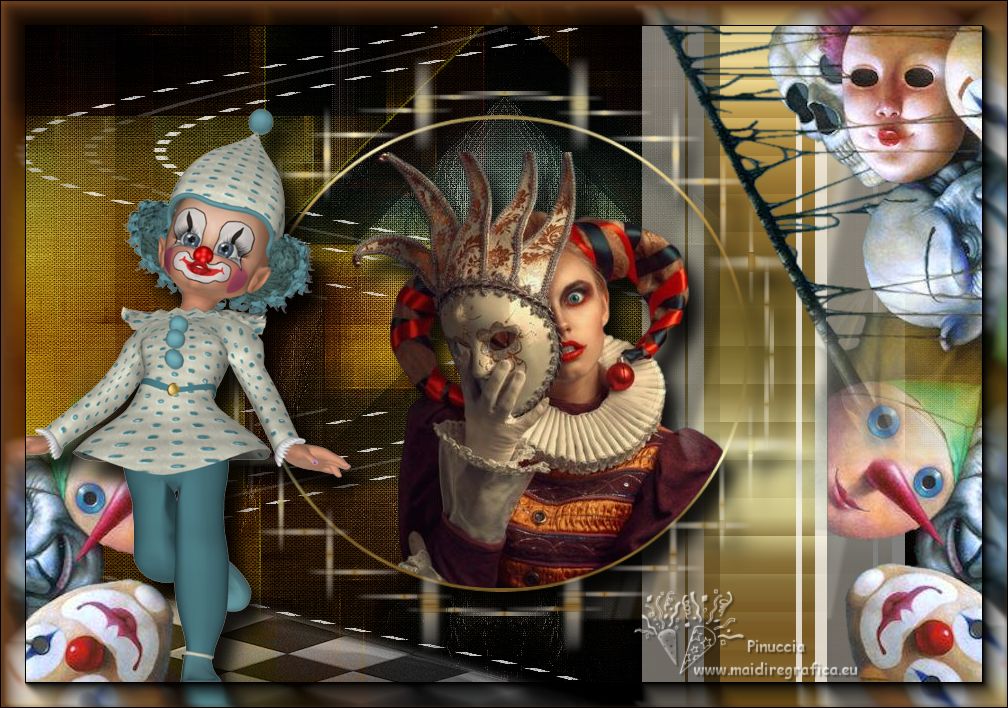
 Your versions here Your versions here

If you have problems or doubts, or you find a not worked link, or only for tell me that you enjoyed this tutorial, write to me.
11 February 2023

|


