|
TOP MEU DISFARCE
 MY DISGUISE MY DISGUISE
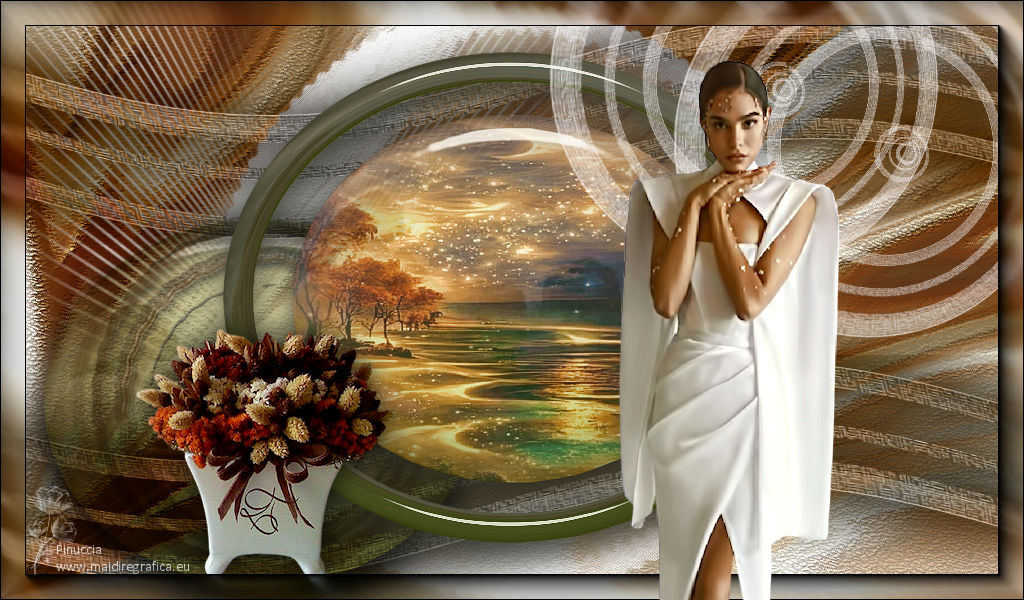
Thanks Lica Cida for your invitation to translate your tutorial

This tutorial was created with PSPX9 and translated with PSPX9 and PSP2020, but it can also be made using other versions of PSP.
Since version PSP X4, Image>Mirror was replaced with Image>Flip Horizontal,
and Image>Flip with Image>Flip Vertical, there are some variables.
In versions X5 and X6, the functions have been improved by making available the Objects menu.
In the latest version X7 command Image>Mirror and Image>Flip returned, but with new differences.
See my schedule here
 French translation here French translation here
 your versions here your versions here

For this tutorial, you will need:

For the tubes thanks Callitubes and NaiseM.
(you find here the links to the material authors' sites)

consult, if necessary, my filter section here
Filters Unlimited 2.0 here
VM Distortion - Distortion by Brightness here
Artistiques - Pastels here
Mura's Meister - Pole Transform here
Alien Skin Eye Candy 5 Impact - Glass here
AAA Frames - Foto Frame / AAA Filters - Custom here
Nik Software - Color Efex here
Filters VM Distortion can be used alone or imported into Filters Unlimited.
(How do, you see here)
If a plugin supplied appears with this icon  it must necessarily be imported into Unlimited it must necessarily be imported into Unlimited

You can change Blend Modes according to your colors.

Copy the Selections in the Selections Folder.
1. Choose two colors from your tubes.
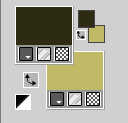
Set your foreground color to the dark color #2f2c16,
and your background color to the light color #c0ba67.
2. Open a new transparent image 1024 x 600 pixels.
3. Selections>Load/Save Selection>Load Selection from Disk.
Look for and load the selection disfarce1-lc
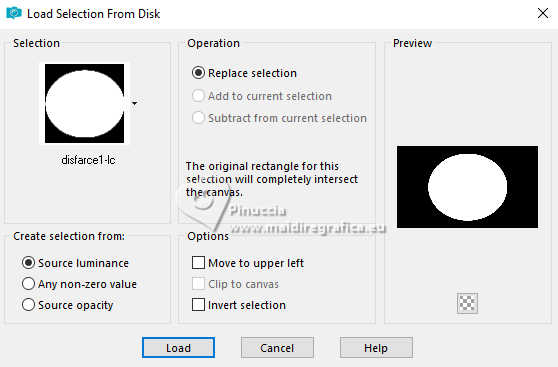
Flood Fill  the selection with your dark color. the selection with your dark color.
4. Selections>Modify>Contract - 30 pixels.
Press CANC on the keyboard 
5. Layers>New Raster Layer.
Open the tube Misted Callitubes-605Paisagens 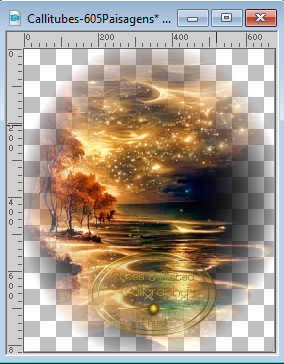
Edit>Copy.
Go back to your work and go to Edit>Paste into Selection.
Adjust>Sharpness>Sharpen.
Selections>Select None.
Layers>Merge>Merge Down.
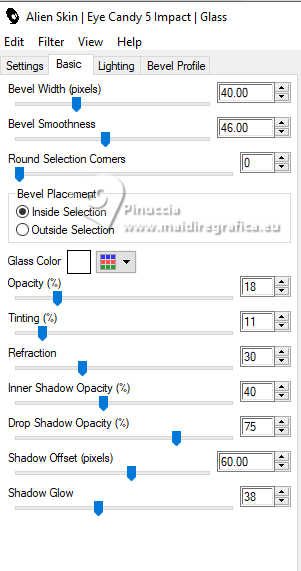
6. Effects>Plugins>Alien Skin Eye Candy 5 Impact - Glass.
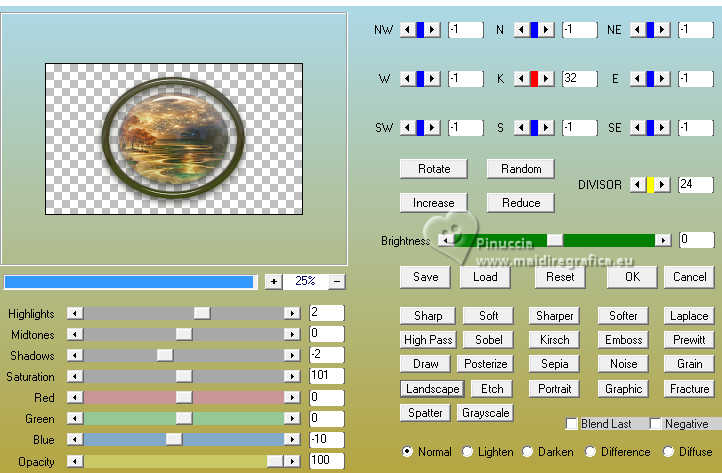
7. Effects>Plugins>AAA Filters - Custom - click on Landscape and ok.
8. Layers>New Raster Layer.
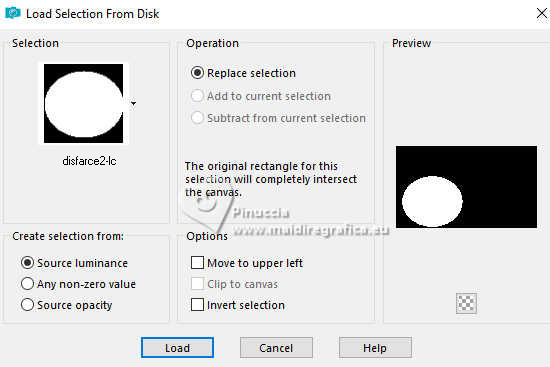
Selections>Load/Save Selection>Load Selection from Disk.
Look for and load the selection disfarce2-lc
9. Reduce the opacity of your Flood Fill Tool to 60%.
Flood Fill  the selection with your light color. the selection with your light color.
10. Open decor_nm_nmcriacoes 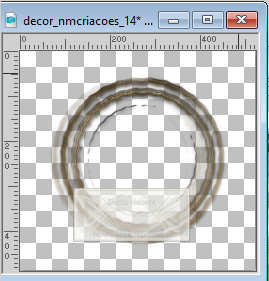
Edit>Copy.
Go back to your work and go to Edit>Paste as new layer.
Place  the tube in the center of the selection the tube in the center of the selection
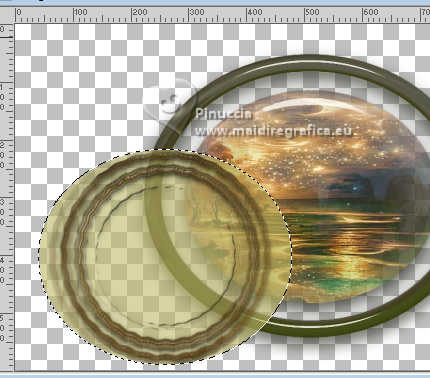
for my example, I resized the layer to 95%.
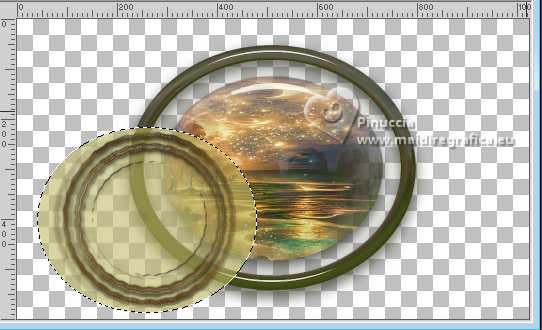
Selections>Select None.
Layers>Merge>Merge Down.
11. Effects>Plugins>Alien Skin Eye Candy 5 Impact - Glass, same settings.

Result
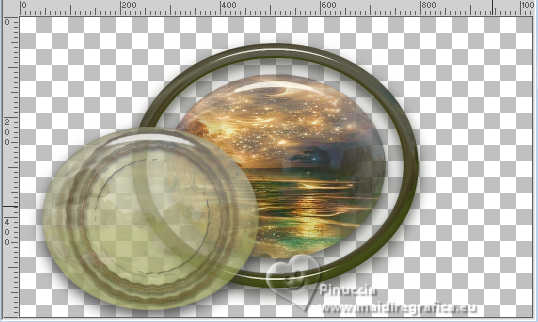
12. Effects>Plugins>AAA Filters - Custom - Landscape.
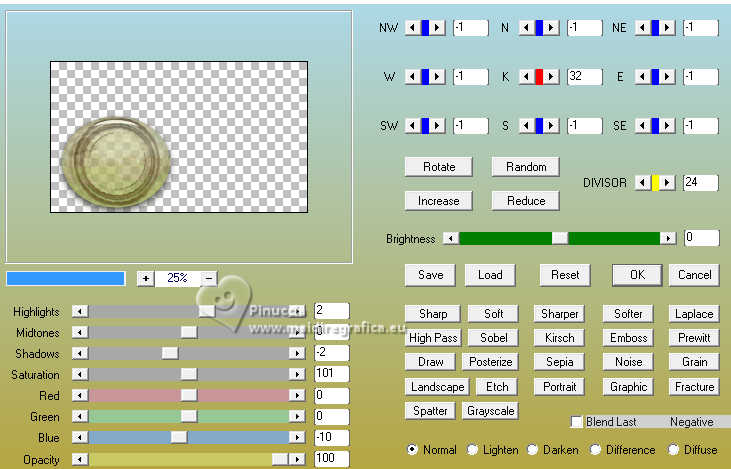
Layers>Arrange>Move Down.
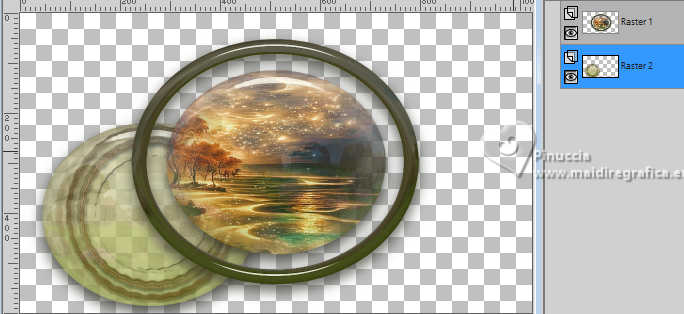
13. Layers>New Raster Layer.
Layers>Arrange>Send to Bottom.
Flood Fill  the layer with your dark color. the layer with your dark color.
14. Selections>Select All.
Open the tube Callitubes-3434mulheres 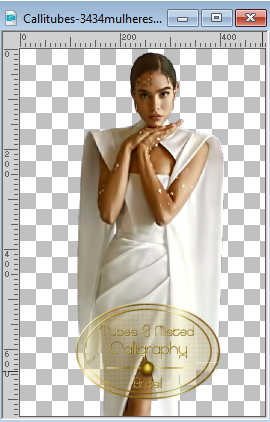
Edit>Copy.
Go back to your work and go to Edit>Paste into Selection.
Selections>Select None.
15. Effects>Image Effects>Seamless Tiling, default settings.

16. Adjust>Blur>Radial Blur.
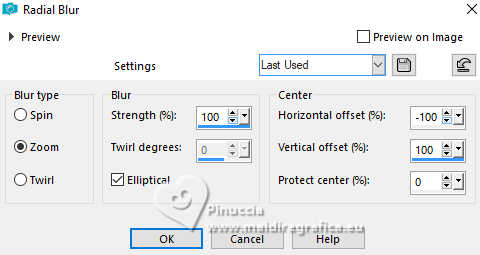
17. Effects>Plugins>VM Distortion - Distortion by Brightness.
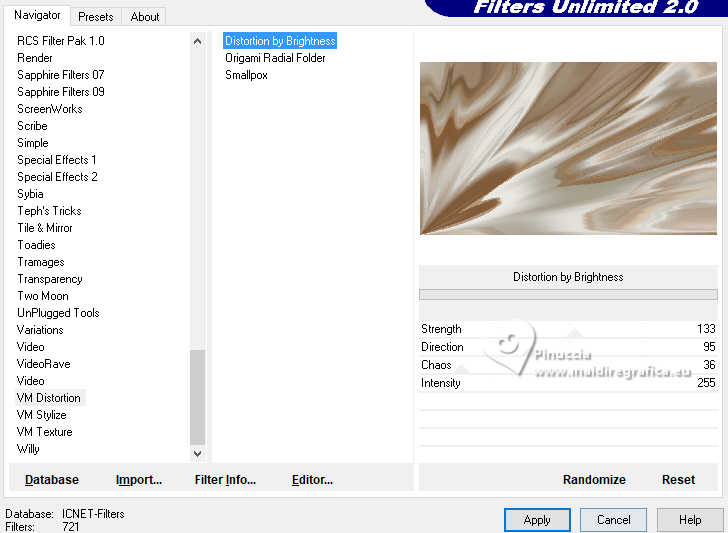
18. Effects>Plugins>Artistiques - Pastels
if you use the english version of this filter (the result doesn't change)
Effects>Plugins>Artistic - Rough Pastels
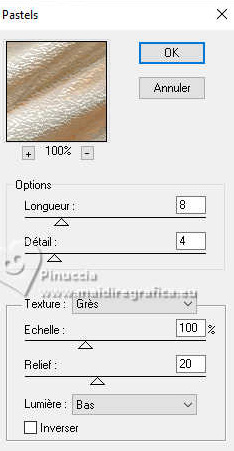 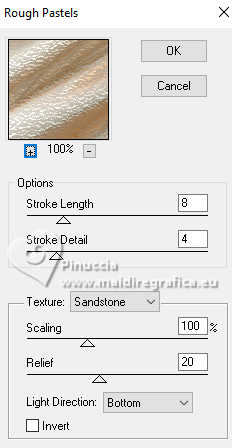
19. Effects>Plugins>Filters Unlimited 2.0 - Convolution Filter - Emboss (light).
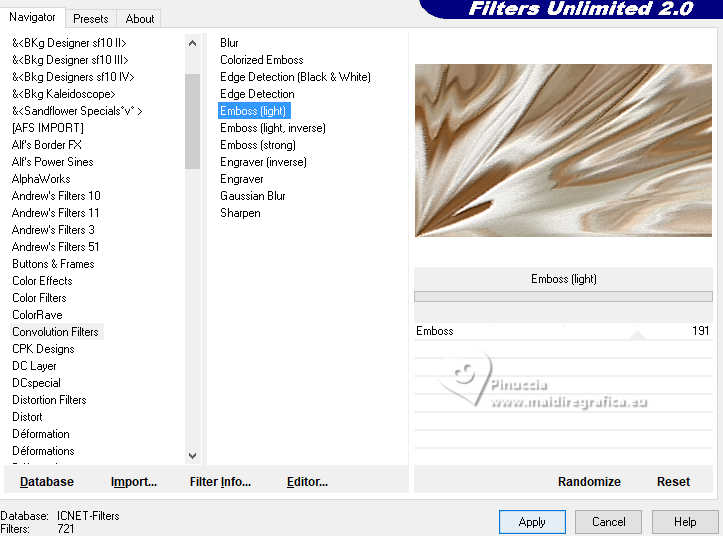
20. Layers>Duplicate.
Effects>Plugins>Nik Software - Color Efex Pro - Glamour Glow, default settings.
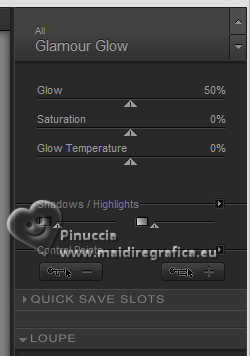
21. Change the Blend Mode of this layer to Multiply.
Repeat Effects>Plugins>Nik Software - Color Efex Pro - Glamour Glow, default settings.
22. Open the tube decor_nmcriacoes_65 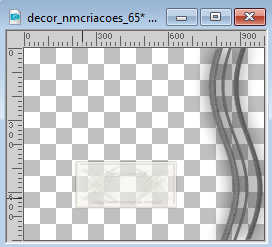
Edit>Copy.
Go back to your work and go to Edit>Paste as new layer.
23. Image>Free Rotate - 90 degrees to left
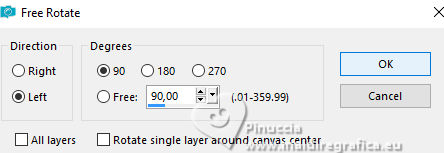
if it necessary, close the top layers to see better
Move  / / the tube to the left the tube to the left
to 430 pixels
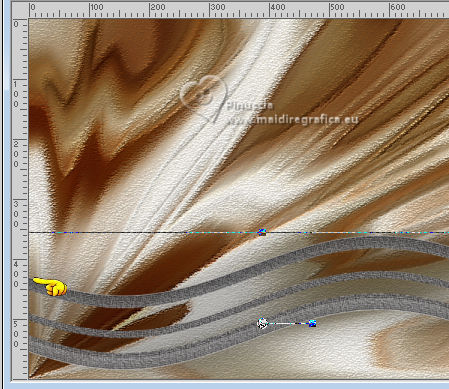
and pull che right central node until the bord
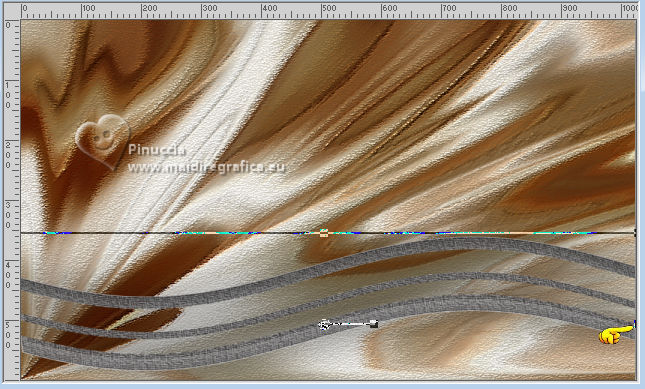
24. Layers>Duplicate.
Image>Mirror>Mirror Vertical (Image>Flip)
Image>Mirror>Mirror Horizontal (Image>Mirror)
Layers>Merge>Merge Down.
Change the Blend Mode of this layer to Luminance (legacy)
25. Your tag and the layers
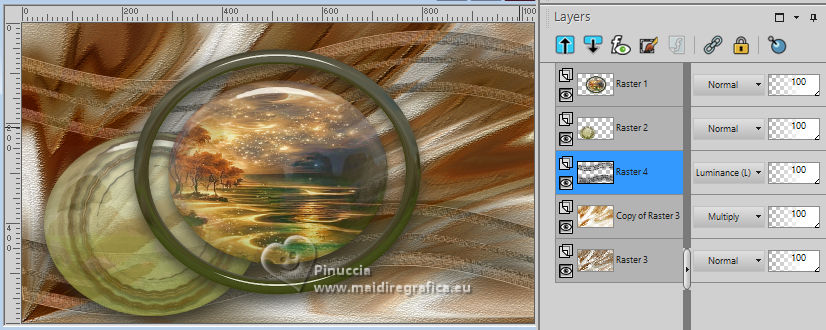
for my example, I changed the Blend Mode of the layer above, Raster 2, to Multiply
Effects>3D Effects>Drop Shadow, at your choice.
26. Stay on the layer Raster 4.
Layers>Duplicate.
Effects>Plugins>Mura's Meister - Pole Transform
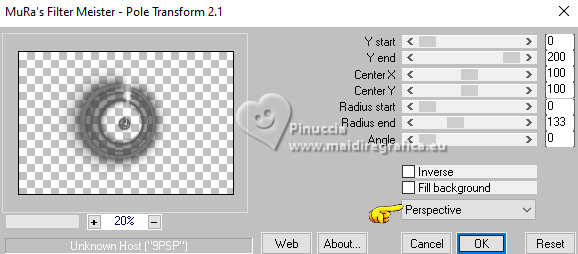
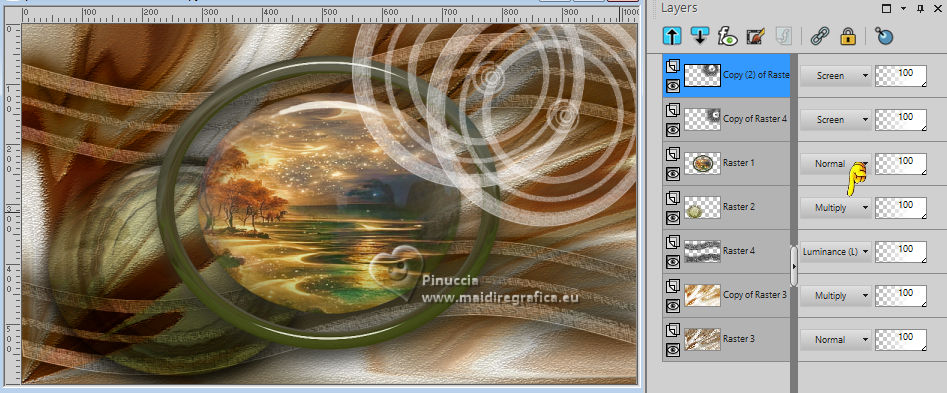
26. Layers>Arrange>Bring to Top.
Change the Blend Mode of this layer to Screen.
Move  the image at the upper right. the image at the upper right.
Layers>Duplicate.
Move  this image a bit higher and to the left. this image a bit higher and to the left.
Keep the layer to Screen Mode.
27. Activate the layer under the layer Raster 4, Copy of Raster 3.
Open deco1 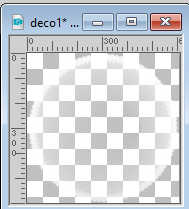
Edit>Copy.
Go back to your work and go to Edit>Paste as new layer.
Don't move it.
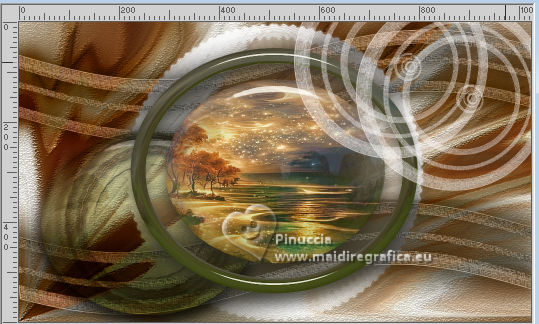
28. Open deco2 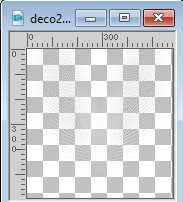
Edit>Copy.
Go back to your work and go to Edit>Paste as new layer.
Objects>Align>Left
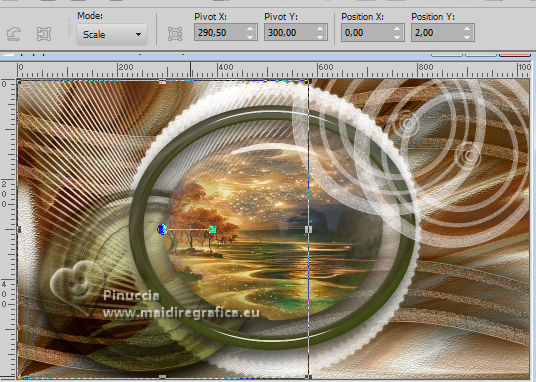
29. Activate your top layer.
Open the tube Callitubes-327flores 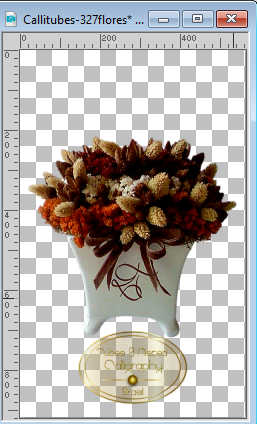
Edit>Copy.
Go back to your work and go to Edit>Paste as new layer.
Image>Resize, to 50%, resize all layers not checked.
Move  the tube at the bottom left. the tube at the bottom left.
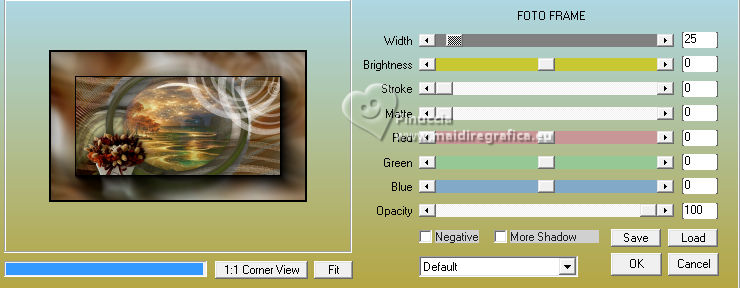
30. Effects>Plugins>AAA Frames - Foto Frame.
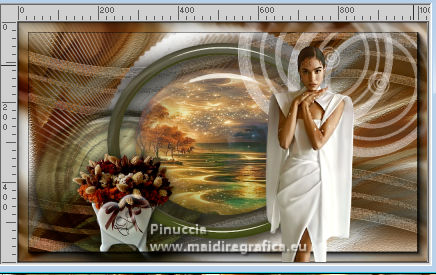
31. Open the tube Callitubes-3434mulheres 
Edit>Copy.
Go back to your work and go to Edit>Paste as new layer.
Image>Resize, to 75%, resize all layers not checked.
Move  the tube to the right side. the tube to the right side.
32. Sign your work on a new layer.
Layers>Merge>Merge All and save as jpg.
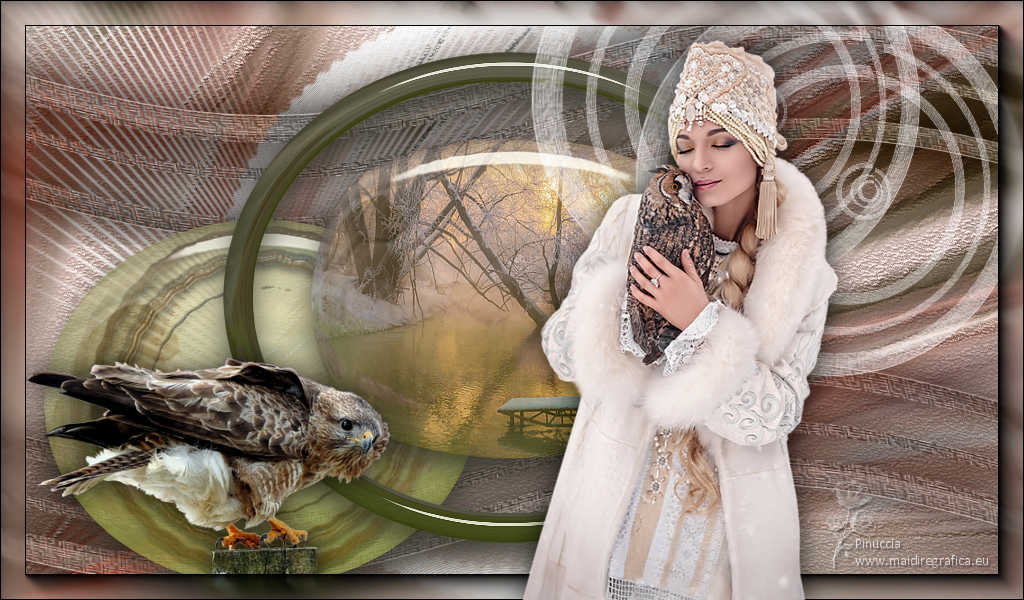
For the tubes of this version thanks Mentali and Lana
 Your versions here Your versions here

If you have problems or doubts, or you find a not worked link, or only for tell me that you enjoyed this tutorial, write to me.
9 January 2024

|
 MY DISGUISE
 MY DISGUISE