|
TOP ONLY

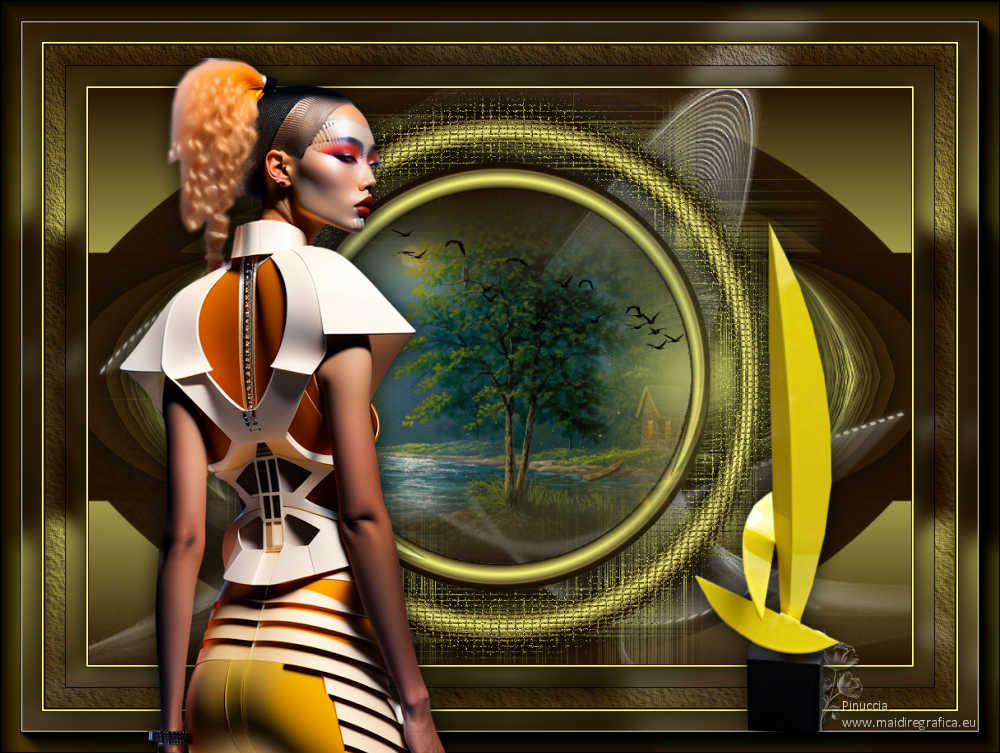
Thanks Lica Cida for your invitation to translate your tutorial

This tutorial was created with PSPX9 and translated with PSPX9 and PSP2020, but it can also be made using other versions of PSP.
Since version PSP X4, Image>Mirror was replaced with Image>Flip Horizontal,
and Image>Flip with Image>Flip Vertical, there are some variables.
In versions X5 and X6, the functions have been improved by making available the Objects menu.
In the latest version X7 command Image>Mirror and Image>Flip returned, but with new differences.
See my schedule here
 French translation here French translation here
 your versions here your versions here

For this tutorial, you will need:

Thanks for the tubes Nena Silva, Callitubes, and for the mask Narah.
(you find here the links to the material authors' sites)

consult, if necessary, my filter section here
Filters Unlimited 2.0 here
Mura's Meister - Perspective Tiling here
Mura's Meister - Copies here
Mura's Meister - Pole Transform here
Mura's Seamless - Emboss at Alpha here
Flaming Pear - Flexify 2 here
Alien Skin Eye Candy 5 Impact - Extrude here
Mehdi - Weaver here
AAA Frames - Foto Frame / AAA Filters - Custom here
Filters Mura's Seamless can be used alone or imported into Filters Unlimited.
(How do, you see here)
If a plugin supplied appears with this icon  it must necessarily be imported into Unlimited it must necessarily be imported into Unlimited

You can change Blend Modes according to your colors.
In the newest versions of PSP, you don't find the foreground/background gradient (Corel_06_029).
You can use the gradients of the older versions.
The Gradient of CorelX here

Copy the selections in the Selections Folder.
Open the mask in PSP and minimize it with the rest of the material.
1. Choose two colors from your tubes.
Set your foreground color to dark color #281403,
and your background color to light color #feff7f.
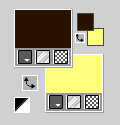
Set your foreground color to a Foreground/Background Gradient, style Linear.
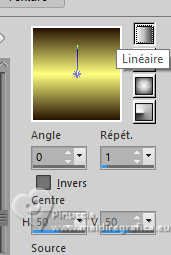
2. Open a new transparent image 1000 x 700 pixels.
Flood Fill  the transparent image with your Gradient. the transparent image with your Gradient.
3. Layers>Duplicate.
Effects>Texture Effects>Blinds - color #000000.
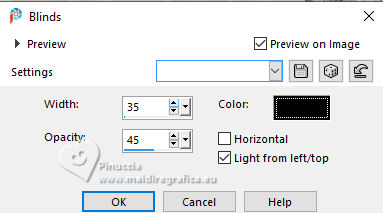
4. Effects>Plugins>Mura's Meister - Perspective Tiling.
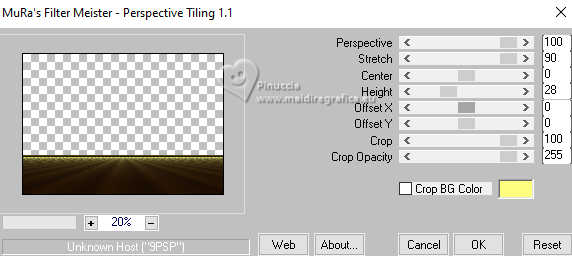
Image>Mirror>Mirror Vertical (Image>Flip).
5. Effects>Plugins>Mura's Meister - Copies.
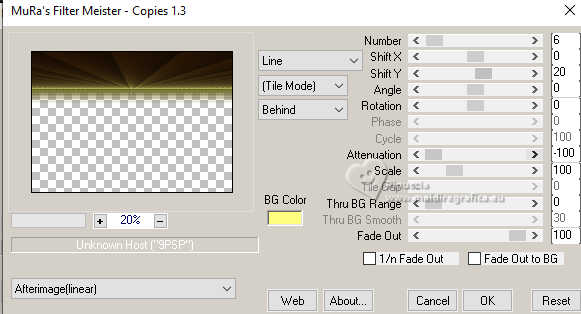
Repeat this Effect another time.
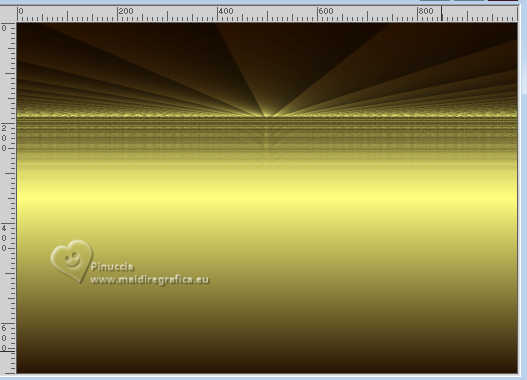
Effects>Edge Effects>Enhance.
6. Effects>Distortion Effects>Warp.
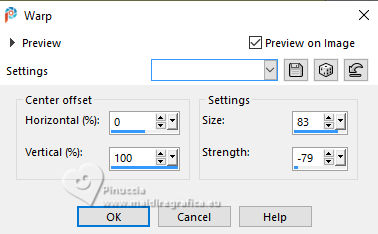
Image>Mirror>Mirror Vertical (Image>Flip).
7. Place  the image as below the image as below
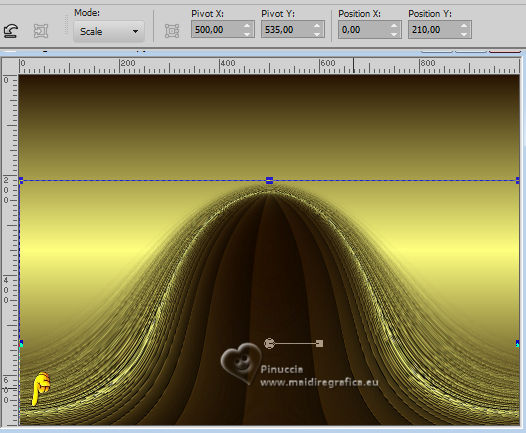
8. Effects>Distortion Effects>Wave
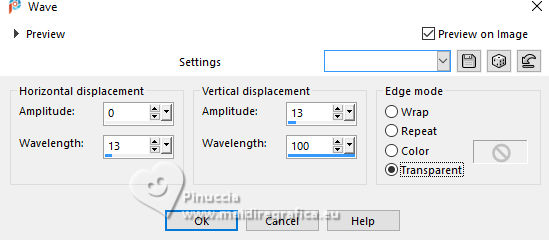
9. Effects>Plugins>Flaming Pear - Flexify 2.
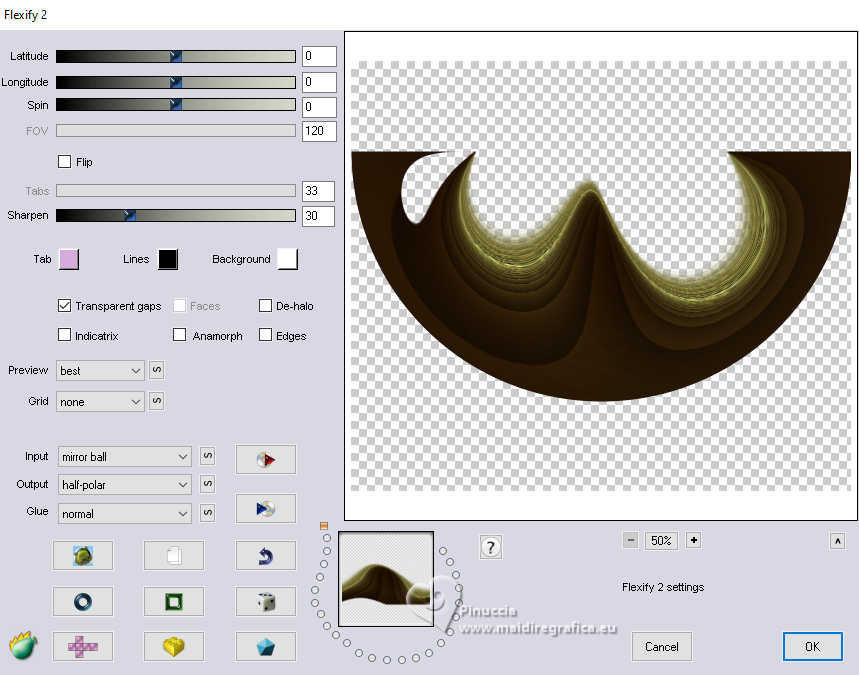
Layers>Duplicate.
Image>Mirror>Mirror Vertical (Image>Flip).
Layers>Merge>Merge Down.
10. Effects>Reflection Effects>Kaleidoscope.
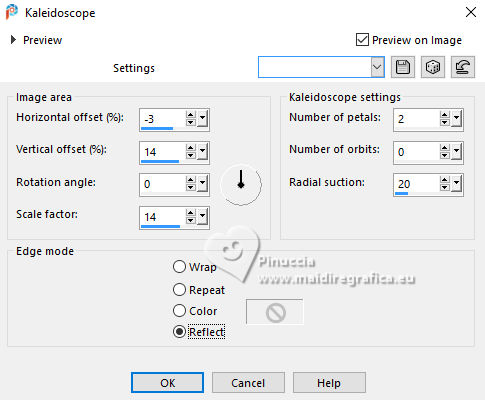
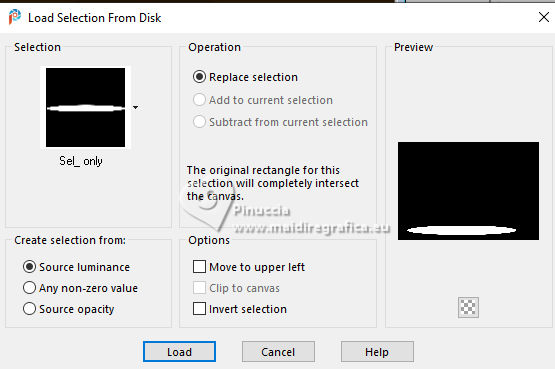
11. Selections>Load/Save Selection>Load Selection from Disk.
Look for and load the selection sel_only
12. Layers>New Raster Layer.
Flood Fill  the selection with your Gradient. the selection with your Gradient.
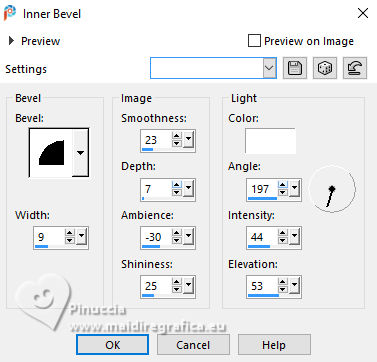
13. Effects>3D Effects>Inner Bevel.
Selections>Select None.
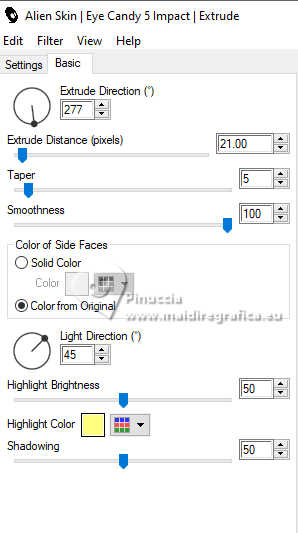
14. Effects>Plugins>Alien Skin Eye Candy 5 Impact - Extrude.
Hightcolor Color: background color
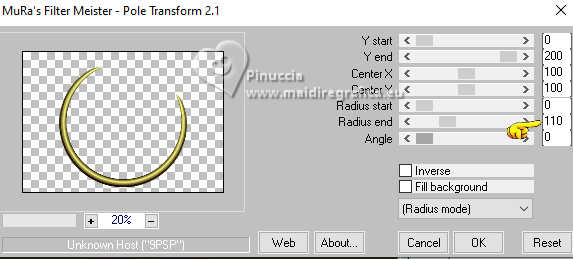
15. Effects>Plugins>Mura's Meister - Pole Transform.
16. Layers>Duplicate.
Image>Mirror>Mirror Vertical (Image>Flip).
Layers>Merge>Merge Down.
17. Layers>Duplicate.
Image>Resize, to 80%, resize all layers not checked.
18. Activate your Magic Wand Tool 
and click on the little circle to select it.
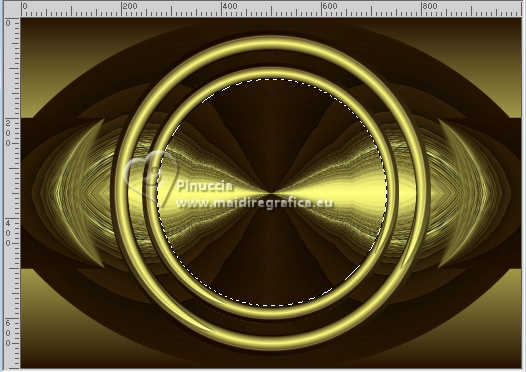
Reduce the opacity of your Flood Fill Tool to 60%.
Flood Fill  the selection with your Gradient. the selection with your Gradient.
19. Open the tube ns-paisagem1036 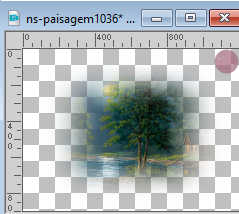
Erase the watermark and go to Edit>Copy.
Go back to your work and go to Edit>Paste as new layer.
Image>Resize, 2 times to 80%, resize all layers not checked.
20. Effects>3D Effects>Inner Bevel, same settings.

Layers>Merge>Merge Down.
Selections>Select None.
Set again the opacity of your Flood Fill Tool to 100.
21. Activate the layer below, Raster 2.
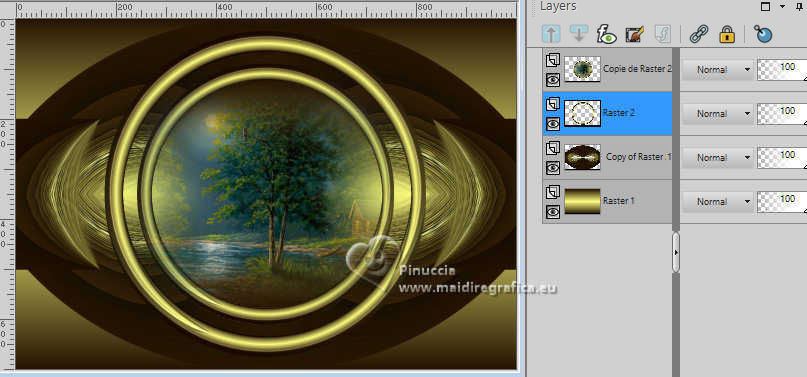
Layers>Duplicate.
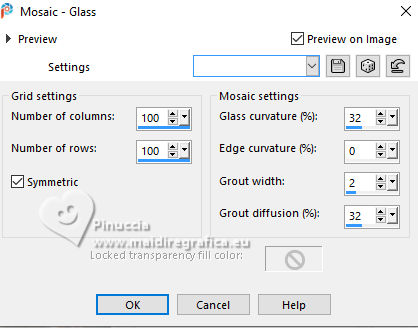
22. Effects>Texture Effects>Mosaic - Glass.
23. Layers>Duplicate.
Effects>Plugins>Mehdi - Weaver.
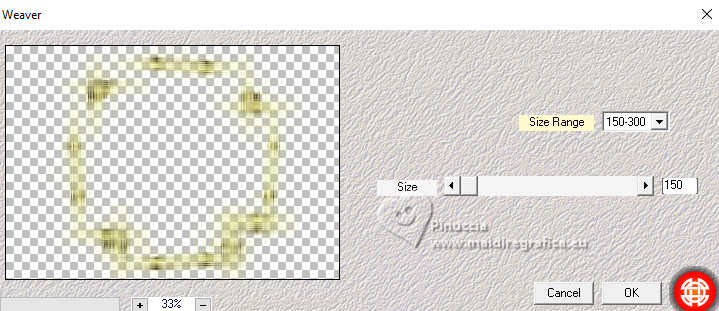
Layers>Arrange>Move Down.
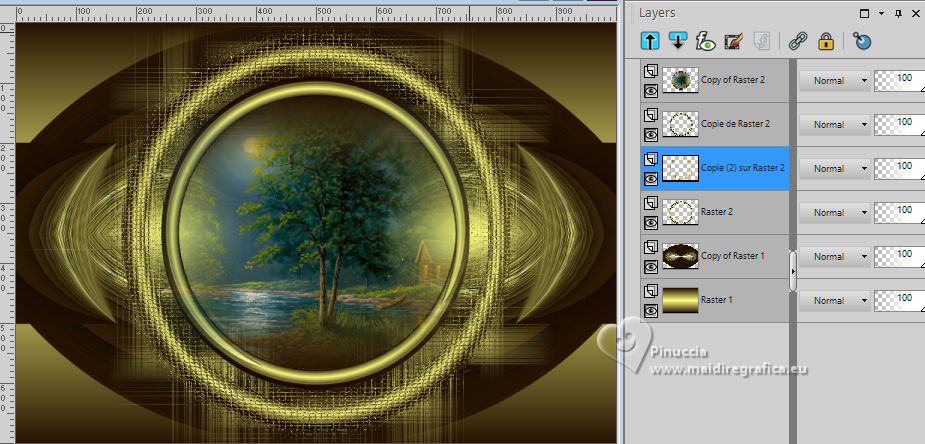
24. Activate your top layer.
Layers>Merge>Merge Down - 2 times.
25. Effects>3D Effects>Drop shadow, color #000000.

Activate the layer below.
Edit>Repeat Drop Shadow.
26. Set your foreground color to #ffffff.
Activate the layer Copy of Raster 1 (the Kaleidoscope effect)
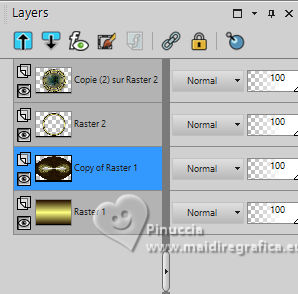
Layers>New Raster Layer.
Flood Fill  the layer with the color #ffffff. the layer with the color #ffffff.
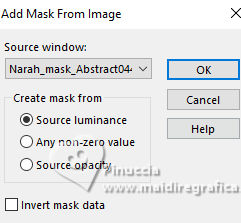
Layers>New Mask layer>From image
Open the menu under the source window and you'll see all the files open.
Select the mask Narah_mask_Abstract044
Effects>Edge Effects>Enhance.
Layers>Merge>Merge Group.
27. Effects>Plugins>Mura's Seamless - Emboss at Alpha, default settings.
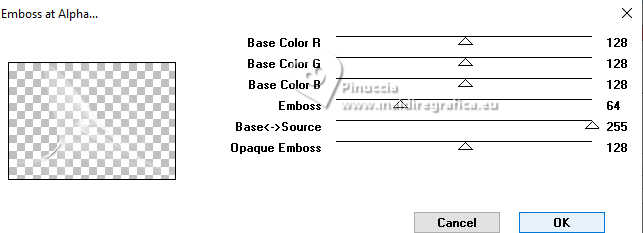
Repeat this effect another time.
28. Image>Resize, to 110%, resize all layers not checked.
Image>Mirror>Mirror Horizontal (Image>Mirror).
29. Open the tube deco1 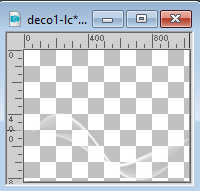
Edit>Copy.
Go back to your work and go to Edit>Paste as new layer.
K key to activate your Pick Tool 
and set Position X: -40,00 and Position Y: -161,00.

Reduce the opacity of this layer to 67%.
30. Set again your foreground color to the dark color #281403.

Image>Add borders, 1 pixel, symmetric, dark color.
Image>Add borders, 2 pixels, symmetric, light color.
Image>Add borders, 1 pixel, symmetric, dark color
&Edit>Copy
Selections>Select All.
Image>Add borders, 50 pixels, symmetric, color #ffffff.
Selections>Invert.
Edit>Paste into Selection
Adjust>Blur>Gaussian Blur - radius 10

31. Effects>Plugins>AAA Frames - Texture Frame.
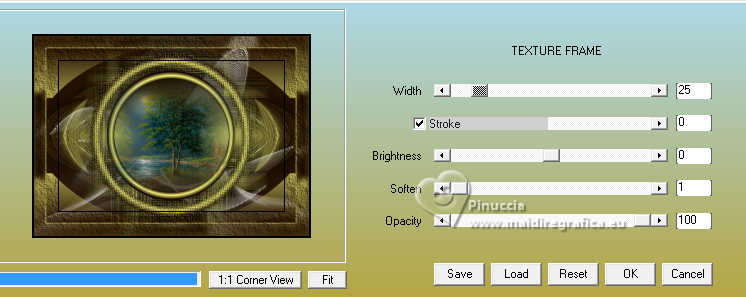
Repeat this Effect another time.
Selections>Invert.
Effects>3D Effects>Drop Shadow, color #000000.

Selections>Select None.
32. Image>Add borders, 1 pixel, symmetric, dark color.
Image>Add borders, 2 pixels, symmetric, light color.
Image>Add borders, 1 pixel, symmetric, dark color
33. Edit>Copy
Selections>Select All.
Image>Add borders, 50 pixels, symmetric, color #ffffff.
Selections>Invert.
Edit>Paste into selection.
Adjust>Blur>Gaussian Blur - radius 10.

34. Effects>Plugins>AAA Frames - Foto Frame.
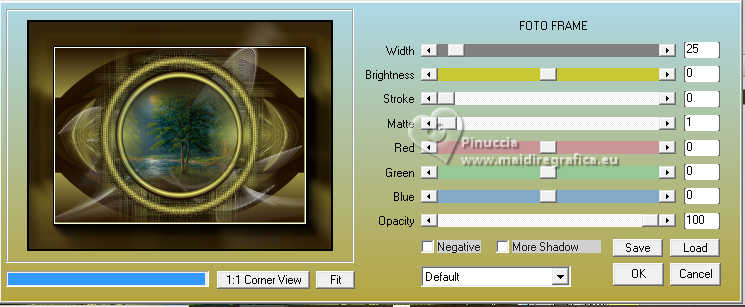
Repeat this Effect another time.
Selections>Invert.
Effects>3D Effects>Drop Shadow, same settings.

Selections>Select None.
35. Open the tube ns-woman3130 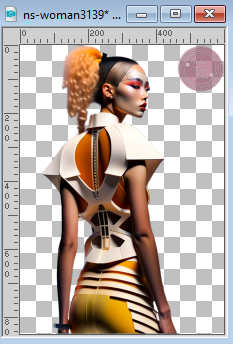
Edit>Copy.
Go back to your work and go to Edit>Paste as new layer.
Move  the tube to the left, or to your liking. the tube to the left, or to your liking.
36. Open the tube Callitubes-12diversos 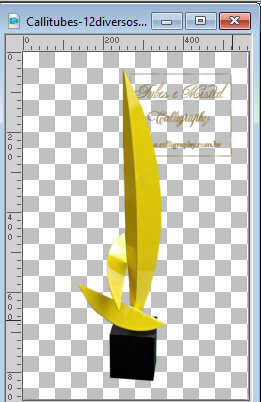
Edit>Copy.
Go back to your work and go to Edit>Paste as new layer.
Image>Resize, to 80%, resize all layers not checked.
Move  the tube to the right, or to your liking. the tube to the right, or to your liking.
37. Open the tube bird_brushes_II_by_lpdragonfly_5 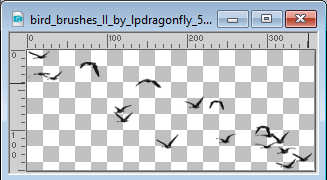
Edit>Copy.
Go back to your work and go to Edit>Paste as new layer.
Move  the tube to your liking. the tube to your liking.
38. Image>Resize, 1024 pixels width, resize all layers checked.
Sign your work on a new layer.
Layers>Merge>Merge All and save as jpg.
For the tubes of this version thanks Luz Cristina and Colybrix
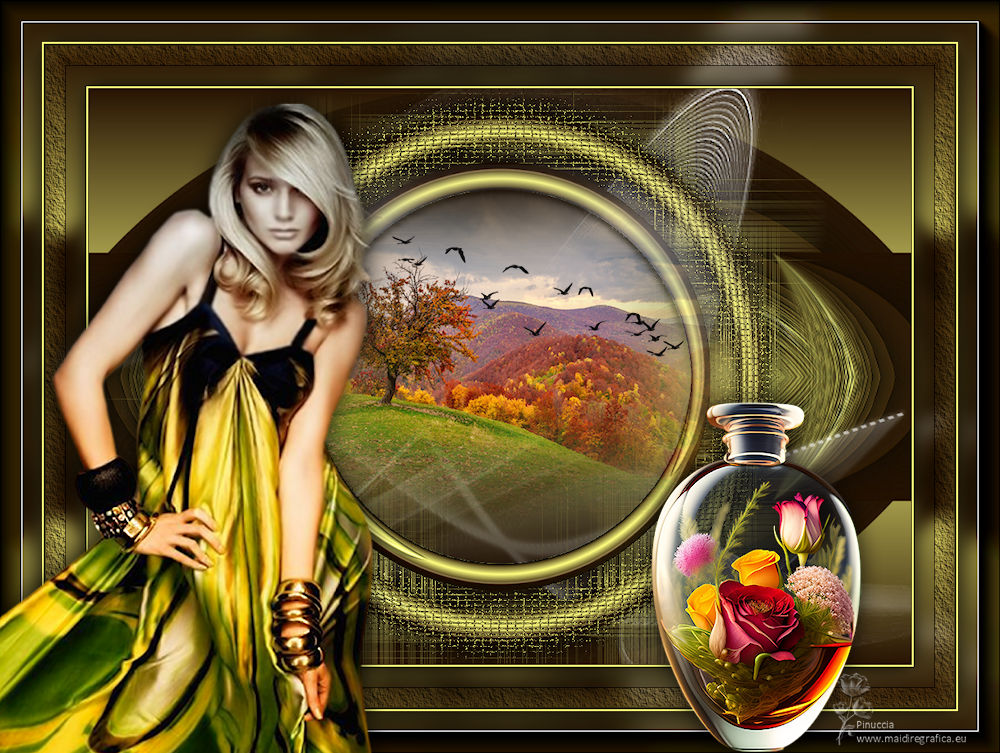
 Your versions here Your versions here

If you have problems or doubts, or you find a not worked link, or only for tell me that you enjoyed this tutorial, write to me.
9 January 2024

|


