|
TOP PARIS... INESQUECIVEL!
 PARIS... UNFORGETTABLE! PARIS... UNFORGETTABLE!
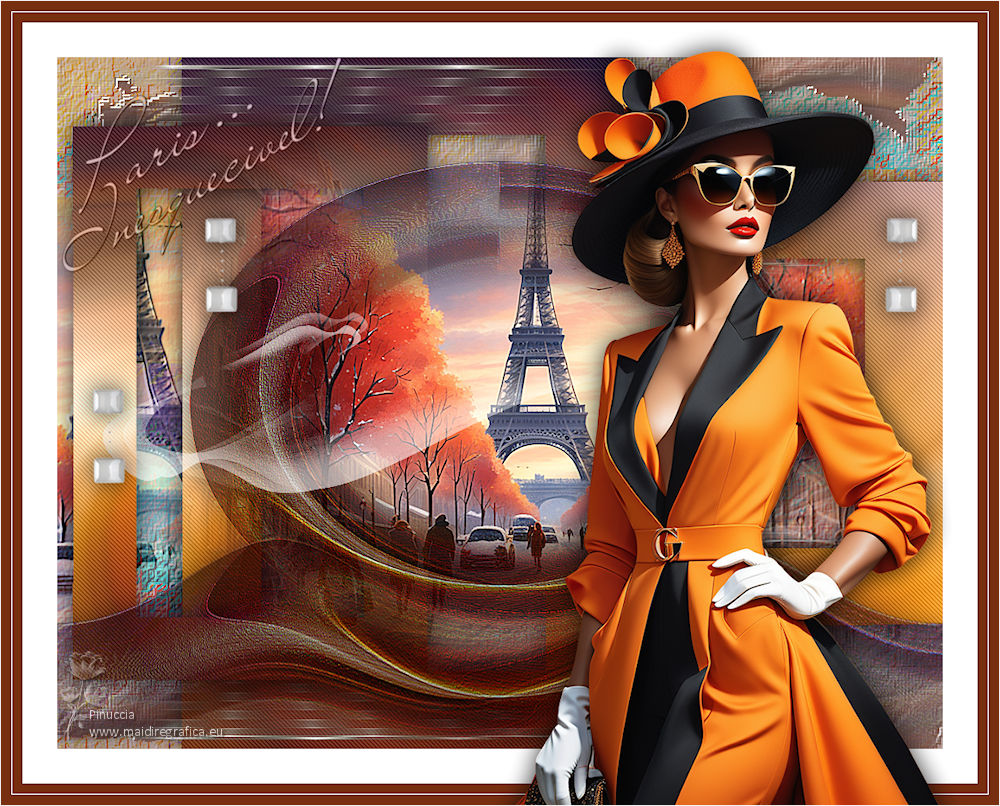
Thanks Lica Cida for your invitation to translate your tutorial

This tutorial was created with PSPX9 and translated with PSPX9 and PSP2020, but it can also be made using other versions of PSP.
Since version PSP X4, Image>Mirror was replaced with Image>Flip Horizontal,
and Image>Flip with Image>Flip Vertical, there are some variables.
In versions X5 and X6, the functions have been improved by making available the Objects menu.
In the latest version X7 command Image>Mirror and Image>Flip returned, but with new differences.
See my schedule here
 French translation here French translation here
 your versions here your versions here

For this tutorial, you will need:

For the tubes thanks Suizabella and Kamil.
(you find here the links to the material authors' sites)

consult, if necessary, my filter section here
Filters Unlimited 2.0 here
VM Natural - Weave Distortion here
Nik Software - Color Efex here
Graphics Plus - Quick Tile I here
Carolaine and Sensibility - CS-DLines here
Mura's Meister - Pole Transform here
Nik Software - Color Efex here
Filters VM Natural and Graphics Plus can be used alone or imported into Filters Unlimited.
(How do, you see here)
If a plugin supplied appears with this icon  it must necessarily be imported into Unlimited it must necessarily be imported into Unlimited

You can change Blend Modes according to your colors.
In the newest versions of PSP, you don't find the foreground/background gradient (Corel_06_029).
You can use the gradients of the older versions.
The Gradient of CorelX here

Copy the presets Emboss 3 and Emboss 5 in the Presets Folder.
1. Choose 2 colors from your tubes.
Set your foreground color to #782f10,
and your background color to #bbbecb.
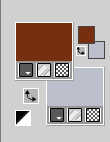
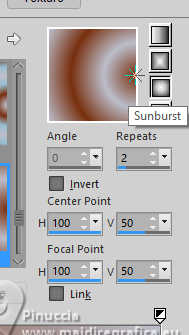
Set your foreground color to a Foreground/Background Gradient, style Sunburst.
2. Open Alphachannel_bylc
This image, that will be the basis of your work, is not empty,
but contains the selections saved to alpha channel.
Flood Fill  the transparente image with your gradient. the transparente image with your gradient.
3. Selections>Select All.
Open the tube SuizaBella_Ref_AG-003964 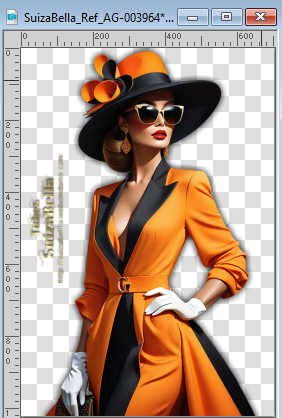
Edit>Copy.
Minimize the tube.
Go back to your work and go to Edit>Paste into Selection.
Selections>Select None.
4. Adjust>Blur>Radial Blur.
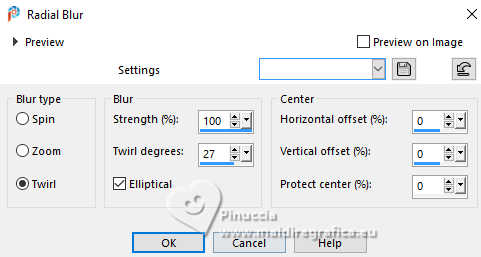
Layers>Duplicate.
5. Effects>Plugins>VM Natural - Weave Distortion.
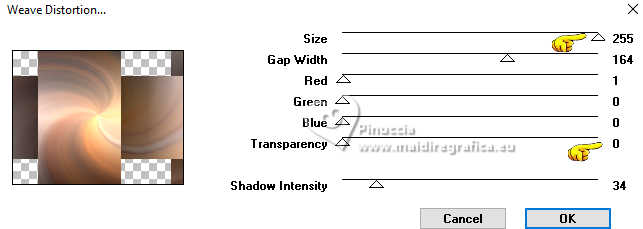
6. Selections>Load/Save Selection>Load Selection from Alpha Channel.
The selection Selection #1 is immediately available.
You just have to click Load.
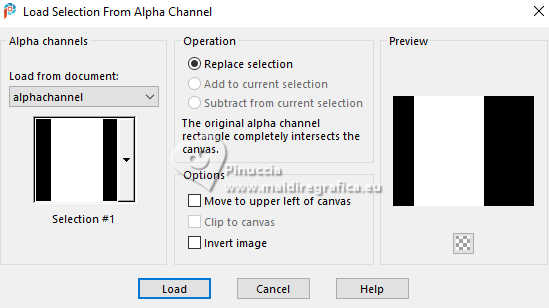
Selections>Modify>Contract - 90 pizels.
Press CANC on the keyboard 
Selections>Select None.
7. Selections>Load/Save Selection>Load Selection from Alpha Channel.
Open the selections menu and load the selection Selection #2
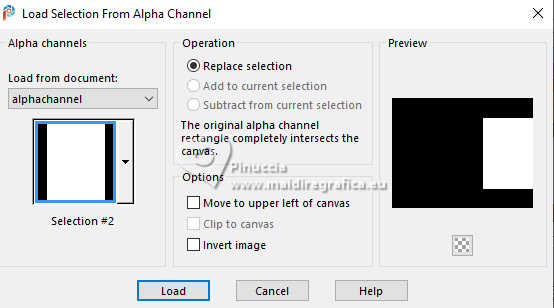
Selections>Modify>Contract - 90 pixels.
Press CANC on the keyboard.
Selections>Select None.
8. Selections>Load/Save Selection>Load Selection from Alpha Channel.
Open the selections menu and load the selection Selection #3
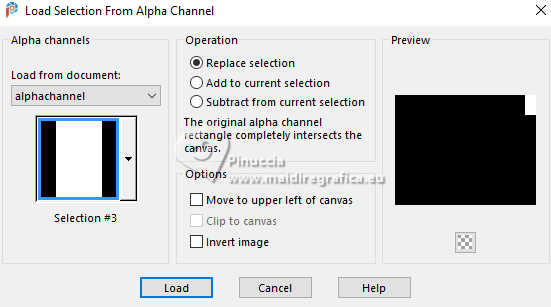
Press CANC on the keyboard.
Selections>Select None.
9. Selections>Load/Save Selection>Load Selection from Alpha Channel.
Open the selections menu and load the selection Selection #4
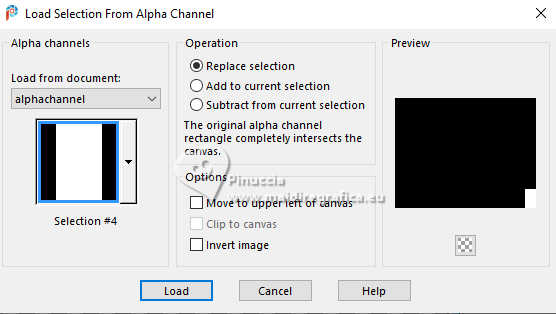
Press CANC on the keyboard.
Selections>Select None.
10. Selections>Load/Save Selection>Load Selection from Alpha Channel.
Open the selections menu and load the selection Selection #5
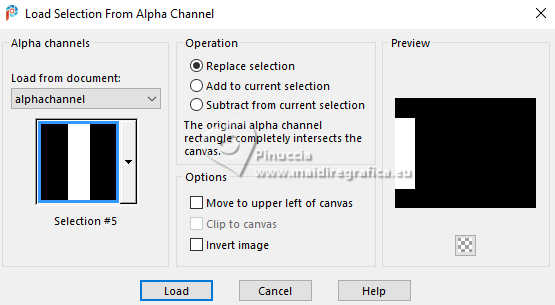
Press CANC on the keyboard.
Selections>Select None.
11. Layers>Duplicate.
Image>Resize, to 80%, resize all layers not checked.
12. Effects>Plugins>Nik Software - Color Efex Pro.
Bi-Color User Defined, default settings.
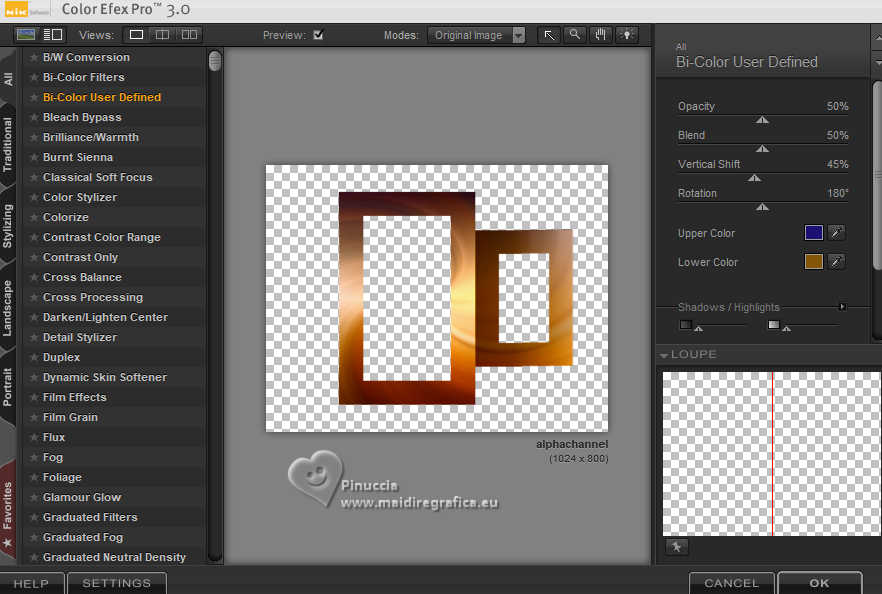
Activate the layer below.
Repeat the Effect Nik Software.
13. Effects>Plugins>Carolaine and Sensibility - CS-DLines, default settings.
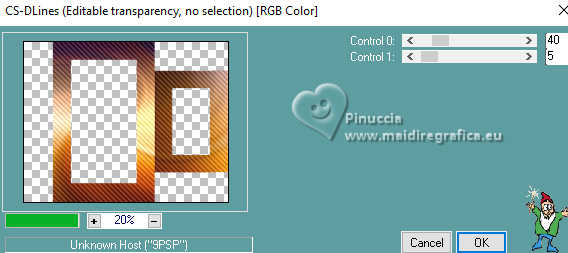
Activate the layer above.
Repeat the Effect CS-DLines
14. Stay on the top layer Copy (2) of Raster1.
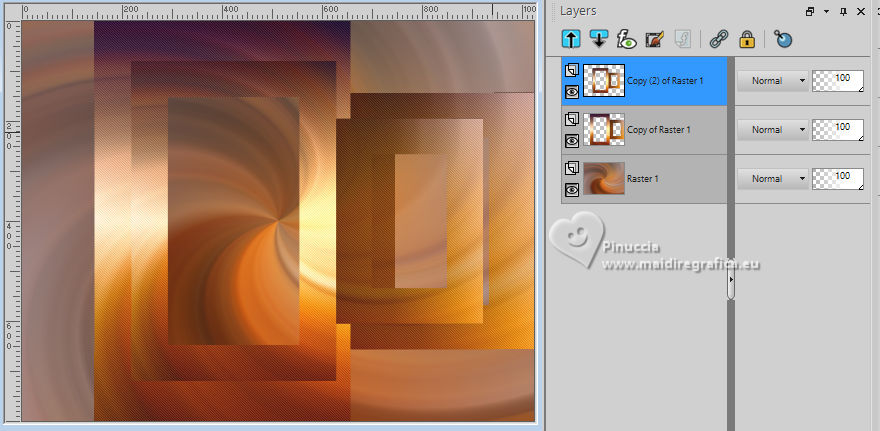
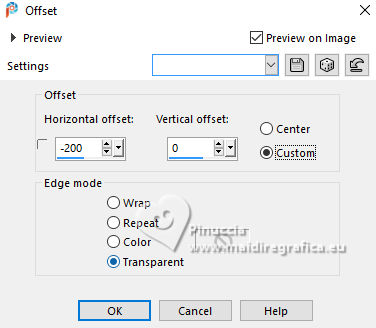
Effects>Image Effects>Offset.
Effects>3D Effects>Drop Shadow, color #000000.

Activate the layer below.
Edit>Repeat Drop Shadow.
15. Activate your bottom layer, Raster 1.
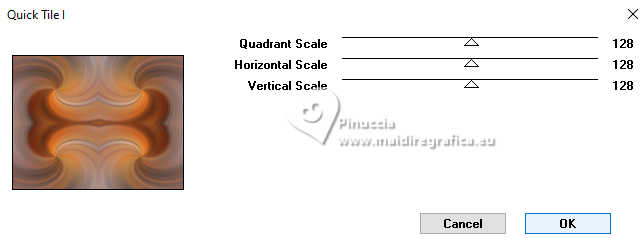
Effects>Plugins>Graphics Plus - Cross Shadow, Quick Tile I, default settings.
16. Effects>Plugins>Filters Unlimited 2.0 - Convolution Filter (Emboss_Light).
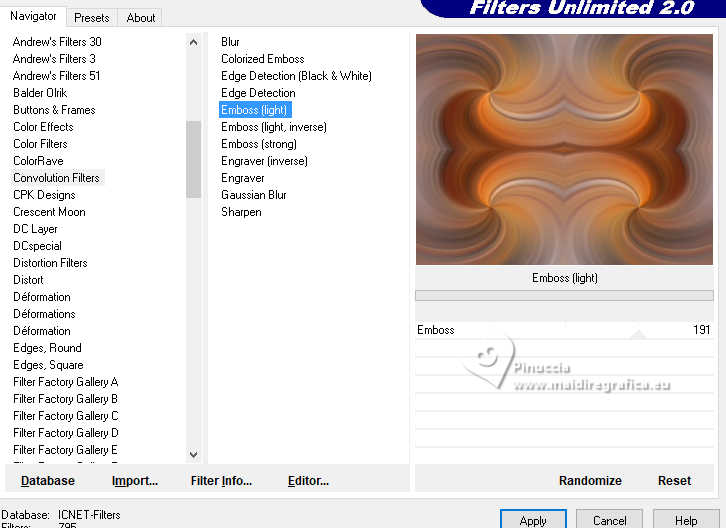
Repeat this effect another time.
17. Open back1-lc 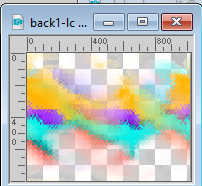
Edit>Copy.
Go back to your work and go to Edit>Paste as new layer.
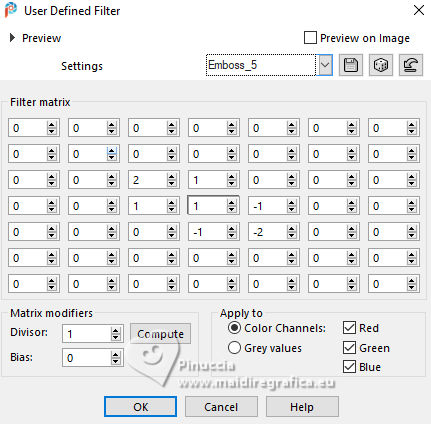
Effects>User Defined Filter - select the preset Emboss 3 and ok.

Effects>User Defined Filter - select the preset Emboss 5 and ok.
18. Layers>New Raster Layer.
Selections>Select All.
Open the tube KamilTube-1196-Landscape 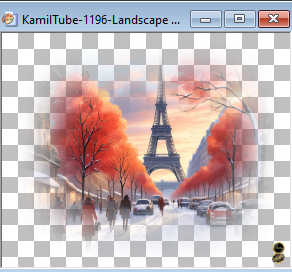
Erase the watermark and go to Edit>Copy.
Minimize the tube
Go back to your work and go to Edit>Paste into Selection.
Selections>Select None.
19. Effects>Image Effects>Seamless Tiling, Sidy by side.

Effects>User Defined Filter - select the preset Emboss 3 and ok.

20. Activate your top layer.
Open bolamirror_mp 
Edit>Copy.
Go back to your work and go to Edit>Paste as new layer.
Réglage>Netteté>Netteté.
21. Layers>Duplicate.
Effects>Plugins>Mura's Meister - Pole Transform.
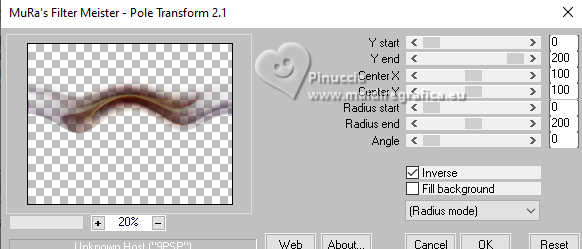
22. Effects>Image Effects>Offset.
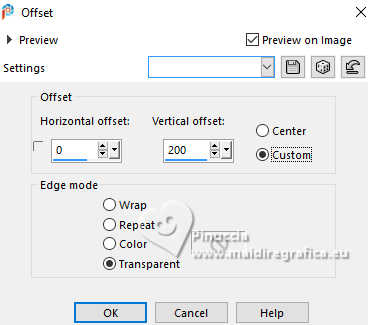
Image>Mirror>Mirror vertical (Image>Flip).
Layers>Merge>Merge Down.
23. Layers>Duplicate.
Layers>Merge>Merge Down.
Effects>3D Effects>Drop Shadow, color #000000.

Reduce the opacity of this layer to 87%
24. Activate again the tube KamilTube-1196-Landscape and go to Edit>Copy.
Go back to your work and go to Edit>Paste as new layer.
Layers>Arrange>Move Down.
Adjust>Sharpness>Sharpen More.
25. Activate the layer Copy of Raster 1.
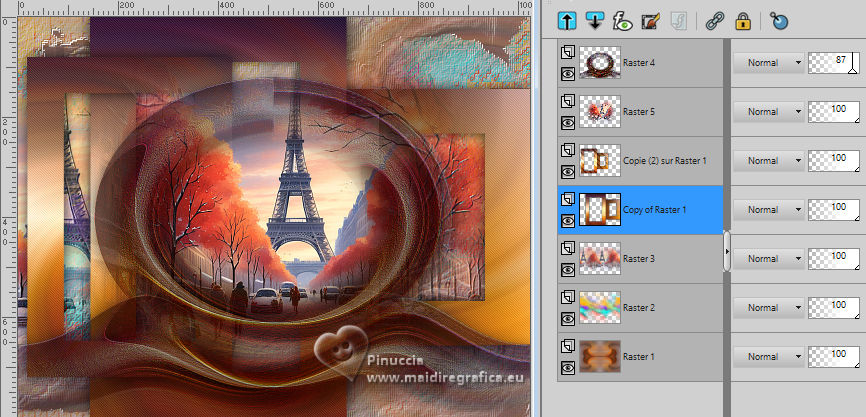
Layers>New Raster Layer, Raster 6.
Selections>Select All.
Open deco1-lc 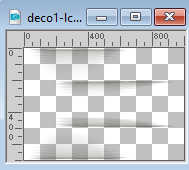
Edit>Copy.
Go back to your work and go to Edit>Paste into Selection.
Selections>Select None.
Change the Blend Mode of this layer to Lighten.
26. Activate your top layer.
Open designal brushes 3_13 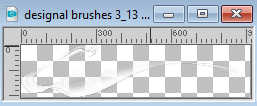
Edit>Copy.
Go back to your work and go to Edit>Paste as new layer.
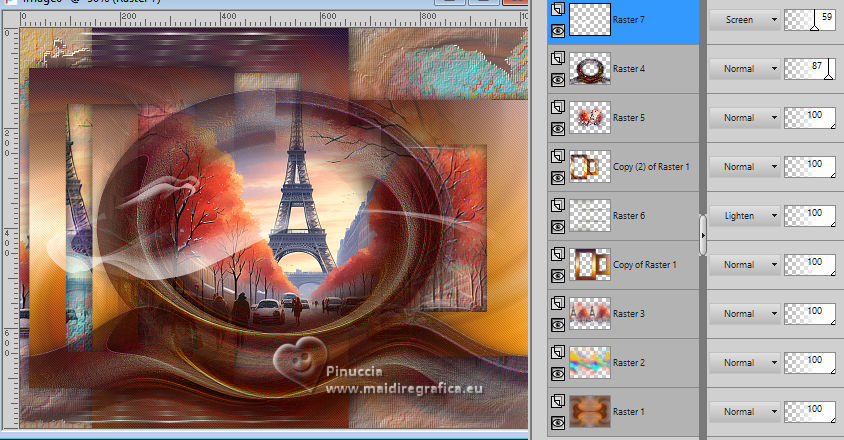
Change the Blend Mode of this layer to Screen and reduce the opacity to 59%.
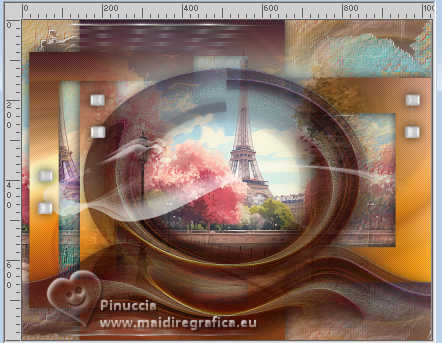
27. Open decoacabamento 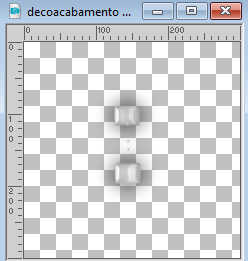
Edit>Copy.
Go back to your work and go to Edit>Paste as new layer.
Move  the image to the left. the image to the left.
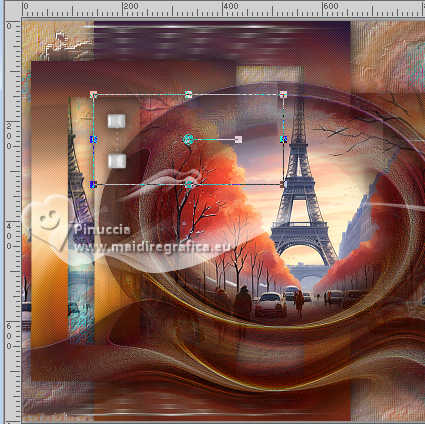
Layers>Duplicate, 1 or 2 times and place  to your liking; for me. to your liking; for me.
28. Open texto 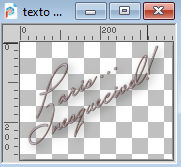
Edit>Copy.
Go back to your work and go to Edit>Paste as new layer.
Move  the text at the upper left. the text at the upper left.
Change the Blend Mode to Luminance (legacy).
29. Image>Add borders, 40 pixels, symmetric, color #ffffff.
Image>Add borders, 12 pixels, symmetric, foreground color.
Image>Add borders, 1 pixel, symmetric, color #ffffff.
Image>Add borders, 12 pixels, symmetric, foreground color.
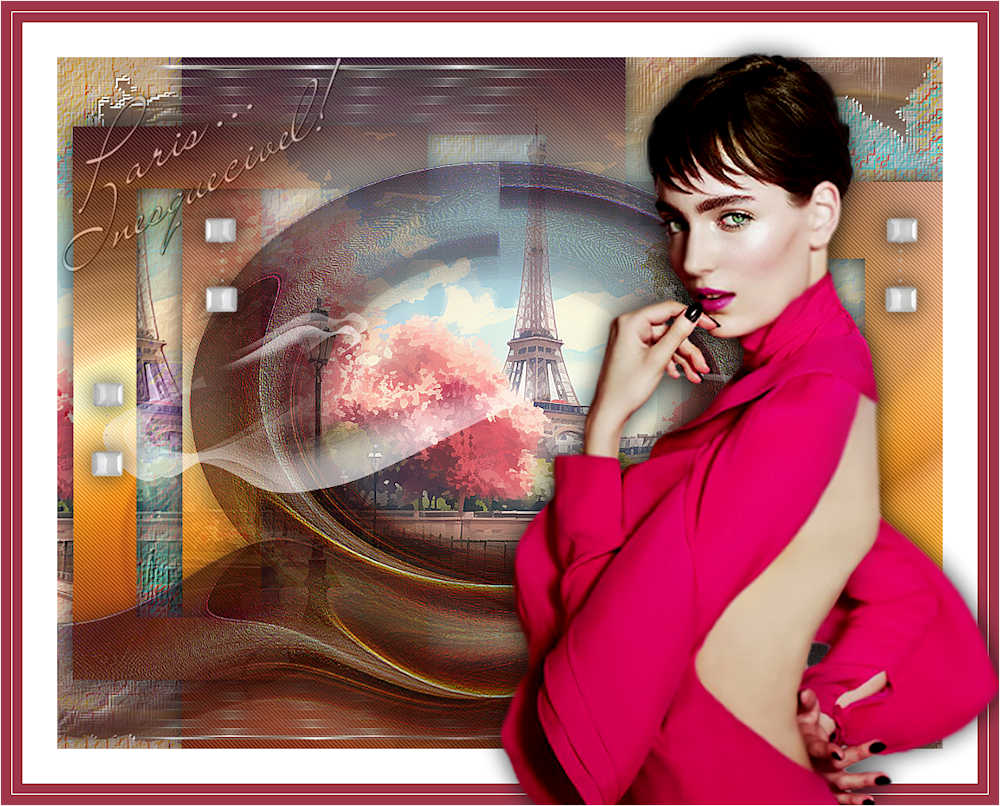
30. Activate again the tube SuizaBella_Ref_AG-003964 and go to Edit>Copy.
Go back to your work and go to Edit>Paste as new layer.
Resize and place the tube to your liking.
Effects>3D Effects>Drop Shadow, at your choice.
31. Image>Add borders, 1 pixel, symmetric, color #ffffff.
Image>Resize, 1000 pixels width, resize all layers checked.
Sign your work on a new layer.
Add the authors and translator's watermarks.
Layers>Merge>Merge All and save as jpg.
For the tubes of this version thanks Luz Cristina and Adrienne
 Your versions here Your versions here

If you have problems or doubts, or you find a not worked link, or only for tell me that you enjoyed this tutorial, write to me.
10 April 2024

|
 PARIS... UNFORGETTABLE!
 PARIS... UNFORGETTABLE!