|
TOP SETEMBRO
 TOP SEPTEMBER TOP SEPTEMBER
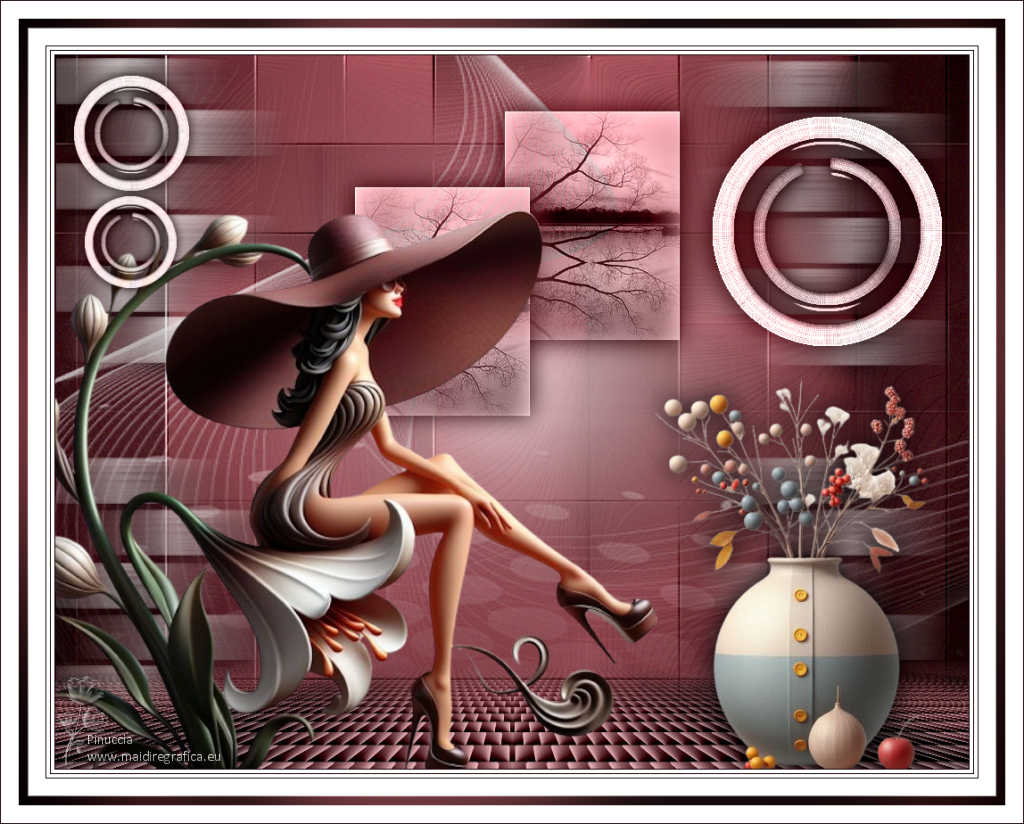
Thanks Lica Cida for your invitation to translate your tutorial

This tutorial was created with PSPX9 and translated with PSPX9 and PSP2020, but it can also be made using other versions of PSP.
Since version PSP X4, Image>Mirror was replaced with Image>Flip Horizontal,
and Image>Flip with Image>Flip Vertical, there are some variables.
In versions X5 and X6, the functions have been improved by making available the Objects menu.
In the latest version X7 command Image>Mirror and Image>Flip returned, but with new differences.
See my schedule here
 French translation here French translation here
 your versions here your versions here

For this tutorial, you will need:

Thanks for the tubes Renée.
(you find here the links to the material authors' sites)

consult, if necessary, my filter section here
Filters Unlimited 2.0 here
Mehdi - Sorting Tiles, Weaver here
VM Natural - Legoland here
Mura's Meister - Perspective Tiling here
Mura's Seamless - Emboss at Alpha here
Graphics Plus - Cross Shadow here
AAA Filters - Custom here
Filters VM Natural, Mura's Seamless and Graphics Plus can be used alone or imported into Filters Unlimited.
(How do, you see here)
If a plugin supplied appears with this icon  it must necessarily be imported into Unlimited it must necessarily be imported into Unlimited

You can change Blend Modes according to your colors.
In the newest versions of PSP, you don't find the foreground/background gradient (Corel_06_029).
You can use the gradients of the older versions.
The Gradient of CorelX here

Open the masks in PSP and minimize them with the rest of the material.
1. Choose two colors to work.
Set your foreground color to #180305,
and your background color to #e88791.
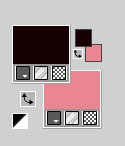
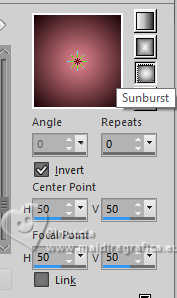
Set your foreground color to a Foreground/Background Gradient, style Sunburst.
2. Open a new transparent image 1024 x 800 pixels.
Flood Fill  the transparent image with your Gradient. the transparent image with your Gradient.
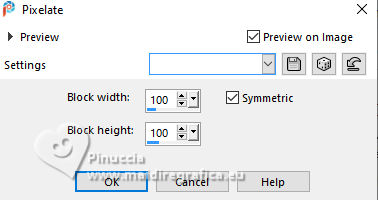
3. Effects>Distortion Effects>Pixelate.
4. Effects>Plugins>Mehdi - Sorting Tiles.
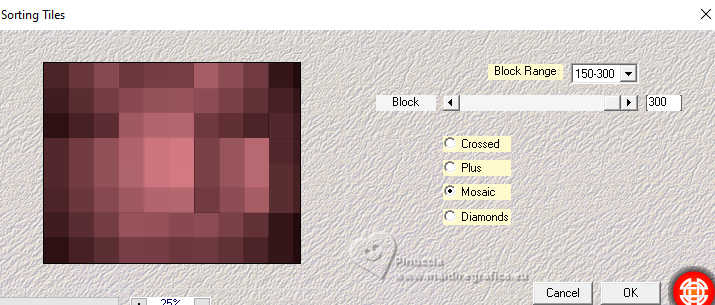
5. Effects>Reflection Effects>Rotating Mirror, default settings.

6. Effects>Plugins>Mehdi - Weaver
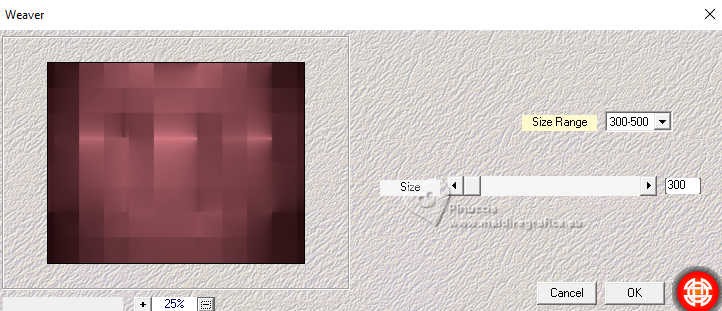
7. Effects>Plugins>Filters Unlimited 2.0 - Convolution Filter - Emboss Strong
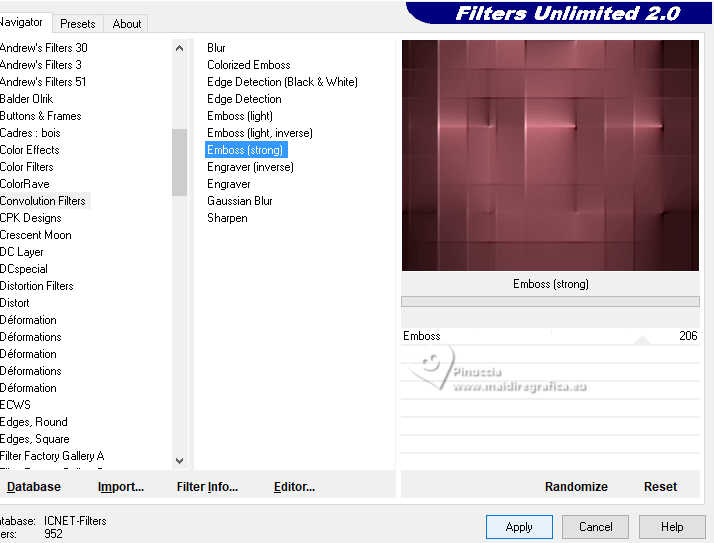
Repeat this Effect another time.
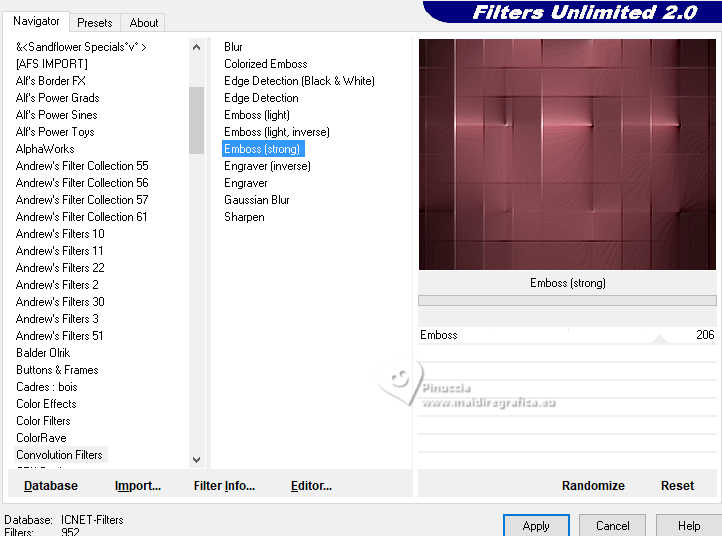
8. Layers>Duplicate.
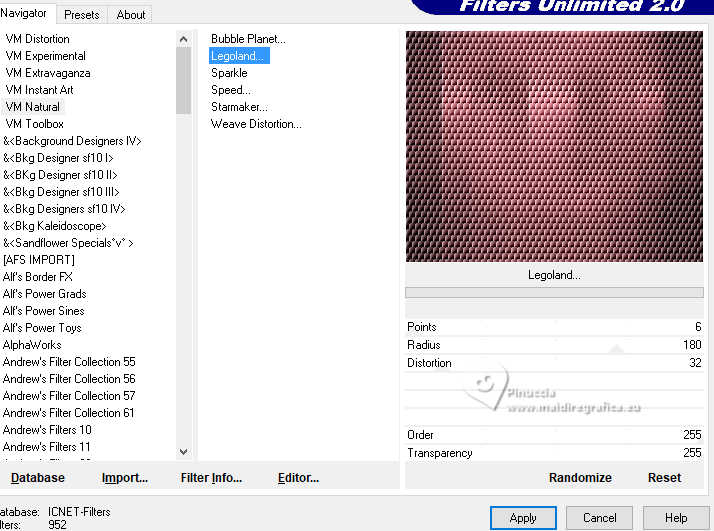
Effects>Plugins>VM Natural - Legoland.
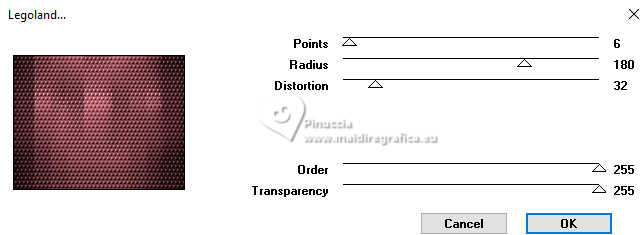
in Unlimited
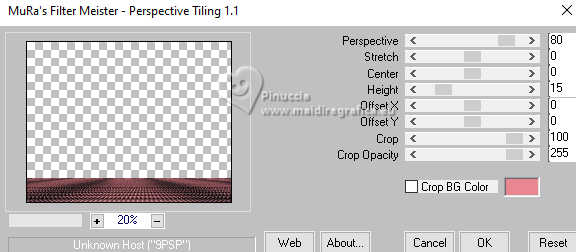
9. Effects>Plugins>Mura's Meister - Perspective Tiling.
10. Effects>Reflection Effects>Rotating Mirror, default settings.

11. Activate your Magic Wand Tool  , tolerance 0 and feather 70 , tolerance 0 and feather 70

Click on the transparent part to select it.
Press 3-4 times CANC on the keyboard 
Selections>Select None.
12. Open decor-mp 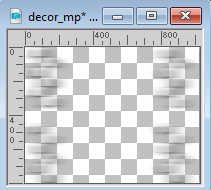
Edit>Copy.
Go back to your work and go to Edit>Paste as new layer.
Layers>Arrange>Move Down.
13. Set your foreground color to #ffffff.
Layers>New Raster Layer.
Flood Fill  the layer with your foreground color #ffffff. the layer with your foreground color #ffffff.
Layers>New Mask layer>From image
Open the menu under the source window and you'll see all the files open.
Select the mask mask_02-copia .
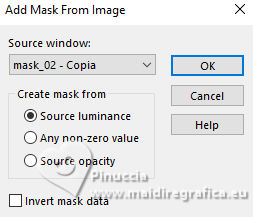
Effects>Edge Effects>Enhance.
Layers>Merge>Merge Group.
14. Effects>Plugins>Mura's Seamless - Emboss at Alpha, default settings.
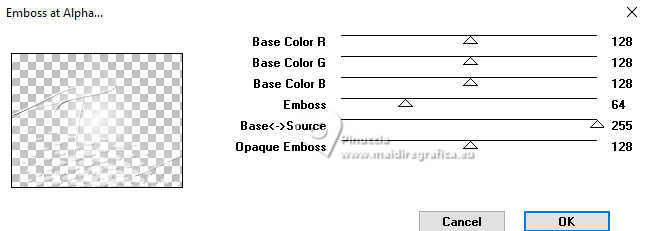
15. On the same layer:
Layers>New Mask layer>From image
Open the menu under the source window
and select the mask gradienteworisch .
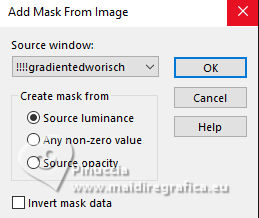
Layers>Duplicate.
Layers>Merge>Merge Group.
Layers>Arrange>Move Down.
16. Change the Blend Mode of this layer to Hard Light and reduce the opacity to 67%.
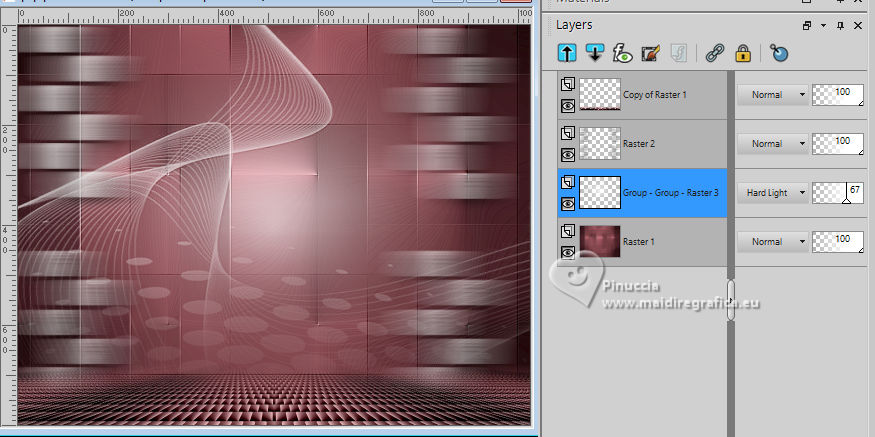
17. Activate your bottom layer, Raster 1.
Selection Tool 
(no matter the type of selection, because with the custom selection your always get a rectangle)
clic on the Custom Selection 
and set the following settings.
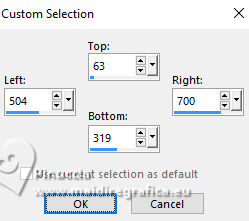
Selections>Promote Selection to Layer.
Layers>Arrange>Bring to Top.
18. Adjust>Blur>Gaussian Blur - radius 10.

19. Open the tube Renee-TUBES-Paysage 3 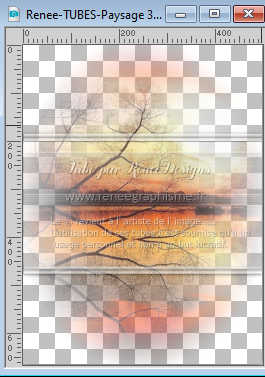
Edit>Copy.
Go back to your work and go to Edit>Paste as new layer.
Image>Resize, to 60%, resize all layers not checked.
Place  correctly the tube on the selection. correctly the tube on the selection.
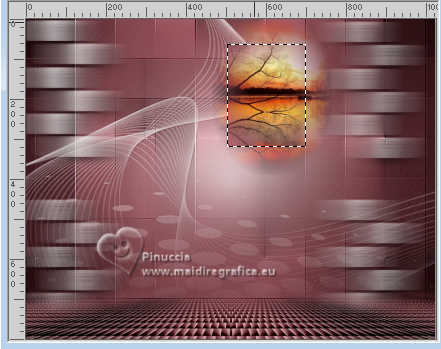
Selections>Invert.
Press CANC on the keyboard 
Selections>Invert.
Keep selected.
Layers>Merge>Merge Down.
20. Layers>New Raster Layer.
Effects>3D Effects>Cutout - color #ffffff.
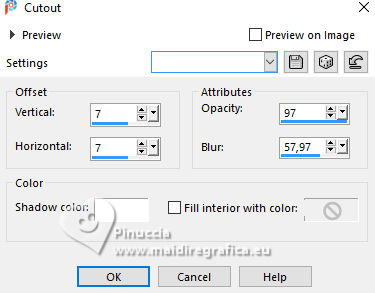
Selections>Select None.
Layers>Merge>Merge Down.
Adjust>Sharpness>Sharpen.
21. Effects>3D Effects>Drop shadow, color #000000.
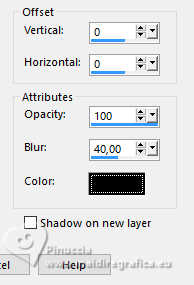
Change the Blend Mode of this layer to Luminance (legacy), opacity 100.
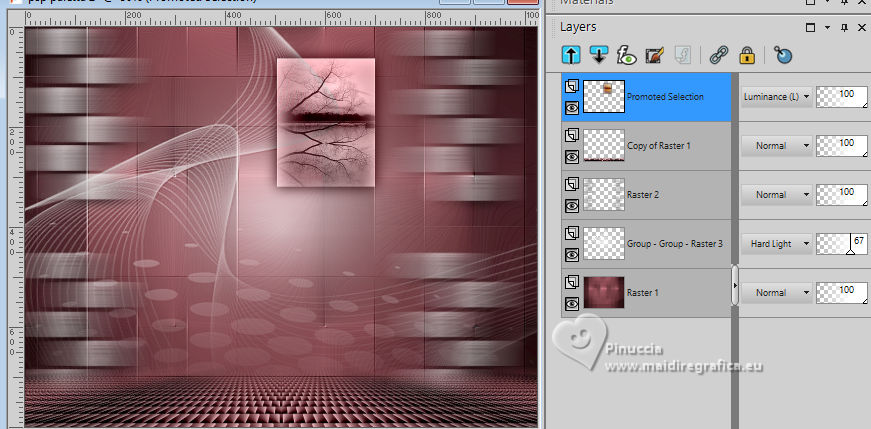
22. Layers>Duplicate.
K key to activate your Pick Tool 
Position X: 305,00 - Position Y: 117,00.

Keep the Blend Mode of this layer to Luminance (legacy), opacity 100.
Layers>Merge>Merge Down.
23. Open decor_nmcriacoes_146 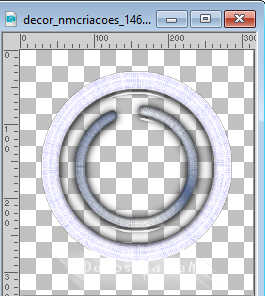
Edit>Copy.
Go back to your work and go to Edit>Paste as new layer.
Move  the tube at the upper right, see my example. the tube at the upper right, see my example.
Effects>3D Effects>Drop shadow, same settings.
24. Layers>Duplicate.
Image>Resize, to 50%, resize all layers not checked.
Move  the tube at the upper left, see my example. the tube at the upper left, see my example.
25. Layers>Duplicate.
Image>Resize, to 80%, resize all layers not checked.
Move  this tube under the previous one. this tube under the previous one.
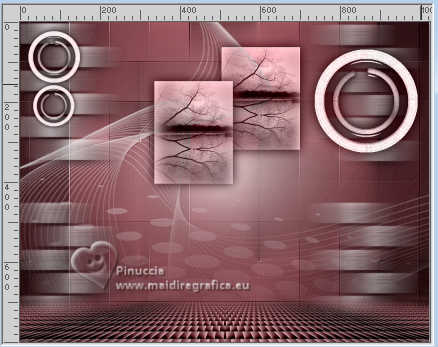
Layers>Merge>Merge Down - 2 times.
26. Open Renee-TUBES-Septembre2024-47 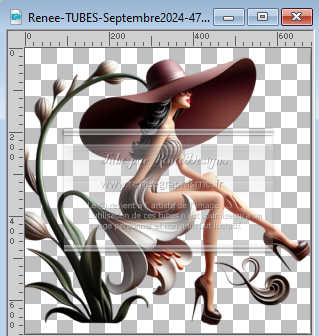
Edit>Copy.
Go back to your work and go to Edit>Paste as new layer.
Move  the tube to the left side. the tube to the left side.
Layers>Arrange>Move Down.
(for this tube; if you use another tube it may not be necessary)
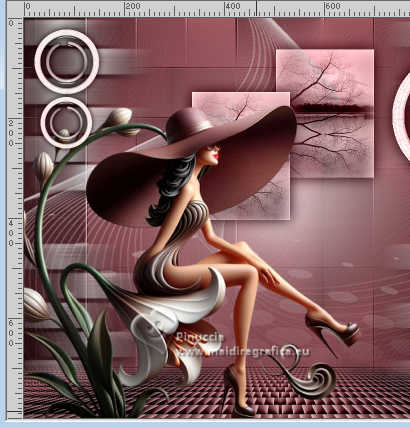
Effects>3D Effects>Drop shadow, same settings.
27. Open Renee-TUBES-Septembre2024-51 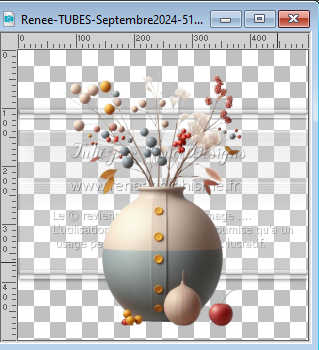
Edit>Copy.
Go back to your work and go to Edit>Paste as new layer.
Move  the tube to the right. the tube to the right.
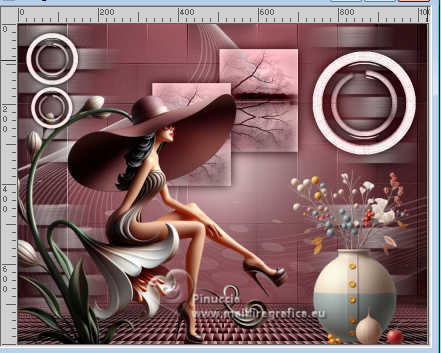
Effects>3D Effects>Drop shadow, same settings.
28. Activate the layer Raster 1.
Effects>Plugins>AAA Filters - Custom - Grain
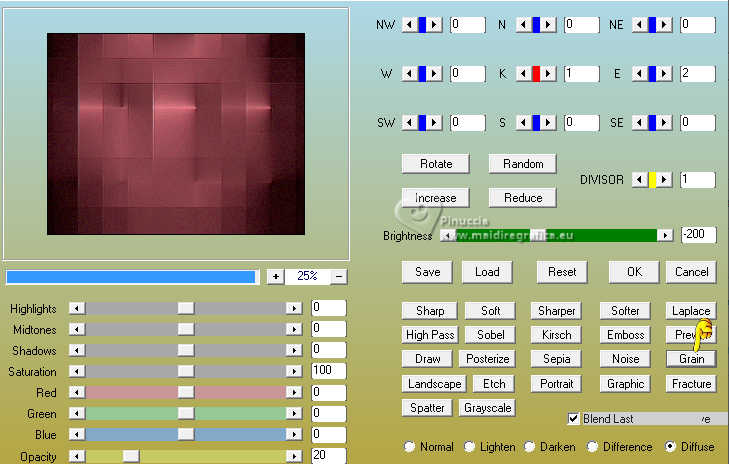
29. Set your foreground color to the initial color (#180305) and Gradient.
 
Image>Add borders, 1 pixel, symmetric, foreground color #180305.
Image>Add borders, 4 pixels, symmetric, color #ffffff.
Image>Add borders, 1 pixel, symmetric, foreground color #180305.
Image>Add borders, 4 pixels, symmetric, color #ffffff.
Image>Add borders, 1 pixel, symmetric, foreground color #180305.
Image>Add borders, 20 pixels, symmetric, color #ffffff.
Image>Add borders, 10 pixels, symmetric, whatever color.
30. Activate your Magic Wand Tool  tolerance and feather 0, tolerance and feather 0,
and click in the last border to select it.
31. Effects>Plugins>Graphics Plus - Cross Shadow, default settings.
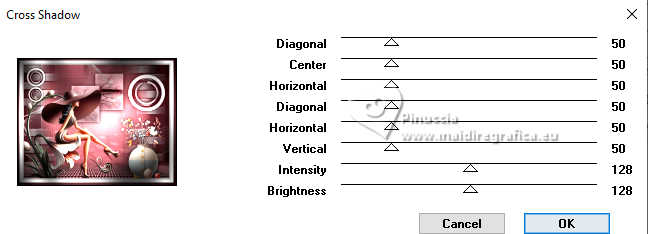
Selections>Select None.
32. Image>Add borders, 20 pixels, symmetric, color #ffffff.
Image>Add borders, 1 pixel, symmetric, foreground color #180305.
33. Image>Resize, 1024 width, resize all layers checked.
Sign your work on a new layer.
Add, if you wish, the author's watermark without forgetting that of the translator.
Save as jpg.
For the tubes of this version thanks Renée; for the dog thanks Bella Caribeña
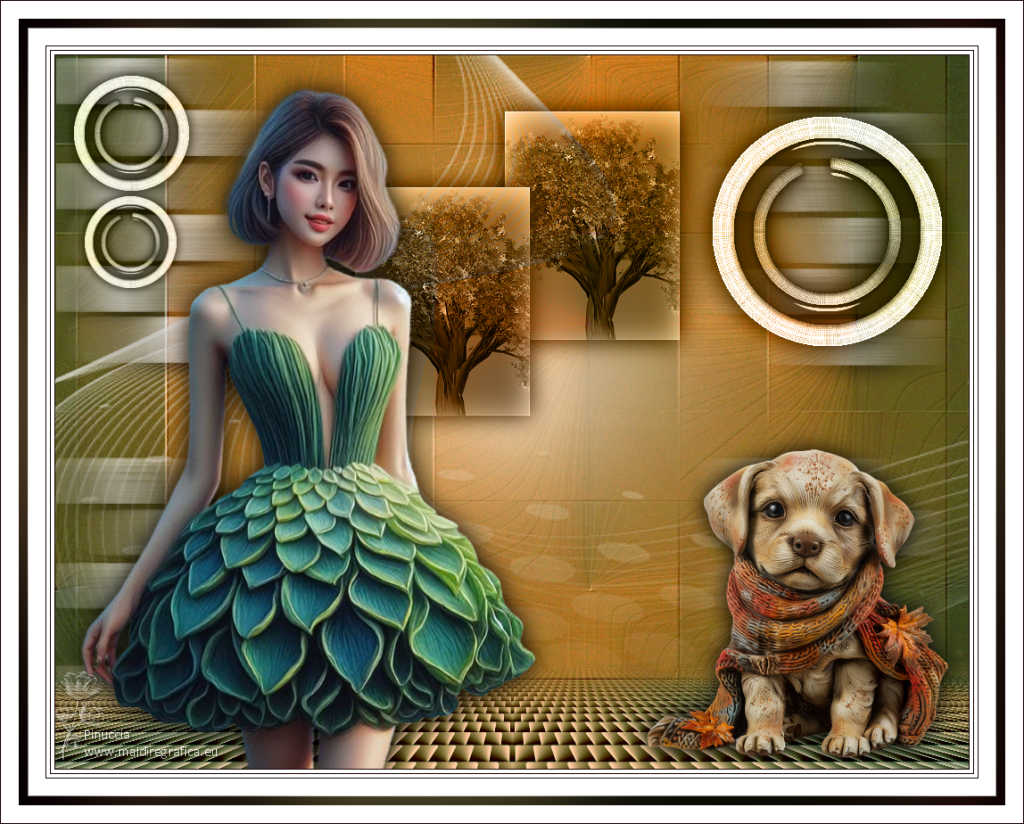
 Your versions here Your versions here

If you have problems or doubts, or you find a not worked link, or only for tell me that you enjoyed this tutorial, write to me.
24 Septembre 2024
|
 TOP SEPTEMBER
 TOP SEPTEMBER