|
TOP THINKING ABOUT

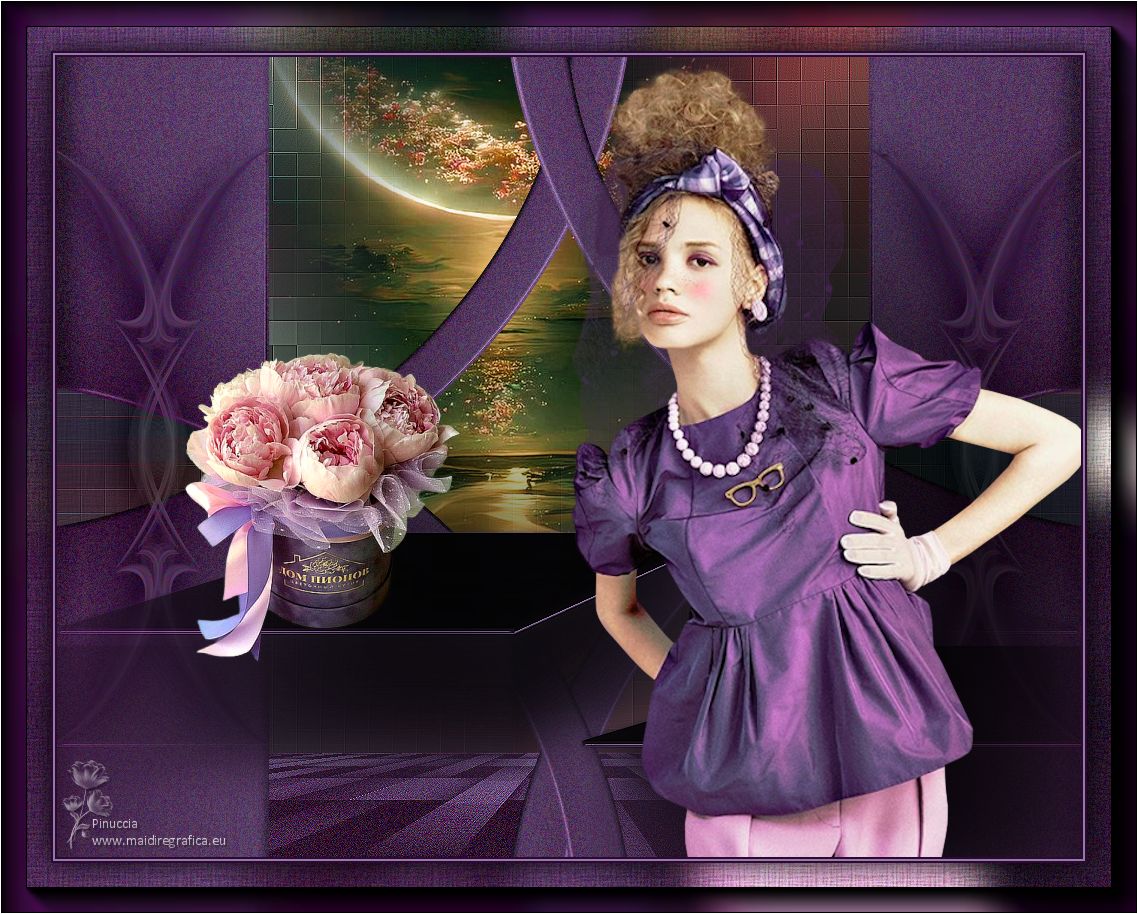
Thanks Lica Cida for your invitation to translate your tutorial

This tutorial was created with PSPX9 and translated with PSPX2 and PSPX3 and PSPX7, but it can also be made using other versions of PSP.
Since version PSP X4, Image>Mirror was replaced with Image>Flip Horizontal,
and Image>Flip with Image>Flip Vertical, there are some variables.
In versions X5 and X6, the functions have been improved by making available the Objects menu.
In the latest version X7 command Image>Mirror and Image>Flip returned, but with new differences.
See my schedule here
 French translation here French translation here
 your versions here your versions here

For this tutorial, you will need:

For the tubes thanks Jeanne and Callitube.
The rest of the material is by Lica Cida.
(you find here the links to the material authors' sites)

consult, if necessary, my filter section here
DSB Flux - Linear Transmission here
Plugin Galaxy - Instant Mirror here
Mura's Meister - Perspective Tiling here
Nik Software - Color Efex Pro here
Alien Skin Eye Candy 5 Impact - Perspective Shadow here

You can change Blend Modes according to your colors.
In the newest versions of PSP, you don't find the foreground/background gradient (Corel_06_029).
You can use the gradients of the older versions.
The Gradient of CorelX here

The texture Fine Hatch or Corel_15_021 was standard in PSP,
but may be missing in newer versions of PSP.
If you can't find it in your PSP, place the supplied texture in the Texture Folder.
1. Set your foreground color to #2e082d,
and your background color to #8f7bae.
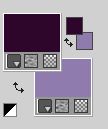
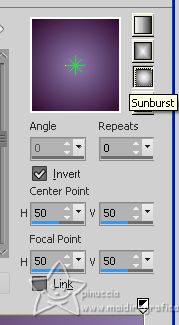
Set your foreground color to a Foreground/Background Gradient, style Sunburst.
2. Open arquivo 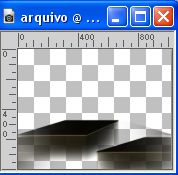
This image will be the basis of your work.
Activate your Charge to Target Tool  with these settings with these settings

Drag the mouse over the image by clicking with the left key,
to use your foreground gradient.
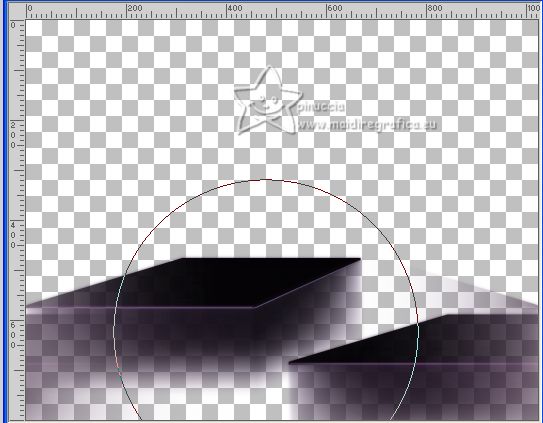
Effets>Effets de bords>Accentuer.
3. Layers>New Raster Layer.
Layers>Arrange>Send to Bottom.
Flood Fill  the layer with your Gradient. the layer with your Gradient.
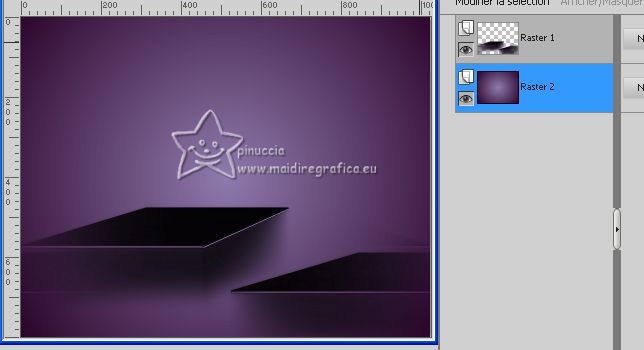
4. Effects>Plugins>DSB Flux - Linear Transmission.
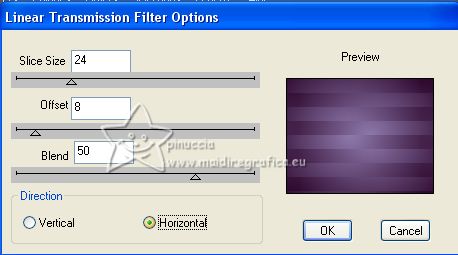
Effects>Edge Effects>Enhance More.
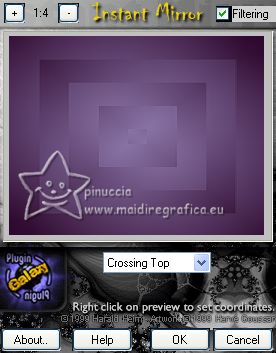
5. Effects>Plugins>Plugins Galaxy - Instant Mirror
for some versions: Effects>Plugins>The Plugin Site>Instant Mirror
6. Selection Tool 
(no matter the type of selection, because with the custom selection your always get a rectangle)
clic on the Custom Selection 
and set the following settings.
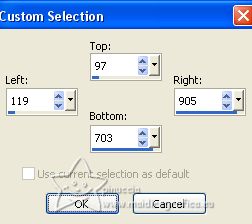
Selections>Invert.
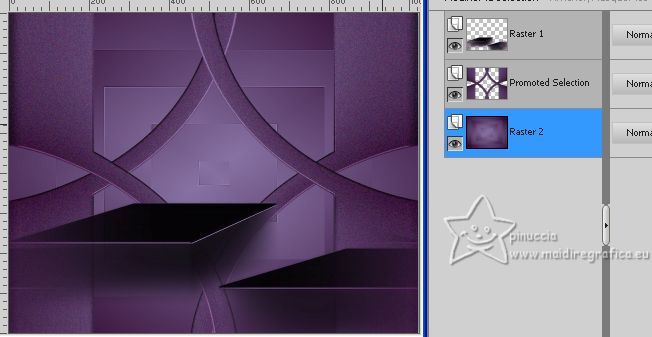
Selections>Promote Selection to Layer.
7. Effects>3D Effects>Inner Bevel.
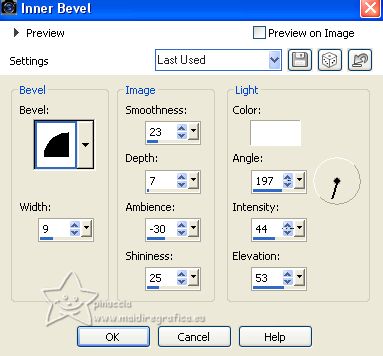
Selections>Select None.
8. Effects>Geometric Effects>Skew.
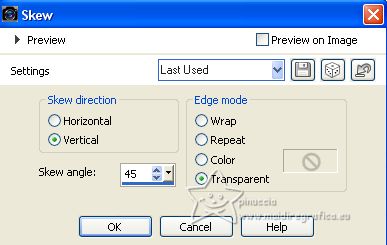
9. Effects>Distortion Effects>Pinch.

Layers>Duplicate.
Image>Mirror.
Layers>Merge>Merge Down.
10. Adjust>Add/Remove Noise>Add Noise.
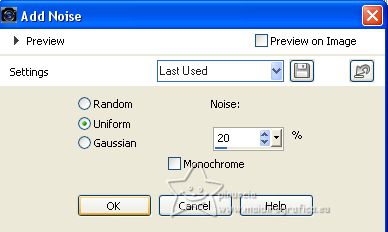
11. Activate your bottom layer, Raster 2.
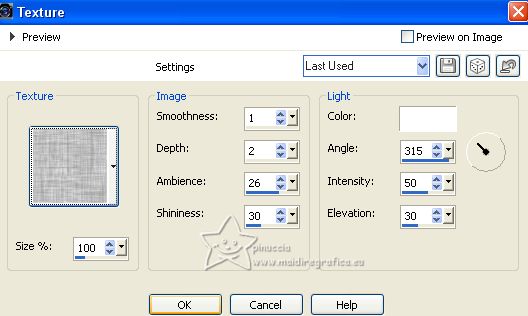
Effects>Texture Effects>Texture - select the texture Hatch fine or Corel_15_021.
12. Layers>New Raster Layer.
Selections>Select All.
Open the tube Calli_496 paisagem 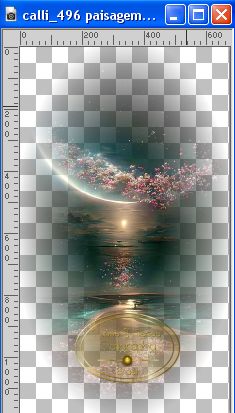
Edit>Copy.
Minimize the tube.
Go back to your work and go to Edit>Paste into Selection.
Selections>Select None.
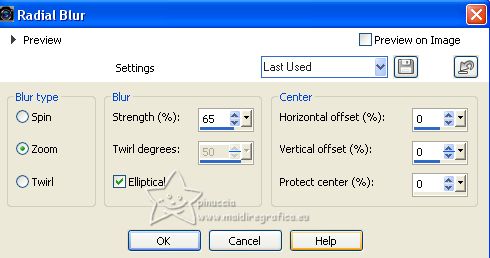
13. Adjust>Blur>Radial Blur.
14. Effects>Distortion Effects>Pixelate.
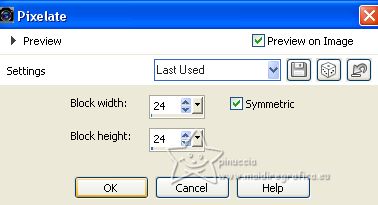
Effects>Edge Effects>Enhance More.
15. Layers>New Raster Layer.
Selections>Select All.
Open backcolorido_lc 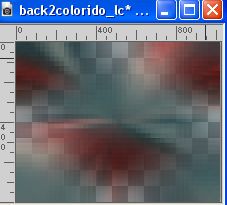
Edit>Copy.
Go back to your work and go to Edit>Paste into Selection.
Selections>Select None.
Effects>Edge Effects>Enhance More.
Layers>Arrange>Move down.
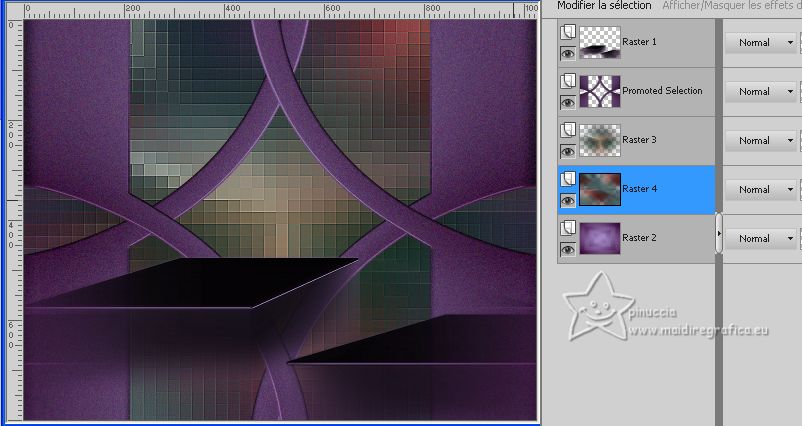
16. Activate the layer above, Raster 3.
Activate again the tube Calli_496 paisagem 
Edit>Copy.
Go back to your work and go to Edit>Paste as new layer.
Image>Resize, if necessary (for me to 80%), resize all layers not checked.
Place  correctly the tube. correctly the tube.
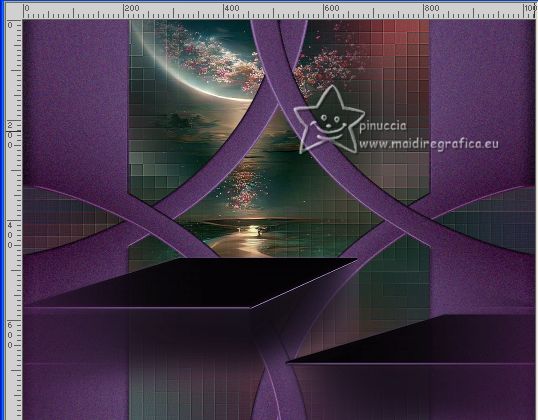
Effects>3D Effects>Drop Shadow, at your choice.
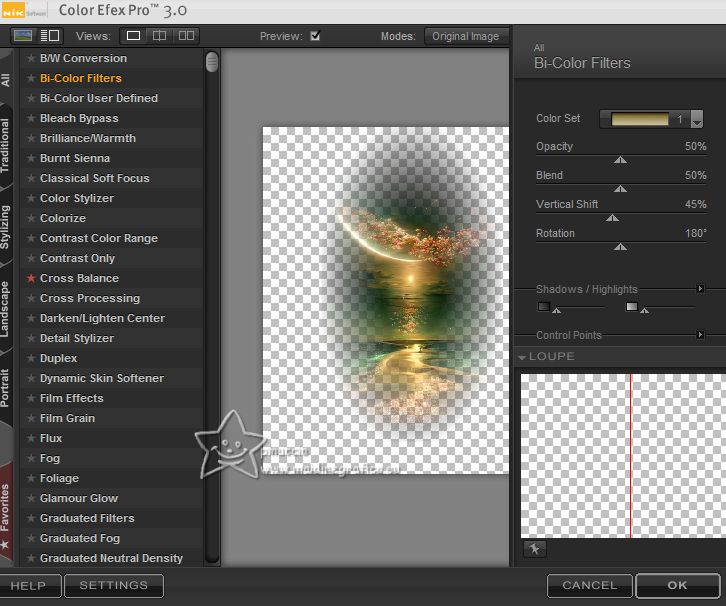
17. Effects>Plugins>Nik Software - Color Efex - Bi-Color Filters
to the right: Color Set Brown1, default settings.
18. Open decor_nmcriacoes_30 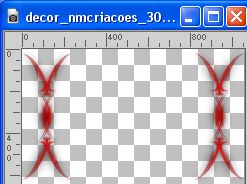
Edit>Copy.
Go back to your work and go to Edit>Paste as new layer.
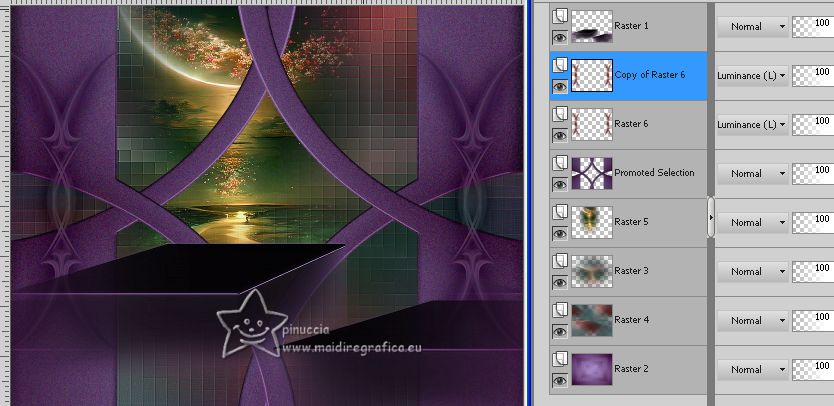
Keep the Blend Mode of this tube to Luminance (legacy)
Layers>Arrange>Move Up.
Layers>Duplicate.
19. Activate again your bottom layer, Raster 2.
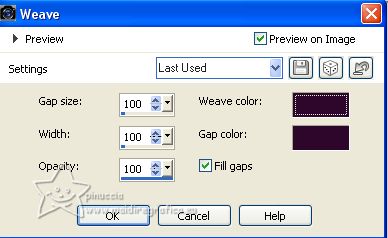
Effects>Texture Effects>Weave
the two colors: foreground color #2e082d.
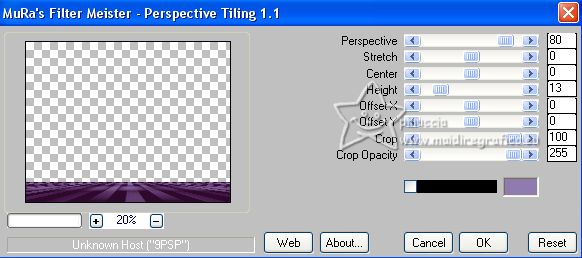
20. Effects>Plugins>Mura's Meister - Perspective Tiling.
21. Adjust>Add/Remove Noise>Add Noise, same settings.

Move this layer under the layer Promoted Selection.
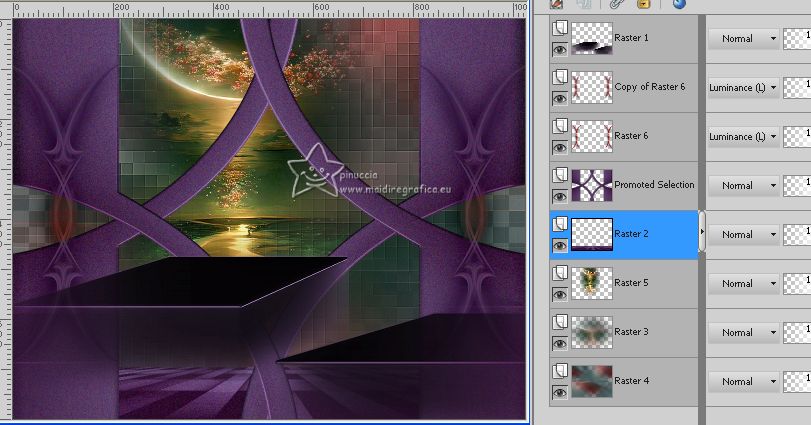
Adjust>Sharpness>Sharpen.
Effects>Plugins>Alien Skin Eye Candy 5 Impact - Perspective Shadow, at your choice.
22. Activate your top layer.
Open the tube Callitubes-285flores 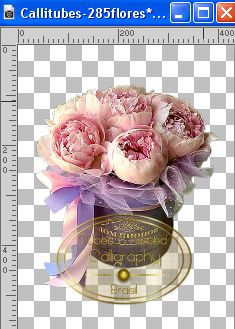
Edit>Copy.
Go back to your work and go to Edit>Paste as new layer.
Image>Resize, if necessary, for me to 75%, resize all layers not checked.
Move  the tube to the left, or to your liking. the tube to the left, or to your liking.
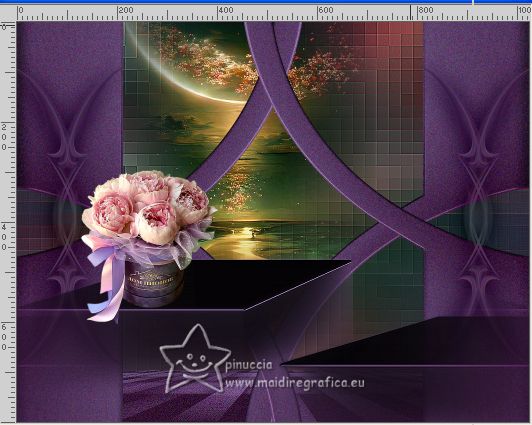
Effects>Plugins>Alien Skin Eye Candy 5 Impact - Perspective Shadow (or Drop Shadow), at your choice.
23. Open the tube Jeanne_Women_Rebecca_06_06_2022 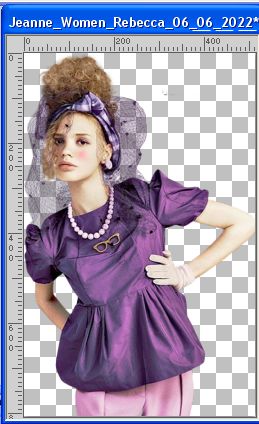
Edit>Copy.
Go back to your work and go to Edit>Paste as new layer.
Image>Resize, if necessary - I didn't it.
Move  the tube to the right. the tube to the right.
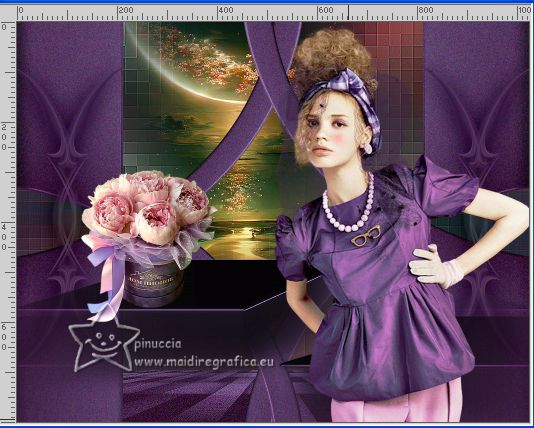
Effects>Plugins>Alien Skin Eye Candy 5 Impact - Perspective Shadow (or Drop Shadow) at your choice.
24. Image>Add borders, 2 pixels, symmetric, dark color.
Image>Add borders, 2 pixels, symmetric, light color.
Image>Add borders, 2 pixels, symmetric, dark color.
Selections>Select All.
Edit>Copy
Image>Add borders, 50 pixels, symmetric, color #ffffff.
Selections>Invert.
Edit>Paste into Selection.
Adjust>Blur>Gaussian Blur - radius 20.

Effects>Texture Effects>Weave, same settings.

Adjust>Add/Remove Noise>Add Noise, same settings.
Selections>Invert.
Effects>3D Effects>Drop Shadow, color #000000.
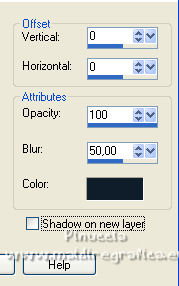
Selections>Select None.
25. Effects>Plugins>AAA Frames - Foto Frame.
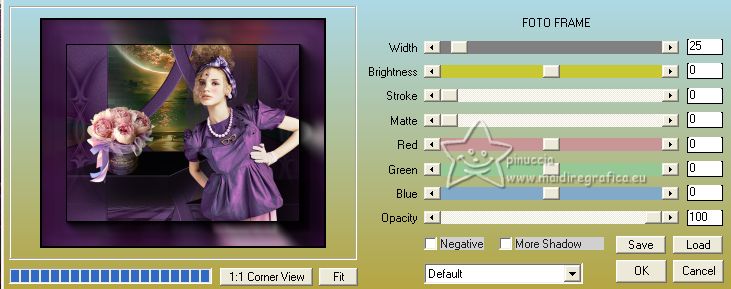
Repeat the Effect another time.
26. Image>Add borders, 1 pixel, symmetric, color #000000.
27. Sign your work on a new layer.
Add, if you want, the author and translator's watermarks.
Image>Resize, 1024 pixels width, resize all layers checked.
Save as jpg.
For the tubes of this version thanks Yoka and Nikita
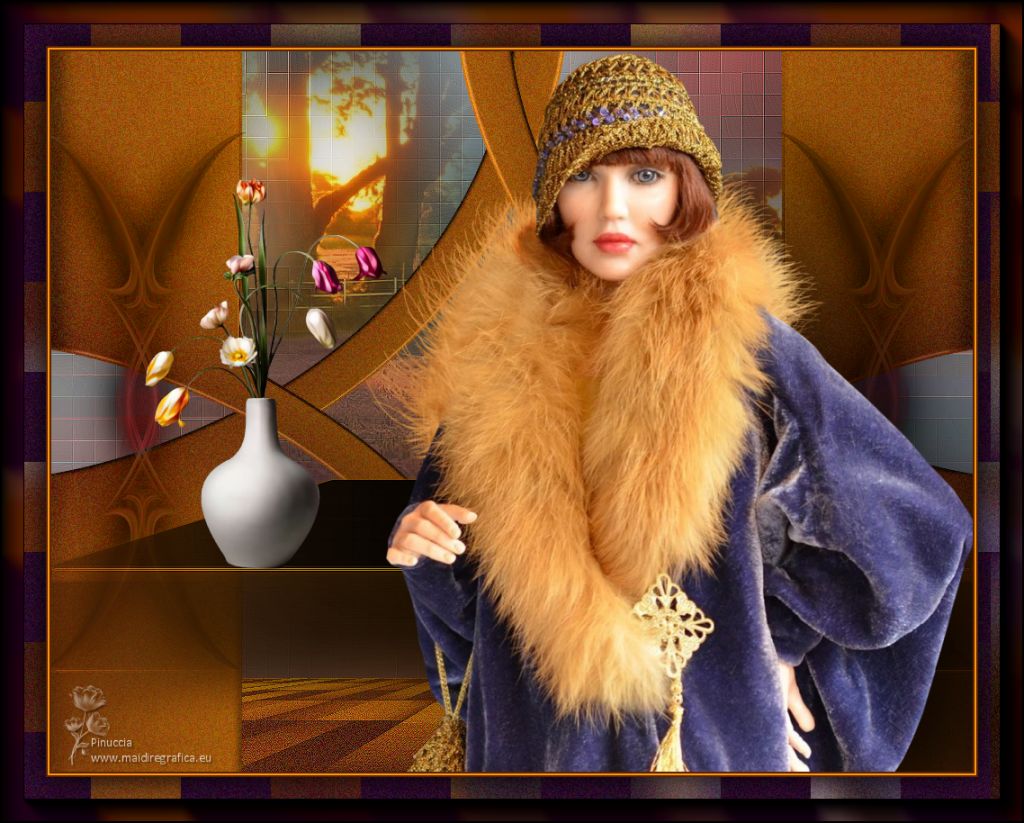
 Your versions here Your versions here

If you have problems or doubts, or you find a not worked link, or only for tell me that you enjoyed this tutorial, write to me.
18 March 2023

|


