|
TOP TWO AND ONE

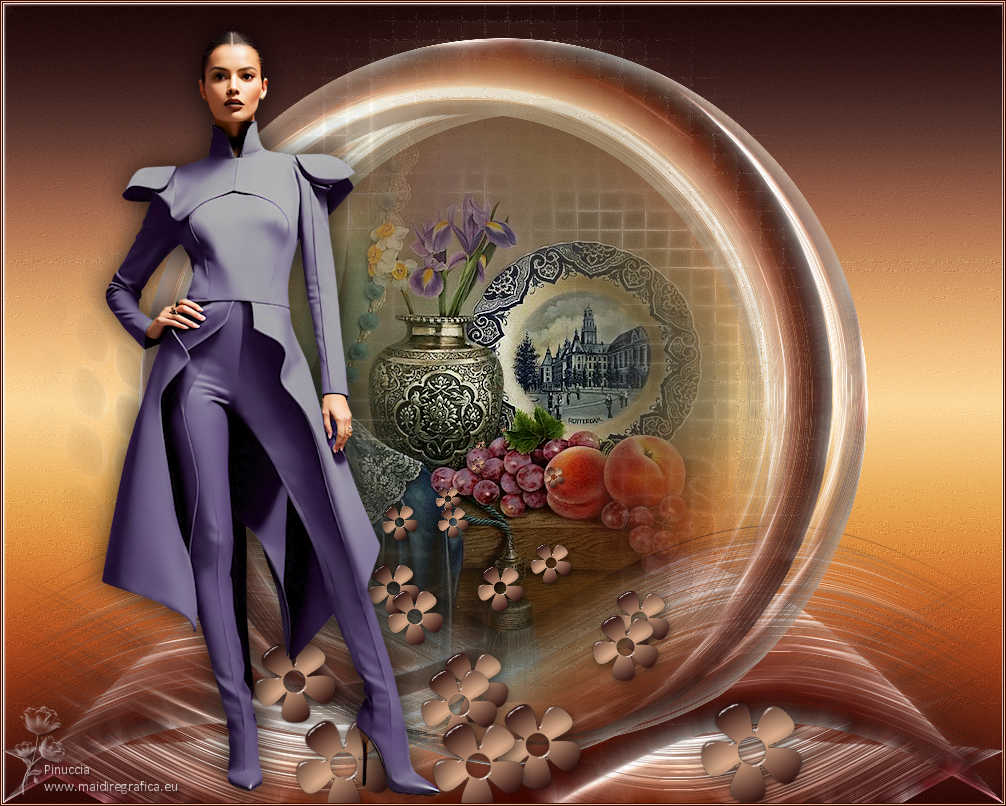
Thanks Lica Cida for your invitation to translate your tutorial

This tutorial was created with PSPX9 and translated with PSPX9 and PSP2020, but it can also be made using other versions of PSP.
Since version PSP X4, Image>Mirror was replaced with Image>Flip Horizontal,
and Image>Flip with Image>Flip Vertical, there are some variables.
In versions X5 and X6, the functions have been improved by making available the Objects menu.
In the latest version X7 command Image>Mirror and Image>Flip returned, but with new differences.
See my schedule here
 French translation here French translation here
 your versions here your versions here

For this tutorial, you will need:

For the tubes and the mask thanks Suizabella, Callitubes and Ildiko.
(you find here the links to the material authors' sites)

consult, if necessary, my filter section here
Redfield - Fractalius here
Mura's Meister - Pole Transform here
Mura's Meister Copies here
Nik Software - Color Efex Pro here
DSB Flux - Blast here
Alien Skin Eye Candy 5 Impact - Glass here
FM Tile Tools - Blend Emboss here

You can change Blend Modes according to your colors.
In the newest versions of PSP, you don't find the foreground/background gradient (Corel_06_029).
You can use the gradients of the older versions.
The Gradient of CorelX here
In the newest versions of PSP, you don't even find the old Preset Shapes.
You find the preset shapes of the old PSP 9 here
Copy the preset  in the folder of the plugin Alien Skin Eye Candy 5 Impact>Settings>Shadow. in the folder of the plugin Alien Skin Eye Candy 5 Impact>Settings>Shadow.
One or two clic on the file (it depends by your settings), automatically the preset will be copied in the right folder.
why one or two clic see here

1. Choose two colors from your tubes.
Set your foreground color to the dark color #39110f,
and your background color to the light color #f8c39d.
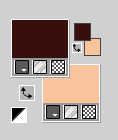
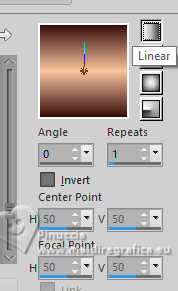
Set your foreground color to a Foreground/Background Gradient, style Linear.
2. Open a new transparent image 1000 x 800 pixels.
Flood Fill  the transparent image with your Gradient. the transparent image with your Gradient.
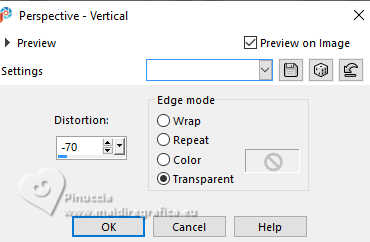
3. Effects>Geometric Effects>Perspective - Vertical.
4. Activate your Pick Tool 
Mode Scale 
Pull the top central node down, until 600 pixels.
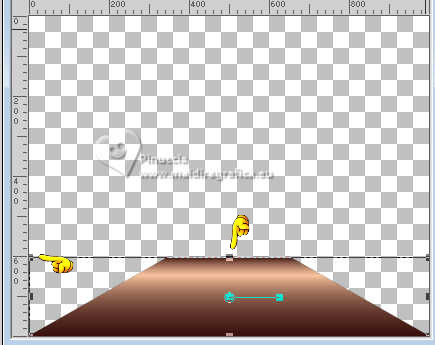
Effects>Plugins>DSB Flux - Blast
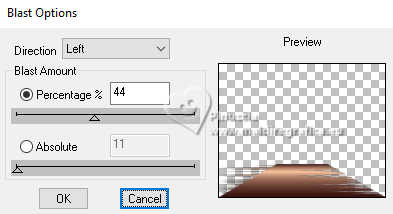
Image>Mirror>Mirror Horizontal.
5. Repeat Effects>Plugins>DSB Flux - Blast, same settings.
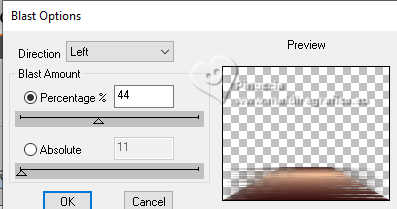
6. Effects>Distortion Effects>Wave
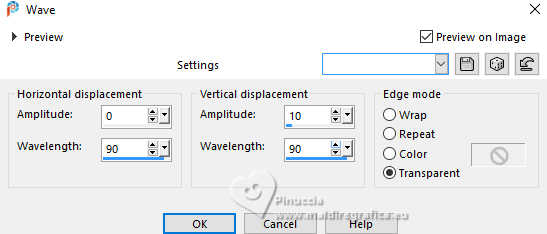
Layers>Duplicate.
Image>Mirror>Mirror Horizontal.
Layers>Merge>Merge Down.
7. Layers>Duplicate.
Effects>Plugins>Mura's Meister - Pole Transform.
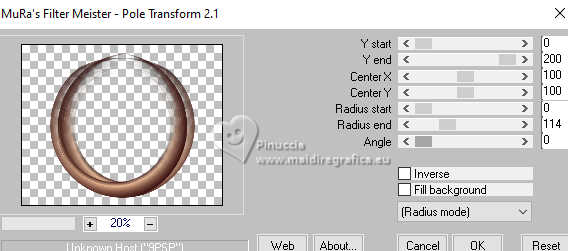
Image>Mirror>Mirror Vertical.
8. Layers>New Raster Layer.
Layers>Arrange>Move Down.
Flood Fill  the layer with your Gradient. the layer with your Gradient.
9. Layers>Duplicate.
Layers>New Mask layer>From image
Open the menu under the source window and you'll see all the files open.
Select the mask ildiko_design_mask_&_own_2016 (2)
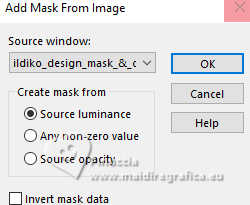
Effects>Edge Effects>Enhance.
Layers>Merge>Merge Group.
Effects>3D Effects>Drop Shadow, color #000000.

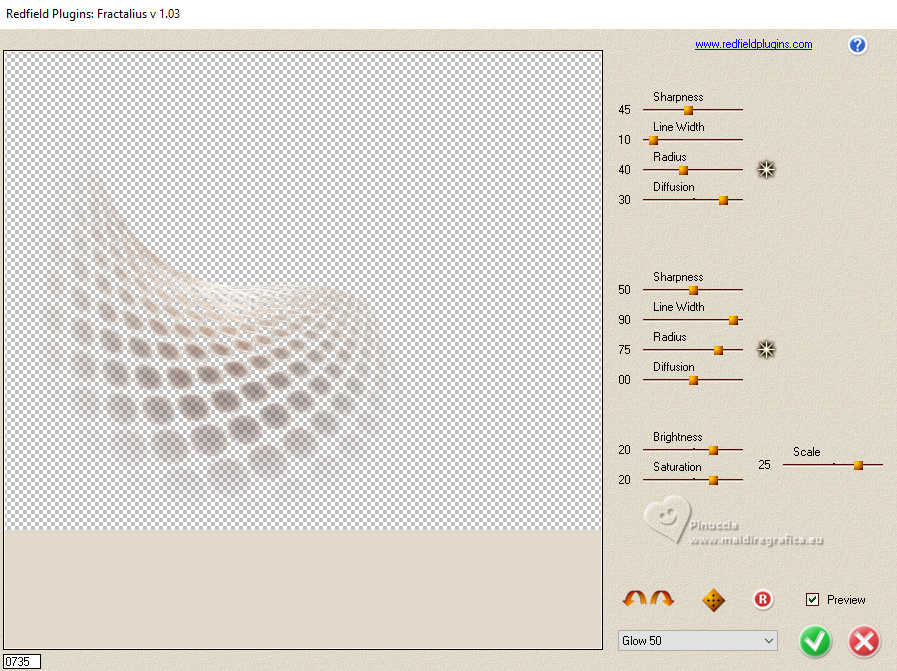
10. Effects>Plugins>Redfield - Fractalius - preset Glow 50
11. Open the tube Callitubes-30stilllife 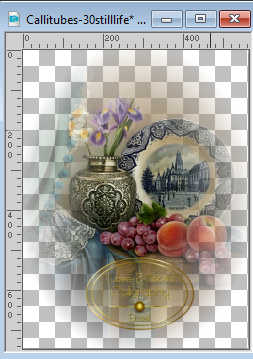
Edit>Copy.
Go back to your work and go to Edit>Paste as new layer.
Adjust>Sharpness>Sharpen.
Layers>Arrange>Bring to Top.
Layers>Duplicate.
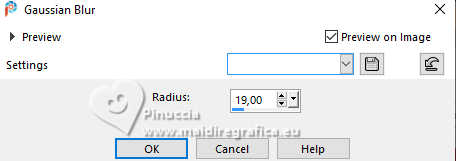
Adjust>Blur>Gaussian Blur - radius 19.
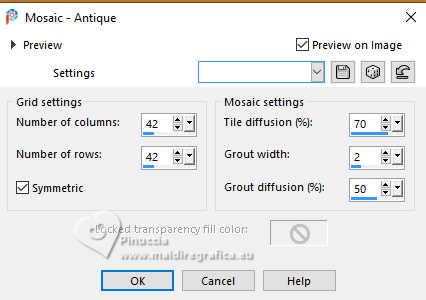
12. Effects>Texture Effects>Mosaic Antique
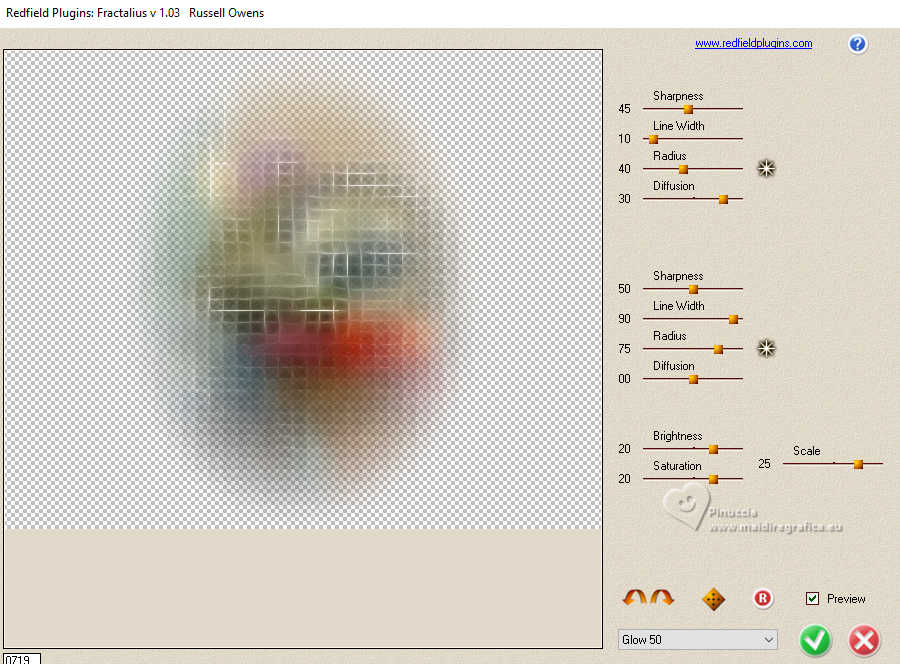
13. Effects>Plugins>Redfield - Fractalius - preset Glow 50
Layers>Arrange>Move Down.
14. Activate your top layer, Raster 3.
Image>Resize, to 80%, resize all layers not checked.
Effects>3D Effects>Drop Shadow, color #000000.

Your tag and the layers
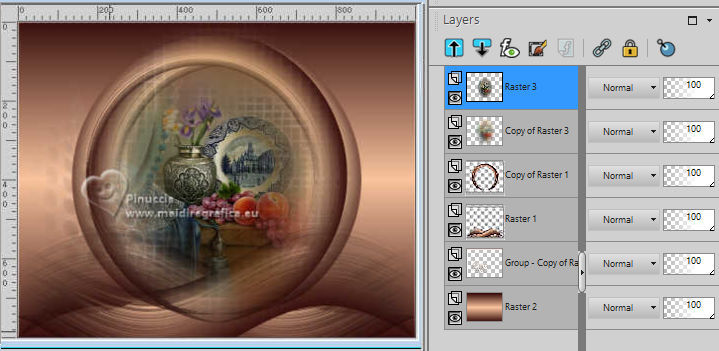
15. On the layers Raster 1 and Copy of Raster 1, apply
Effects>Plugins>Redfield - Fractalius - preset Glow 50
16. Applicate your bottom layer, Raster 2.
Layers>Duplicate.
Effects>Plugins>Nik Software - Color Efex Pro
Bi-Color Filters - to the right Color set: Cool Warm 2.
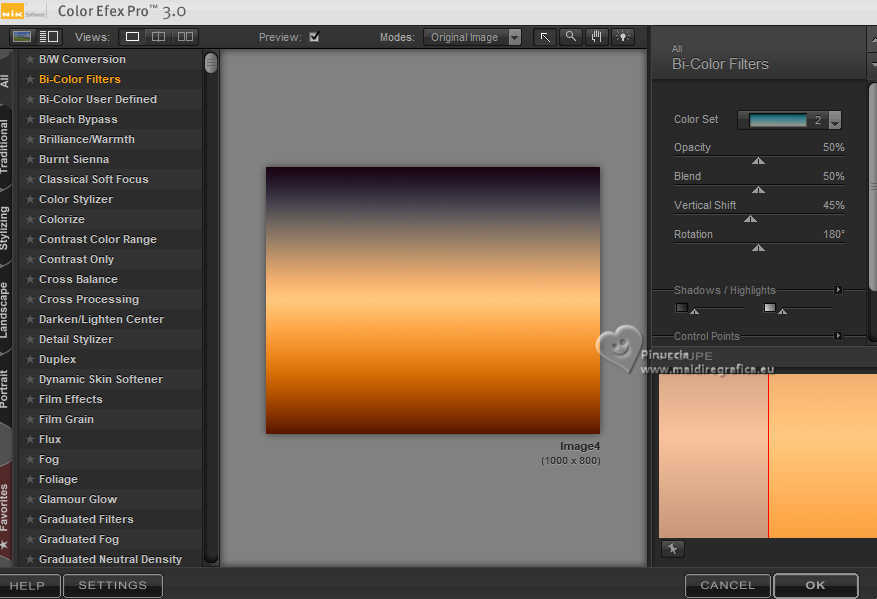
Change the blend Mode of this layer to Overlay and reduce the opacity to 65%.
17. Adjust>Add/Remove Noise>JPEG Artifact Removal.
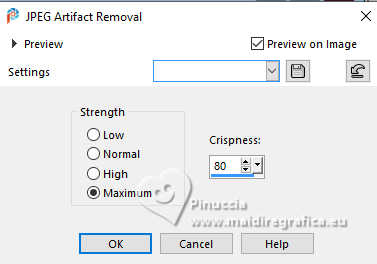
Effects>Plugins>FM Tile Tools - Blend Emboss, default settings.

18. Activate your top layer.
Layers>New Raster Layer.
Activate your Preset Shapes Tool 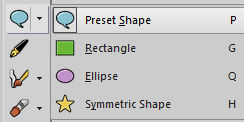
and select the preset Flower 2

Apply the shape in the center.
Layers>Convert in Raster Layer.
If you want to make sure the shape is in the center:
Objects>Align>Center in Canvas.
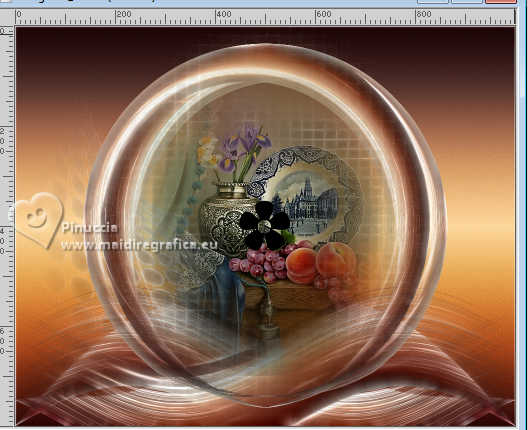
if you have problems with the shape, you can copy/paste as new layer
the flower you find in the material 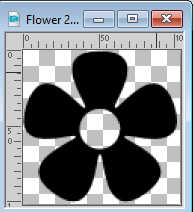
Selections>Select All.
Selections>Float.
Selections>Defloat.
Flood Fill  the shape with your Gradient. the shape with your Gradient.
19. Effects>Plugins>Alien Skin Eye Candy 5 Impact - Glass
select the preset katrina and ok (or to your liking.
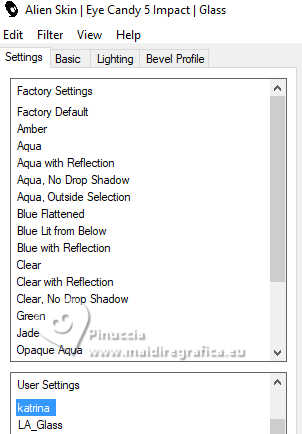
Selections>Select None.
If you still have problems, you can briefly copy/paste as new layer
the complete flower you find in the material 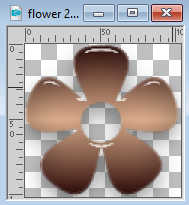
20. Effects>Plugins>Mura's Meister - Copies.
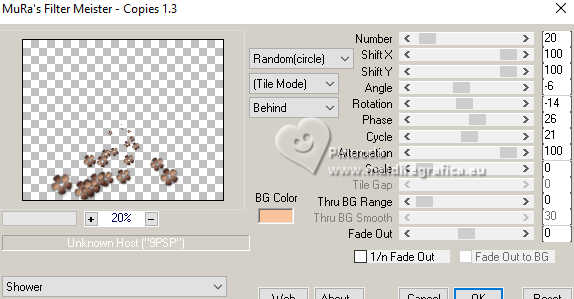
Attention: the result is random, for this reason it cannot be the same as mine,
and will always be different every time you want to use the filter with these settings.
If you want, you can change the result by clicking on the preview dinwod,
until you see what you like best.
21. Open the tube SuizaBella_Ref_AG-003770 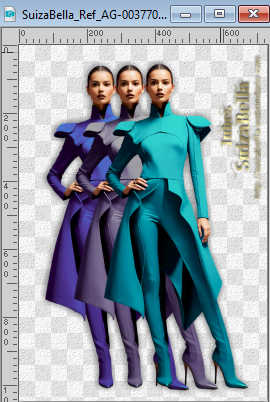
Activate the layer with your favorite color and go to Edit>Copy.
Go back to your work and go to Edit>Paste as new layer.
Image>Resize, to your liking, I did 80%, resize all layers not checked.
Move  the tube to the left, or to your liking. the tube to the left, or to your liking.
Effects>3D Effects>Drop shadow, at your choice.
Image>Add borders, 1 pixel, symmetric, dark color.
Image>Add borders, 2 pixels, symmetric, light color.
Image>Add borders, 1 pixel, symmetric, dark color.
Sign your work on a new layer.
If you choose to add the author's watermark,
it is a sign of respect don't forget the translator's.
Layers>Merge>Merge All and save as jpg.
For the tubes of this version thanks Mentali and Adrienne
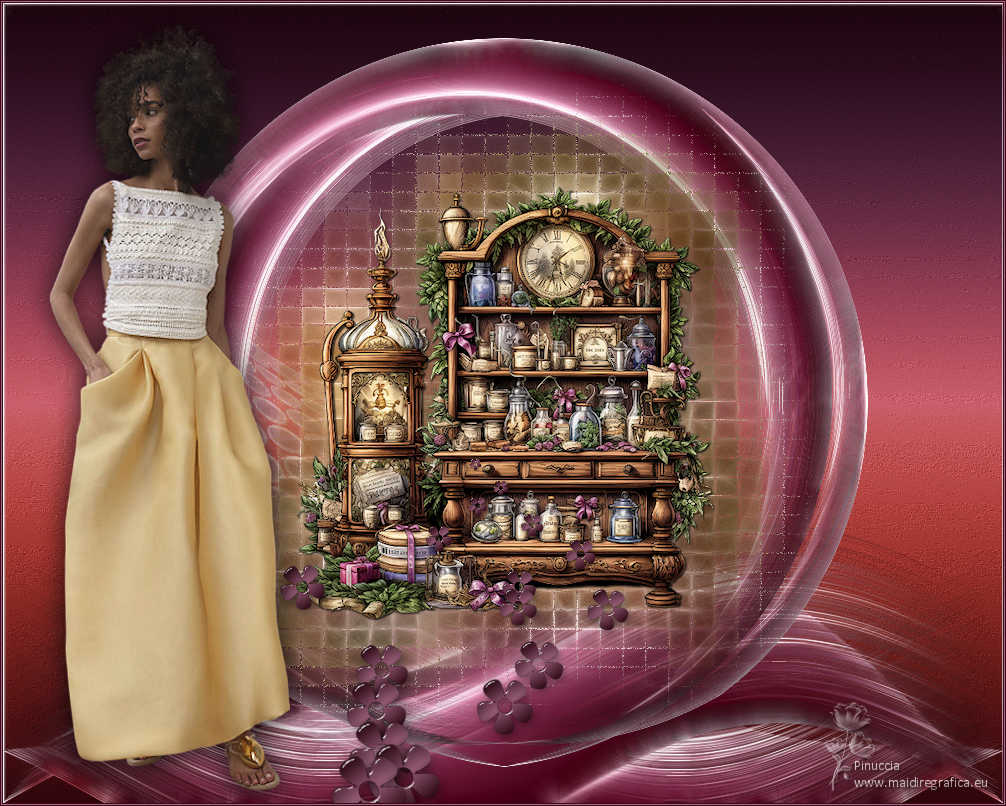
 Your versions here Your versions here

If you have problems or doubts, or you find a not worked link, or only for tell me that you enjoyed this tutorial, write to me.
1 January 2024

|


