|
TOP DOCE AMOR
 ENGLISH VERSION ENGLISH VERSION
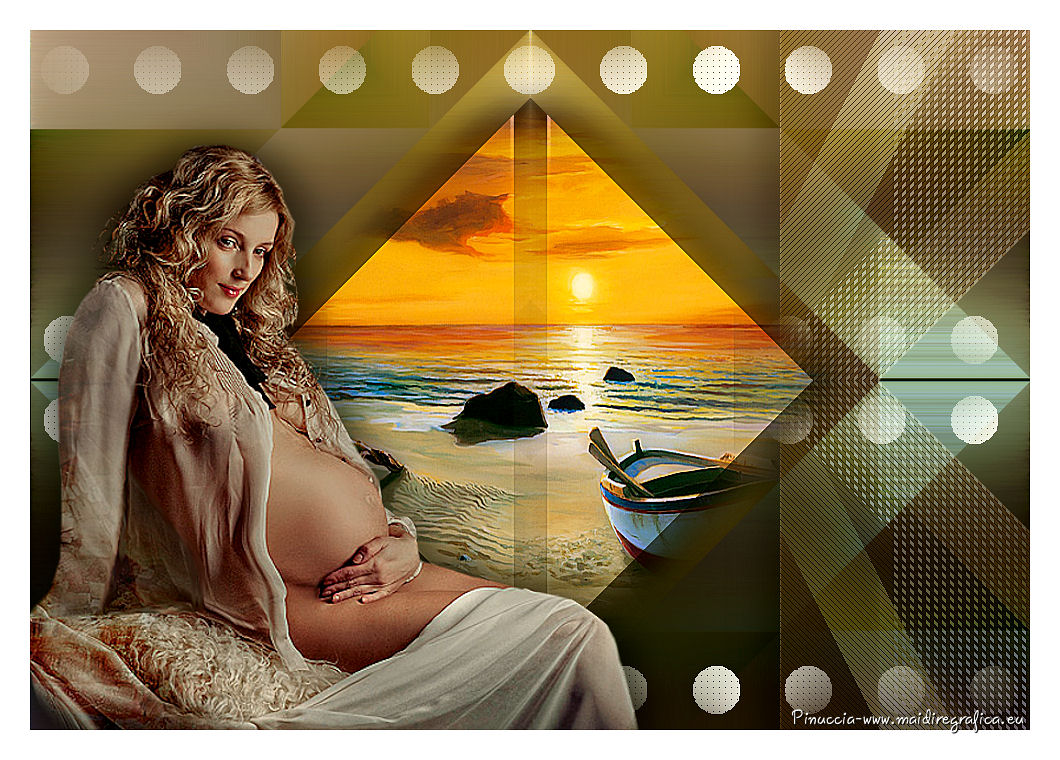
Here you find the original of this tutorial:

This tutorial was created with PSPX8 and translated with PSPX3, but it can also be made using other versions of PSP.
Since version PSP X4, Image>Mirror was replaced with Image>Flip Horizontal,
and Image>Flip with Image>Flip Vertical, there are some variables.
In versions X5 and X6, the functions have been improved by making available the Objects menu.
In the latest version X7 command Image>Mirror and Image>Flip returned, but with new differences.
See my schedule here
French translation here
your versions ici
For this tutorial, you will need:
Material here
Thanks for the tubes:
AnaRizi: AR683 et Mina©Mina@.4754.MIST Paesaggio.06.17
(you find here the links to the material authors' sites)
Plugins
consult, if necessary, my filter section here
Filters Unlimited 2.0 here
FM Tile Tools - Blend Emboss here
Mehdi - Fur, Sorting Tiles here
Graphics Plus - Vertical Mirror here
Simple - Blintz, Top Left Mirror here
Nik Software Color Efex here
AP [Lines] - Lines SilverLining here
AFS IMPORT - sqborder2 here
Optionnel: AAA Filters - Custom here
Filters Graphics Plus, Simple and AFS IMPORT can be used alone or imported into Filters Unlimited.
(How do, you see here)
If a plugin supplied appears with this icon  it must necessarily be imported into Unlimited it must necessarily be imported into Unlimited

You can change Blend Modes according to your colors.
1. Open Alphachannel_lc.
Duplicate with shift+D and close the original.
The copy, that will be the basis of your work, is not empty, but contains the selections saved on the alpha channel.
Selections>Select All.
Open the image "Backpaar" (background of the tube Jen_woman 646_17-08-2012) and go to Edit>Copy.
Go back to your work and go to Edit>Paste into Selection.
Selections>Select None.
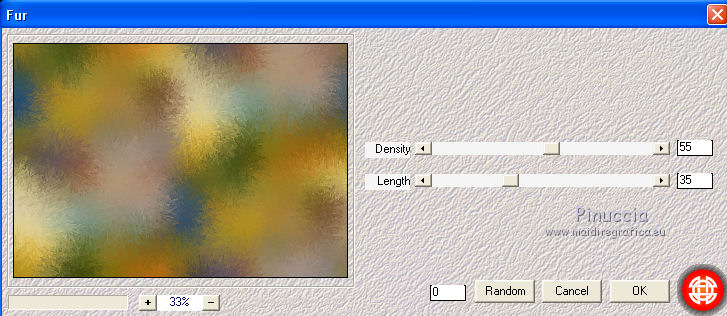
2. Effects>Plugins>Mehdi - Fur.
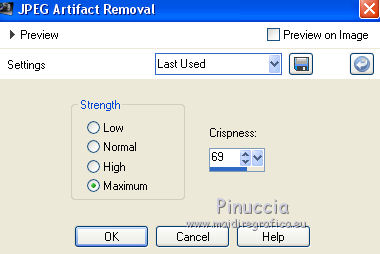
Adjust>Add/Remove Noise>JPEG Artifact Removal.
Effects>Plugins>FM Tile Tools - Blend Emboss, default settings.

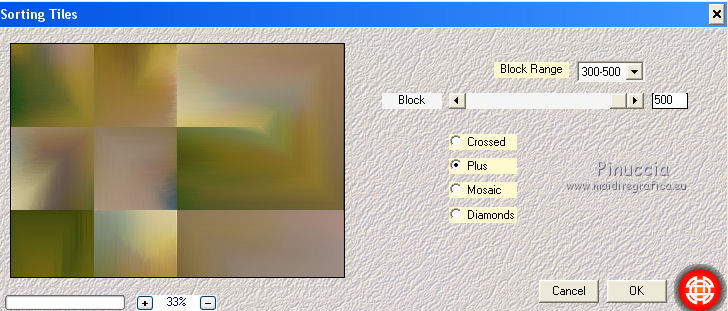
3. Effects>Plugins>Mehdi - Sorting Tiles.
4. Effects>Plugins>Simple - Blintz.
Edit>Repeat Blintz.
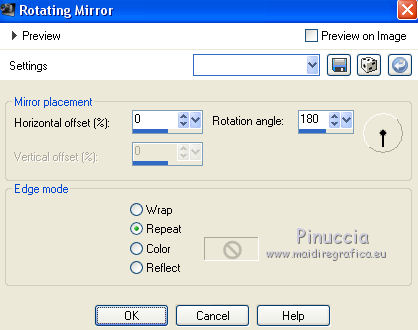
Effects>Reflections Effects>Rotating Mirror.
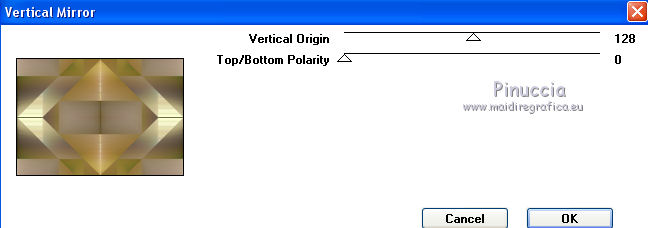
5. Effects>Plugins>Graphics Plus - Vertical Mirror.
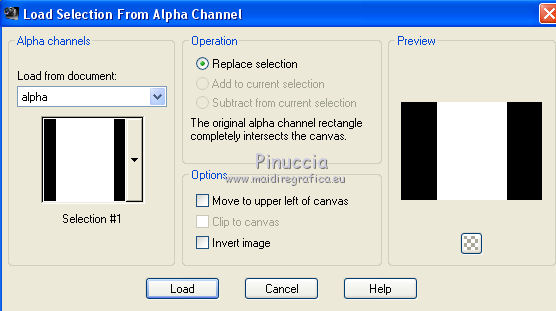
6. Selections>Load/Save Selection>Load Selection from Alpha Channel.
The selection #1 is immediately available. You just have to click on Load.
Selections>Promote Selection to Layer.
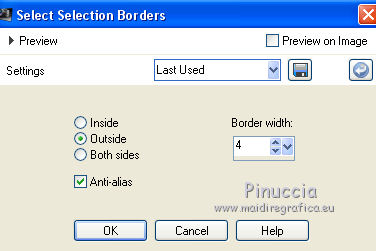
7. Selections>Modify>Select Selection Borders.
Layers>New Raster Layer.
Set your foreground color to white #ffffff,
Flood Fill  the selection with color white. the selection with color white.
Selections>Select None.
Layers>Merge>Merge Down.
Effects>3D Effects>Drop Shadow, color #000000.
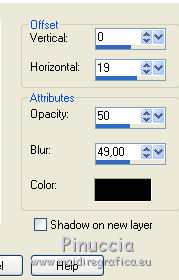
Effects>Image Effects>Seamless Tiling.
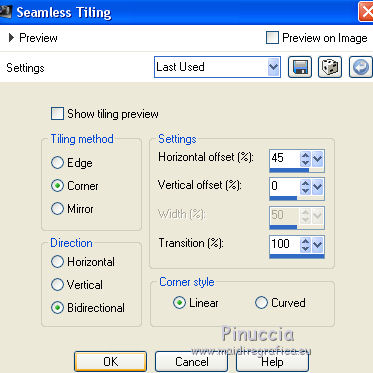
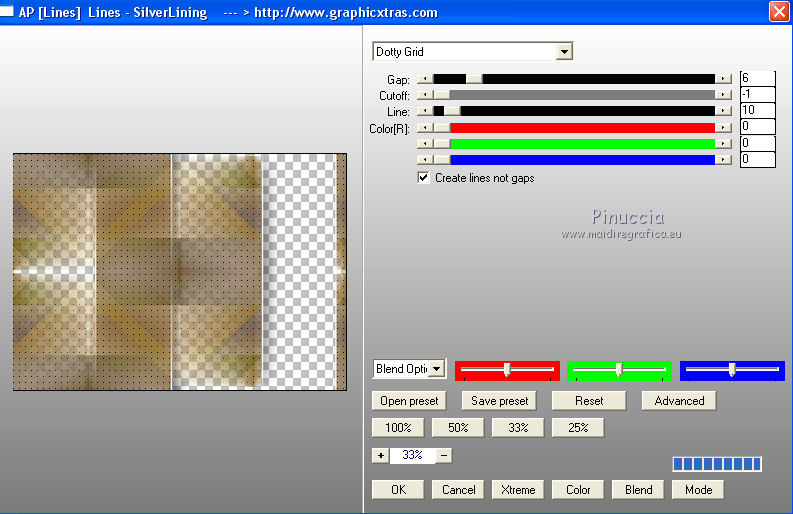
8. Effects>Plugins>AP [Lines] - Lines SilverLining.
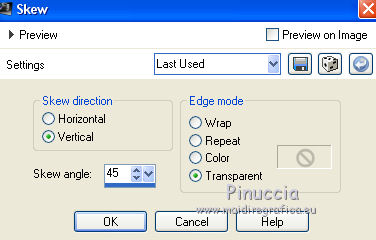
9. Effects>Geometric Effects>Skew.
Effects>Reflections Effects>Rotating Mirror, same settings.

10. Effects>Plugins>Simple - Top Left Mirror.
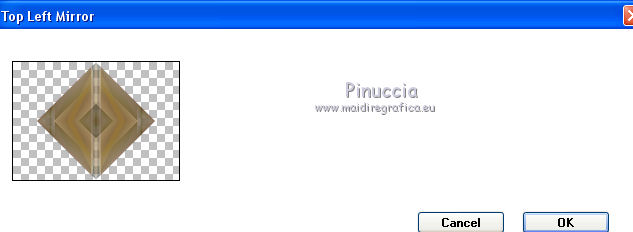
Image>Resize, to 80%, resize all layers not checked.
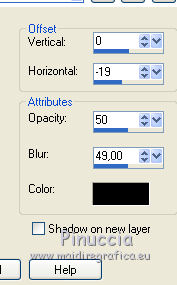
Effects>3D Effects>Drop Shadow, color #000000.

Repeat Effects>3D Effects>Drop Shadow, but horizontal -19.
11. Activate the bottom layer, Raster 1.
Selections>Load/Save Selection>Load Selection from Alpha Channel.
Open the selections menu and load Selection#2.
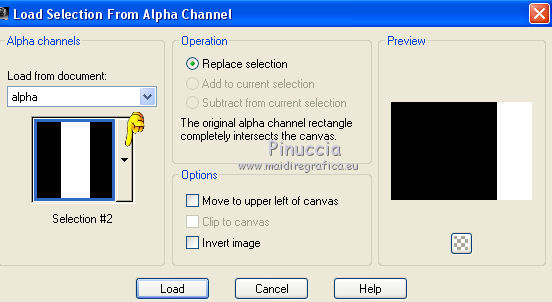
Selections>Promote Selection to Layer.
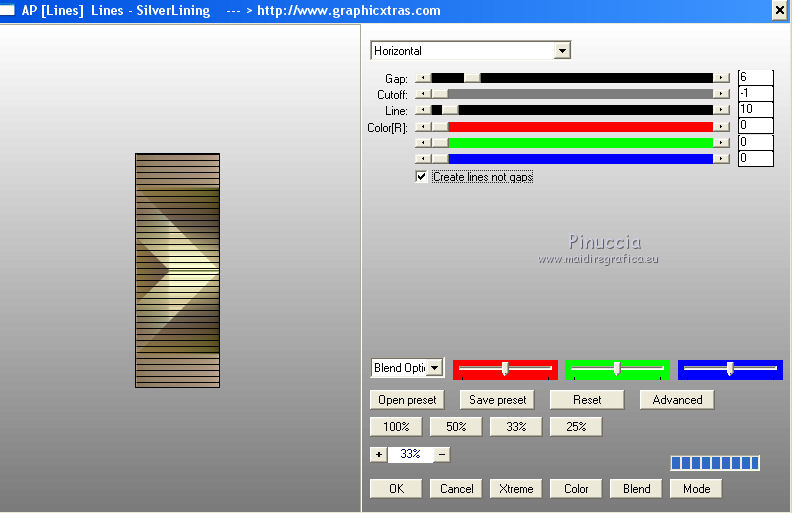
Effects>Plugins>AP [Lines] - Lines SilverLining.
Selections>Select None.
12. Effects>Plugins>Filters Unlimited 2.0 - [AFS IMPORT] - sqborder2.
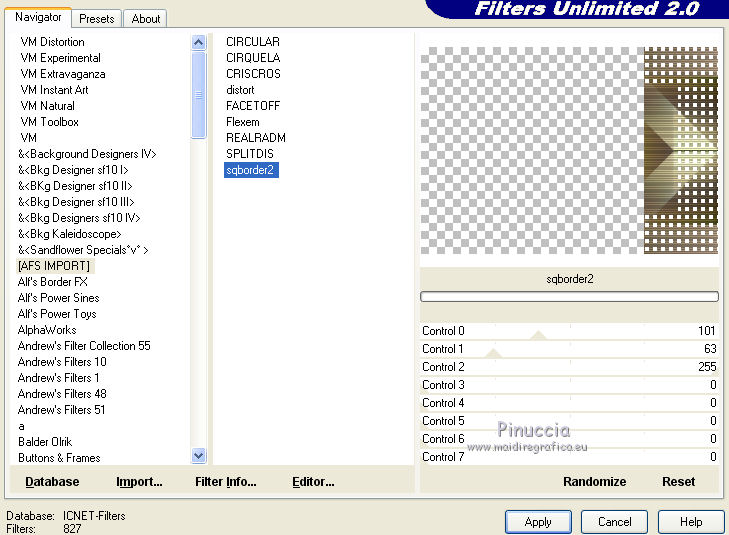
Effects>3D Effects>Drop Shadow, color #000000.

Effects>Reflection Effects>Rotating Mirror.
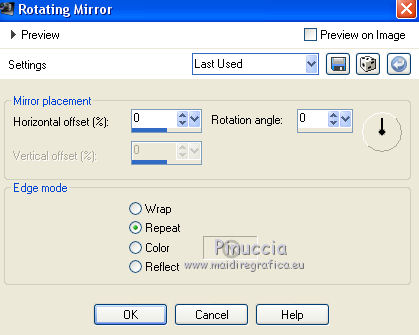
13. Effects>Geometric Effets>Skew, same settings.

14. Effects>Plugins>Graphics Plus - Vertical Mirror, same settings.
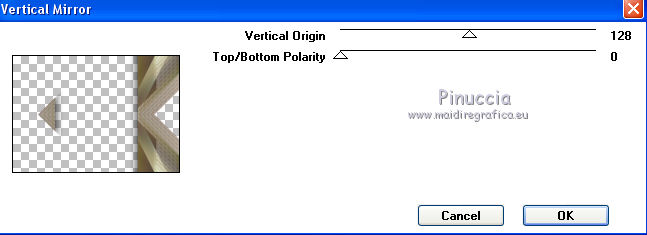
Adjust>Sharpness>Sharpen More.
Change the Blend Mode of this layer to Soft Light.
15. Open the tube decolc1 - Edit>Copy.
Go back to your work and go to Edit>Paste as new layer.
16. Activate the top layer, Promoted Selection.
Selections>Select All.
Selections>Float.
Selections>Defloat.
Layers>New Raster Layer.
Open the tube Mina@.4754.MIST Paesaggio.06.17 and go to Edit>Copy.
Go back to your work and go to Edit>Paste into Selection.
Selections>Select None.
Adjust>Sharpness>Sharpen More.
You should have this
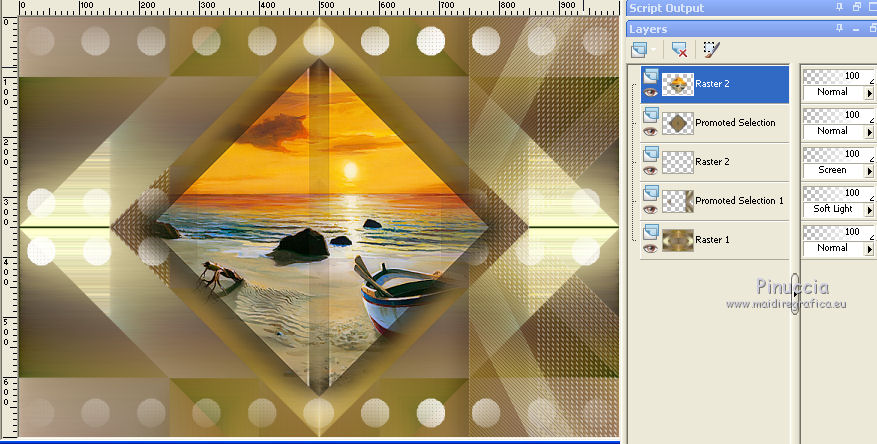
17. Activate the bottom layer, Raster 1.
Layers>Duplicate.
On this layer: Effects>Plugins>Nik Software - Color Efex Pro - Graduated Filters.
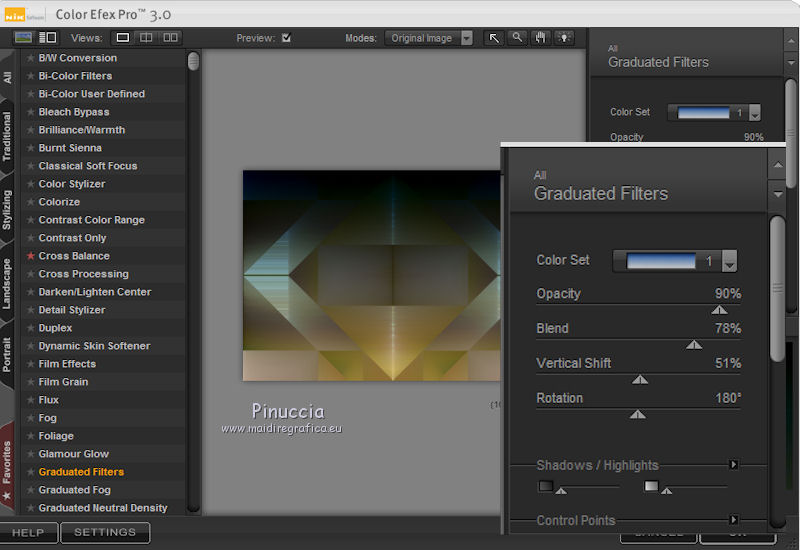
Reduce the opacity of this layer to 75%.
Image>Flip.
Layers>Merge>Merge visible.
18. Open the tube AR683 - Edit>Copy.
Go back to your work and go to Edit>Paste as new layer.
Image>Resize, at your choice, resize all layers not checked.
Adjust>Sharpness>Sharpen More.
Position  the tube correctly. the tube correctly.
Effects>3D Effects>Drop Shadow, at your choice.
19. Image>Add borders, 30 pixels, symmetric, color #ffffff.
**Optional: Effects>Plugins>AAA Filters - Custom, click on Landscape and ok.
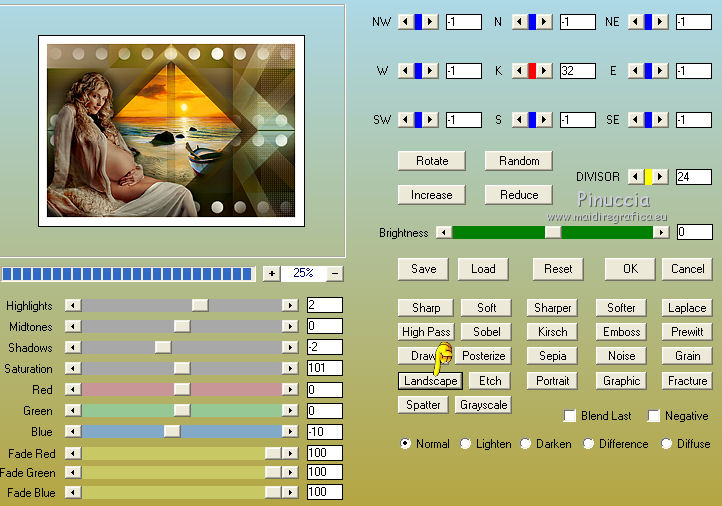
Sign your work and save as jpg.
little note about the watermark:
I don't ask to put watermark on the versions made by my translations.
But if you decide to use the watermark, I would appreciate that my work as translator was also respected.
For that, I added a new watermark to the material.

The tubes of this version are by Tigre blanc and Cal
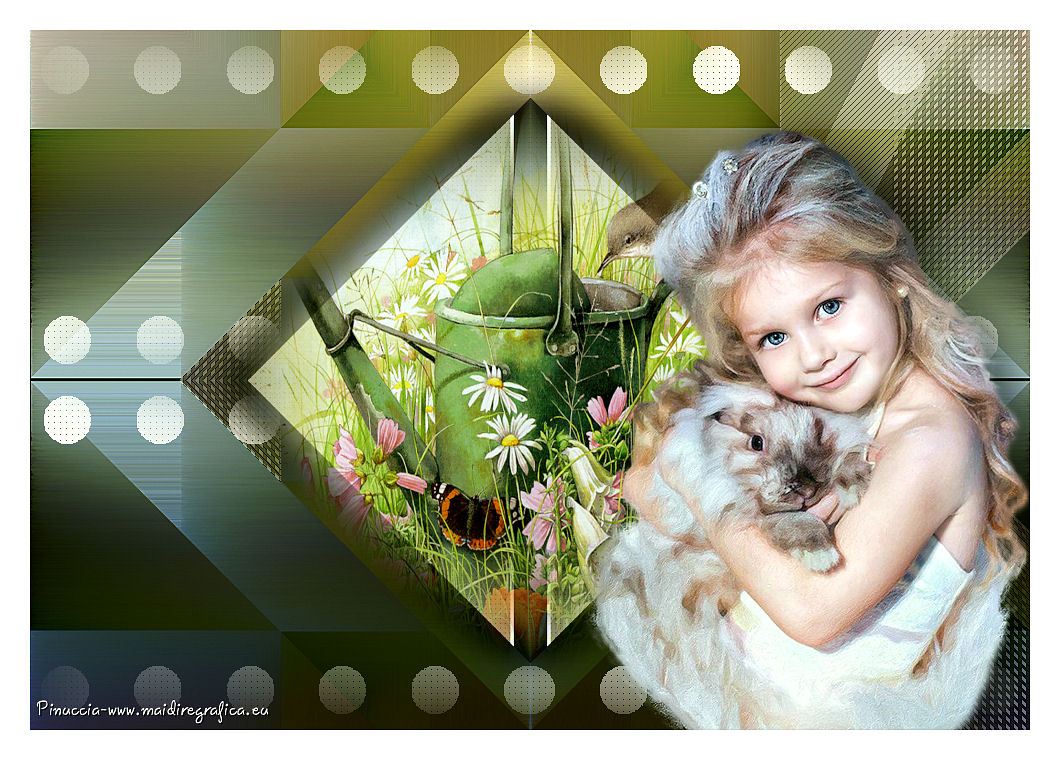
Your versions here

If you have problems or doubts, or you find a not worked link, or only for tell me that you enjoyed this tutorial, write to me.
My mail is in the menu on the top of the page.
18 March 2018
|
 ENGLISH VERSION

 ENGLISH VERSION
