|
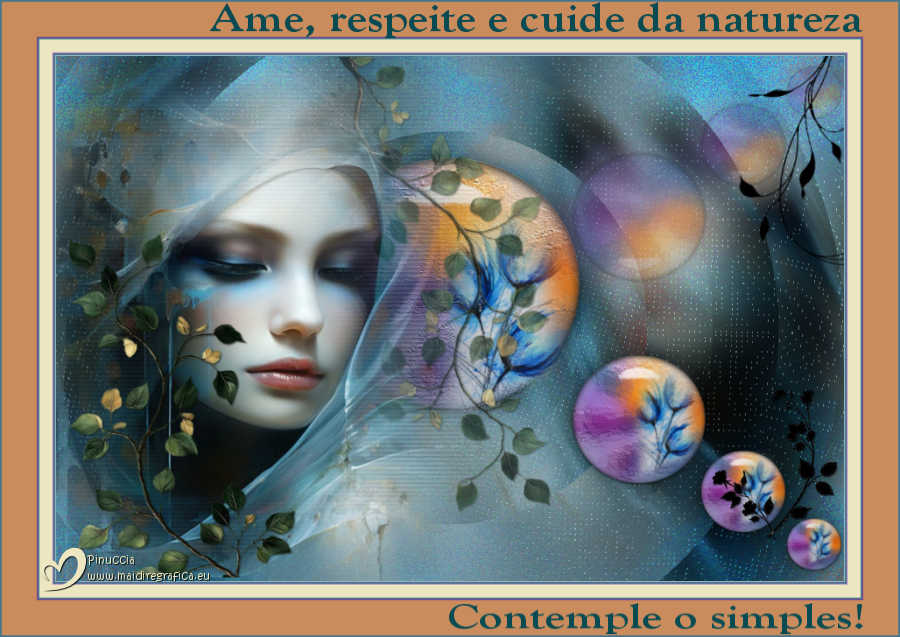
CONTEMPLE O SIMPLES
 CONTEMPLATE THE SIMPLE CONTEMPLATE THE SIMPLE
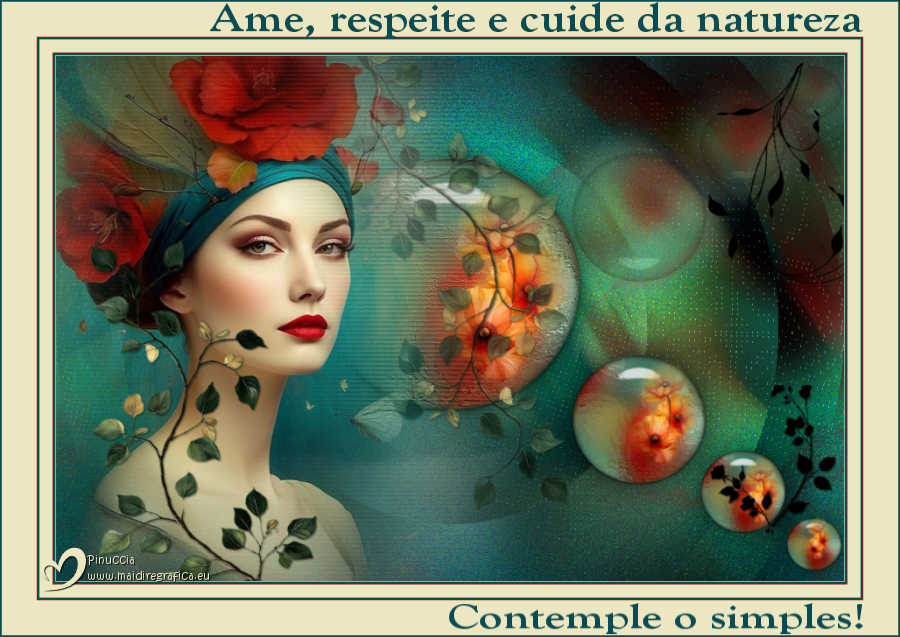
Thanks Ligia for your invitation to translate your tutorial

This tutorial was translated with PSPX7, but it can also be made using other versions of PSP.
Since version PSP X4, Image>Mirror was replaced with Image>Flip Horizontal,
and Image>Flip with Image>Flip Vertical, there are some variables.
In versions X5 and X6, the functions have been improved by making available the Objects menu.
In the latest version X7 command Image>Mirror and Image>Flip returned, but with new differences.
See my schedule here
 French translation here French translation here
 your versions ici your versions ici
For this tutorial, you will need:
Material here
For a mask thanks Cameron.
The rest of the material is by Ligia
(you find here the links to the material authors' sites)
Plugins
consult, if necessary, my filter section here
Filters Unlimited 2.0 here
VanDerLee - Unplugged-X here
Graphics Plus - Emboss here
Virtual Painter 4 - Virtual Painter 4 here
Carolaine and Sensibility - CS_LDots here
VM Distortion - Slicer here
Alien Skin Eye Candy 5 Impact - Glass here
Filters Graphics Plus and VM Distortion can be used alone or imported into Filters Unlimited.
(How do, you see here)
If a plugin supplied appears with this icon  it must necessarily be imported into Unlimited it must necessarily be imported into Unlimited

You can change Blend Modes according to your colors.
In the newest versions of PSP, you don't find the foreground/background gradient (Corel_06_029).
You can use the gradients of the older versions.
The Gradient of CorelX here
Copy the preset  in the folder of the plugin Alien Skin Eye Candy 5 Impact>Settings>Glass. in the folder of the plugin Alien Skin Eye Candy 5 Impact>Settings>Glass.
One or two clic on the file (it depends by your settings), automatically the preset will be copied in the right folder.
why one or two clic see here

Copy the selections in the Selection Folder.
Note:
Try to use light colors; if you use dark colors, the effects will be barely visible.
1. Open a new transparent image 900 x 600 pixels.
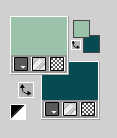
2. Set your foreground color to the light color #9bc3aa,
and your background color to the dark color #094b52.
3. Set your foreground color to a Foreground/Background Gradient, style Linear.
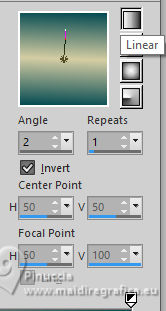
Flood Fill  the transparent image with your Gradient. the transparent image with your Gradient.
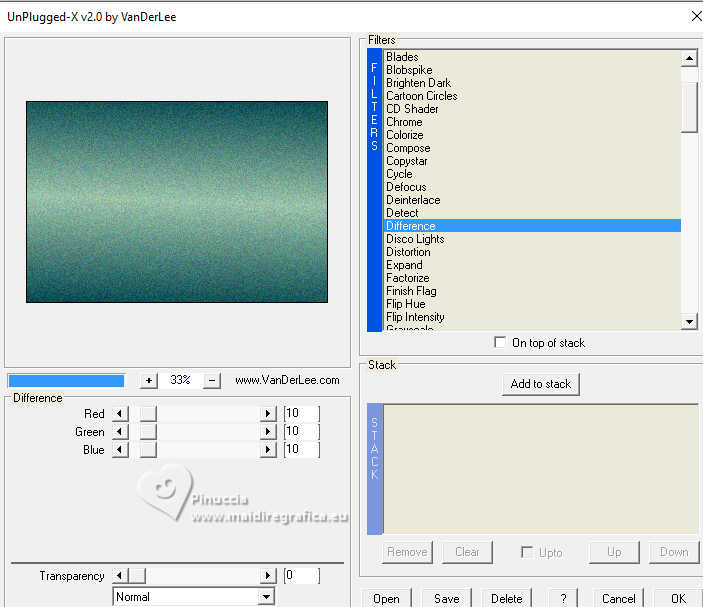
4. Effects>Plugins>VanDerLee - Unplugged-X
5. Layers>New Raster Layer.
Selections>Select All.
Open the misted misted_li 
Edit>Copy.
Go back to your work and go to Edit>Paste into Selection.
Selections>Select None.
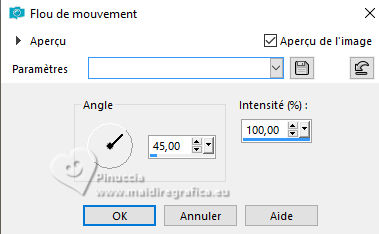
6. Adjust>Blur>Motion Blur - 4 times
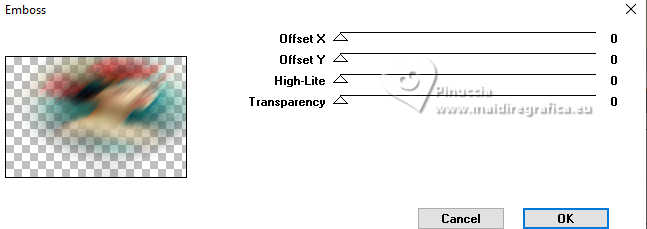
7. Effects>Plugins>Graphics Plus - Emboss, default settings.
8. Effets>Effets d'image>Mosaïque sans jointures, default settings.

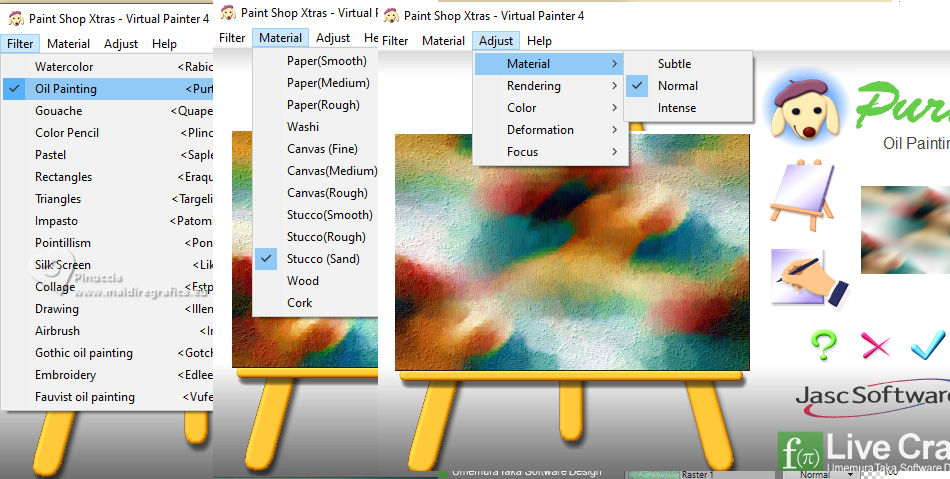
9. Effects>Plugins>Virtual Painter - Virtual Painter 4.
Filter: Oil painting - Material: Stucco (Sand); adjust (tous en Normal)
You should test and change the opacity according to your materials;
in the tutorial I changed the Blend Mode to Saturation.
10. Edit>Paste as new layer - the tube misted_li is still in memory.
Image>Resize, to 80%, resize all layers not checked.
Adjust>Blur>Motion Blur, same settings 3 times
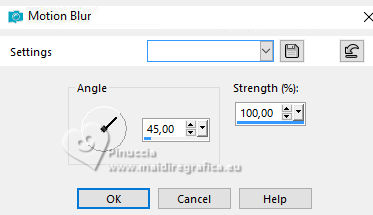
11. K key to activate your Pick Tool 
Position X: -119,00 - Position Y: -170,00.

Note: if you use another tube,
simply move it  to the left, according to the model. to the left, according to the model.
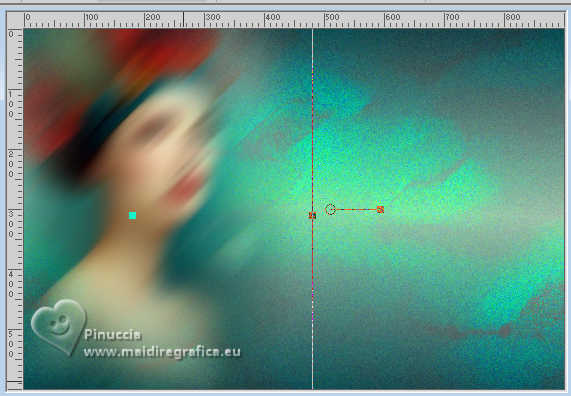
12. Layers>Duplicate.
Image>Mirror>Mirror horizontal.
Layers>Merge>Merge Down.
Change the Blend Mode of this layer to Multiply, or according to your work.
13. Effects>Plugins>Carolaine and Sensibility - CS-LDots
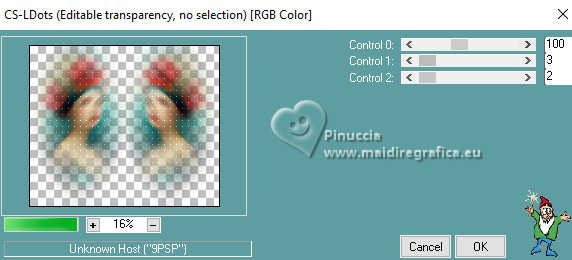
14. Effects>Plugins>VM Distortion - Slicer, default settings.
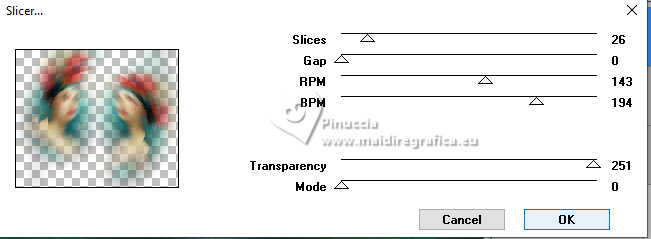
15. Selections>Load/Save Selection>Load Selection from Disk.
Look for and load the selection slice_li3

Layers>New Raster Layer.
16. Open flor 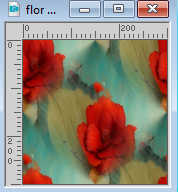
Edit>Copy.
Go back to your work and go to Edit>Paste into Selection.
Effects>Art Media Effects>Brush Strokes, color #808080
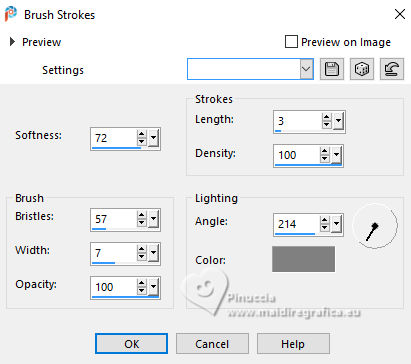
17. Effects>Plugins>Alien Skin Eye Candy 5 Impact - Glass.
Select the preset slice_li
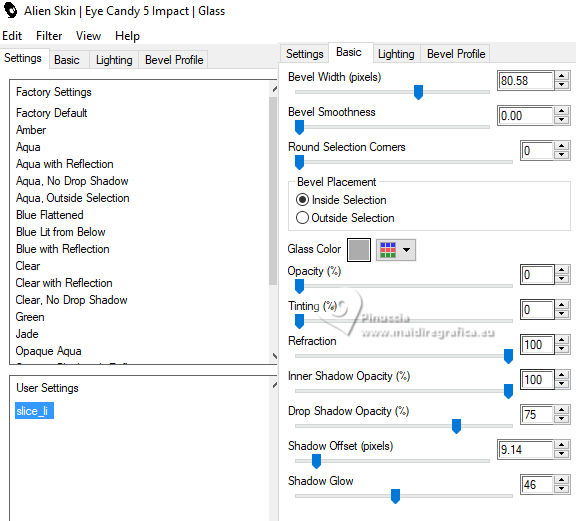
Selections>Select None.
18. Layers>Duplicate.
Image>Resize, 3 times to 80%, resize all layers not checked.
Pick Tool 
Position X: 586,00 - Position Y: 339,00.

19. Layers>Duplicate.
Image>Resize, 2 times to 80%, resize all layers not checked.
Pick Tool 
Position X: 734,00 - Position Y: 449,00.

20. Layers>Duplicate.
Image>Resize, 2 times to 80%, resize all layers not checked.
Pick Tool 
Position X: 833,00 - Position Y: 527,00.

Layers>Merge>Merge Down - 3 times.
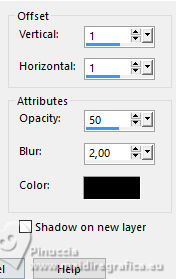
21. Effects>3D Effects>Drop Shadow, color black

22. Layers>Duplicate.
Selections>Load/Save Selection>Load Selection from Disk.
Look for and load the selection slice_li10
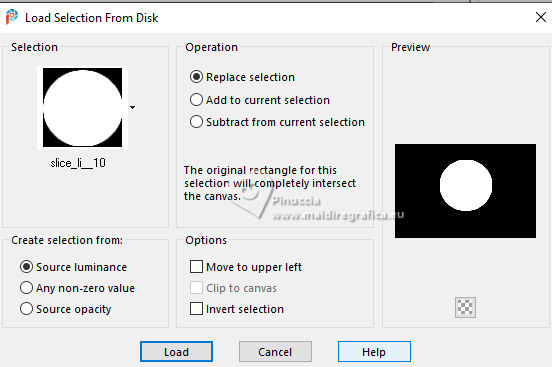
Press CANC on the keyboard 
Selections>Select None.
Image>Mirror>Mirror vertical (Image>Flip).
Change the Blend Mode of this layer to Multiply.
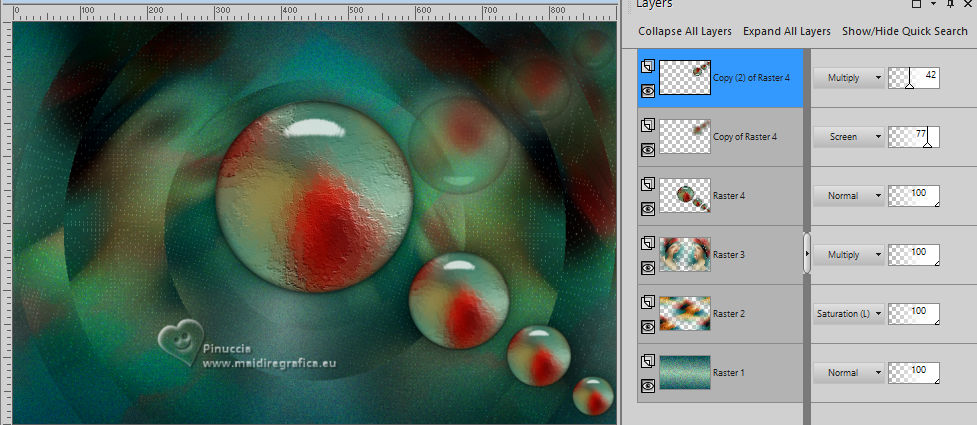
23. Layers>Duplicate.
Activate the layer below of the original.
Adjust>Blur>Gaussian Blur - radius 20.

Change the Blend Mode of this layer to Screen and reduce the opacity to 77%.
On the layer above of the copy keep Multiply and reduce the opacity to 42,
or according to your colors.
24. Activate again the misted and go to Edit>Copy.
Go back to your work and go to Edit>Paste as new layer.
Image>Resize, to 80% - or according to your tube - resize all layers not checked.
Pick Tool 
Position X: -73,00 - Position Y: -183,00
(or move  to the left) to the left)

25. Effects>3D Effects>Drop Shadow, shadow on new layer checked.

27. Stay on the shadow's layer.
Effects>Texture Effects>Blinds, light color, for me #d4cda3
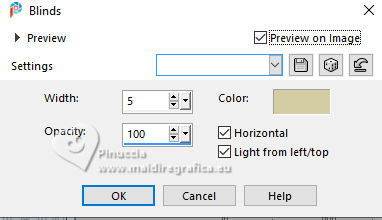
Reduce the opacity to 67%.
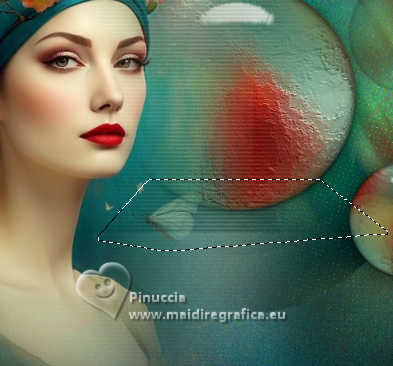
Activate your Erase Tool  , size 20 pixels, opacity 40, , size 20 pixels, opacity 40,
erase in this textured layer, if necessary,
the line that was over the circle to give a more delicate effect to your creation.
Look below.
28. Open florzinha_mist_li 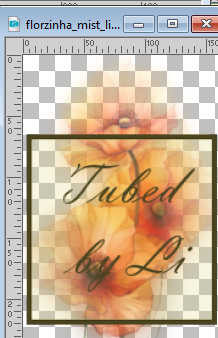
Edit>Copy.
Go back to your work and go to Edit>Paste as new layer.
Pick Tool 
Position X: 429,00 - Position Y: 141,00.

if you are doing the original tutorial, otherwise, adjust it as in the exemple.
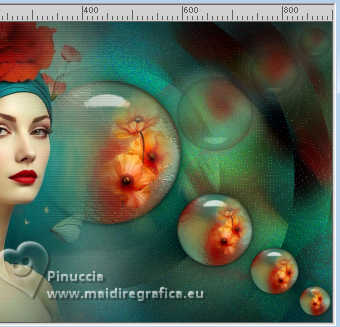
29. Layers>Duplicate.
Image>Resize, 3 times to 80%, resize all layers not checked.
and place the image  over the next circle over the next circle
30. Layers>Duplicate.
Image>Resize, 2 times to 80%, resize all layers not checked.
and place the image  over the next circle. over the next circle.
31. One more time Layers>Duplicate.
Image>Resize, 2 times to 80%, resize all layers not checked.
and place the image  over the next circle. over the next circle.
32. Open deco2_li 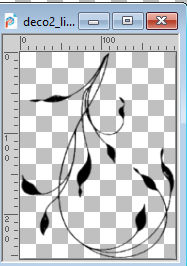
Edit>Copy.
Go back to your work and go to Edit>Paste as new layer.
Layers>Arrange>Bring to Top.
Move  the tube at the upper right - see my example. the tube at the upper right - see my example.
33. Open deco1_li 
Edit>Copy.
Go back to your work and go to Edit>Paste as new layer.
Move  the tube at the bottom right. the tube at the bottom right.
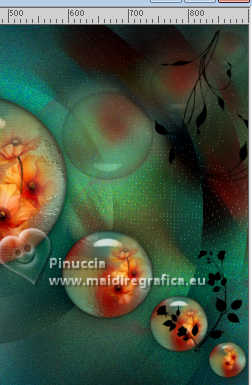
If necessary: Effects>3D Effects>Drop Shadow.
34. Open deco_li4 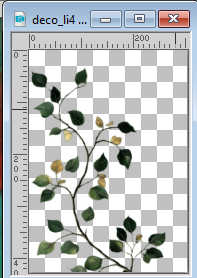
Edit>Copy.
Go back to your work and go to Edit>Paste as new layer.
Pick Tool 
Position X: 38,00 - Position Y: 208,00.

Effects>3D Effects>Drop Shadow, same settings.

35. Open deco3_li 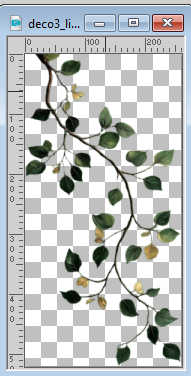
Edit>Copy.
Go back to your work and go to Edit>Paste as new layer.
Pick Tool 
Position X: 325,00 - Position Y: -1,00.

Effects>3D Effects>Drop Shadow, last settings.

Move this layer under the layer misted_li
if neessary, reduce the opacity to your liking.
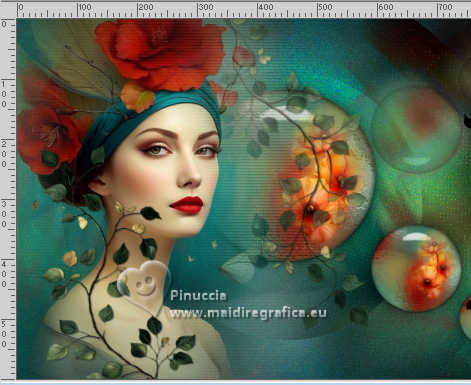
Effects>3D Effects>Drop Shadow, same settings.

36. Borders
Image>Add Borders, 1 pixel, symmetric, foreground color.
Image>Add Borders, 2 pixels, symmetric, background color.
Image>Add Borders, 1 pixel, symmetric, color #931c15.
Image>Add Borders, 2 pixels, symmetric, color #ece7c1.
Image>Add Borders, 2 pixels, symmetric, baclground color.
Image>Add Borders, 1 pixel, symmetric, color #931c15.
Image>Add Borders, 40 pixels, symmetric, color #ece7c1.
Image>Add Borders, 2 pixels, symmetric, background color.
37. Layers>Merge>Merge All.
Image>Resize, 900 pixels width, resize all layers checked.
38. Open the text Texto 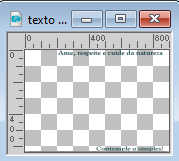
Edit>Copy.
Go back to your work and go to Edit>Paste as new layer.
Place  the text as in my example, the text as in my example,
o write your text with the fonts added in the material.
39. Sign your work and save as jpg.
 Your versions here Your versions here

If you have problems or doubts, or you find a not worked link, or only for tell me that you enjoyed this tutorial, write to me.
5 July 2025

|
 CONTEMPLATE THE SIMPLE
 CONTEMPLATE THE SIMPLE