|
VIOLETA DREAM


Thanks Ligia for your invitation to translate your tutorial

This tutorial was translated with PSPX7, but it can also be made using other versions of PSP.
Since version PSP X4, Image>Mirror was replaced with Image>Flip Horizontal,
and Image>Flip with Image>Flip Vertical, there are some variables.
In versions X5 and X6, the functions have been improved by making available the Objects menu.
In the latest version X7 command Image>Mirror and Image>Flip returned, but with new differences.
See my schedule here
 French translation here French translation here
 your versions ici your versions ici
For this tutorial, you will need:
Material here
Thanks for the text Yoka and for the mask Narah.
The rest of the material is by Ligia.
(you find here the links to the material authors' sites)
Plugins
consult, if necessary, my filter section here
Filters Unlimited 2.0 here
Crescent Moon - Cut Glass here
Mura's Seamless - Emboss at alpha here
Xero - Porcelain here
Filters Crescent Moon and Mura's Seamless can be used alone or imported into Filters Unlimited.
(How do, you see here)
If a plugin supplied appears with this icon  it must necessarily be imported into Unlimited it must necessarily be imported into Unlimited

You can change Blend Modes according to your colors.
In the newest versions of PSP, you don't find the foreground/background gradient (Corel_06_029).
You can use the gradients of the older versions.
The Gradient of CorelX here
Copy the brush in Brush folder. Attention, please, the brush is composed by two files, you must place both the files in the folder.
See my notes about Brushes here
Open the mask in PSP and minimize it with the rest of the material.
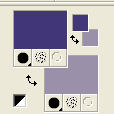
Set your foreground color to #423878,
and your background color to #9a90a0.
1. Open a new transparent image 1000 x 600 pixels.
Selections>Select All.
2. Open the jpg image grafic_violet and go to Edit>Copy.
Go back to your work and go to Edit>Paste into Selection.
Selections>Select None.
3. Choose a color from the image or use the color chosen for the foreground.
4. Adjust>Blur>Gaussian Blur - radius 20.

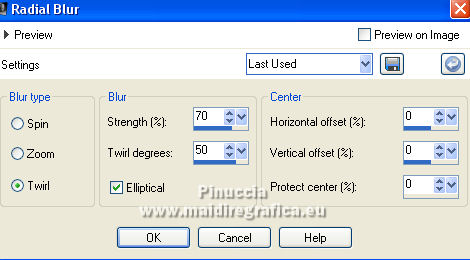
5. Adjust>Blur>Radial Blur.
6. Open the misted guaimbe_violet and go to Edit>Copy.
Go back to your work and go to Edit>Paste as new layer.
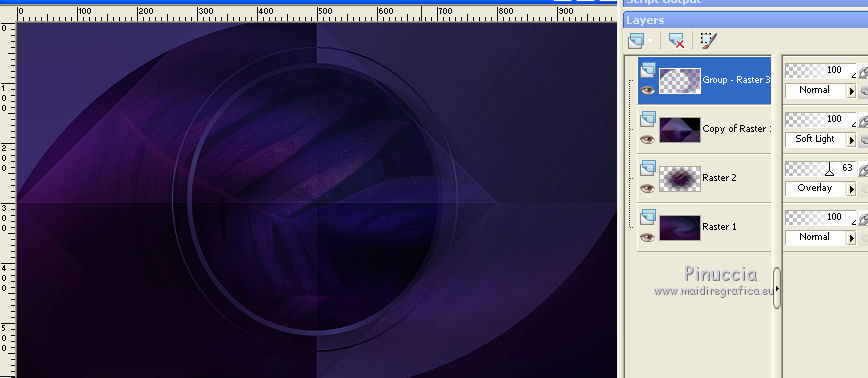
Change the Blend Mode of this layer to Overlay and reduce the opacity to 63%.
(If you use other colors and other tubes, change the Blend Mode and opacity,
to look similar to the example as I did in my second version)
7. Activate the layer Raster 1 of the graphic.
Layers>Duplicate.
Layers>Arrange>Bring to Top.
8. Effects>Plugins>Crescent Moon - Cut Glass.
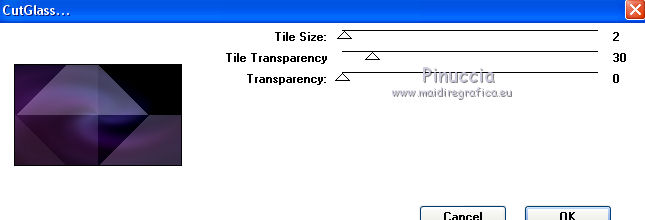
Effects>Edge Effects>Enhance.
9. Effects>Plugins>Mura's Seamless - Emboss at Alpha, default settings.
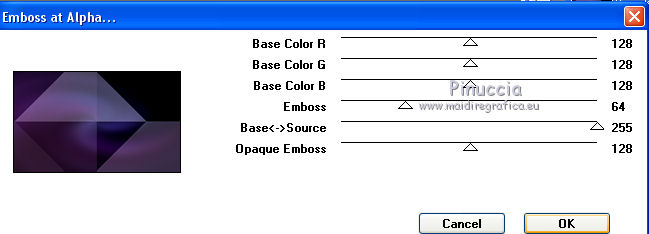
Repeat the Effect two more times
I changed the Blend Mode of this layer to Soft Light.
10. Layers>New Raster Layer
Flood Fill  the layer with your foreground color #423878. the layer with your foreground color #423878.
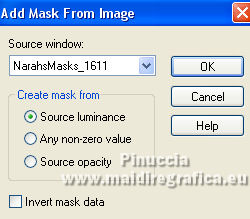
Layers>New Mask layer>From image
Open the menu under the source window and you'll see all the files open.
Select the mask Narahsmasks_1611.
Effects>Edge Effects>Enhance.
Layers>Merge>Merge Group.
Effects>3D Effects>Drop Shadow, if necessary
(for me, I did not use it, neither for the first not for the second version).
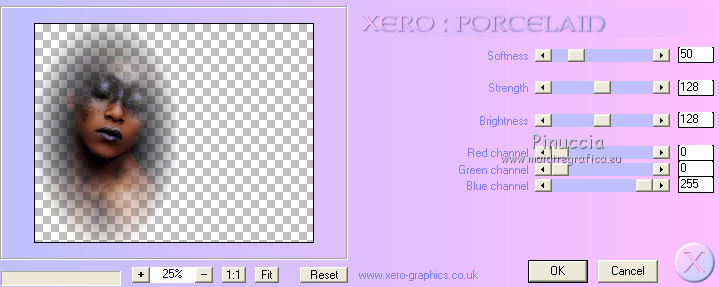
12. Open the tube misted_fille and go to Edit>Copy.
Go back to your work and go to Edit>Paste as new layer.
Move  the tube to the left side. the tube to the left side.
Effects>Plugins>Xero - Porcelain, default settings.
13. Layers>New Raster Layer.
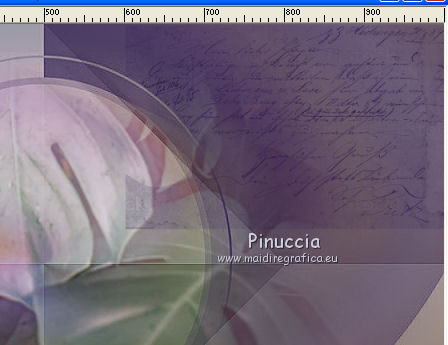
Activate your Brush Tool 
look for and select the brush texto_salvo

Apply the brush at the top right, by clicking with your left mouse button,
to use your foreground color #423878
Optional: activate your Erase Tool 
and erase the surplus on the mask.
(For my example I didn't delete; but I did in the second version)
14. Open the text Yoka TEXT-DREAM-250914 and go to Edit>Copy.
Go back to your work and go to Edit>Paste as new layer.
Move  the text at the bottom right. the text at the bottom right.
15. Colorize this text to your liking
(click on the small padlock on the layers palette
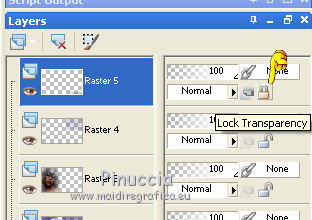
and Flood Fill  the text with your color. the text with your color.
After colorizing the text, don't forget to click on the padlock again).
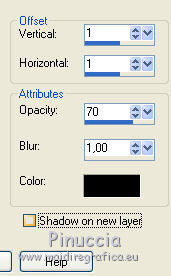
16. Effects>3D Effects>Drop Shadow, color #000000.
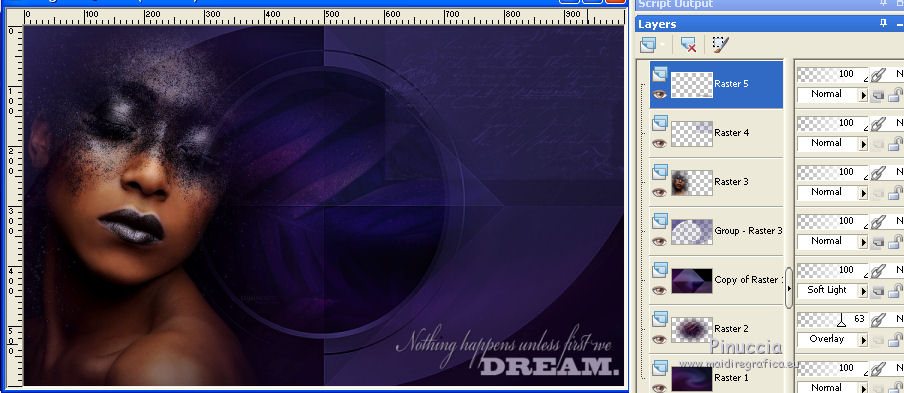
17. Image>Add borders, 1 pixel, symmetric, color #210e2d.
Image>Add borders, 2 pixels, symmetric, color #423878.
Image>Add borders, 50 pixels, symmetric, color #ffffff.
18. Set your foreground color to #432f56,
and your background color to #a096ae.
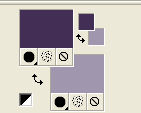
Set your foreground color to a Foreground/Background Gradient, style Linear.
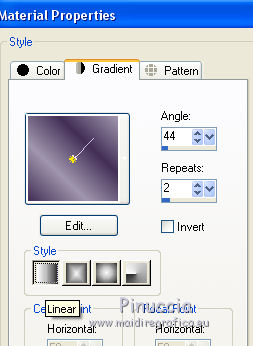
Activate your Magic Wand Tool 
and click on the white border to select it.
Flood Fill  the selection with your Gradient. the selection with your Gradient.
Selections>Select None.
19. Image>Add borders, 1 pixel, symmetric, color #210e2d.
20. Sign your work on a new layer.
Add, if you want, the author and translator watermarks.
Image>Resize, 900 pixels width, resize all layers checked.
Layers>Merge>Merge All and save as jpg.
Version with tube by Luz Cristina
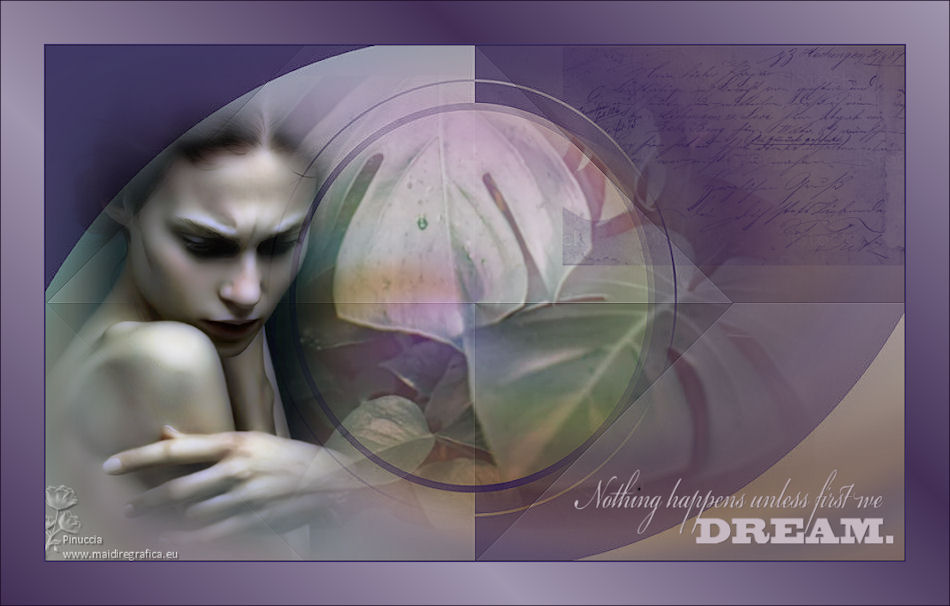
 Your versions here Your versions here

If you have problems or doubts, or you find a not worked link, or only for tell me that you enjoyed this tutorial, write to me.
9 September 2021

|


