|
FLORENTIN


Here you find the original of this tutorial:

This tutorial was written with CorelX12 and translated with CorelX17, but it can also be made using other versions of PSP.
Since version PSP X4, Image>Mirror was replaced with Image>Flip Horizontal,
and Image>Flip with Image>Flip Vertical, there are some variables.
In versions X5 and X6, the functions have been improved by making available the Objects menu.
In the latest version X7 command Image>Mirror and Image>Flip returned, but with new differences.
See my schedule here
Material here
For the tubes thanks Beatriz
(The links of the tubemakers here).
Plugins:
consult, if necessary, my filter section here
Filters Unlimited 2.0 here
&<Bkg Kaleidoscope - 4QFlip UpperL (to import in Unlimited) here
Alien Skin Eye Candy 5 Impact - Extrude, Brushed Metal here
Mura's Meister - Perspective Tiling here

You can change Blend Modes according to your colors.
Copy the presets  in the folders of the plugins Alien Skin Eye Candy 5 Impact>Settings>Brushed Metal/Extrude. in the folders of the plugins Alien Skin Eye Candy 5 Impact>Settings>Brushed Metal/Extrude.
One or two clic on the file (it depends by your settings), automatically the preset will be copied in the right folder.
why one or two clic see here
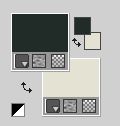
1. Set your foreground color to #222c29,
and your background color to #e4e2d2.
Open Calque Alpha_florentin
Duplicate with shift+D and close the original.
The copy, that will be the basis of your work, is not empty,
but it containts a selection saved on the alpha channel.
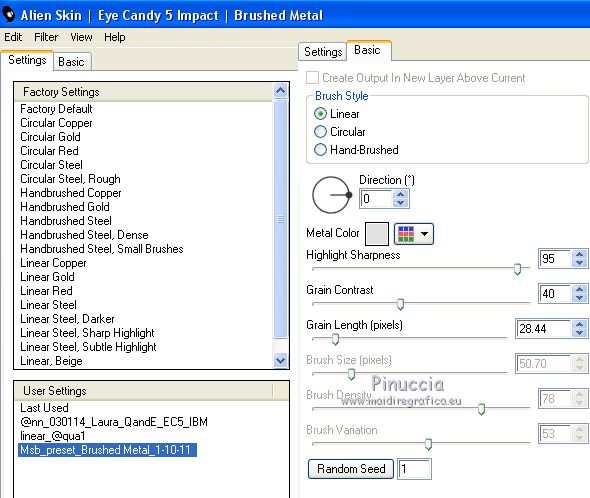
Effects>Plugins>Alien Skin Eye Candy 5 Impact - Brushed Metal
select the preset Msb_preset_Brushed Metal_1-10-11 and ok.
if you are using other colors, change Metal Color with your background color
Effects>Edge Effects>Enhance.
2. Edit>Copy.
Edit>Paste as new image.
We will work on this image.
Selections>Select All.
Open the landscape 864 moon LB Tubes and go to Edit>Copy.
Go back to your work and go to Edit>Paste into Selection.
Adjust>Sharpness>Sharpen.
3. Image>Resize, 1 time to 40% and 1 time to 70%, resize all layers not checked.
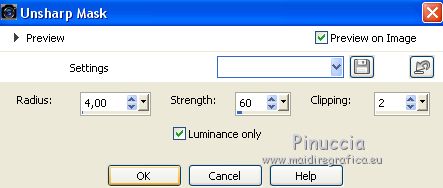
Adjust>Sharpness>Unsharp Mask
Minimize this image and go back to your original work.
4. Layers>Duplicate.
Effects>Plugins>Mura's Meister - Perspective Tiling.
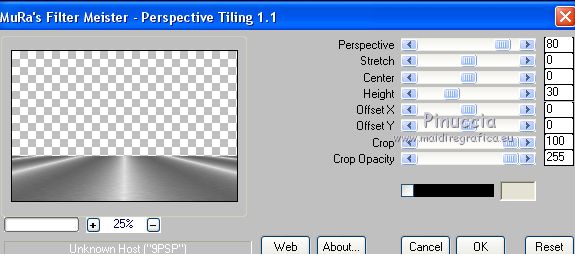
Repeat the Plugin another time.
5. Selections>Select All.
Selection>Float.
Selections>Defloat.
Selections>Invert.
Layers>New Raster Layer.
Open the tube 822 City de LB - Edit>Copy.
Go back to your work and go to Edit>Paste into Selection.
Image>Resize, to 120%, resize all layers not checked.
Layers>Duplicate.
Selections>Select None.
Layers>Merge>Merge Down.
Adjust>Sharpness>Sharpen.
Layers>Merge>Merge visible.
6. Selections>Load/Save Selection>Load Selection from Alpha Channel.
The selection 1 is immediately available. You just have to click Load.
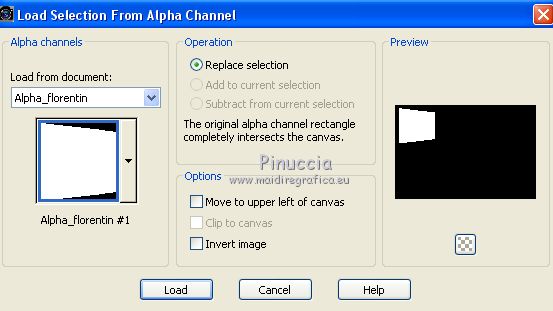
Layers>New Raster Layer.
Flood Fill  with your foreground color #222c29. with your foreground color #222c29.
Selections>Modify>Contract - 10 pixels.
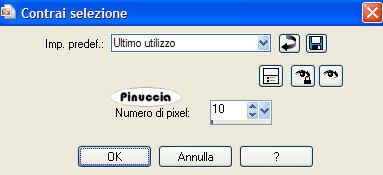
7. Activer l'image minimized at step 4 and go to Edit>Copy.
Go back to your work and go to Edit>Paste into Selection.
Selections>Modify>Select Selection Borders.
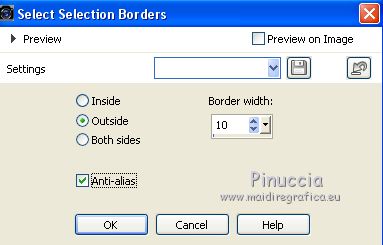
Effects>Plugins>Alien Skin Eye Candy 5 Impact - Extrude.
Select the preset florentin_extrude_lulu and ok.
if you are using other colors, change Solid Color with your background color
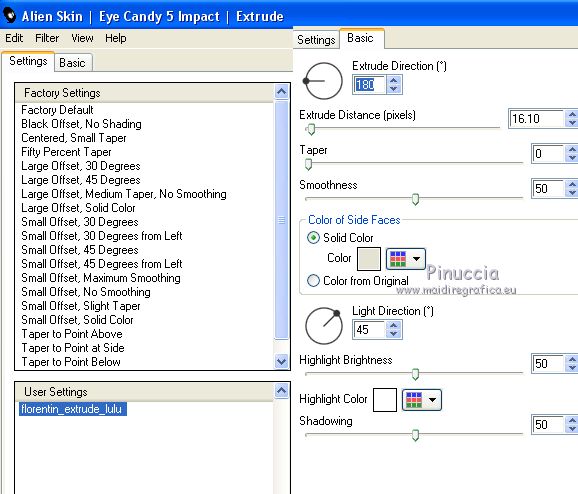
Selections>Select None.
8. Selections>Load/Save Selection>Load Selection from Alpha Channel.
Open the selections menu and load the selection 2.
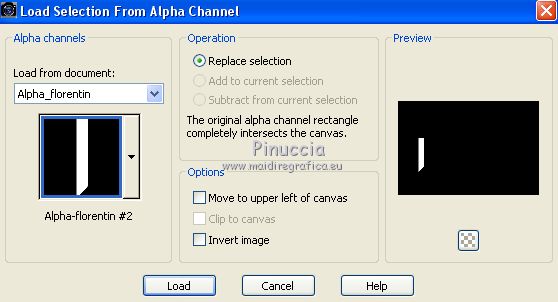
Selections>Modify>Expand - 8 pixels.
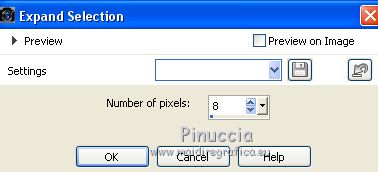
Layers>New Raster Layer.
Flood Fill  with your foreground color #222c29. with your foreground color #222c29.
Effects>Plugins>Alien Skin Eye Candy 5 Impact - Extrude, same settings.

Selections>Select None.
Layers>Arrange>Move Down.
Activate the top layer.
Layer>Merge>Merge down.
Effects>3D Effects>Drop Shadow, color black.
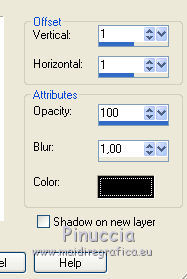
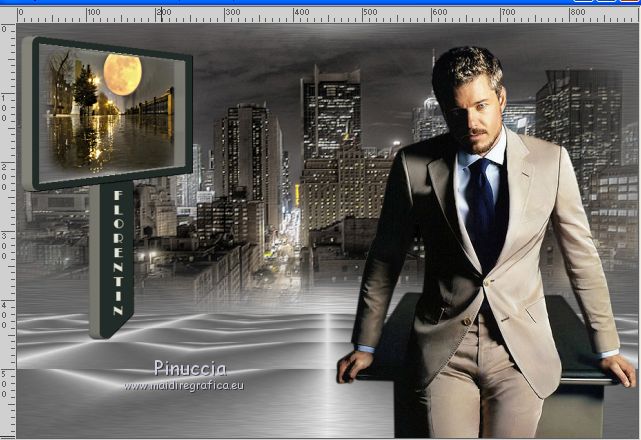
9. Open the tube 2658 Eric Dame by LB - Edit>Copy.
Go back to your work and go to Edit>Paste as new layer.
Image>Resize, to 85%, resize all layers not checked.
Adjust>Sharpness>Sharpen.
Place  rightly the tube. rightly the tube.
Effects>3D Effects>Drop Shadow, at your choice.
10. Activate the Text Tool 
choose a font, direction vertical; my settings

write Florentin.
Layers>Convert to raster layer.
Place  rightly the text. rightly the text.
Effects>3D Effects>Drop Shadow, same settings.

11. Image>Add borders, 1 pixel, symmetric, foreground color #222c29.
Edit>Copy.
Selections>Select All.
Image>Add borders, 50 pixels, symmetric, background color.
Selections>Invert.
Edit>Paste into Selection.
Selections>Promote Selection to Layer.
Effects>Plugins>Filters Unlimited 2.0 - &<BKG Kaleidoscope> - 4QFlip UpperL
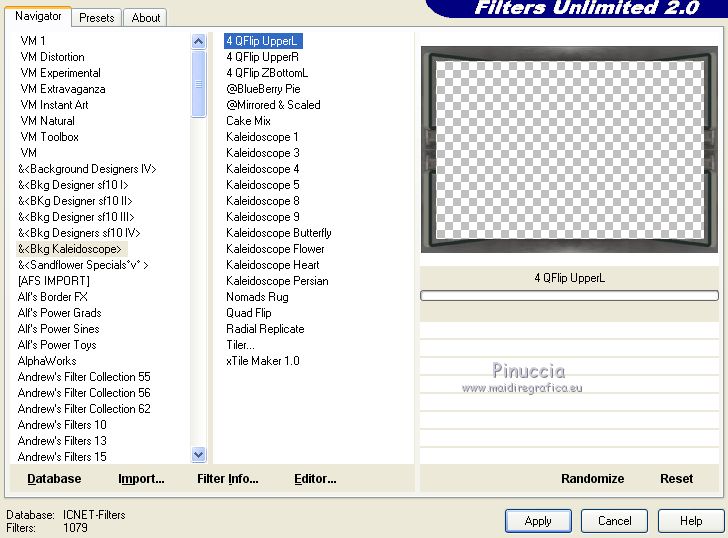
Select None.
Image>Resize, to 900 pixels width, resize all layers not checked.
Adjust>Sharpness>Unsharp Mask, same settings at step 3.

Sign your work and save as jpg.
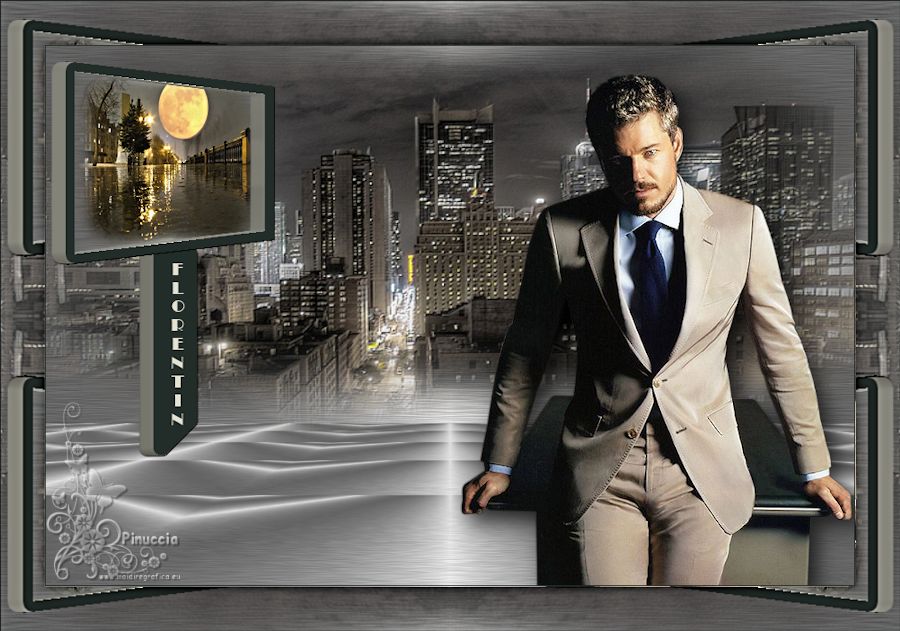
The tube of this version is by Beatriz; the florentine landscapes are tubed by me.
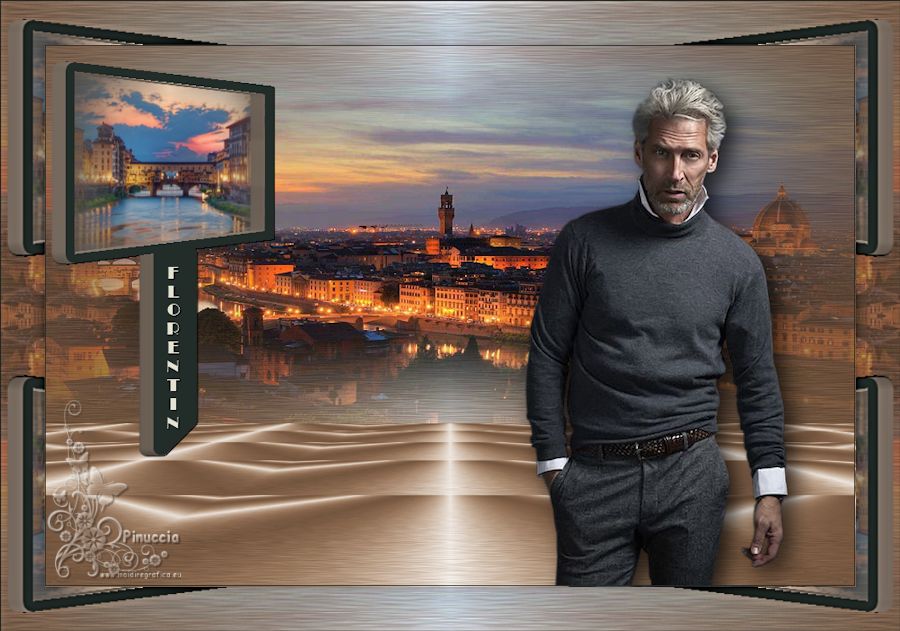

Your versions. Thanks
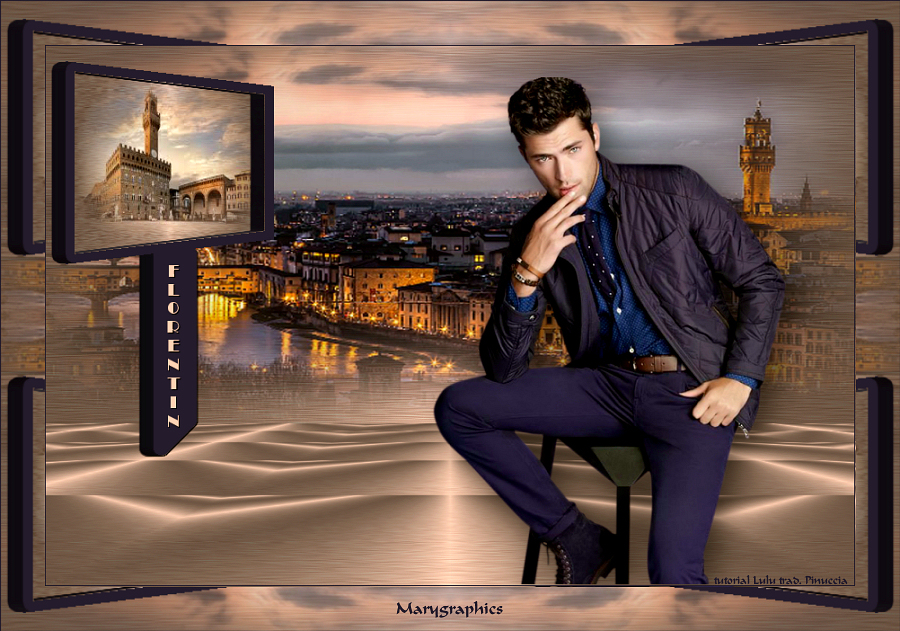
Marygraphics

Anita

If you have problems or doubts, or you find a not worked link, or only for tell me that you enjoyed this tutorial, write to me.
My mail is in the menu on the top of the page.
20 Octobre 2018
|

