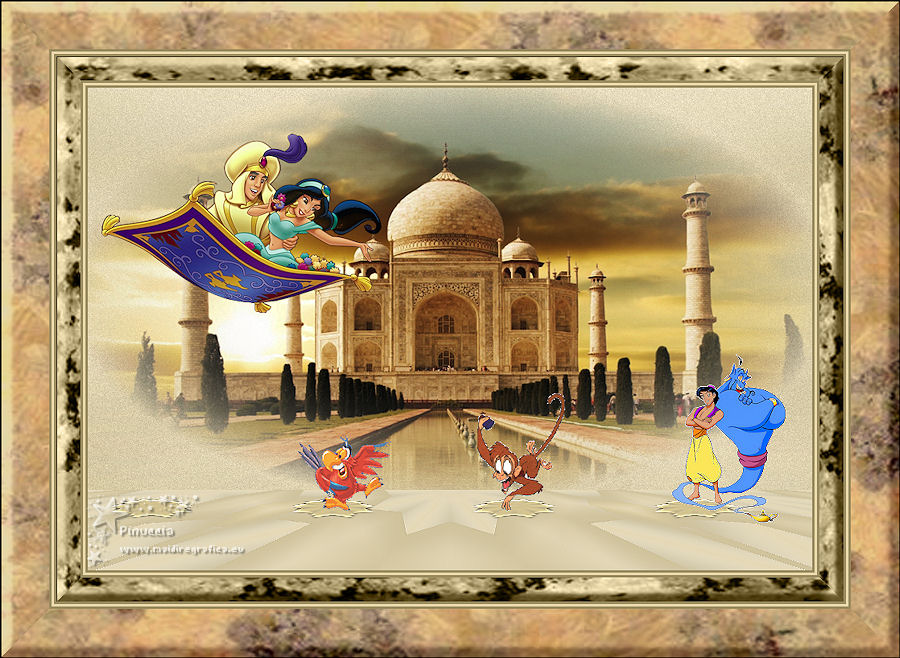
|
ALADIN


Thanks Lulu for your invitation to translate your tutorials into english
The site is closed

This tutorial was written with CorelX12 and translated with CorelX13, but it can also be made using other versions of PSP.
Since version PSP X4, Image>Mirror was replaced with Image>Flip Horizontal,
and Image>Flip with Image>Flip Vertical, there are some variables.
In versions X5 and X6, the functions have been improved by making available the Objects menu.
In the latest version X7 command Image>Mirror and Image>Flip returned, but with new differences.
See my schedule here
Your versions
Tubes of yours
The rest of the material (the Canal-alpha file) here
I used a landscape by Thafs. The tube of Aladin is mine.
(The links of the tubemakers here).
Plugins:
consult, if necessary, my filter section here
Filters Unlimited 2.0 here
Mehdi - Wavy Lab 1.1 here
Mehdi - Sorting Tiles here
Mura's Meister - Perspective Tiling here
Mura's Meister - Copies here
Andromeda - Perspective here

You can change Blend Modes according to your colors.
Choose two colors of your tube.
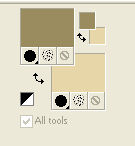
Set your foreground color to a dark color, for me #e7d6a8.
Set your background color to a light color, for me #9a8c5f
1. Open Alpha_aladin.
Duplicate the image (on the keyboard shift+D) and close the original.
The copy, that will be the basis of your work, is not empty,
but it contains the selections saved on the alpha channel.
Rename the layer Raster 1.
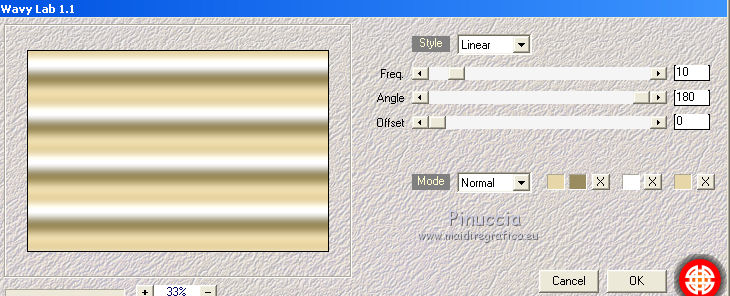
2. Effects>Plugins>Mehdi - Wavy Lab 1.1.
This filter creates gradients with the colors of your Materials palette.
The first is your background color, the second is your foreground color.
Change the last two colors created by the filtre:
the third color with #ffffff and the forth color with your light background color #e7d6a8.
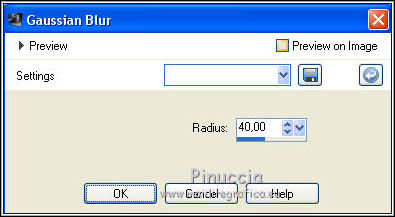
Adjust>Blur>Gaussian Blur - radius 40.
Effects>Plugins>Mehdi - Sorting Tiles.
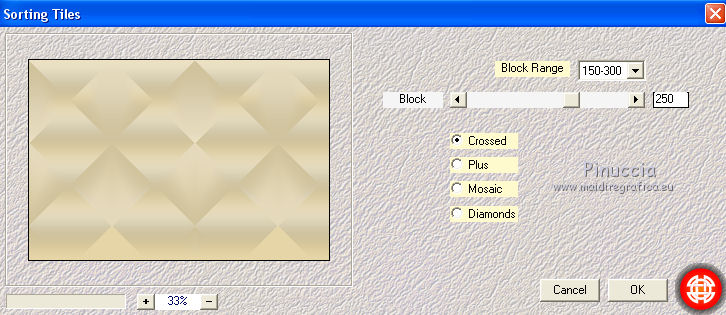
Effects>Edge Effects>Enhance.
3. Layers>Duplicate.
Effects>Reflection Effects>Kaleidoscope, default settings.
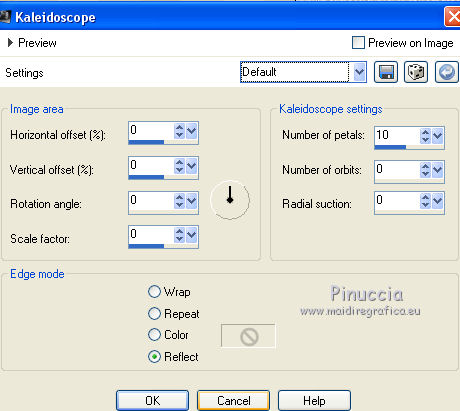
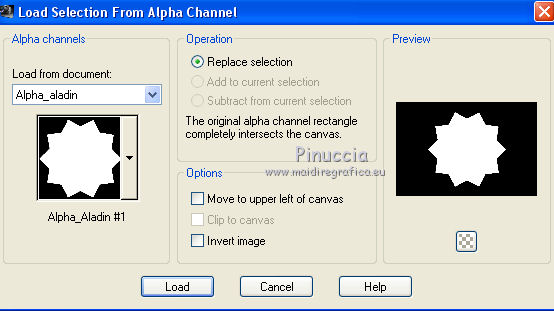
Selections>Load/Save Selection>Load Selection from alpha Channel.
Open the Selections menu and load the selection Alpha_aladin #1.
Edit>Copy.
Edit>Paste as new image, and minimize this image for a moment.
Go back to your work.
Selections>Select None.
4.
Effects>Plugins>Mura's Meister - Perspective Tiling.
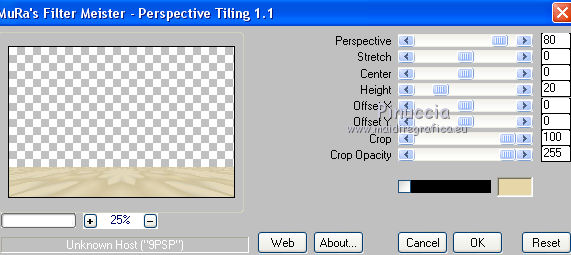
Selections>Load/Save Selection>Load Selection from alpha Channel.
Open the Selections menu and load the selection alpha_aladin #2.
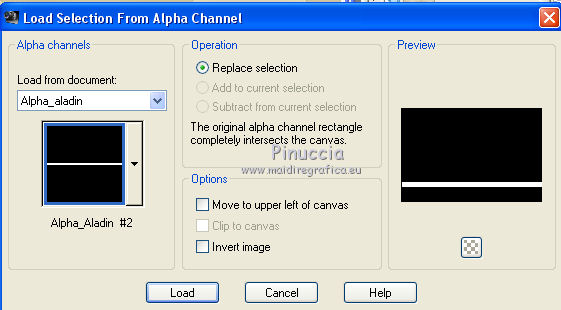
Press 2 times CANC on the keyboard 
Selections>Select None.
5. Activate your Magic Wand Tool 
and click on the transparent part to select it.
Layers>New Raster Layer.
Open your landscape tube and go to Edit>Copy.
Go back to your work and go to Edit>Paste into Selection.
Adjust>Smart Photo Fix.
Layers>Duplicate.
Change the Blend Mode of this layer to Multiply, opacity 70, or according to your tube.
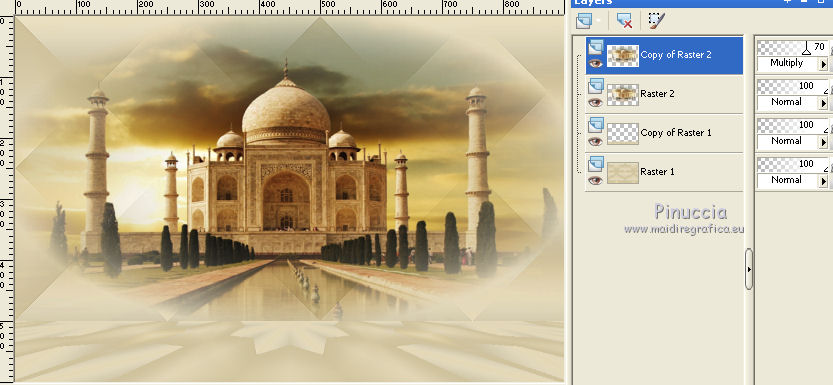
Layers>Merge>Merge Down.
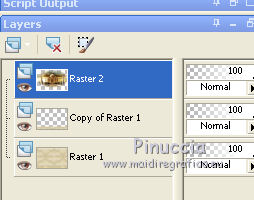
6. Activate your bottom layer, raster 1.
Adjust>Blur>Gaussian Blur - radius 40.

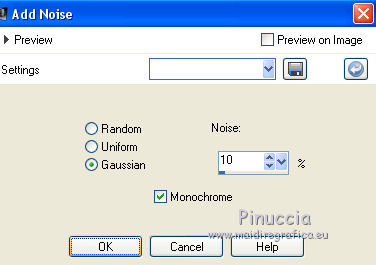
Adjust>Add/Remove Noise>Add Noise.
Activate the image minimized at step 3.
Image>Resize, 30%, resize all layers checked.
Adjust>Smart Photo Fix.
Effects>Plugins>Andromeda - Perspective
Click on Presets
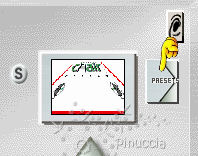
Set Full Canvas Floors and Floating Floor and click on the sign at the bottom right to apply.
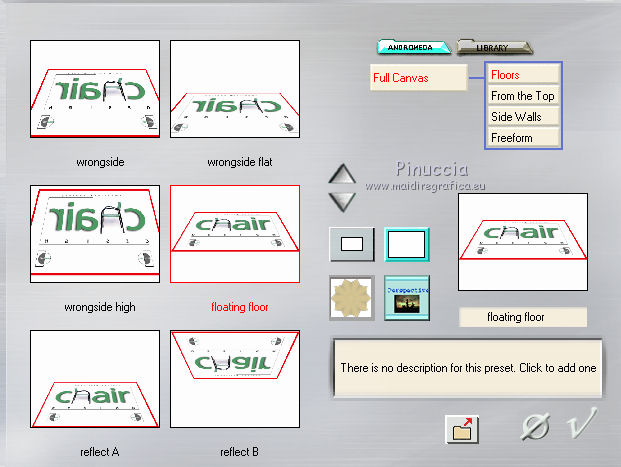
Click on the top arrow and on the sign at the bottom right to close
(play with the arrow to get a parallele image)
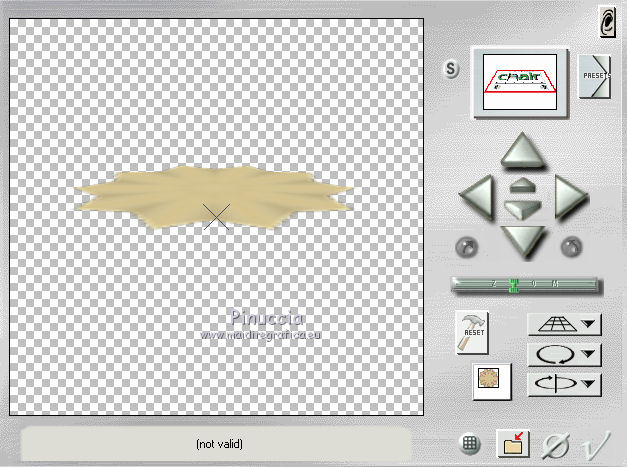
7. Edit>Copy.
Go back to your work and go to Edit>Paste as new layer.
Layers>Arrange>Bring to Top.
Effects>Edge Effects>Enhance.
Activate your Pick Tool (K key) 
and set Position X: 24,00 and Position Y: 512,00.
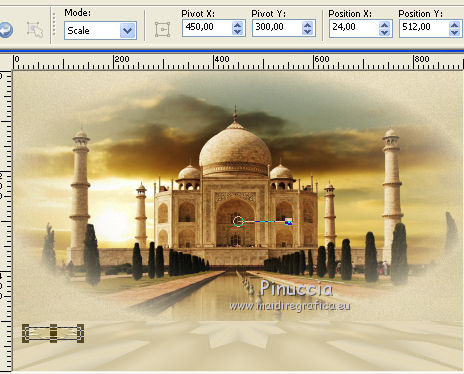
Effects>Plugins>Mura's Meister - Copies.
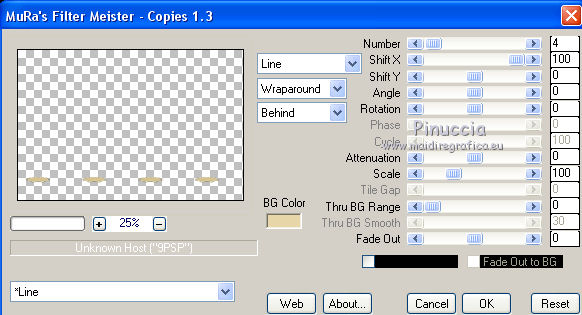
Copy/Paste as new layer and place your tubes.
8. Image>Add borders, 3 pixels, symmetric, dark background color.
Image>Add borders, 3 pixels, symmetric, light foreground color.
Image>Add borders, 3 pixels, symmetric, dark background color.
Selections>Select All.
Image>Add borders, 30 pixels, symmetric, light foreground color.
Selections>Invert.
Selections>Promote Selection to layer.
Effects>Plugins>Filters Unlimited 2.0 - Frames,Stone &Granite - Granite 04, default settings.
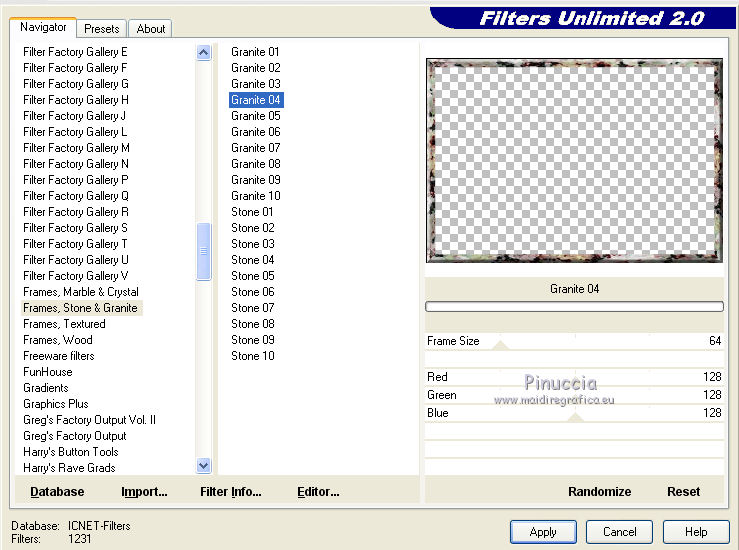
Selections>Select None.
Change the Blend Mode of this layer to Luminance legacy.
Layers>Merge>Merge visible.
9. Image>Add borders, 3 pixels, symmetric, dark background color.
Image>Add borders, 3 pixels, symmetric, light foreground color.
Image>Add borders, 3 pixels, symmetric, dark background color.
Selections>Select All.
Image>Add borders, 60 pixels, symmetric, light foreground color.
Selections>Invert.
Selections>Promote Selection to layer.
Selections>Select None.
10. Effects>Plugins>Filters Unlimited 2.0 - Frames,Marble &Crystal - Crystal 10, default settings.
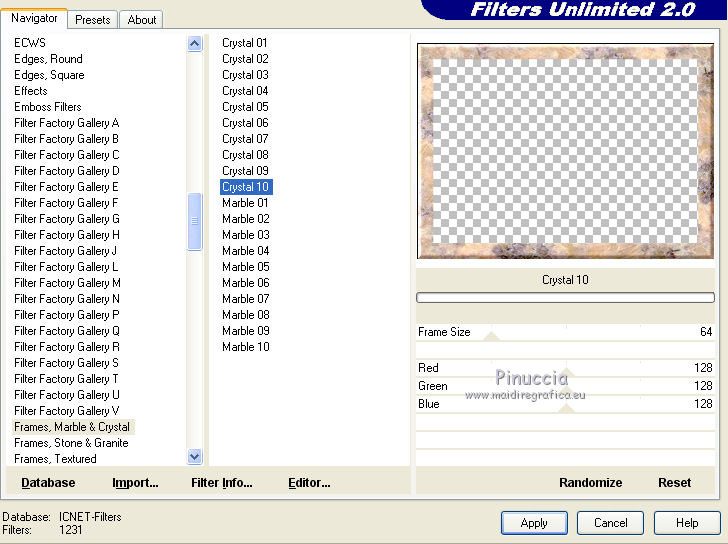
Change the Blend Mode of this layer to Multiply.
Layers>Merge>Merge All.
Image>Add borders, 1 pixel, symmetric, color black.
Image>Resize, 900 pixels width, resize all layers checked.
Adjust>Sharpness>Sharpen.
Sign your work and save as jpg.

Your versions
Thanks

If you have problems or doubts, or you find a not worked link, write to me.
20 August 2019
|

