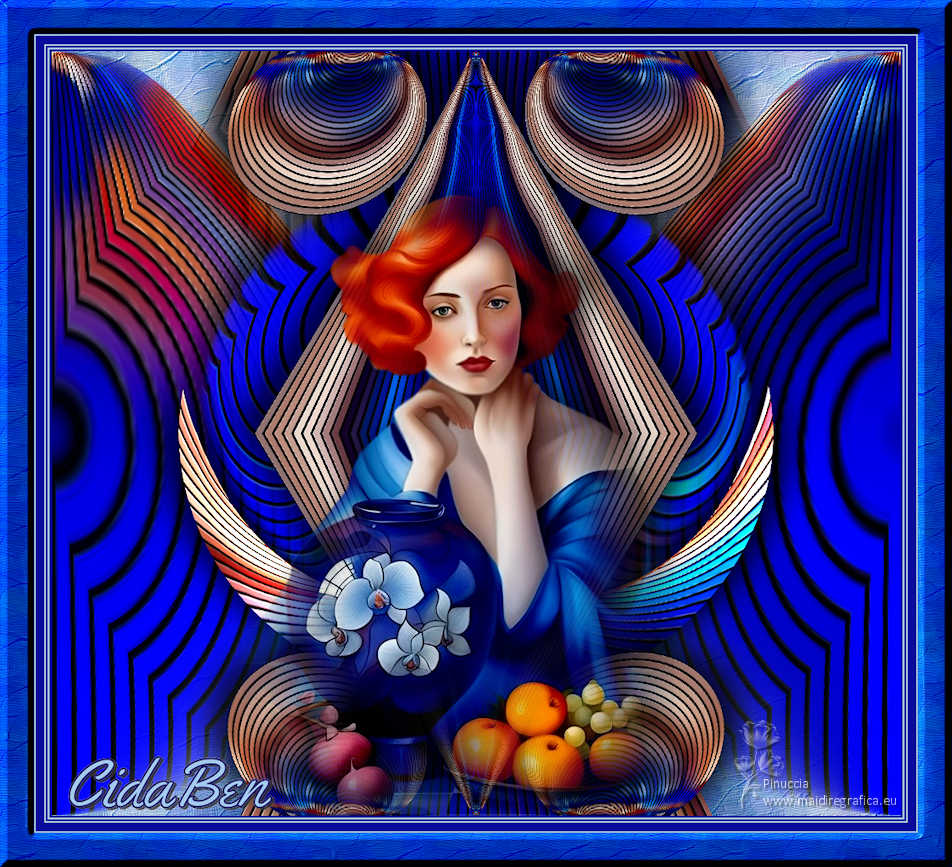
|
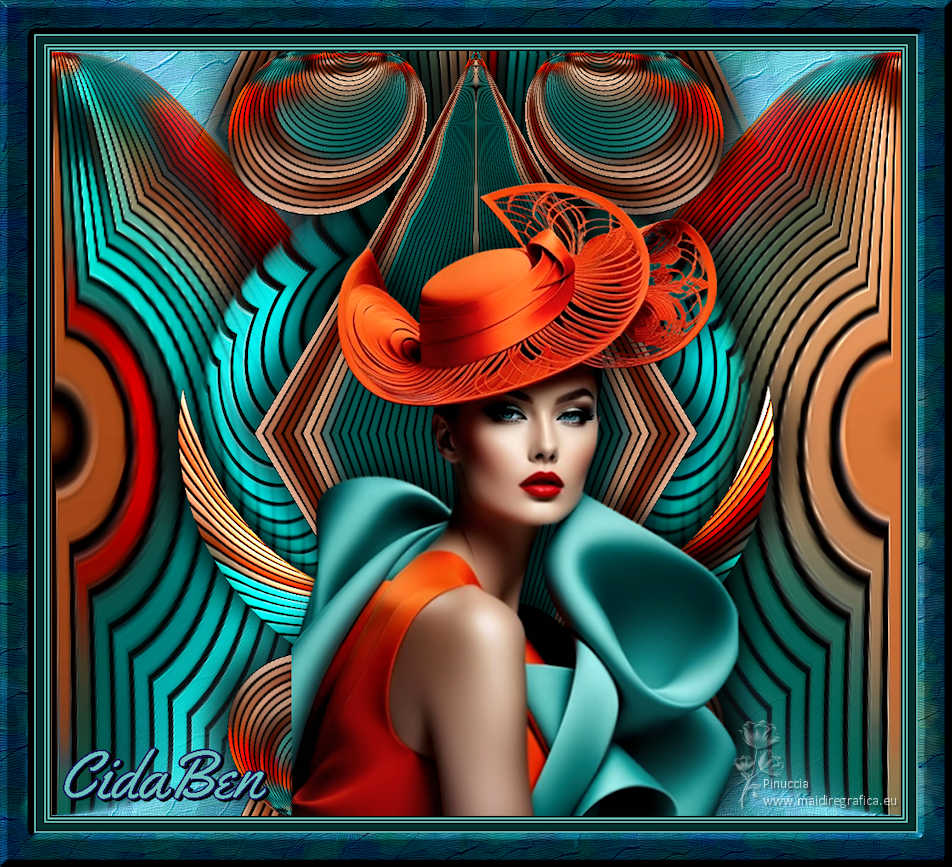
CIDABEN


Thanks Luz Cristina for your invitation to translate your tutorials into english

This tutorial, created with PSP2022, was translated with PspX7, but it can also be made using other versions of PSP.
Since version PSP X4, Image>Mirror was replaced with Image>Flip Horizontal,
and Image>Flip with Image>Flip Vertical, there are some variables.
In versions X5 and X6, the functions have been improved by making available the Objects menu.
In the latest version X7 command Image>Mirror and Image>Flip returned, but with new differences.
See my schedule here
 French Translation here French Translation here
 Your versions here Your versions here

For this tutorial, you will need:

Material by Luz Cristina.
(The links of the tubemakers here).
*It is forbidden to remove the watermark from the supplied tubes, distribute or modify them,
in order to respect the work of the authors

consult, if necessary, my filter section here
Filters Unlimited 2.0 here
Mehdi 2 - Flat Median here
CPK - CK Peg here
Simple - Top Left Mirror here
Simple - Left Right Wrap (bonus) here
Graphics Plus - Cross Shadow here
FM Tile Tools - Saturation Emboss here
Virtual Painter 4 here
Filters CPK, Simple and Graphics Plus can be used alone or imported into Filters Unlimited.
(How do, you see here)
If a plugin supplied appears with this icon  it must necessarily be imported into Unlimited it must necessarily be imported into Unlimited

You can change Blend Modes according to your colors.
In the newest versions of PSP, you don't find the foreground/background gradient (Corel_06_029).
You can use the gradients of the older versions.
The Gradient of CorelX here

Copy the preset Emboss 3 in the Presets Folder.
1. Open a new transparent image 1000 x 900 pixels.
2. Set your foreground color to #0b0b9d,
and your background color to #a6c4dc.
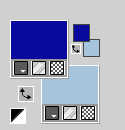
Set your foreground color to a Foreground/Background Gradient, style Radial.
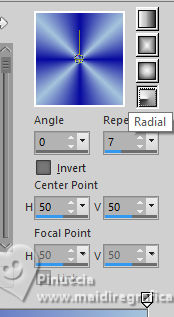
Flood Fill  the trasparent image with your Gradient. the trasparent image with your Gradient.
3. Layers>Duplicate.
4. Selections>Select All.
Open the tube 8573-Luz Cristina 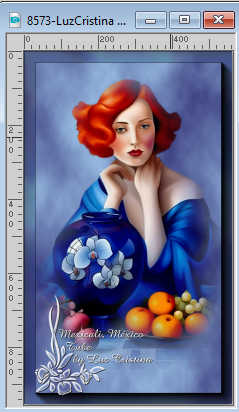
Edit>Copy.
Go back to your work and go to Edit>Paste into Selection.
Selections>Select None.
5. Effects>Image Effects>Seamless Tiling, default settings.

6. Effects>Plugins>CPK Designs - CK Pegs
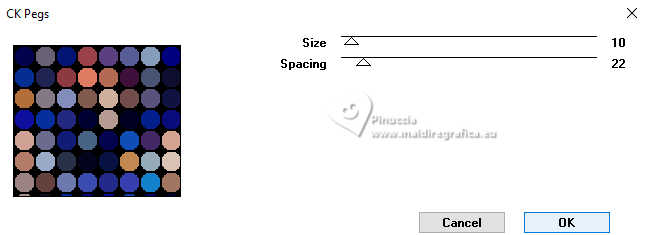
7. Effects>Plugins>Mehdi 2 - Flat Median.
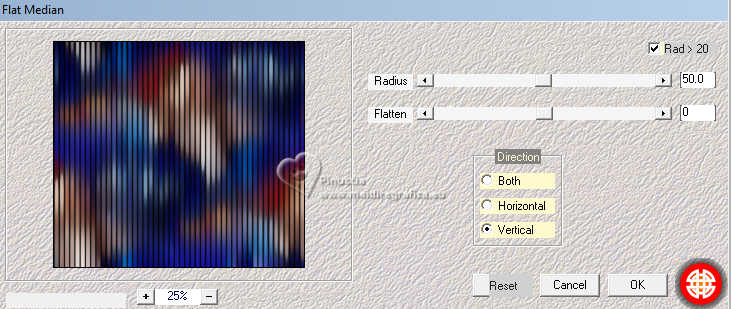
8. Effects>Plugins>FM Tile Tools - Saturation Emboss.

9. Effects>Geometric Effects>Perspective Vertical.
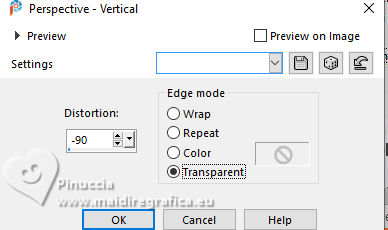
10. Layers>Duplicate.
11. Effects>Distortion Effects>Warp
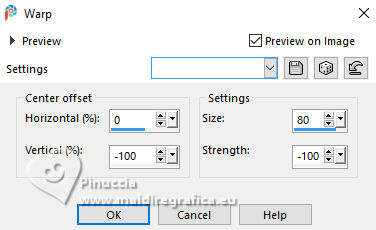
12. Effects>Plugins>Simple - Top Left Mirror.
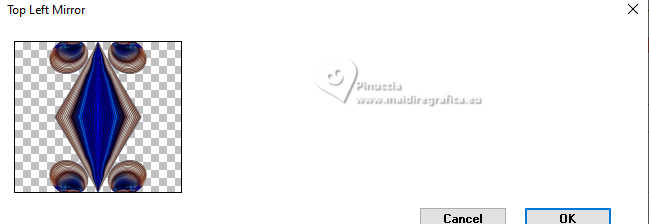
13. Effects>3D Effects>Drop Shadow, color black.

Repeat Drop Shadow horizontal -20.

14. Activate the layer Copy of Raster 1.
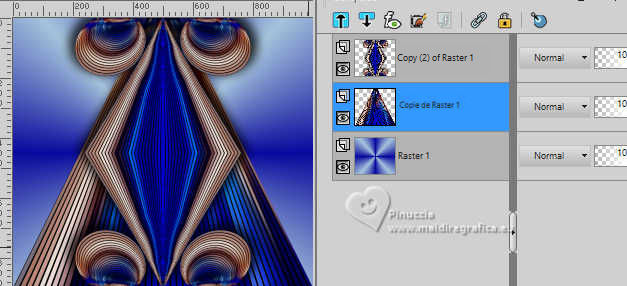
Effects>Image Effects>Seamless Tiling, default settings.

15. Effects>Geometric Effects>Spherize.
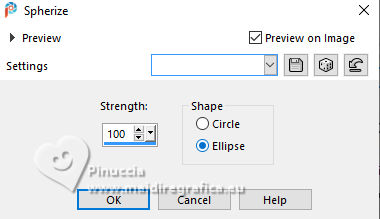
16. Effects>Plugins>FM Tile Tools - Saturation Emboss.

17. Effects>Plugins>Simple - Left Right Wrap
Result
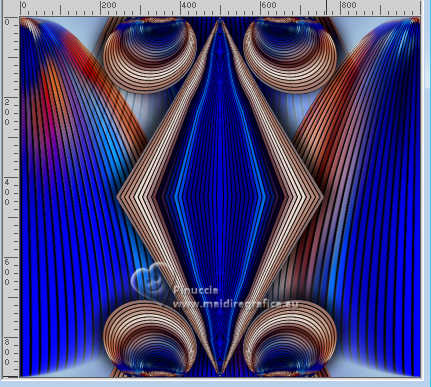
18. Effects>Geometric Effects>Spherize
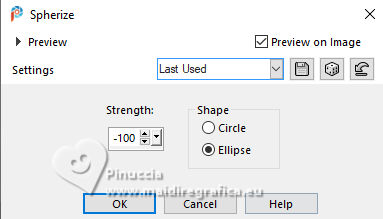
19. Layers>Duplicate.
20. Effects>Distortion Effects>Polar Coordinates.
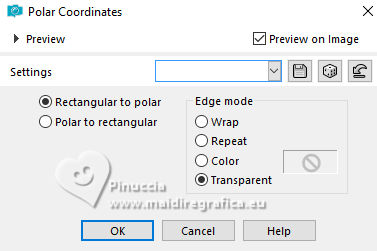
21. Image>Resize, to 70%, resize all layers not checked.
22. Effects>3D Effects>Drop Shadow, as at step 13.
 
23. Effects>Plugins>Graphics Plus - Cross Shadow, default settings.
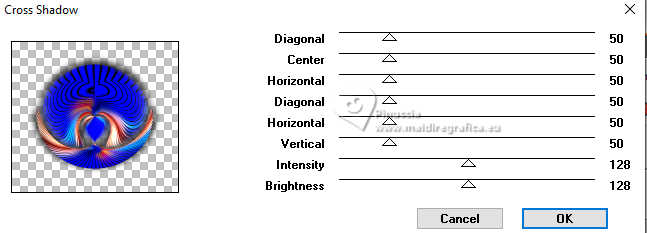
Repeat this Effect another time.
24. Your tube is still in memory: Edit>Paste as new layer.
Place  correctly the tube. correctly the tube.
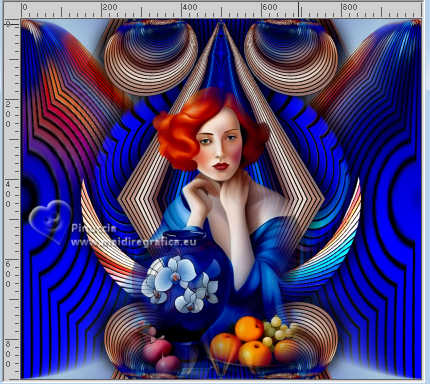
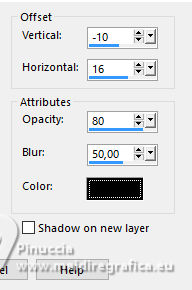
25. Effects>3D Effects>Drop Shadow, color black.
26. Open the texte texto 
Edit>Copy.
Go back to your work and go to Edit>Paste as new layer.
Move  the text at the bottom left. the text at the bottom left.
27. Activate your bottom layer, Raster 1.
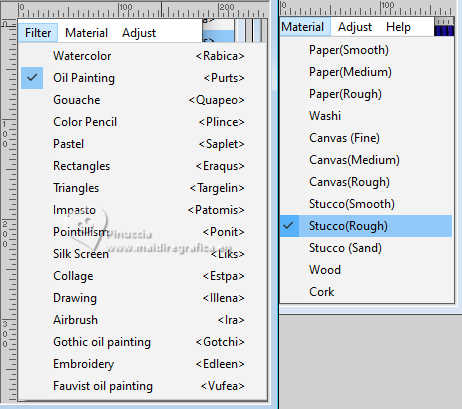
Effects>Plugins>Virtual Painter 4
Filter: Oil Painting - Material: Stucco (Rough)
28. Effects>User Defined Filter - select the preset Emboss 3 and ok.

29. Image>Add Borders, 2 pixels, symmetric, dark color.
Image>Add Borders, 2 pixel, symmetric, light color.
Image>Add Borders, 2 pixels, symmetric, dark color.
Image>Add Borders, 2 pixel, symmetric, light color.
Image>Add Borders, 10 pixels, symmetric, dark color.
Image>Add Borders, 2 pixel, symmetric, light color.
Image>Add Borders, 40 pixels, symmetric, dark color.
30. Activate your Magic Wand Tool
and click in the last border to select it.
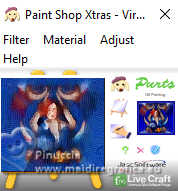
Effects>Plugins>Virtual Painter 4, same settings.
Effects>3D Effects>Inner Bevel.

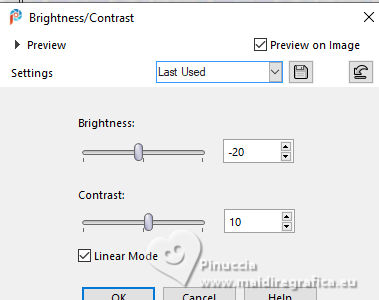
31. Adjust>Brightness and Contrast>Brightness and Contrast.
Selections>Select None.
32. Image>Resize, to 85%, resize all layers checked.
Sign your work and save as jpg.


If you have problems or doubts, or you find a not worked link,
or only for tell me that you enjoyed this tutorial, write to me.
15 February 2025

|

