|
EL BESO

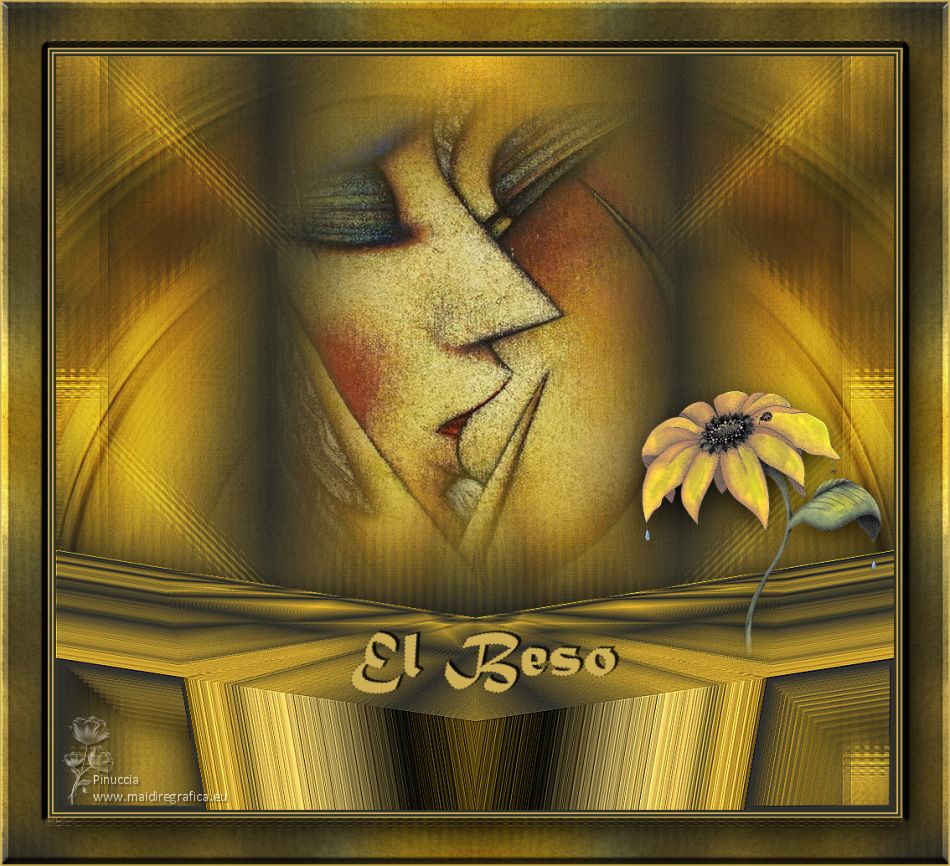
Thanks Luz Cristina for your invitation to translate your tutorials into english

This tutorial, created with PSP9, was translated with PSP2020, but it can also be made using other versions of PSP.
Since version PSP X4, Image>Mirror was replaced with Image>Flip Horizontal,
and Image>Flip with Image>Flip Vertical, there are some variables.
In versions X5 and X6, the functions have been improved by making available the Objects menu.
In the latest version X7 command Image>Mirror and Image>Flip returned, but with new differences.
See my schedule here
 French Translation here French Translation here
 Your versions here Your versions here

For this tutorial, you will need:

Tube created by a picture of Andrei de Ucrania
(The links of the tubemakers here).

consult, if necessary, my filter section here
Filters Unlimited 2.0 here
Simple - Blintz here
Filter Factory Gallery S - Itsa edge thing here
FM Tile Tools - Seamless Tile, Saturation Emboss, Blend Emboss here
Mura's Meister - Perspective Tiling, Copies here
AP [Distort] - Distort-Lineup here
AAA Filters - Textures here
Filters Simple and Filter Factory Gallery can be used alone or imported into Filters Unlimited.
(How do, you see here)
If a plugin supplied appears with this icon  it must necessarily be imported into Unlimited it must necessarily be imported into Unlimited

You can change Blend Modes according to your colors.
In the newest versions of PSP, you don't find the foreground/background gradient (Corel_06_029).
You can use the gradients of the older versions.
The Gradient of CorelX here

Copy the preset Emboss 3 in the Presets Folder.
1. Open a new transparent image 1000 x 900 pixels.
2. Set your foreground color to #cdaf56,
and your background color to #30302b.
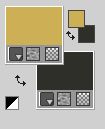
Set your foreground color to a Foreground/Background Gradient, style Rectangular.
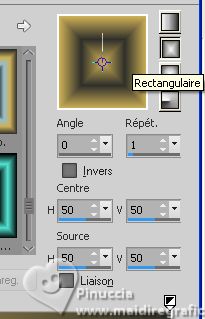
Flood Fill  the transparent image with your Gradient. the transparent image with your Gradient.
3. Effects>Plugins>Simple - Blintz.
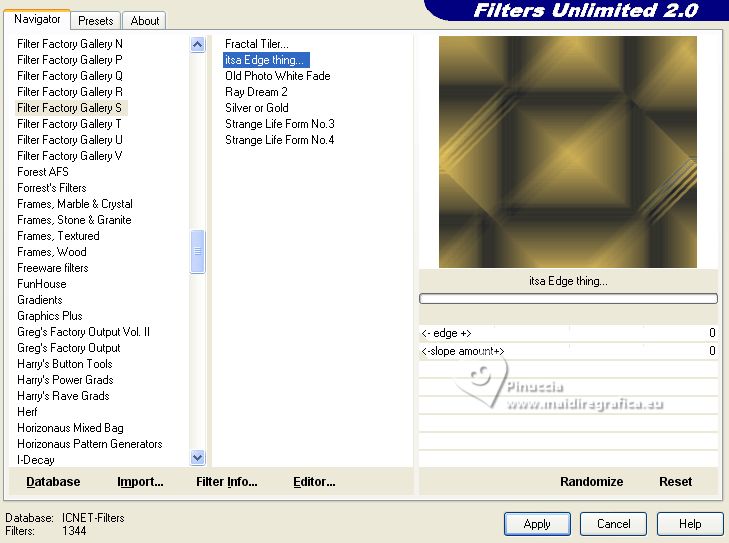
4. Effects>Plugins>Filters Unlimited 2.0 - Filter Factory Gallery S - Itsa edge thing, default settings.
5. Effects>Plugins>FM Tile Tools - Seamless Tile, default settings.

6. Effects>Reflection Effects>Rotating Mirror.

7. Effects>Plugins>AAA Filters - Textures
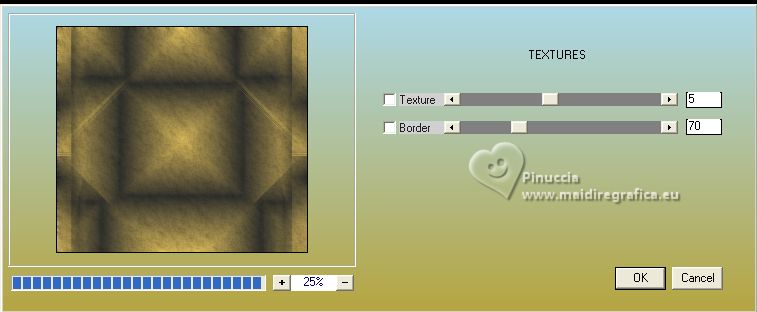
8. Effects>Plugins>AP [Distort] - Distort-Lineup.
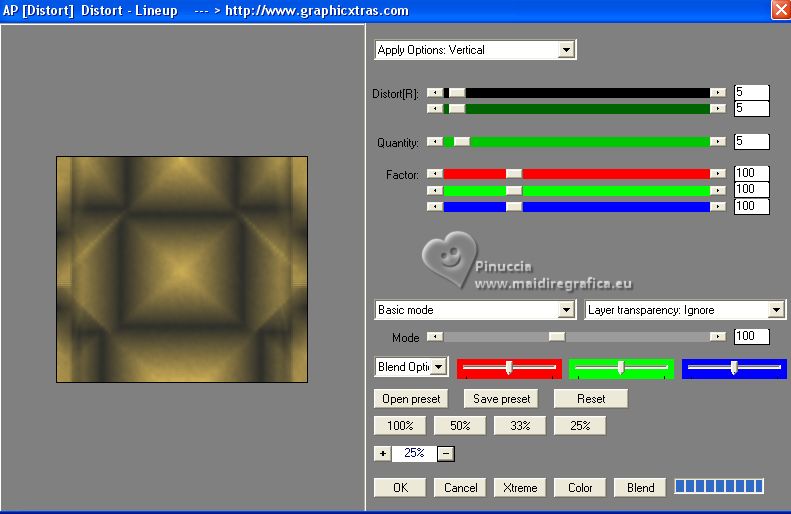
9. Effects>Plugins>FM Tile Tools - Saturation Emboss, default settings

Optional: Adjust>Sharpness>Sharpen More.
10. Image>Mirror>Mirror Vertical (Image>Flip).
11. Layers>Duplicate.
Effects>Plugins>Mura's Meister - Perspective Tiling.
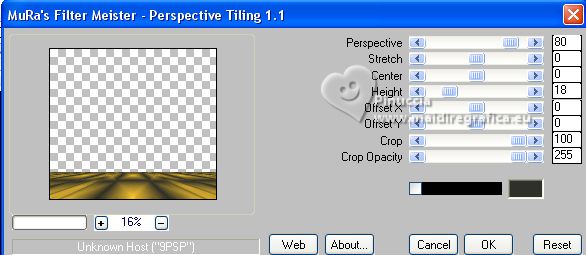
12. Effects>Image Effects>Offset.
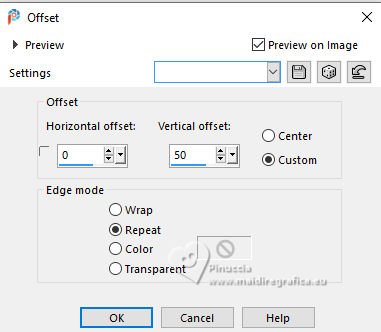
13. Effects>Distortion Effects>Lens Distortion.
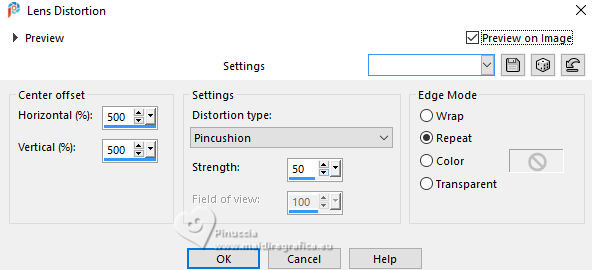
14. Effects>Reflection Effects>Rotating Mirror.

15. Activate your Magic Wand Tool 
and click in the bottom right and left corners
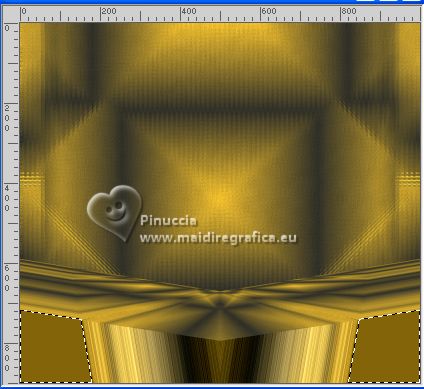
Press CANC on the keyboard 
Selections>Modify>Select Selection Borders.
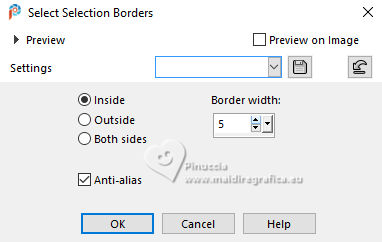
Flood Fill  the borders with your dark color. the borders with your dark color.
Selections>Select None.
16. Effects>Plugins>Mura's Meister - Copies.
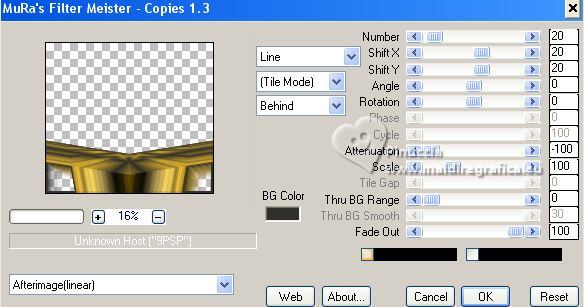
17. Effects>Plugins>FM Tile Tools - Blend Emboss, default settings.

18. Adjust>Sharpness>Sharpen.
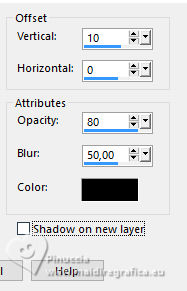
19. Effects>3D Effects>Drop Shadow.
20. Activate the layer Raster 1.
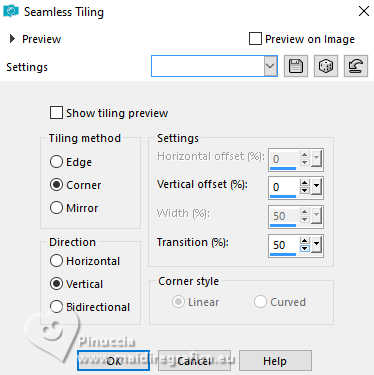
Effects>Image Effects>Seamless Tiling.
21. Open the misted Pintura de Andrei 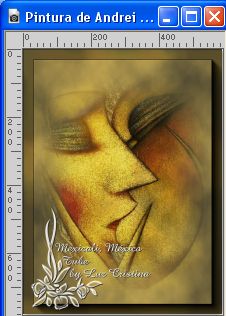
Edit>Copy.
Go back to your work and go to Edit>Paste as new layer.
(for the moment the tube is in mode Overlay)
Place  the tube in the center. the tube in the center.
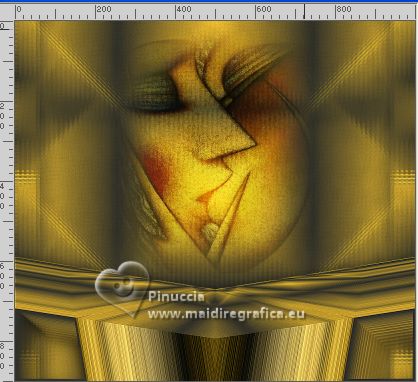
22. Layers>Duplicate.
Layers>Arrange>Move Down.
23. Adjust>Blur>Radial Blur.
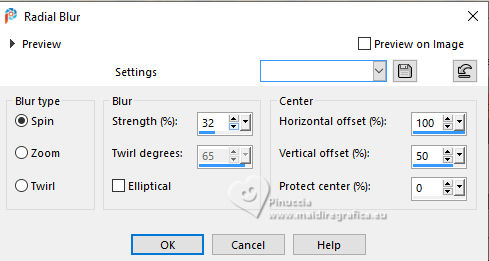
24. Effects>Image Effects>Seamless Tiling.

25. Effects>Reflection Effects>Rotating Mirror, same settings

Keep the Blend Mode of this layer to Overlay.
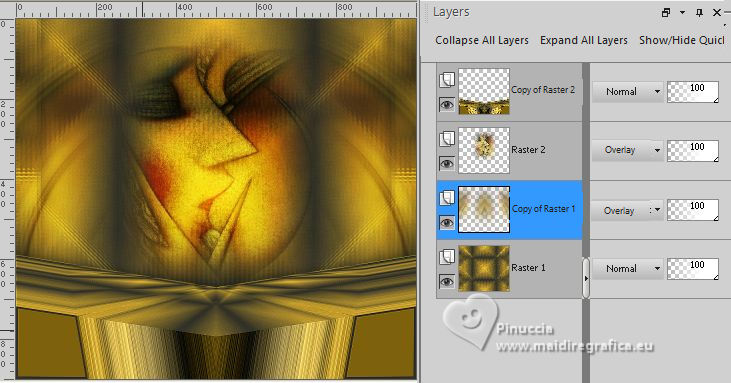
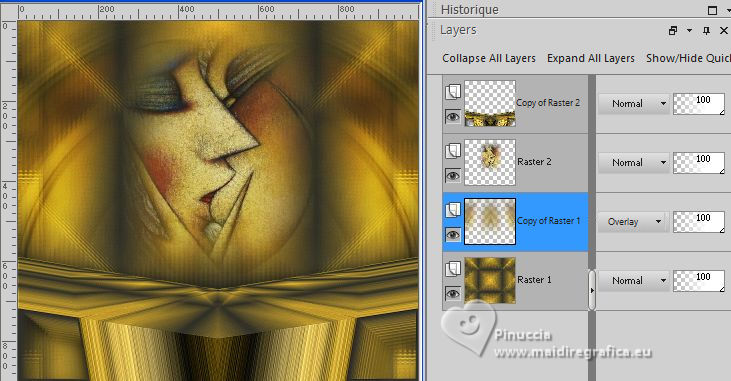
26. Optional: Effects>User Defined Effect - select the preset Emboss 3 and ok.

Set the Blend Mode of the layer above of the misted to Normal.
27. Activate your top layer.
Open the tube TeddySumbrellasunflower-NO 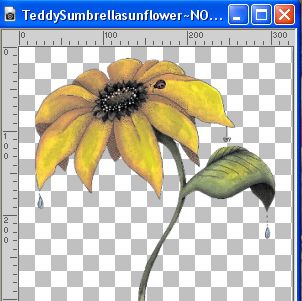
Edit>Copy.
Go back to your work and go to Edit>Paste as new layer.
Move  the tube to the right. the tube to the right.
Effects>3D Effects>Drop Shadow, at your choice.
28. Open the texte Texto 
Edit>Copy.
Go back to your work and go to Edit>Paste as new layer.
Move  the tube down, in the center. the tube down, in the center.
(the text has already its Drop Shadow)
29. Image>Add Borders, 3 pixels, symmetric, dark color.
Image>Add Borders, 2 pixels, symmetric, light color.
Image>Add Borders, 3 pixels, symmetric, dark color.
Image>Add Borders, 2 pixels, symmetric, light color.
Image>Add Borders, 55 pixels, symmetric, dark color.
30. Select the last border with your Magic Wand Tool 
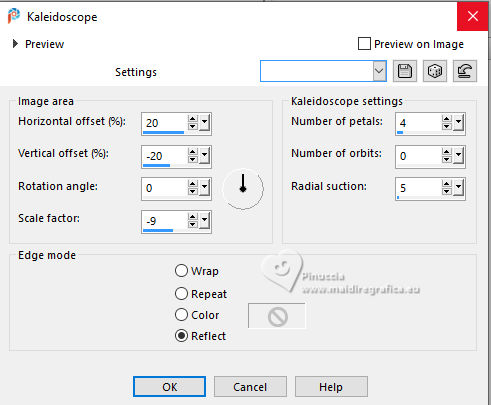
Effects>Reflection Effects>Kaleidoscope.
31. Adjust>Blur>Gaussian Blur - radius 25.

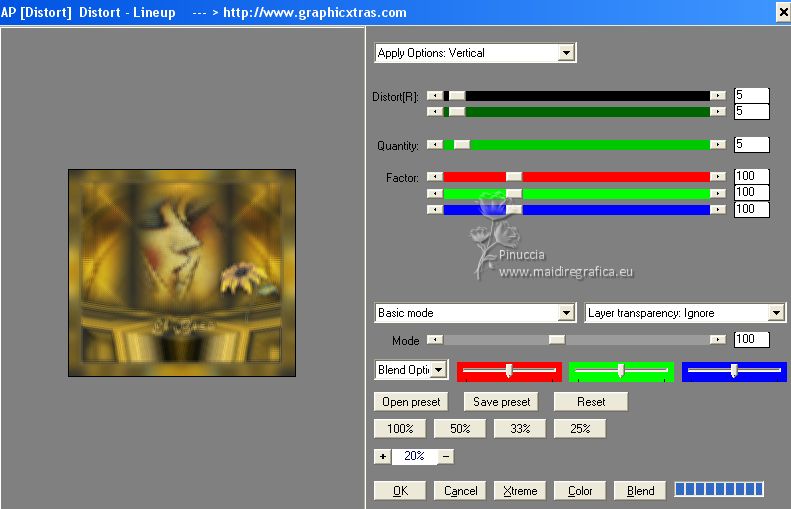
32. Effects>Plugins>AP [Distort] - Lines up, same settings.
33. Effects>Plugins>AAA Filter - Texture, same settings.
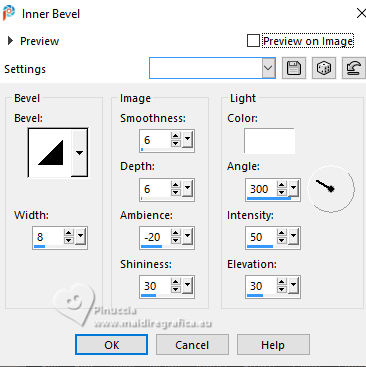
34. Effects>3D Effects>Inner Bevel.
36. Effects>Plugins>FM Tile Tools - Blend Emboss.

37. Effects>Reflection Effects>Rotating Mirror, same settings

38. Selections>Invert.
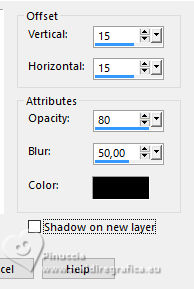
Effects>3D Effects>Drop Shadow.
Selections>Select None.
39. Image>Add Borders, 2 pixels, symmetric, light color.
40. Image>Resize, to 84%, resize all layers checked.
41. Sign your work and save as jpg.
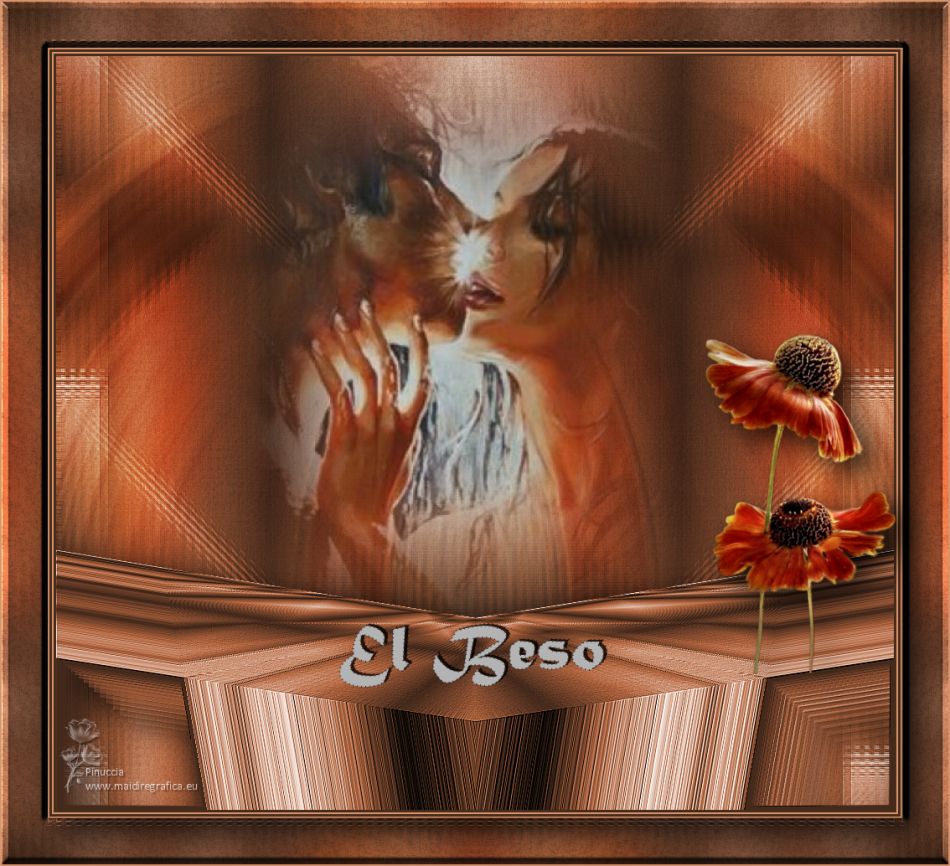
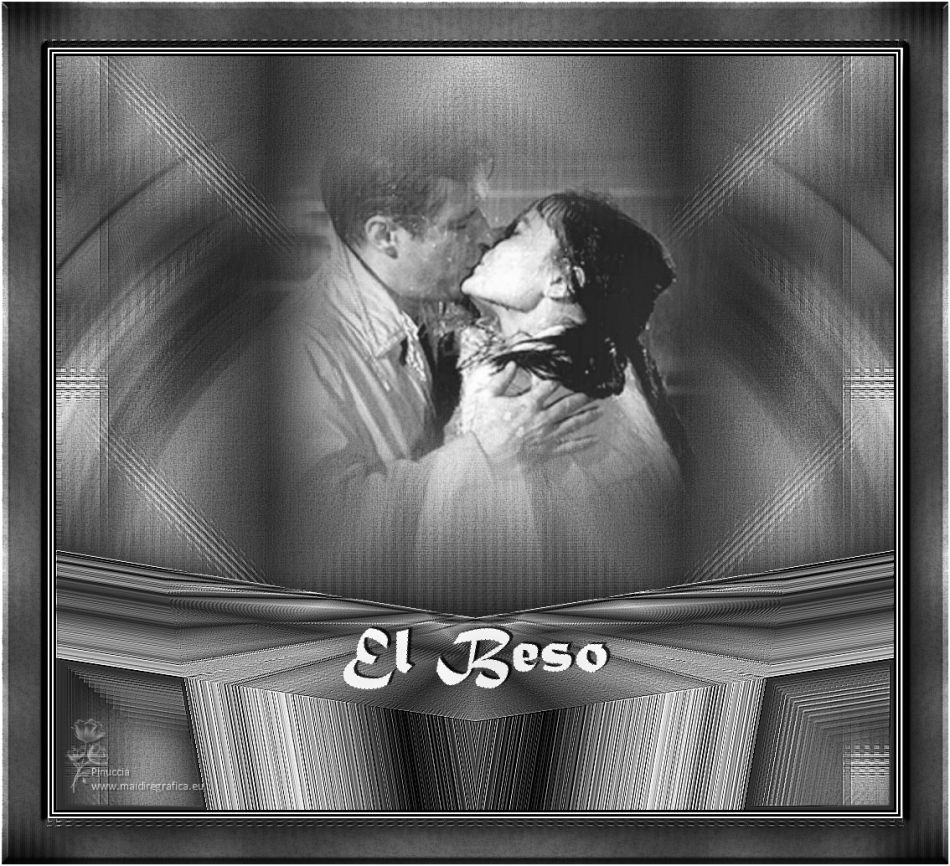
Versions with my tubes from images of the net

If you have problems or doubts, or you find a not worked link,
or only for tell me that you enjoyed this tutorial, write to me.
15 April 2025

|

