|
INACIA

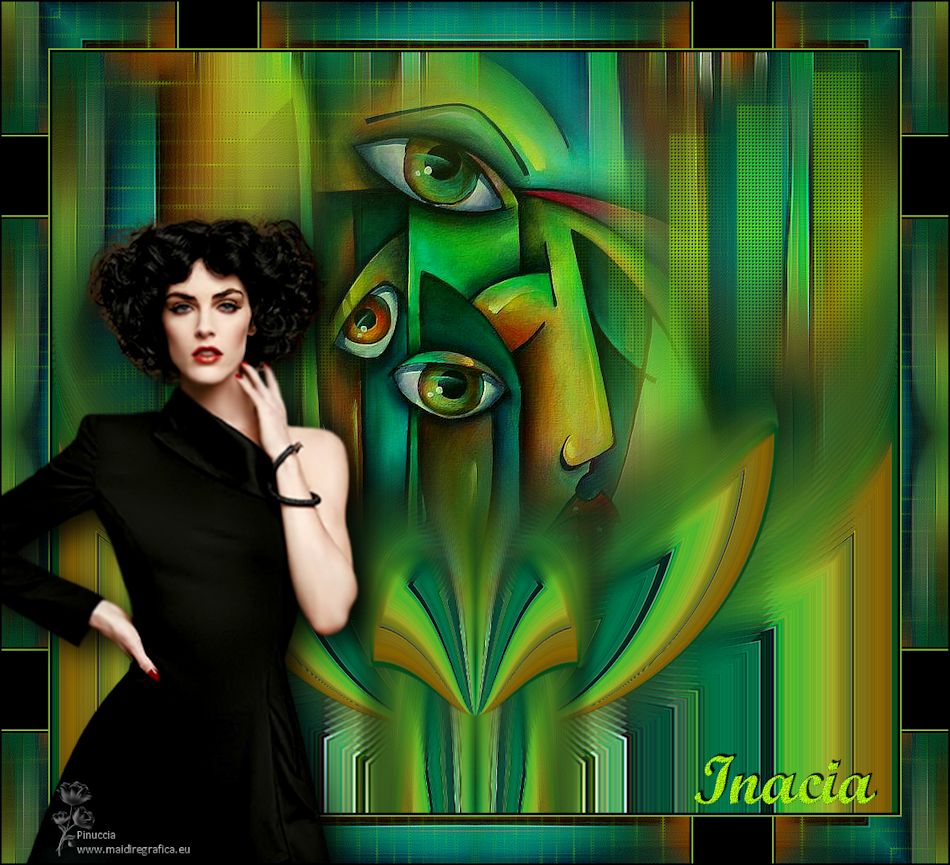
Thanks Luz Cristina for your invitation to translate your tutorials into english

This tutorial, created with PSP9, was translated with PSP2020, but it can also be made using other versions of PSP.
Since version PSP X4, Image>Mirror was replaced with Image>Flip Horizontal,
and Image>Flip with Image>Flip Vertical, there are some variables.
In versions X5 and X6, the functions have been improved by making available the Objects menu.
In the latest version X7 command Image>Mirror and Image>Flip returned, but with new differences.
See my schedule here
 French Translation here French Translation here
 Your versions here Your versions here

For this tutorial, you will need:

Tube from a picture by Andrei from Ucrania
(The links of the tubemakers here).
*It is forbidden to remove the watermark from the supplied tubes, distribute or modify them,
in order to respect the work of the authors

consult, if necessary, my filter section here
Filters Unlimited 2.0 here
Mehdi 2 - Flat Median here
Artistiques - Barbouillage here
Mura's Meister - Copies, Perspective Tiling here
FM Tile Tools - Blend Emboss, Saturation Emboss here

You can change Blend Modes according to your colors.

Open the masks in PSP and minimize them with the rest of the material.
1. Open a new transparent image 1000 x 900 pixels.
2. Selections>Select All.
Open the jpg image Image JPG 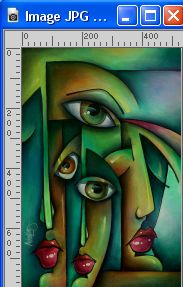
Edit>Copy.
Go back to your work and go to Edit>Paste into Selection.
Selections>Select None.
3. Effects>Image Effects>Seamless Tiling, default settings.

4. Effects>Plugins>Mehdi 2 - Flat Median.
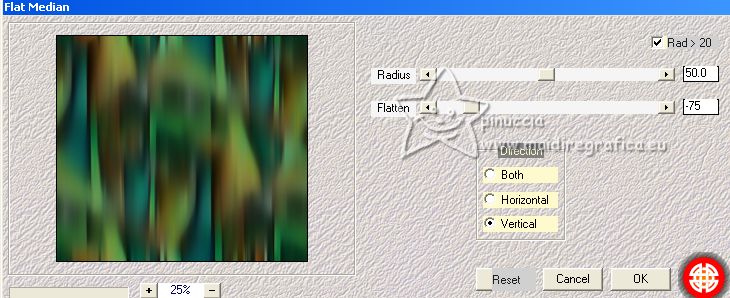
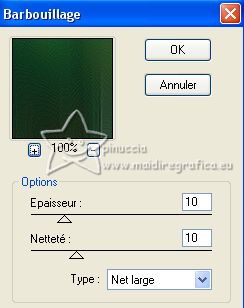
5. Effects>Plugins>Artistiques - Barbouillage
if you use the english version (the result doesn't change)
Effects>Plugins>Artistic>Paint Daubs
 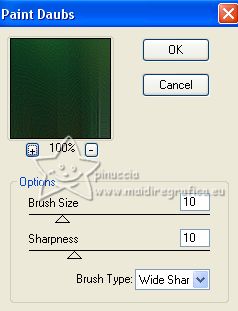
6. Effects>Plugins>FM Tile Tools - Saturation Emboss
(optional, if the color is very saturated, use the Blend Emboss effect of the same filter)

7. Layers>Duplicate.
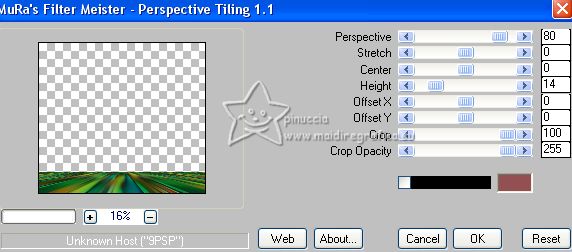
8. Effects>Plugins>Mura's Meister - Perspective Tiling.
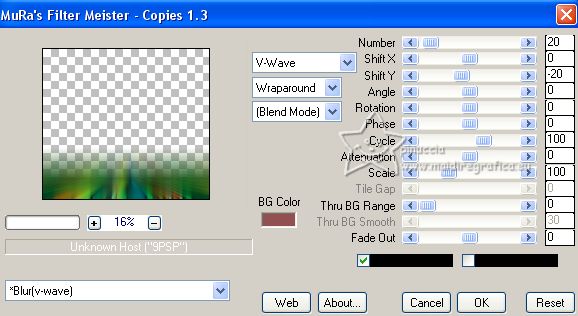
9. Effects>Plugins>Mura's Meister - Copies.
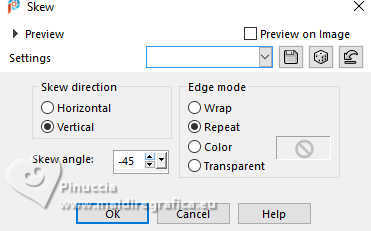
10. Effects>Geometric Effects>Skew.
11. Effects>Reflection Effects>Rotating Mirror.

12. Effects>Geometric Effects>Cylinder vertical.
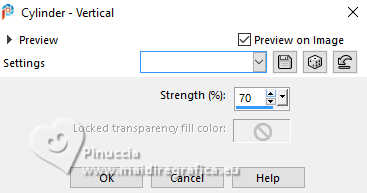
13. Layers>Duplicate.
14. Effects>Geometric Effects>Circle.

15. Image>Resize, to 80%, resize all layers not checked.
16. Layers>Merge>Merge Down.
17. Effects>3D Effects>Drop shadow.
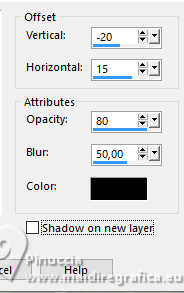
18. Layers>Duplicate.
19. Effects>Distortion Effects>Polar Coordinates.
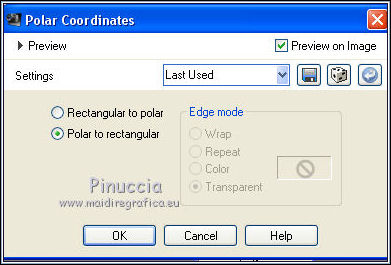
20. Effects>Geometric Effects>Pentagon.
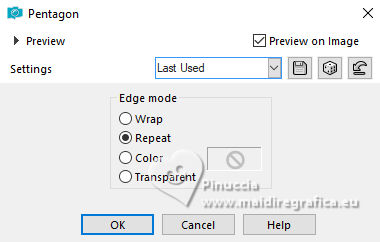
21. Effects>Distortion Effects>Pinch.

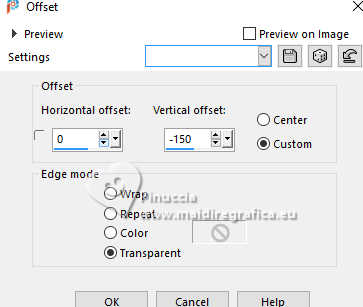
22. Effects>Image Effects>Offset.
23. Set your foreground color to #8ab427.
Layers>New Raster Layer.
Flood Fill  the layer with your foreground color. the layer with your foreground color.
24. Layers>New Mask layer>From image
Open the menu under the source window and you'll see all the files open.
Select the mask 3q
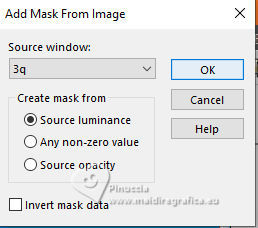
Layers>Merge>Merge Group.
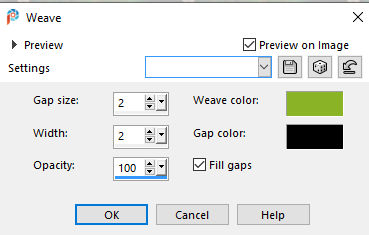
25. Effects>Texture Effects>Weave
weave color: foreground color #8ab427
gap color: black #000000.
26. Effects>Plugins>FM Tile Tools - Saturation Emboss, default settings.
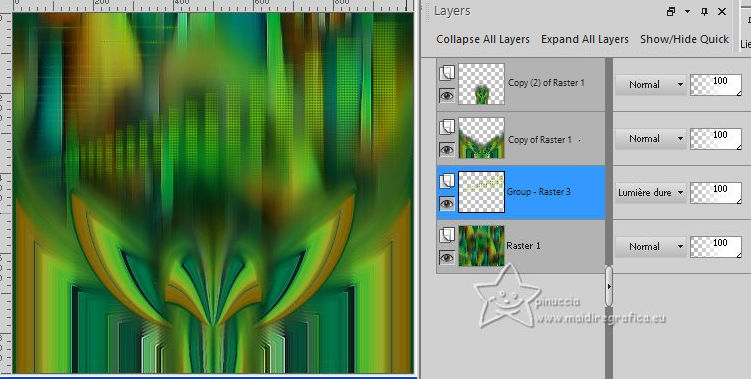
Change the Blend Mode of this layer to Hard Light, or to your liking.
Layers>Arrange>Move Down - 2 times.
27. Activate again your jpg image.
On this image:
Layers>New Mask layer>From image
Open the menu under the source window
and select the mask 20-21
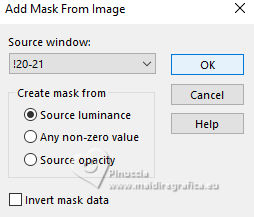
Layers>Duplicate (to apply the mask 2 times).
Layers>Merge>Merge Group.
28. Edit>Copy.
Go back to your work and go to Edit>Paste as new layer.
Move  the image a little further up and to the left. the image a little further up and to the left.
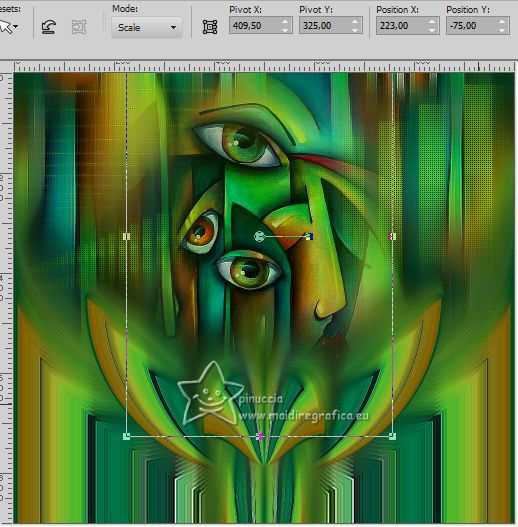
29. Effects>Plugins>FM Tile Tools - Saturation Emboss (optional).
30. Image>Add Borders, 3 pixels, symmetric, couleur noire.
Image>Add Borders 2 pixels, symmetric, couleur claire d'avant plan.
Image>Add Borders, 55 pixels, symmetric, couleur noire.
Activate your Magic Wand Tool 
and click in the last border to select it.
31. Effects>Reflection Effects>Kaleidoscope.
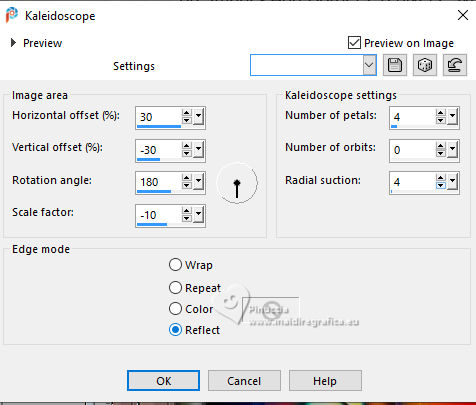
Selections>Select None.
32. Open your woman's tube 7548-Luz Cristina 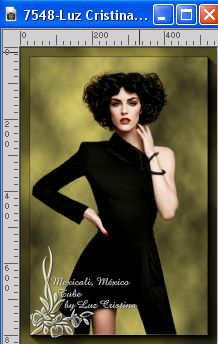
Edit>Copy.
Go back to your work and go to Edit>Paste as new layer.
Image>Resize, to 120%, resize all layers not checked.
Move  the tube to the left. the tube to the left.
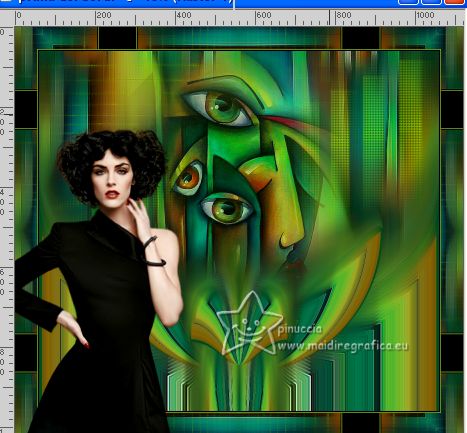
Effects>3D Effects>Drop Shadow, at your choice.
33. Open the text 
Edit>Copy.
Go back to your work and go to Edit>Paste as new layer.
Move  the text at the bottom right. the text at the bottom right.
34. Layers>Merge>Merge visible.
Image>Resize, to 84%, resize all layers checked.
35. Sign your work and save as jpg.
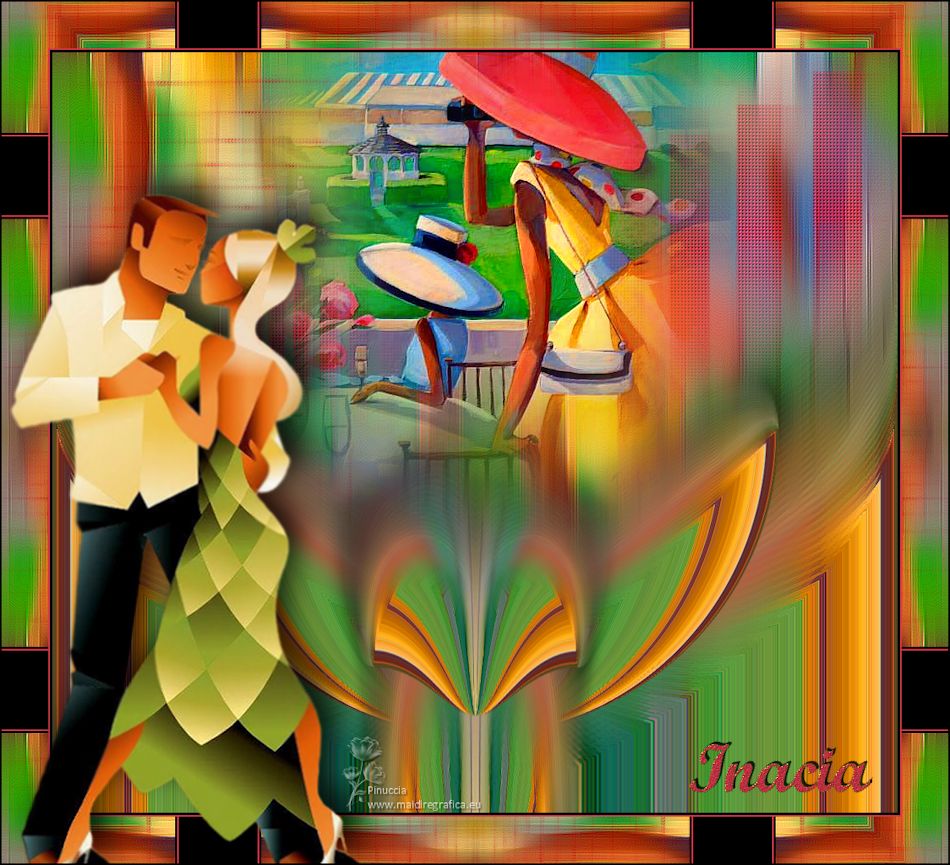
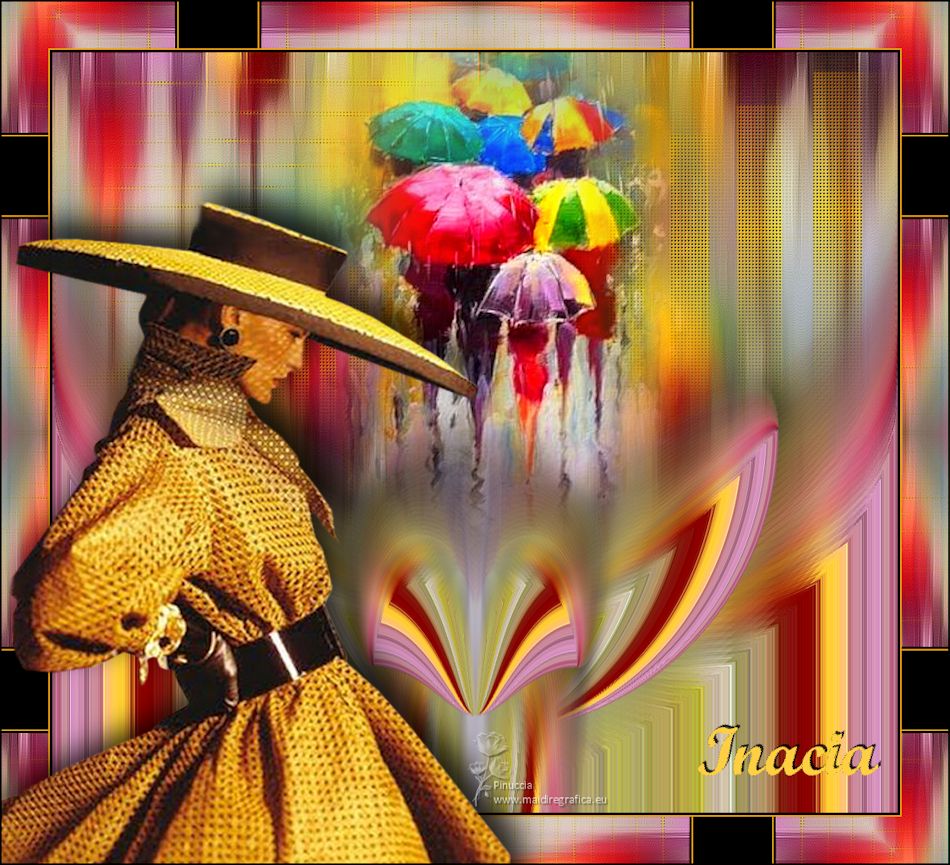
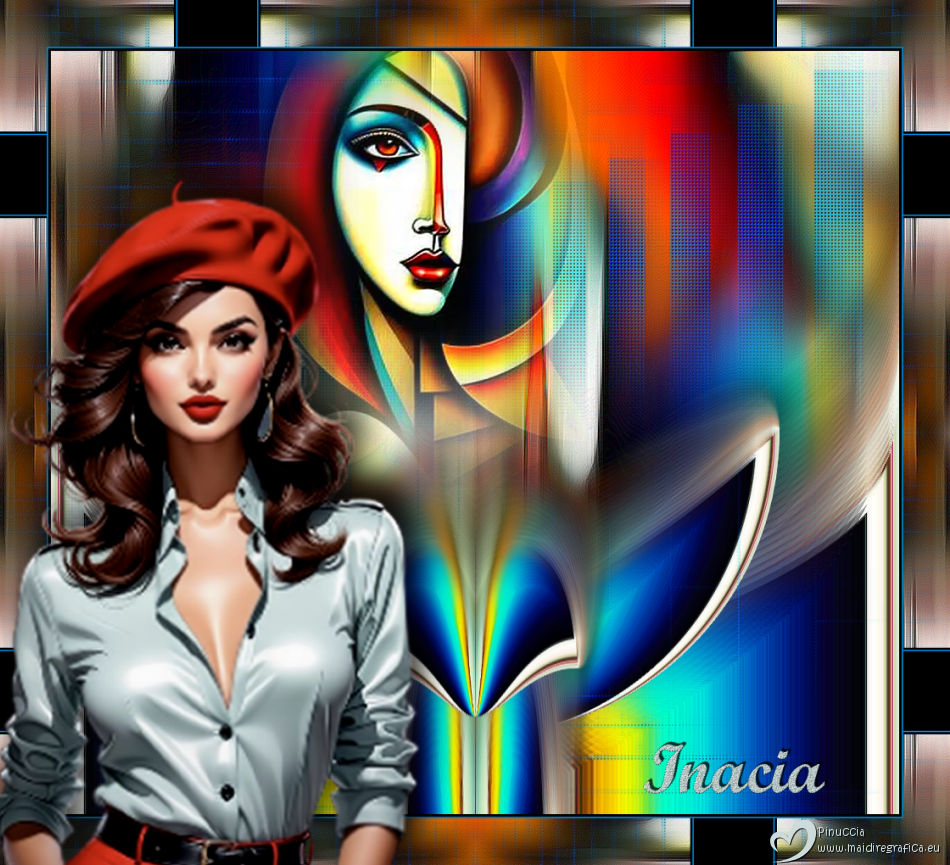
For the tubes of these versions thanks Luz Cristina.

If you have problems or doubts, or you find a not worked link,
or only for tell me that you enjoyed this tutorial, write to me.
15 April 2025

|

