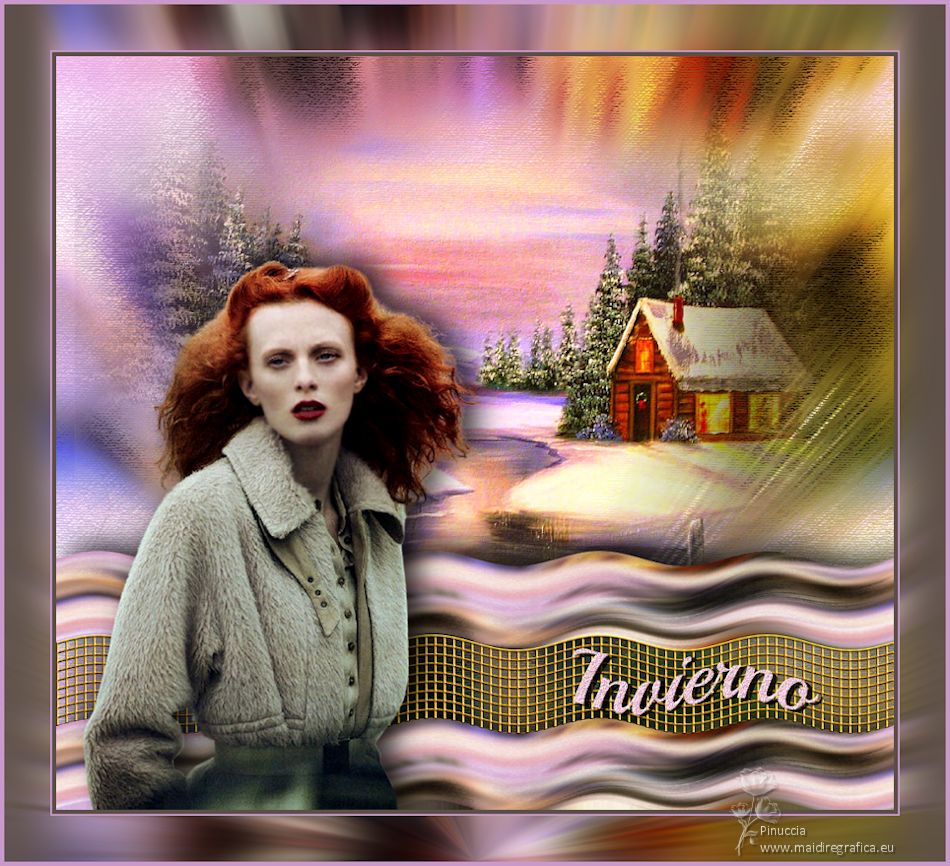
|
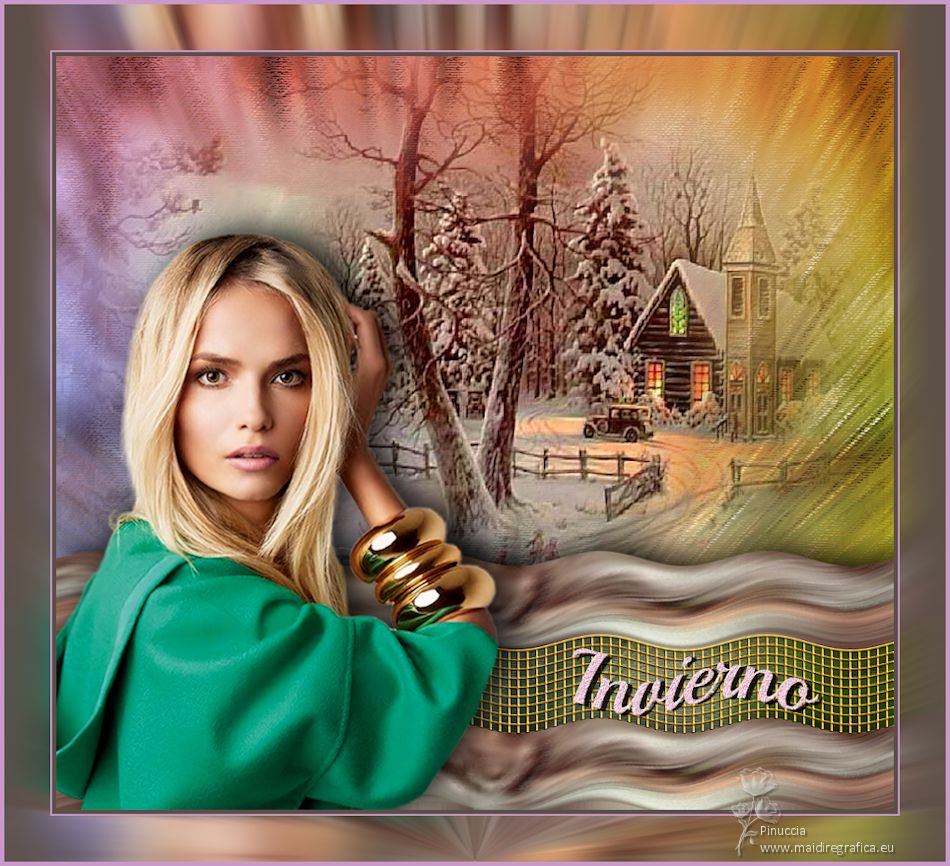
TUTORIAL INVIERNO


Thanks Luz Cristina for your invitation to translate your tutorials into english

This tutorial, created with PSP9, was translated with Psp2020, but it can also be made using other versions of PSP.
Since version PSP X4, Image>Mirror was replaced with Image>Flip Horizontal,
and Image>Flip with Image>Flip Vertical, there are some variables.
In versions X5 and X6, the functions have been improved by making available the Objects menu.
In the latest version X7 command Image>Mirror and Image>Flip returned, but with new differences.
See my schedule here
 French Translation here French Translation here
 Your versions here Your versions here

For this tutorial, you will need:

Tubes by Luz Cristina .
(The links of the tubemakers here).
*It is forbidden to remove the watermark from the supplied tubes, distribute or modify them,
in order to respect the work of the authors

consult, if necessary, my filter section here
Filters Unlimited 2.0 here
FM Tile Tools - Saturation Emboss here
Simple - Top Bottom Wrap (bonus) here
Filter Factory Gallery M - Ambrosia here
Artistic - Rough Pastels here
VM Toolbox - Grid here
Filters Simple and VM Toolbox can be used alone or imported into Filters Unlimited.
(How do, you see here)
If a plugin supplied appears with this icon  it must necessarily be imported into Unlimited it must necessarily be imported into Unlimited

You can change Blend Modes according to your colors.

Placer le motif or dans le dossier Motifs.
Ouvrir le masque dans PSP et le minimiser avec le reste du matériel.
1. Open a new transparent image 1000 x 900 pixels.
2. Selections>Select All.
Open your jpg image ginvieimagen 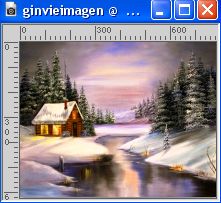
Edit>Copy.
Minimize the image.
Go back to your work and go to Edit>Paste into Selection.
Selections>Select None.
3. Effects>Image Effects>Seamless Tiling.

4. Adjust>Blur>Radial Blur.
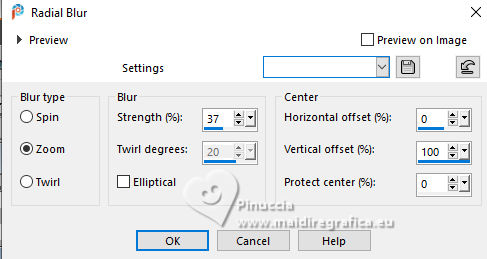
5. Effects>Plugins>Artistic - Rough Pastels
if you use the french version of this filter (the result doesn't change)
Effects>Plugins>Artistiques>Pastels
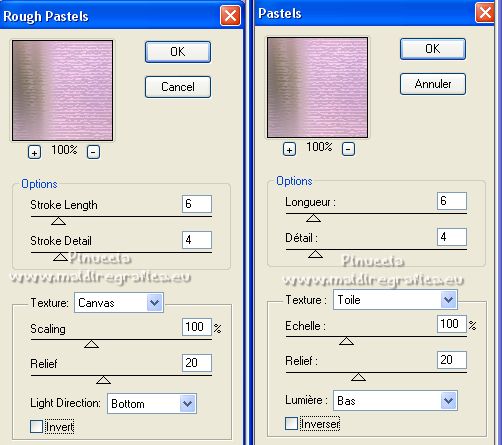
Repeat this Effect another time
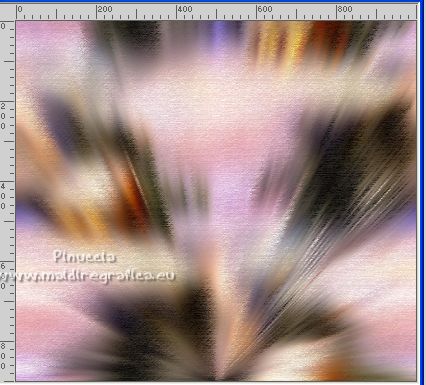
6. Edit>Copy
7. Layers>New Raster Layer.
Selection Tool 
(no matter the type of selection, because with the custom selection your always get a rectangle)
clic on the Custom Selection 
and set the following settings.
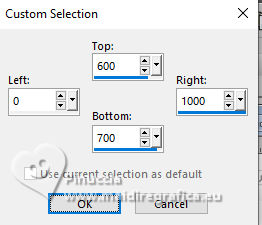
8. Edit>Paste into selection (the image copied at step 6)
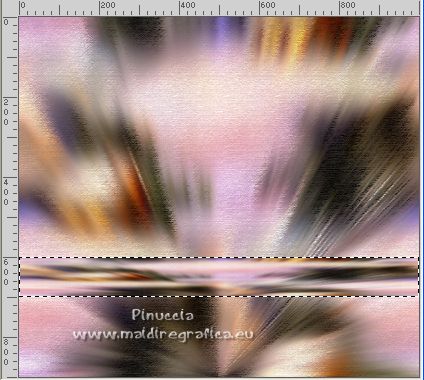
Selections>Select None.
9. Layers>Duplicate.
Objects>Align>Bottom,
or activate your Pick Tool and set Position Y: 800,00
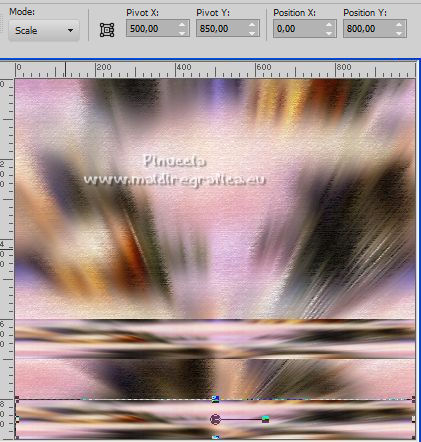
Layers>Merge>Merge Down.
10. Close the layer Raster 1, to see better
Activate your Magic Wand Tool 
click on the space between the two bars to select it.
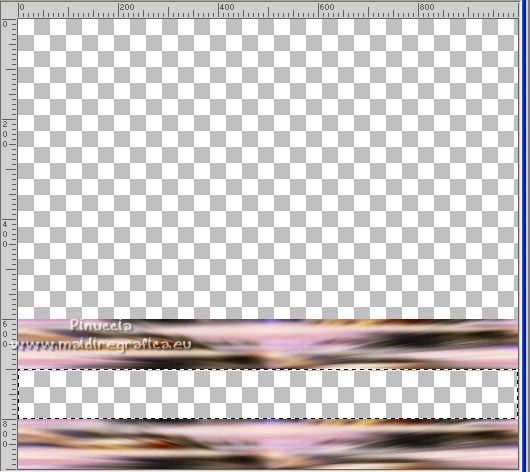
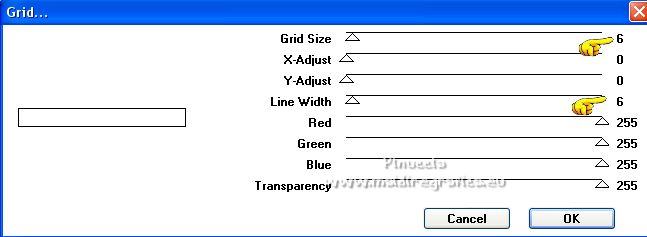
11. Effects>Plugins>VM Toolbox - Grid
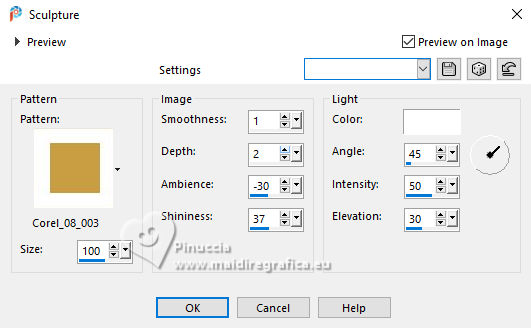
12. Effects>Texture Effects>Sculpture - select the pattern ginvieGold
13. Effects>Plugins>FM Tile Tools - Saturation Emboss, default settings.

Selections>Select None.
14. Open again the layer Raster 1
and stay on the top layer.
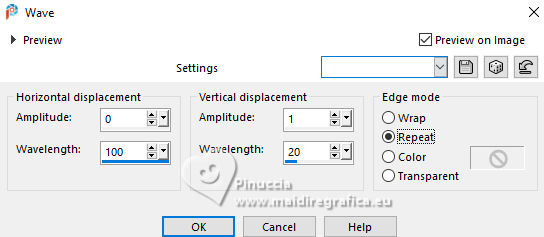
15. Effects>Distortion Effects>Wave
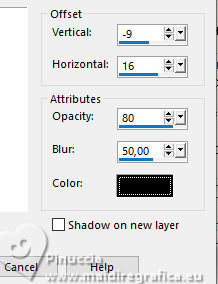
16. Effects>3D Effects>Drop Shadow.
17. Activate again your jpg image 
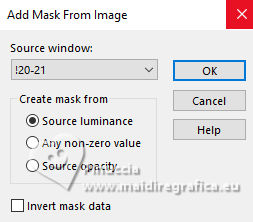
Layers>New Mask layer>From image
Open the menu under the source window and you'll see all the files open.
Select the mask 20_21.
Layers>Duplicate (to apply the mask 2 times).
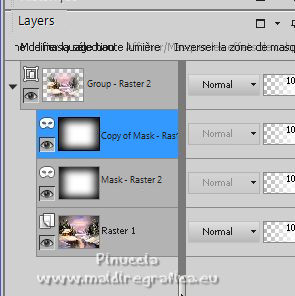
Layers>Merge>Merge Group.
18. Edit>Copy.
Go back to your work and go to Edit>Paste as new layer.
I did Image>Mirror>Mirror Horizontal, to highlight the house.
Image>Resize, to 120%, resize all layers not checked.
Place  correctly the image. correctly the image.
19. Layers>Arrange>Move Down.
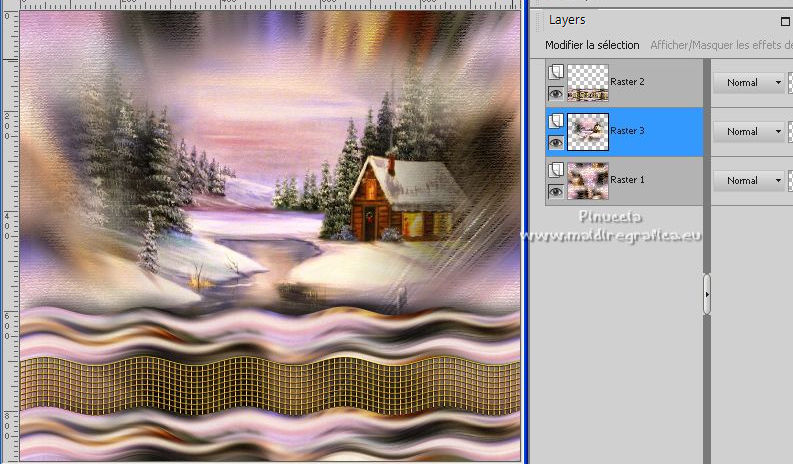
20. Open the texte ginvietext 
Edit>Copy.
Go back to your work and go to Edit>Paste as new layer.
Move  the text at the bottom right. the text at the bottom right.
21. Open your woman's tube 6758-Luz Cristina 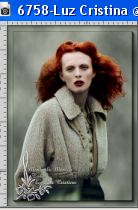
Edit>Copy.
Go back to your work and go to Edit>Paste as new layer.
Move  the tube to the left. the tube to the left.
Effects>3D Effects>Drop Shadow, same settings.
22. Activate your bottom layer, Raster 1.
Layers>Duplicate.
Layers>Arrange>Move Down.
23. Effects>Plugins>Filters Unlimited 2.0 - Filter Factory Gallery M - Ambrosia, default settings.
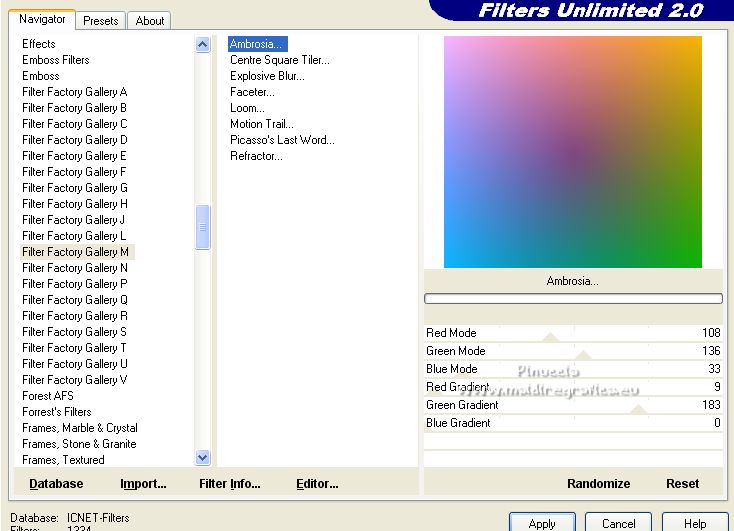
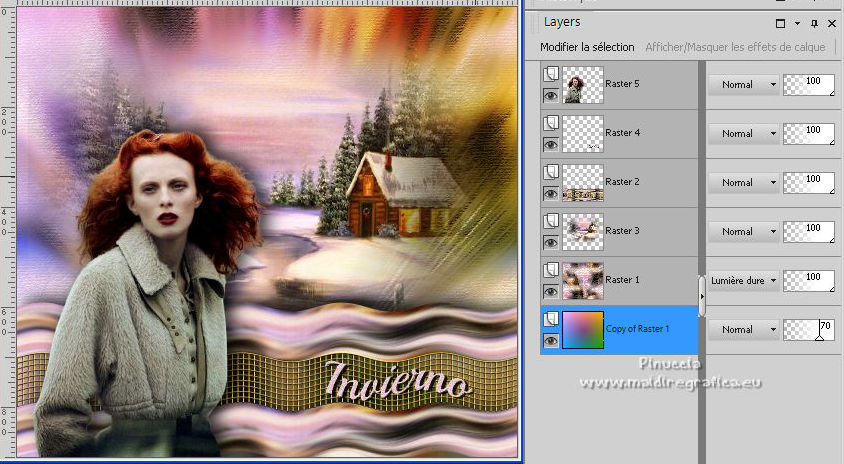
Reduce the opacity of this layer to 70%.
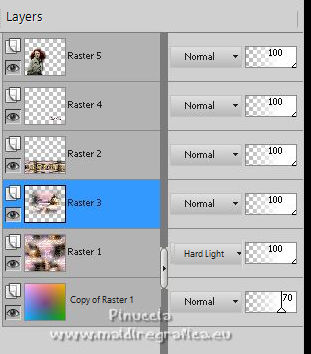
Change the Blend Mode of the layer Raster 1 to Hard Light, or to your liking.
24. Activate the misted's layer, Raster 3.
Effects>Plugins>FM Tile Tools - Saturation Emboss, default settings.

25. Image>Add Borders, 5 pixels, symmetric, color #5b4f47.
Image>Add Borders, 2 pixels, symmetric, color #c99ac9.
(you can change the colors to your liking)
Image>Add Borders, 55 pixels, symmetric, dark color #5b4f47.
26. Activate your Magic Wand Tool 
and click in the last border to select it.
27. Effects>Plugins>Simple - Top Bottom Wrap.
28. Adjust>Blur>Radial Blur, same settings.

29. Image>Add Borders, 5 pixels, symmetric, light color #c99ac9.
29. Image>Resize, 85%, resize all layers checked.
30. Sign your work et enregistrer en jpg.
For the tube of this version thanks Luz Cristina


If you have problems or doubts, or you find a not worked link,
or only for tell me that you enjoyed this tutorial, write to me.
25 March 2025

|

