|
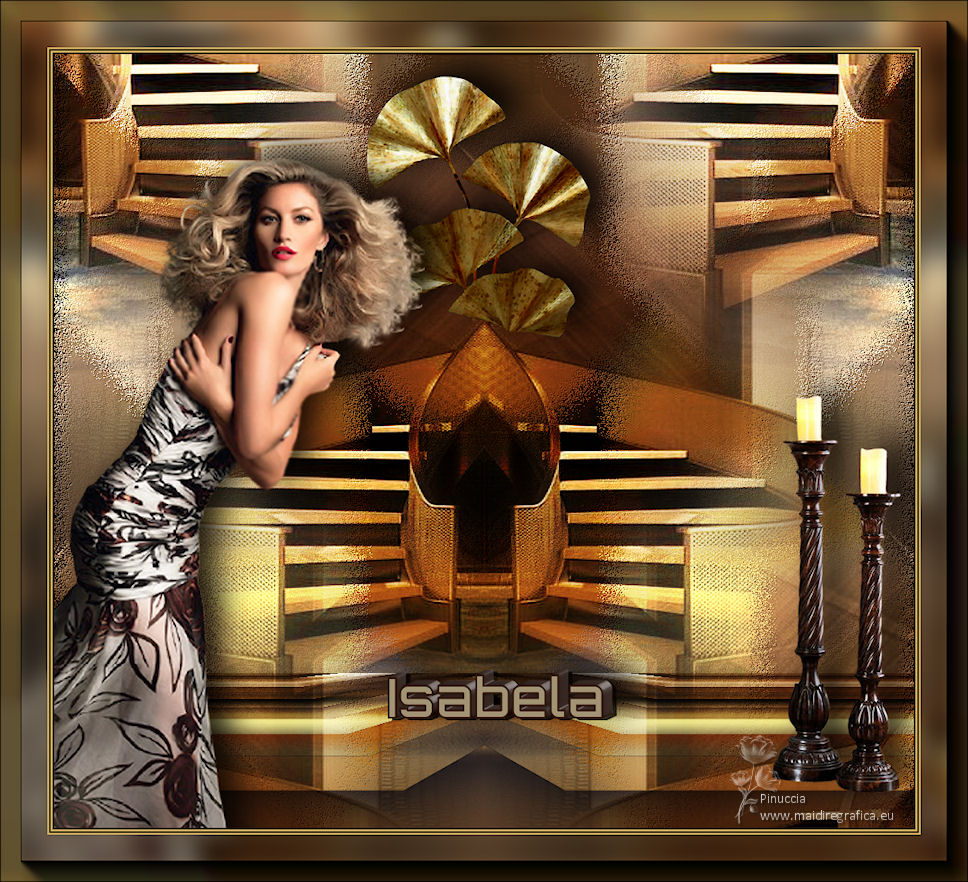
TAG ISABELA

Thanks Luz Cristina for your invitation to translate your tutorials into english
This tutorial, created with PSP9, was translated with PspX7, but it can also be made using other versions of PSP.
Since version PSP X4, Image>Mirror was replaced with Image>Flip Horizontal,
and Image>Flip with Image>Flip Vertical, there are some variables.
In versions X5 and X6, the functions have been improved by making available the Objects menu.
In the latest version X7 command Image>Mirror and Image>Flip returned, but with new differences.
See my schedule here
 French Translation here French Translation here
 Your versions here Your versions here

For this tutorial, you will need:

Tubes by Luz Cristina .
(The links of the tubemakers here).

consult, if necessary, my filter section here
Filters Unlimited 2.0 - here
Toadies - Plain Mosaic Blur here
Mehdi - Sorting Tiles here
FM Tile Tools - Saturation Emboss here
AAA Frames - Foto Frame here
Mura's Meister - Perspective Tiling here
Filters Toadies can be used alone or imported into Filters Unlimited.
(How do, you see here)
If a plugin supplied appears with this icon  it must necessarily be imported into Unlimited it must necessarily be imported into Unlimited

You can change Blend Modes according to your colors.
Open the mask and minimize it with the rest of the material.
1. Open a new transparent image1000 x 900 pixels.
2. Selections>Select All.
Open your jpg image and Edit>Copy.
Go back to your work and go to Edit>Paste into Selection.
Selections>Select None.
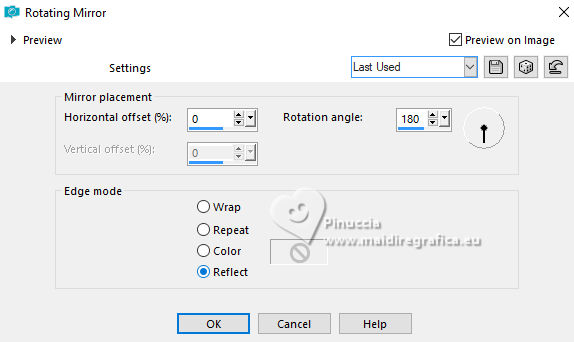
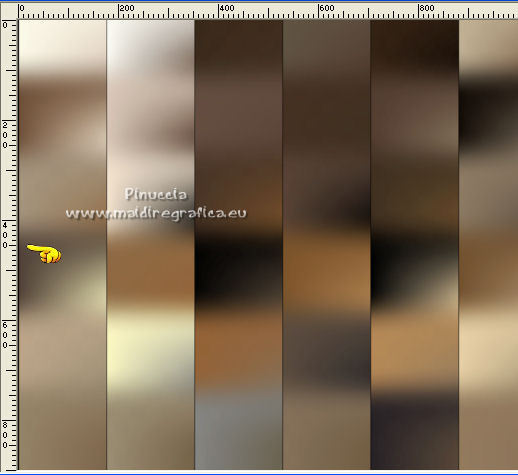
3. Effects>Reflection Effects>Rotating Mirror.
4. Layers>Duplicate.
Layers>New Mask layer>From image
Open the menu under the source window and you'll see all the files open.
Select the mask 20-21.

Layers>Duplicate - 2 times, to apply the mask 3 times

Layers>Merge>Merge Group.
5. Close this layer, to work better on the layer Raster 1.

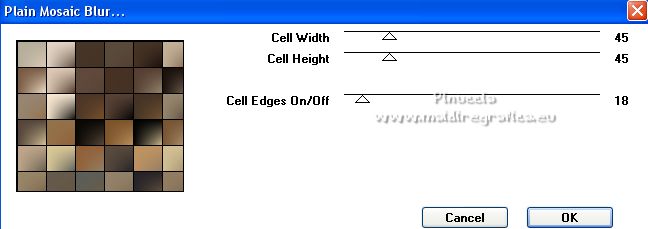
7. Effects>Plugins>Toadies - Plain Mosaic Blur.
8. Adjust>Blur>Motion Blur.
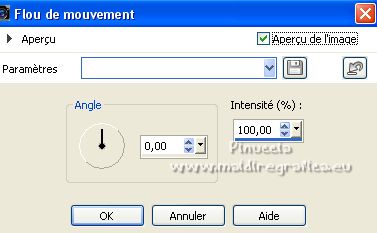 
Edit>Repeat Motion Blur.
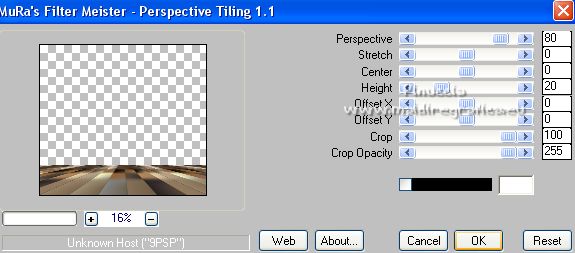
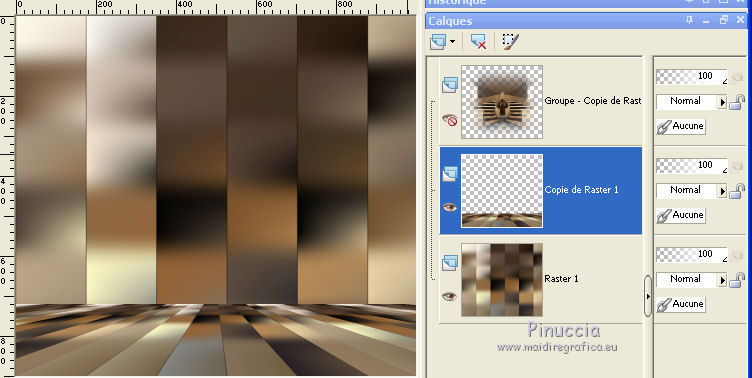
9. Layers>Duplicate.
Effects>Plugins>Mura's Meister - Perspective Tiling.
attention, le tuto a été créé avec PSP 9;
dans les autres versions après avoir appliqué le filtre, le résultat est une tâche noire.
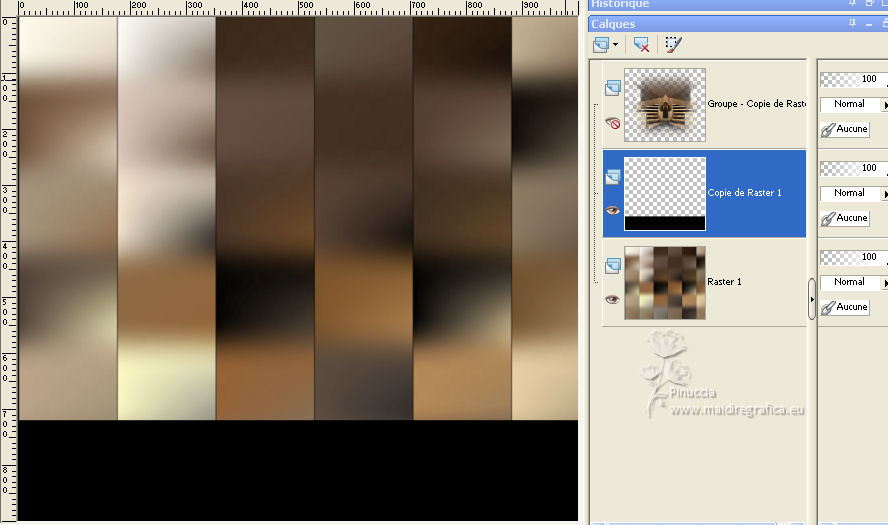
Pour le moment, j'ai trouvé une solution: j'ai ajouté dans le matériel le résultat de l'effet obtenu aver PSP 9:
copier/coller comme nouveau calque le file,
et le Move  en bas sur le bord. en bas sur le bord.
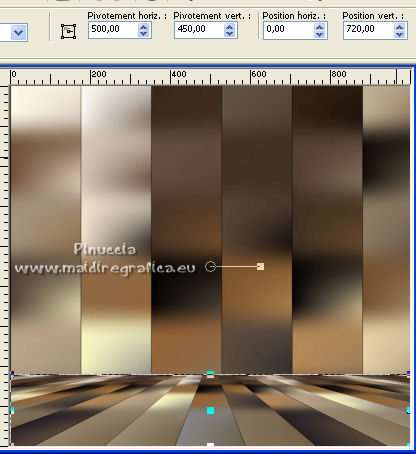
Avec l'outil Sélecteur  placer Position vert. à 720,00. placer Position vert. à 720,00.
********************************************************************************************************************************
J'ai compris.
La raison est cette petite ligne noire créée par l'Effet Flou de mouvement.
Évidemment jusqu'à la version PSP9, ça ne donnait pas problèmes;
mais avec les versions suivantes c'est le problème qui provoque l'Effet Mura incorrect.
Pour avoir le bon effet, avant d'appliquer le filtre Perspective, il faut faire:
Sélections personnalisée 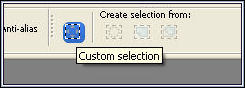

Image>Recadrer sur la sélection.
Et maintenant vous pouvez appliquer l'Effet sans problème
********************************************************************************************************************************
10. Effects>Geometric Effects>Skew.

11. Effects>Reflection Effects>Rotating Mirror, same settings.
12. Activate the layer Raster 1.
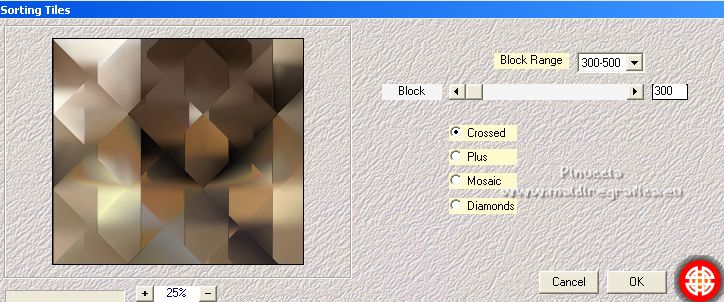
Effects>Plugins>Mehdi - Sorting Tiles.
13. Effects>Reflection Effects>Rotating Mirror, same settings.
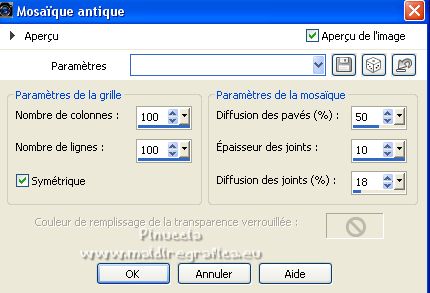
14. Effects>Texture Effects>Mosaic Antique.
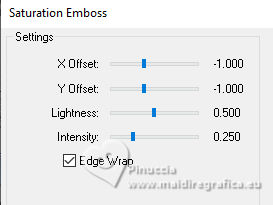
15. Effects>Plugins>FM Tile Tools - Saturation Emboss, default settings.
16. Re-open and activate the layer Group Copy of Raster 1
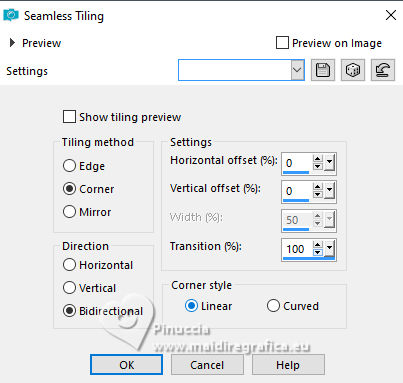
Effects>Image Effects>Seamless Tiling.
17. Change the Blend Mode of this layer to Hard Light.
Change the Blend Mode also of the layer Copy of Raster 1 to Hard Light,
and move the layer at the top.

18. Open your woman's tube - Edit>Copy.
Go back to your work and go to Edit>Paste as new layer.
Move le tube en bas à gauche.
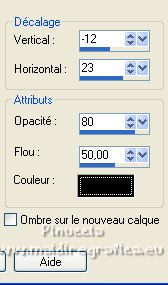
Effects>3D Effects>Drop Shadow.
19. Open the tube Deco16-LuzCristina - Edit>Copy.
Go back to your work and go to Edit>Paste as new layer.
Move le tube en haut
Calques>Agencer>Déplacer vers le bas.
Effects>3D Effects>Drop Shadow, same settings.
20. Activate your top layer.
Open the tube deco21_LuzCristina - Edit>Copy.
Go back to your work and go to Edit>Paste as new layer.
Move le tube en bas à droite.
Effects>3D Effects>Drop Shadow, same settings.
21. Open the text - Edit>Copy.
Go back to your work and go to Edit>Paste as new layer.
Move le texte en bas, au centre, voir mon exemple.
Effects>3D Effects>Drop Shadow, same settings.
22. Image>Add Borders, 2 pixels, symmetric, couleur #312318.
Image>Add Borders, 2 pixels, symmetric, couleur #d0b15e.
Image>Add Borders, 2 pixels, symmetric, couleur #312318.
Image>Add Borders, 2 pixels, symmetric, couleur #d0b15e.
23. Edit>Copy.
Image>Add Borders, 55 pixels, symmetric, couleur #312318.
Activate your Magic Wand Tool 
et cliquer dans le bord pour le sélectionner.
Édition>Coller dans la sélection.
Adjust>Blur>Gaussian Blur - radius 16.

Selections>Select None.
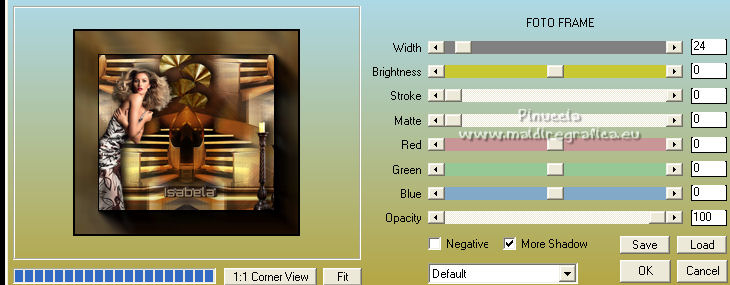
24. Effects>Plugins>AAA Frames - Foto Frame.
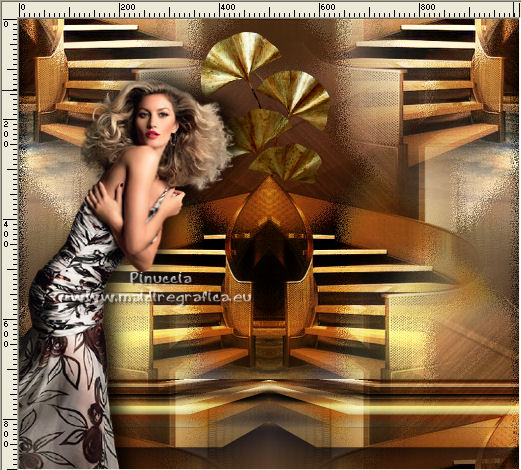
25. Image>Resize, to 86%, resize all layers checked.
Signer votre travail et enregistrer en jpg.
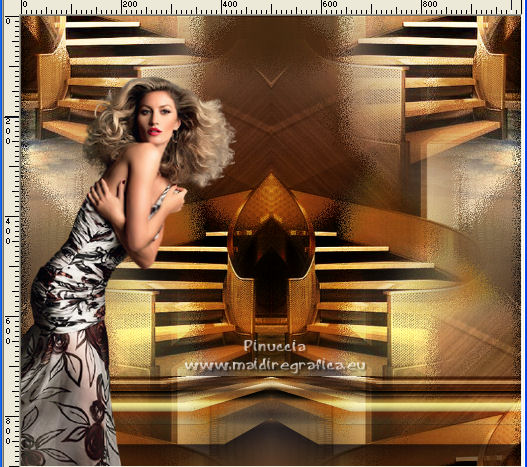
Version avec tubes de Luz Cristina


If you have problems or doubts, or you find a not worked link,
or only for tell me that you enjoyed this tutorial, write to me.
20 March 2025

|