|
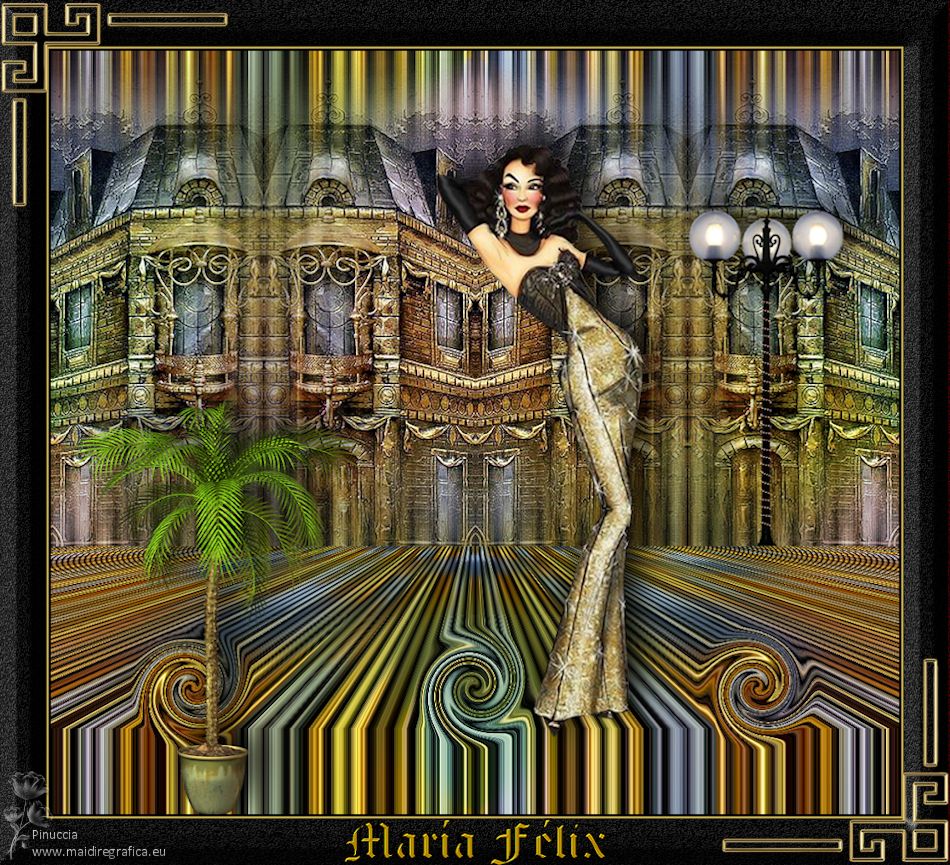
MARIA FELIX


Thanks Luz Cristina for your invitation to translate your tutorials into english

This tutorial, created with PSP9, was translated with Pspx9, but it can also be made using other versions of PSP.
Since version PSP X4, Image>Mirror was replaced with Image>Flip Horizontal,
and Image>Flip with Image>Flip Vertical, there are some variables.
In versions X5 and X6, the functions have been improved by making available the Objects menu.
In the latest version X7 command Image>Mirror and Image>Flip returned, but with new differences.
See my schedule here
 French Translation here French Translation here
 Your versions here Your versions here

For this tutorial, you will need:

Tubes by Luz Cristina.
(The links of the tubemakers here).
*It is forbidden to remove the watermark from the supplied tubes, distribute or modify them,
in order to respect the work of the authors

consult, if necessary, my filter section here
Filters Unlimited 2.0 here
Mehdi 2 - Flat Median here
FM Tile Tools - Saturation Emboss, Blend Emboss here
Mura's Meister - Perspective Tiling here
Filter Factory Gallery M - Ambrosia here
Filters Factory Gallery can be used alone or imported into Filters Unlimited.
(How do, you see here)
If a plugin supplied appears with this icon  it must necessarily be imported into Unlimited it must necessarily be imported into Unlimited

You can change Blend Modes according to your colors.

Open the mask in PSP and minimize it with the rest of the material.
1. Open a new transparent image 1000 x 900 pixels.
2. Selections>Select All.
Open the jpg image Image JPG 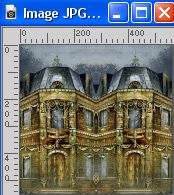
Edit>Copy.
Go back to your work and go to Edit>Paste into Selection.
Selections>Select None.
3. Effects>Image Effects>Seamless Tiling, default settings.

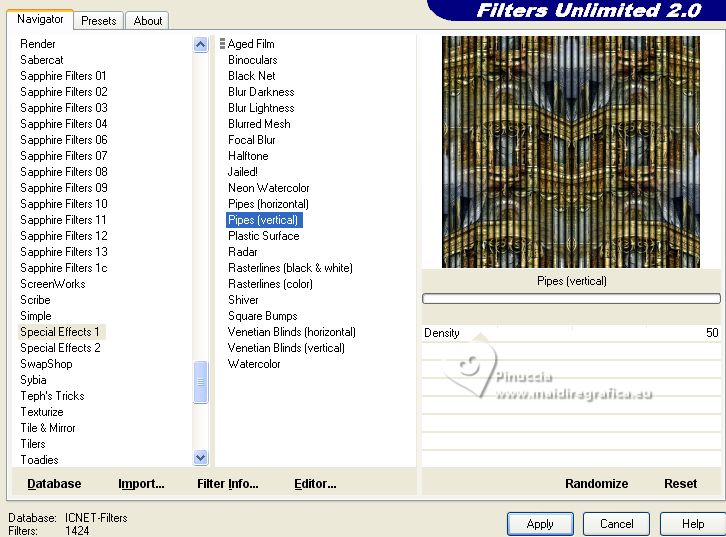
4. Effects>Plugins>Filters Unlimited 2.0 - Special Effects 1 - Pipes Vertical.
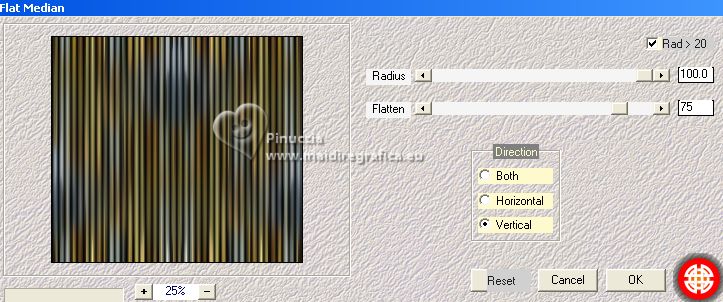
5. Effects>Plugins>Mehdi 2 - Flat Median.
6. Effects>Plugins>FM Tile Tools - Saturation Emboss, default settings.

7. Layers>Duplicate.
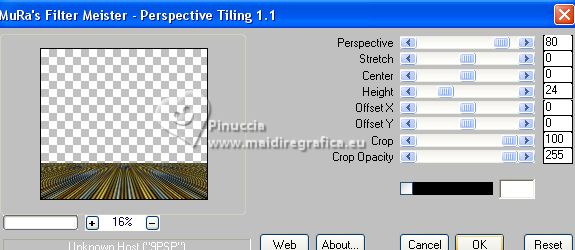
8. Effects>Plugins>Mura's Meister - Perspective Tiling.
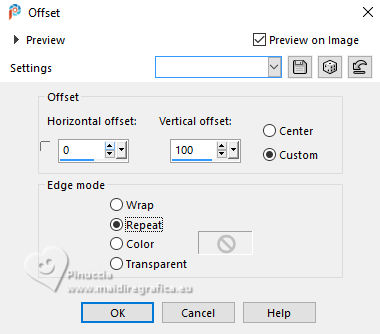
9. Effects>Image Effects>Offset.
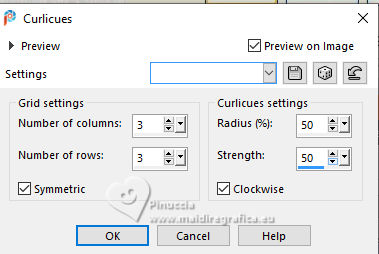
10. Effects>Distortion Effects>Curlicues
11. Activate again the jpg image.
Sur cette image:
Layers>New Mask layer>From image
Open the menu under the source window and you'll see all the files open.
Select the mask 20-21.
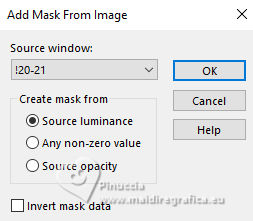
Layers>Duplicate, to apply the mask 2 times.
Layers>Merge>Merge Group.
12. Image>Resize, to 120%, resize all layers not checked.
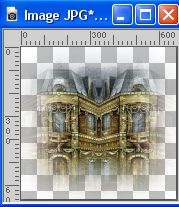
13. Edit>Copy.
you can close the image withour save the modifications,
ou save l'image as new image en pspimage (File>Save as...)
Go back to your work and go to Edit>Paste as new layer.
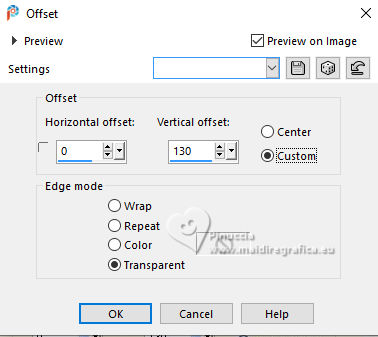
14. Effects>Image Effects>Offset.
15. Layers>Duplicate.
Layers>Merge>Merge Down.
16. Effects>Image Effects>Seamless Tiling.

17. Layers>Arrange>Move Down.
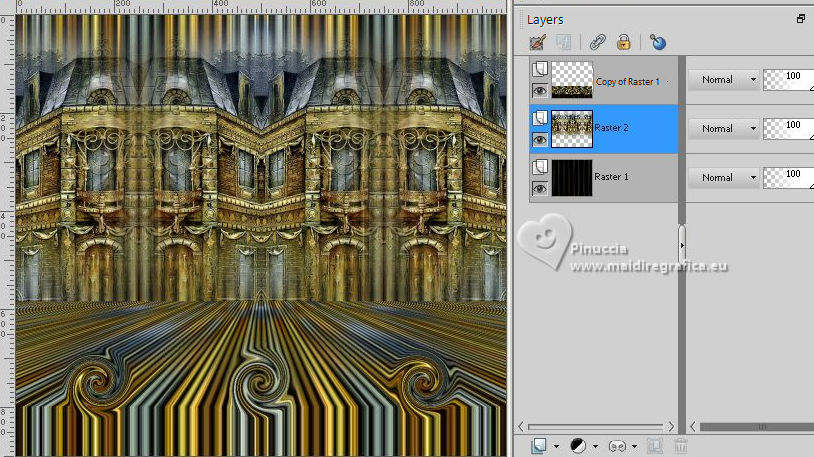
18. Layers>Merge>Merge visible.
19. Adjust>Sharpness>Sharpen.
20. Layers>New Raster Layer.
Layers>Arrange>Move Down.
Flood Fill  the layer with any color. the layer with any color.
21. Effects>Plugins>Filters Unlimited 2.0 - Filter Factory Gallery M - Ambrosia, default settings.

22. Effects>Image Effects>Seamless Tiling, default settings.

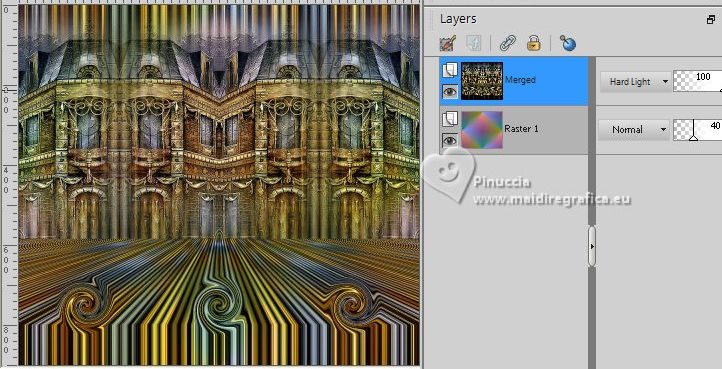
Reduce the opacity of this layer to 40%.
23. Activate the layer Merged.
Change the Blend Mode of this layer to Hard Light.
24. Open the woman's tube Tube-LuzCristina 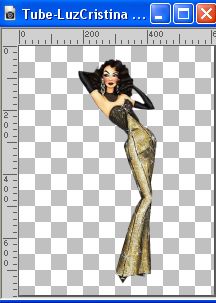
Edit>Copy.
Go back to your work and go to Edit>Paste as new layer.
Move  the tube to the right. the tube to the right.
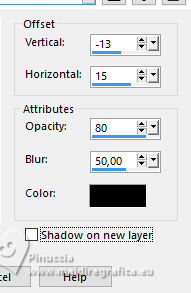
Effects>3D Effects>Drop Shadow.
25. Open the tube R11-Garden PotPlant 2013-145 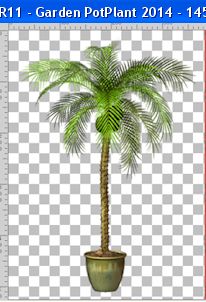
Edit>Copy.
Go back to your work and go to Edit>Paste as new layer.
Move  the tube at the bottom left. the tube at the bottom left.
Effects>3D Effects>Drop Shadow, same settings.
26. Open the tube Farole 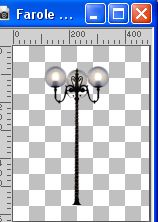
Edit>Copy.
Go back to your work and go to Edit>Paste as new layer.
Image>Resize, to 80%, resize all layers not checked.
Move  the tube tot he right. the tube tot he right.
Effects>3D Effects>Drop Shadow, same settings.
27. Image>Add Borders, 3 pixels, symmetric, color black.
Image>Add Borders, 2 pixels, symmetric, color #c8b052.
Image>Add Borders, 55 pixels, symmetric, color black.
28. Activate your Magic Wand Tool 
and click in the last border to select it.
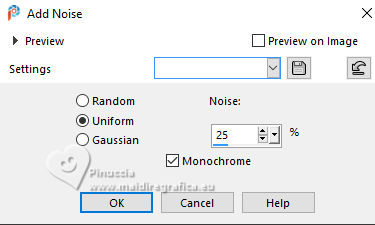
29. Adjust>Add/Remove Noise>Add Noise.
30. Effects>Plugins>FM Tile Tools - Blend Emboss, default settings.

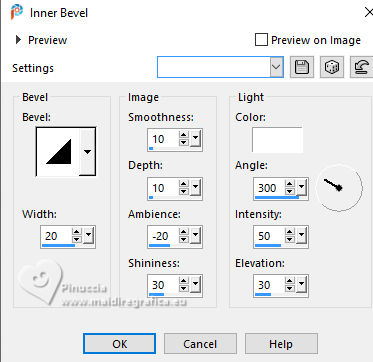
31. Effects>3D Effects>Inner Bevel.
Selections>Select None.
32. Open the tube corner 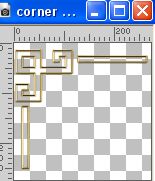
Edit>Copy.
Go back to your work and go to Edit>Paste as new layer.
Move  the tube in the left corner. the tube in the left corner.
Layers>Duplicate.
Image>Mirror>Mirror horizontal (Image>Mirror).
Image>Mirror>Mirror vertical (Image>Flip).
33. Open the text Texto 2 
Edit>Copy.
Go back to your work and go to Edit>Paste as new layer.
Move  the text down. the text down.
34. Layers>Merge>Merge visible.
Image>Resize, to 85%, resize all layers checked.
35. Sign your work and save as jpg.
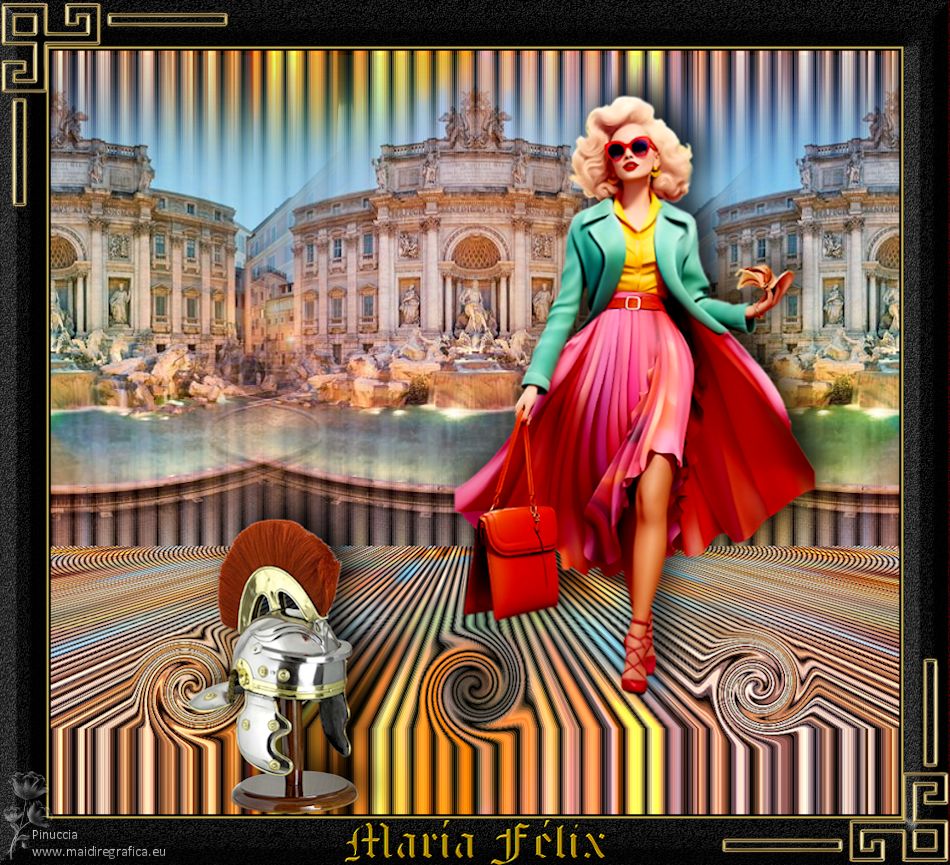
For the tubes of this versions thanks Luz Cristina and Yvonne.

If you have problems or doubts, or you find a not worked link,
or only for tell me that you enjoyed this tutorial, write to me.
28 Febbraio 2025

|

