|
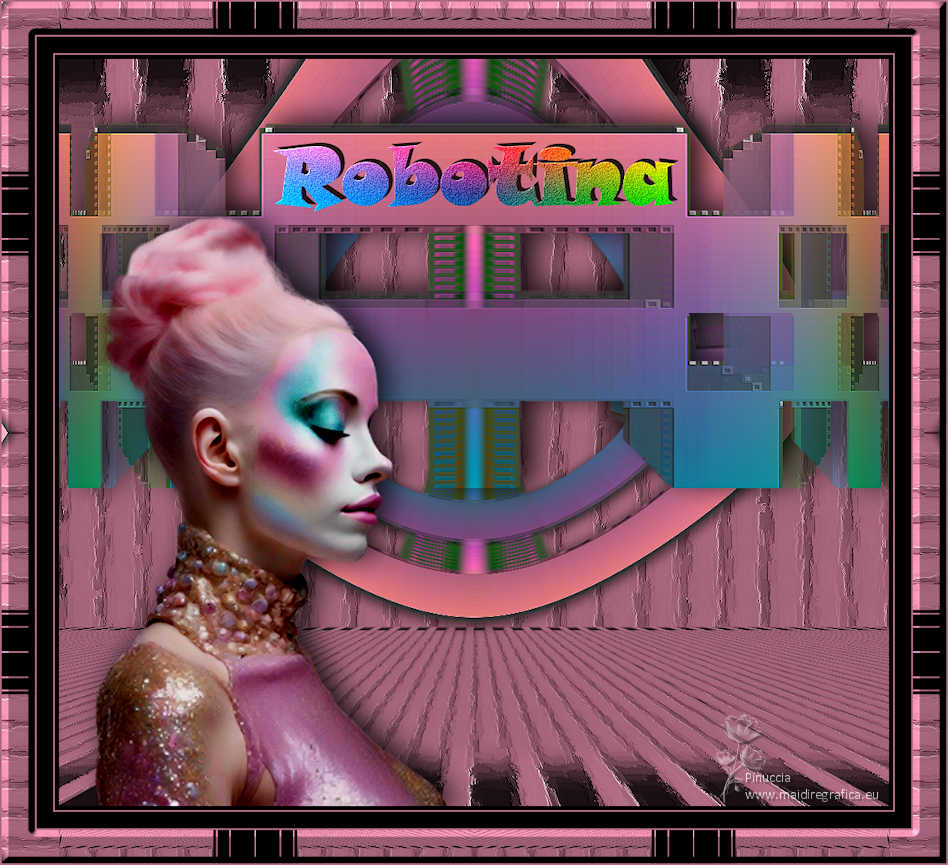
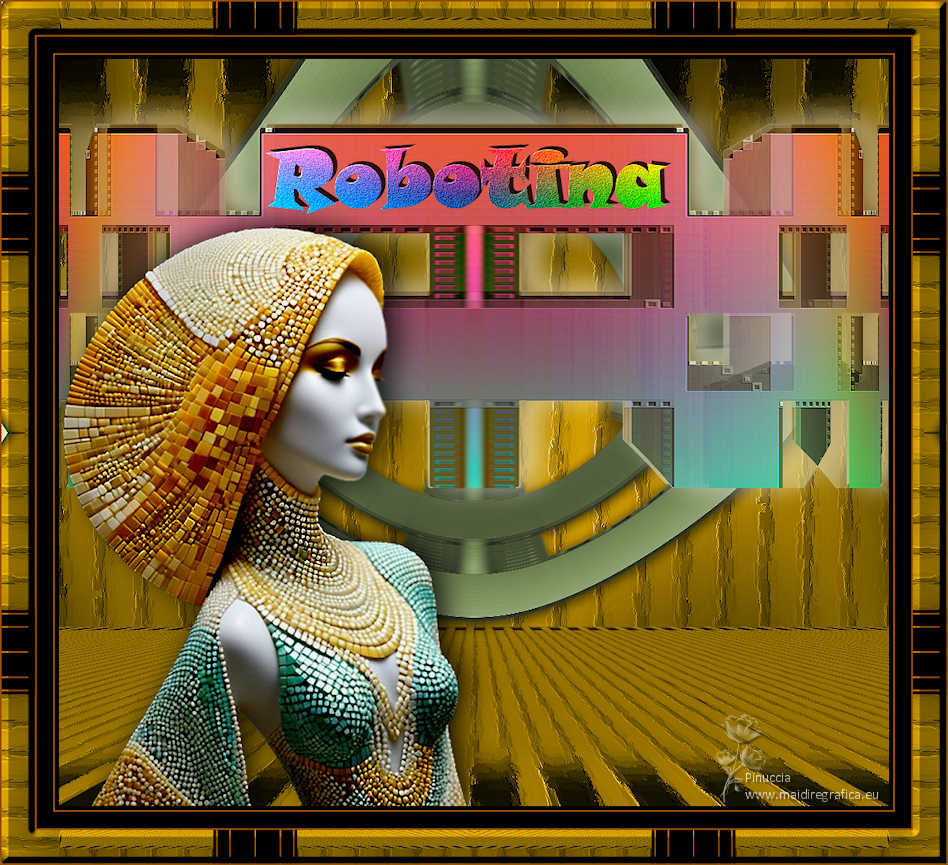
ROBOTINA


Thanks Luz Cristina for your invitation to translate your tutorials into english

This tutorial, created with PSP2022, was translated with PspX7, but it can also be made using other versions of PSP.
Since version PSP X4, Image>Mirror was replaced with Image>Flip Horizontal,
and Image>Flip with Image>Flip Vertical, there are some variables.
In versions X5 and X6, the functions have been improved by making available the Objects menu.
In the latest version X7 command Image>Mirror and Image>Flip returned, but with new differences.
See my schedule here
 French Translation here French Translation here
 Your versions here Your versions here

For this tutorial, you will need:

Material by Luz Cristina.
(The links of the tubemakers here).
*It is forbidden to remove the watermark from the supplied tubes, distribute or modify them,
in order to respect the work of the authors

consult, if necessary, my filter section here
Filters Unlimited 2.0 here
Filter Factory Gallery M - Ambrosia here
Alien Skin Eye Candy 5 Impact - Extrude here
Simple - Top Left Mirror here
Neology - Vasarely Mosaics, Digital Weaver here
FM Tile Tools - Blend Emboss here
Mura's Meister - Perspective Tiling here
Filters Factory Gallery, Simple and Neology can be used alone or imported into Filters Unlimited.
(How do, you see here)
If a plugin supplied appears with this icon  it must necessarily be imported into Unlimited it must necessarily be imported into Unlimited

You can change Blend Modes according to your colors.
In the newest versions of PSP, you don't find the foreground/background gradient (Corel_06_029).
You can use the gradients of the older versions.
The Gradient of CorelX here

1. Open the forme's tube forma 
This image will be the basis of your work.
2. Selections>Select All.
Selections>Float.
Effects>Plugins>Filter Factory Gallery M - Ambrosia,
default settings, but you can change the settings according to your colors.
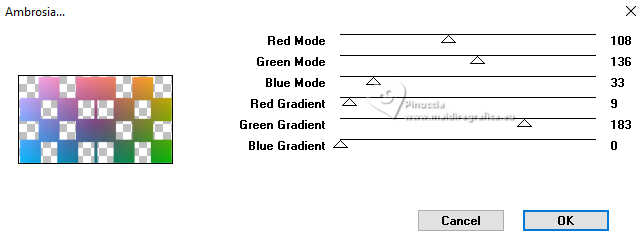
Selections>Select None.
3. Effects>Plugins>Alien Skin Eye Candy 5 Impact - Extrude.
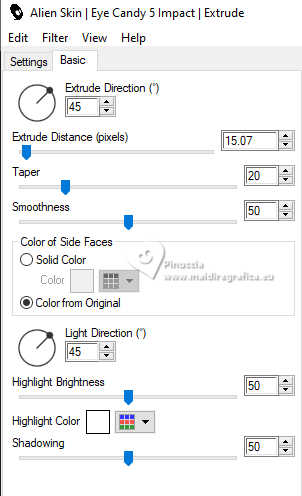
4. Effects>3D Effects>Drop Shadow.
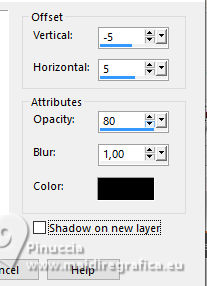
5. Effects>Plugins>Neology - Vasarely Mosaics.
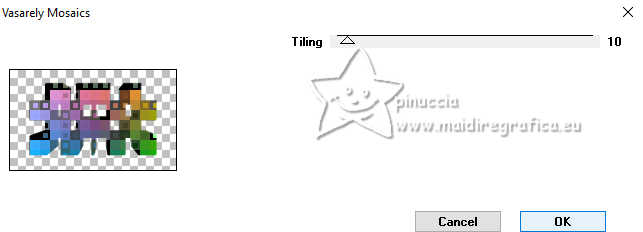
Attention, if you use the filter in Unlimited, you can get a different result.
Under my translation the result with Neology in Unlimited
6. Effects>Plugins>FM Tile Tools - Blend Emboss, default settings.

7. Effects>Image Effects>Seamless Tiling .

8. Effects>Geometric Effects>Cylinder vertical
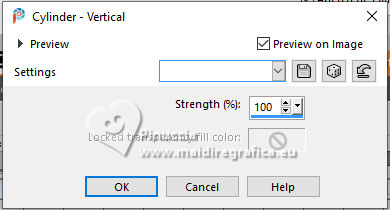
9. Effects>Reflection Effects>Rotating Mirror.

10. Effects>3D Effects>Drop Shadow.
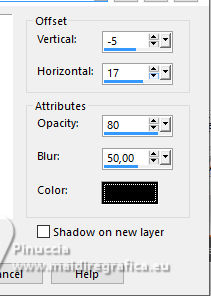
11. Layers>Duplicate.
12. Image>Canvas Size - 1000 x 900 pixels.
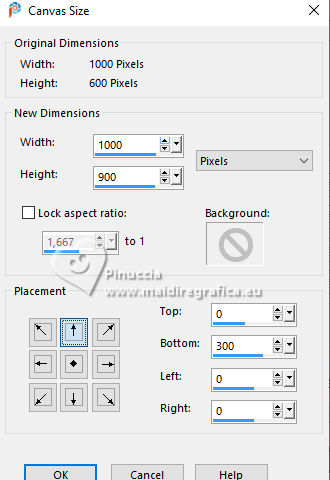
13. Image>Miroir>Miroir vertical.
14. Effects>Distortion Effects>Polar Coordinates.
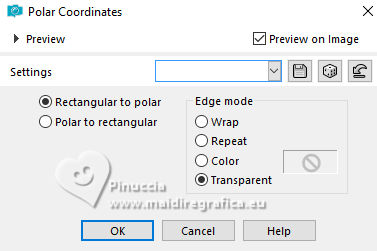
15. Layers>Arrange>Move Down.
16. Image>Mirror>Mirror vertical (Image>Flip)
17. Effects>Plugins>Simple - Top Left Mirror.
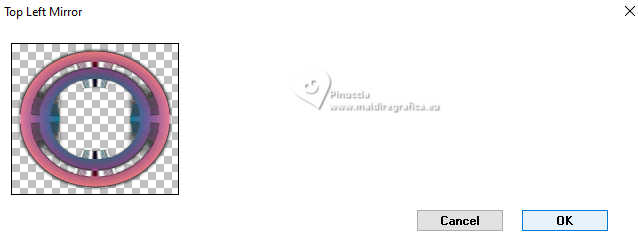
18. Effects>Image Effects>Offset.
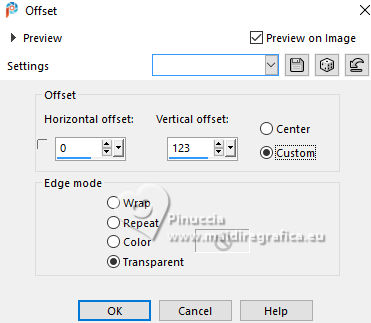
19. Effects>Distortion Effects>Pinch.

20. Layers>New Raster Layer.
Layers>Arrange>Move Down.
21. Set your foreground color to #b16d83  . .
Flood Fill  the layer with you foreground color. the layer with you foreground color.
22. Effects>Plugins>Neology - Digital Weaver, default settings
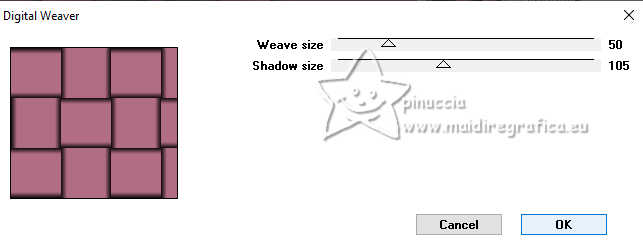
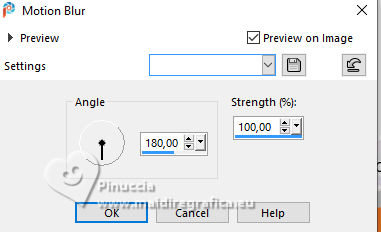
23. Adjust>Blur>Motion Blur - 2 times.
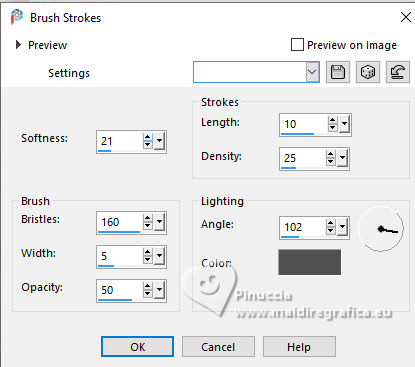
24. Effects>Art Media Effects>Brush Strokes, color #505050.
25. Layers>Duplicate.
26. Image>Mirror>Mirror vertical (Image>Flip).
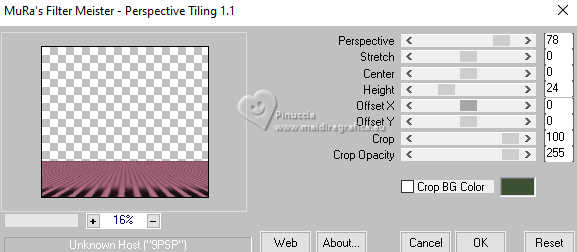
27. Effects>Plugins>Mura's Meister - Perspective Tiling.
28. Activate your top layer.
Open the woman's tube 8374-LuzCristina 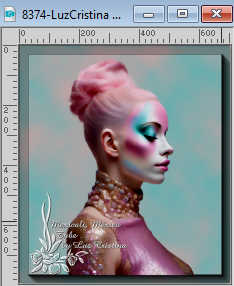
Edit>Copy.
Go back to your work and go to Edit>Paste as new layer.
Move  the tube to the left. the tube to the left.
Effects>3D Effects>Drop Shadow.
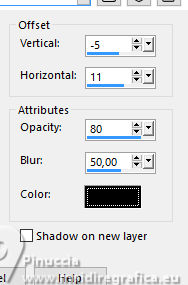
29. Open the text texto 
Edit>Copy.
Go back to your work and go to Edit>Paste as new layer.
Move  the tube up. the tube up.
30. Image>Add Borders, 5 pixels, symmetric, color black.
Image>Add Borders, 2 pixels, symmetric, foreground color #b16d83.
Image>Add Borders, 20 pixels, symmetric, color black.
Image>Add Borders, 2 pixels, symmetric, foreground color #b16d83.
Image>Add Borders, 40 pixels, symmetric, color black.
Image>Add Borders, 2 pixels, symmetric, foreground color #b16d83.
31. Activate your Magic Wand Tool
and click in the last black border to select it.
32. Effects>Reflection Effects>Kaleidoscope.
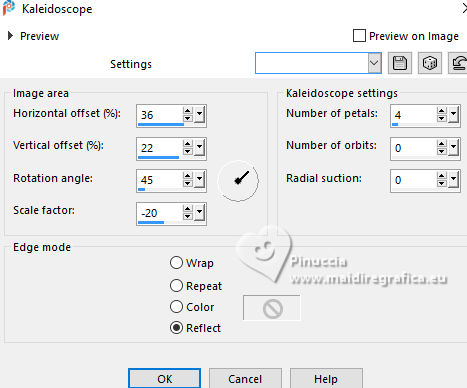
33. Effects>3D Effects>Inner Bevel.
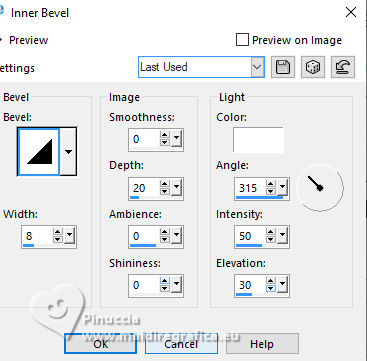
Selections>Select None.
Image>Resize, to 83%, resize all layers checked.
Sign your work and save as jpg.
Version with Neology in Unlimited.
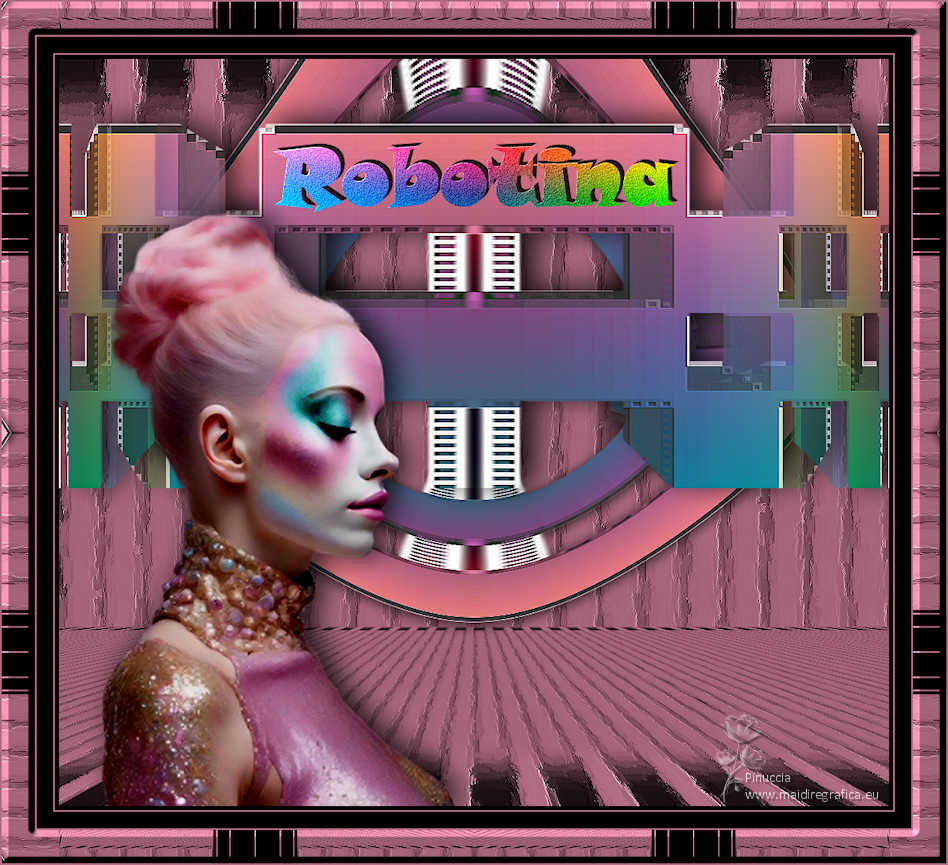
Version with a tube by Luz Cristina.


If you have problems or doubts, or you find a not worked link,
or only for tell me that you enjoyed this tutorial, write to me.
15 February 2025

|

